Using shapes makes this a fantastic craft for preschoolers and Kindergartners too!
We truly appreciate you supporting our website!
Cut out traced pattern pieces
Cut out the pieces of the pattern and trace them onto your colored cardstock.
Cut out the traced pattern pieces.
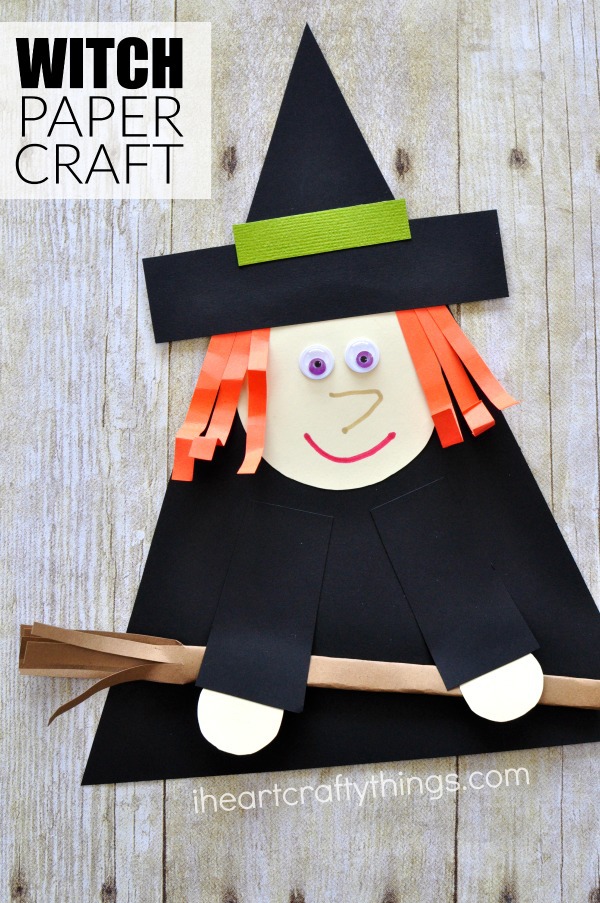
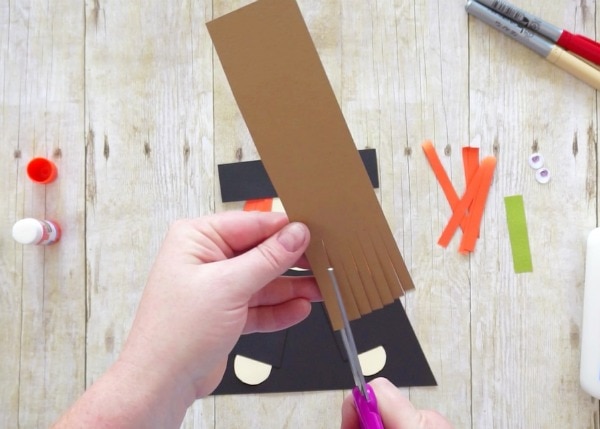
Then from your brown cardstock cut out a a rectangle for a witch broom.
From your orange construction paper cut out several small strips for witch hair.
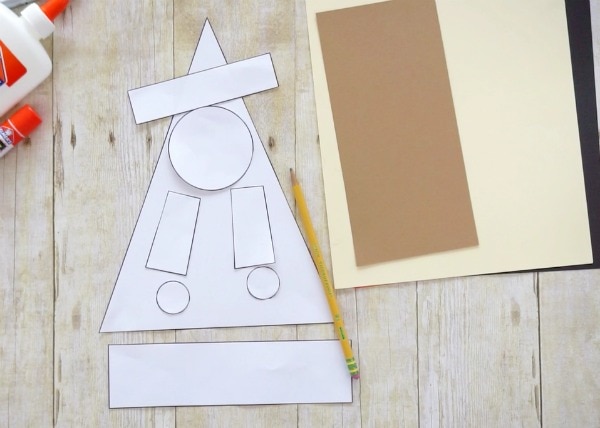
you’re able to also cut out a small rectangle to put on the witch hat.
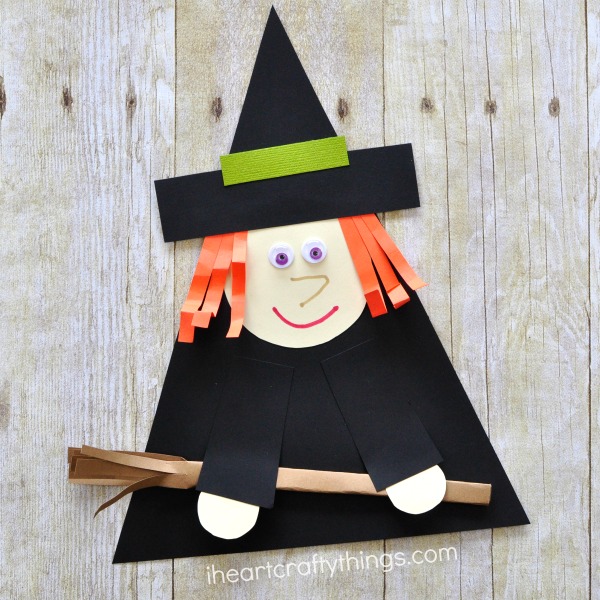
Then glue hair on the sides of the witch face.
Next glue the black rectangle at the top of the face to make the witch hat.

Glue the two small circle hands under the black arms.
Glue them onto your black triangle but leave the hands unglued so you could place the broom underneath them.
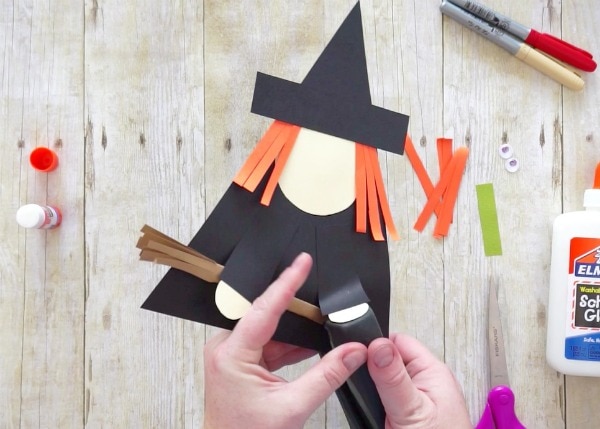
Roll and fold the rectangle up to form a witch broom.
Place the broom underneath the witchs hands and staple it in place.
Add eyes, draw nose and mouth
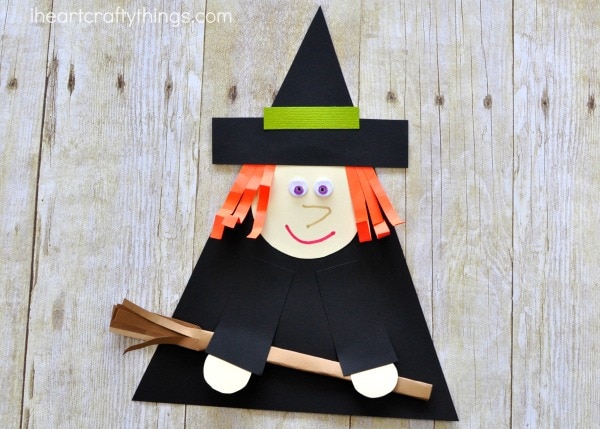
Glue your small colored rectangle onto the witch hat.
Then glue your googly eyes onto the witch face.
Finish your witch paper craft by using markers to draw a nose and mouth onto your witch.
Your Witch Paper Craft is complete!
Wouldnt these be darling hung up on a classroom bulletin board for Halloween?
!