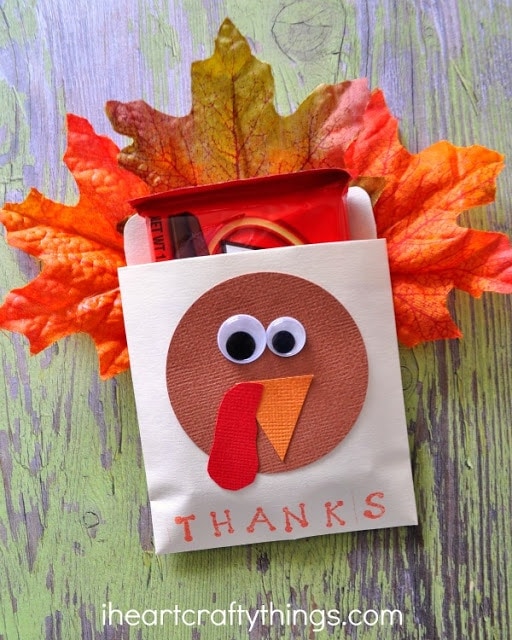
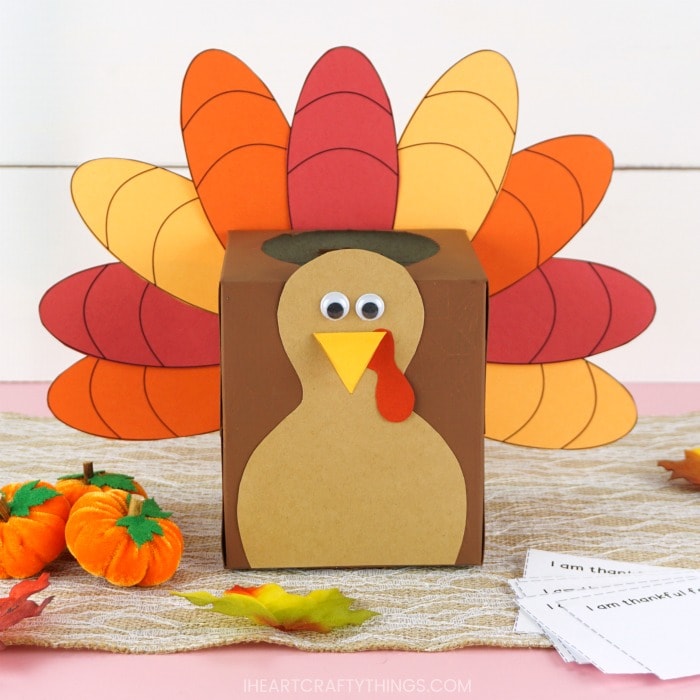
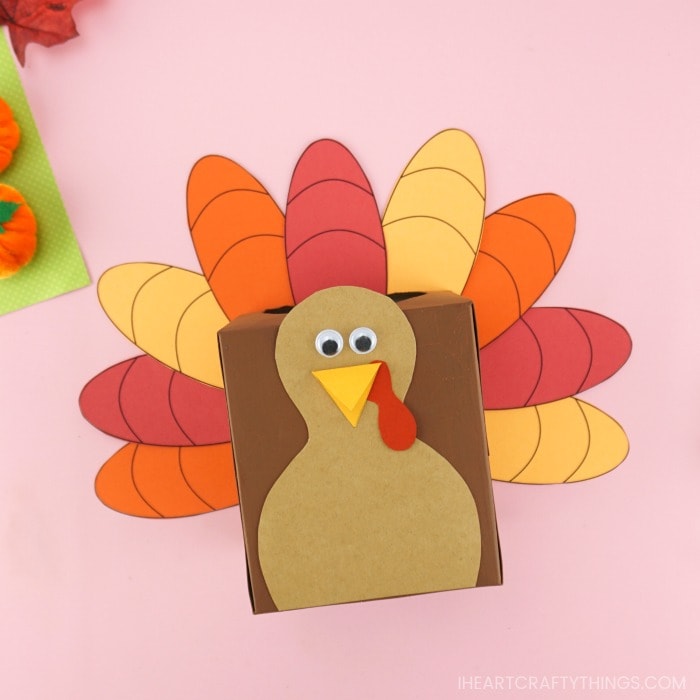
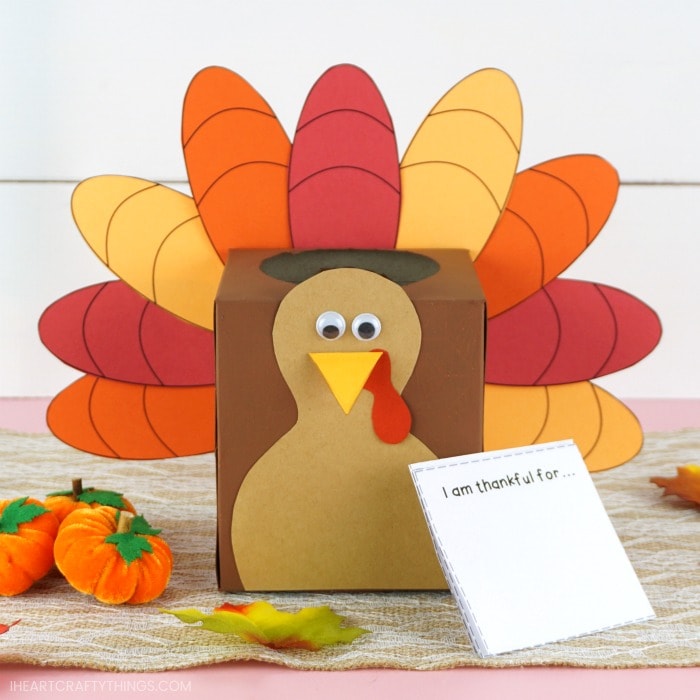
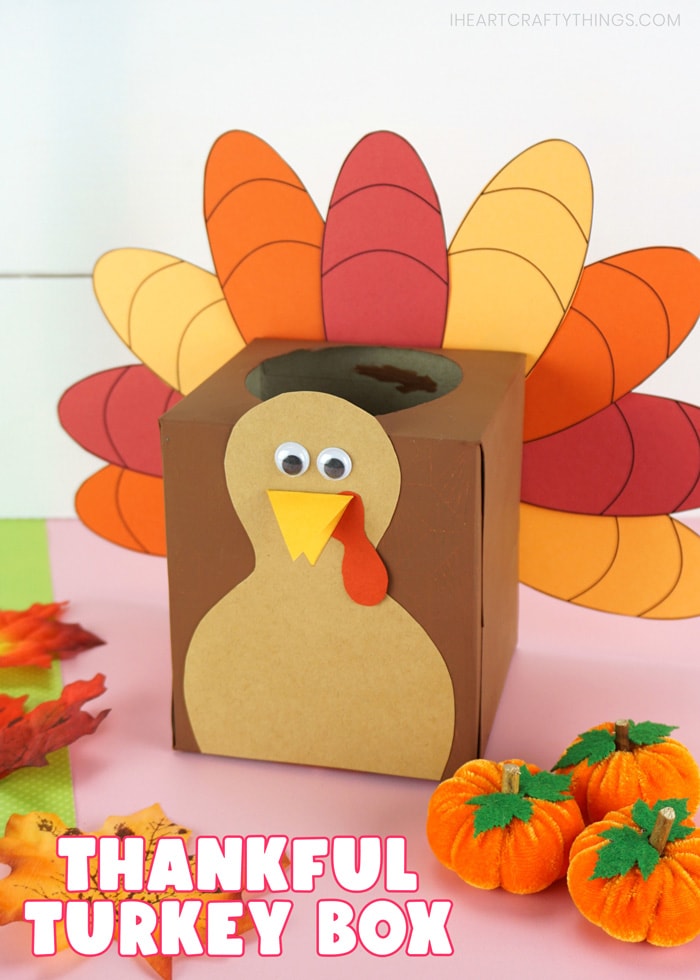
Thisthankful turkey boxis a fun and simple activity for the whole family to express their gratitude for Thanksgiving.
Finding ways to help encourage my children to be thankful each Thanksgiving is important to me every year.
Our Give Thanks inspired idea we came up with to celebrate our blessings this year is athankful turkey box.
There are so many different ways you’re free to customize the activity.
Any way you use it, it is sure to bring some happy gratitude to your home this year.
Grab your supplies to make your turkey and get ready for a month full of thankfulness.
Read our easy step-by-step instructions below for how to create your own thankful box out of a tissue box.
Supplies needed to make your turkey box:
This post contains affiliate links to the products mentioned.
Read ourdisclosure policyfor more information.
Instructions for this Thanksgiving gratitude activity
1.
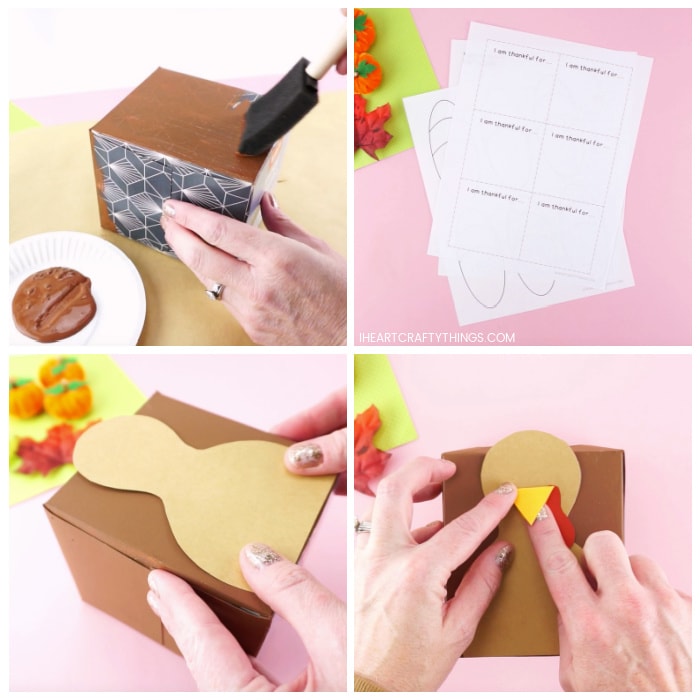
Paint tissue box
Lay out a placemat or butcher paper to protect your surface.
Pour some brown acrylic paint onto a painting palette or a paper plate.
Using a sponge paintbrush, paint an empty, small tissue box with your paint.
Set it aside to dry completely.
The box might need a second coat depending on the color and patterns of your box.
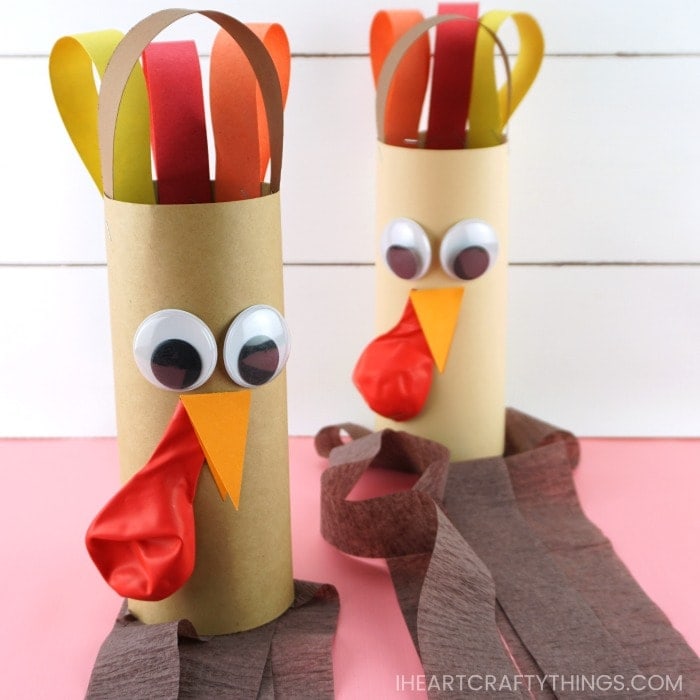
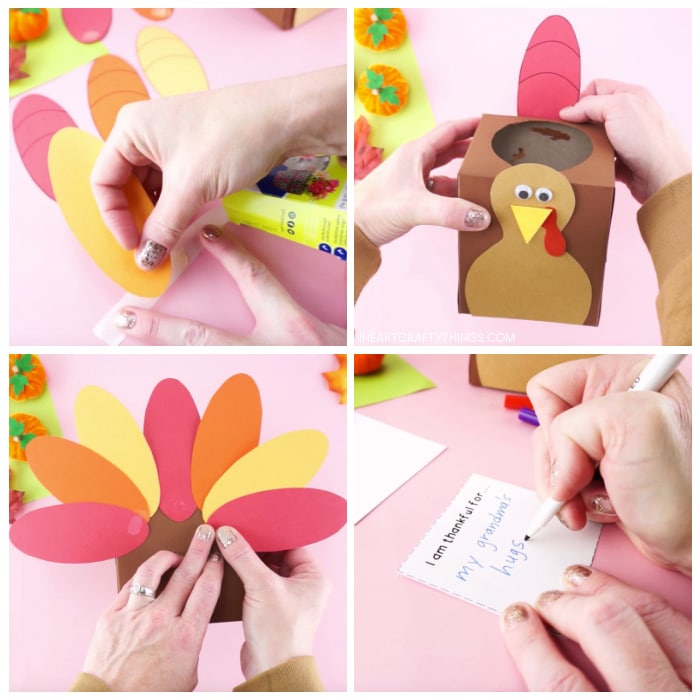
We printed out the feather pages from the template directly on colored cardstock paper.
Then glue the turkey waddle and beak onto the turkey.
Finally glue two small googly eyes onto your turkey.
Attach them to the back of the tissue box to create the turkey feathers.
A glue stick will probably work too.
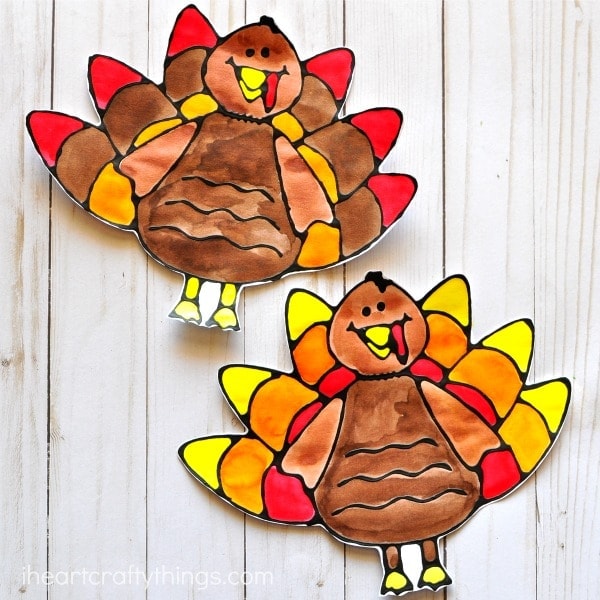
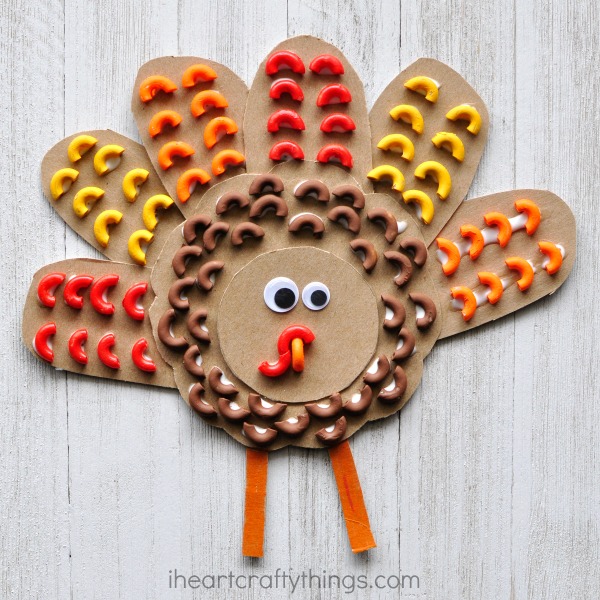
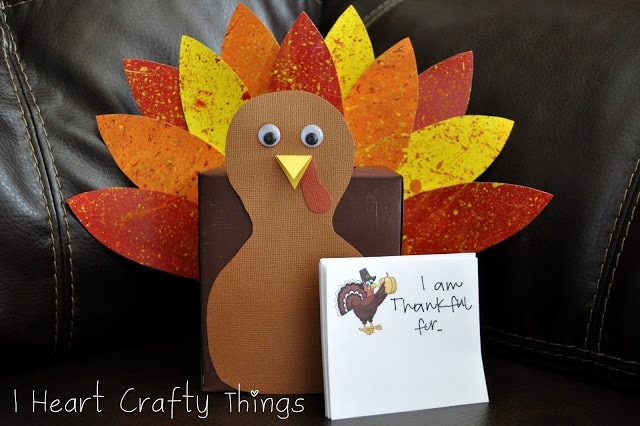
We have also used painted paper splattered with paint to create our colorful feathers.
you’re free to imagine how much fun the splattered painting is for kids.
Take a look at how the painted feathers look in the image below.
Simply print out the feather page of the template on white cardstock paper and paint the back of it.
Then the feather shapes are printed on the back and ready for cutting out after you paint them.