This post contains affiliate links to the products mentioned.
Supplies needed:
Instructions:
1.
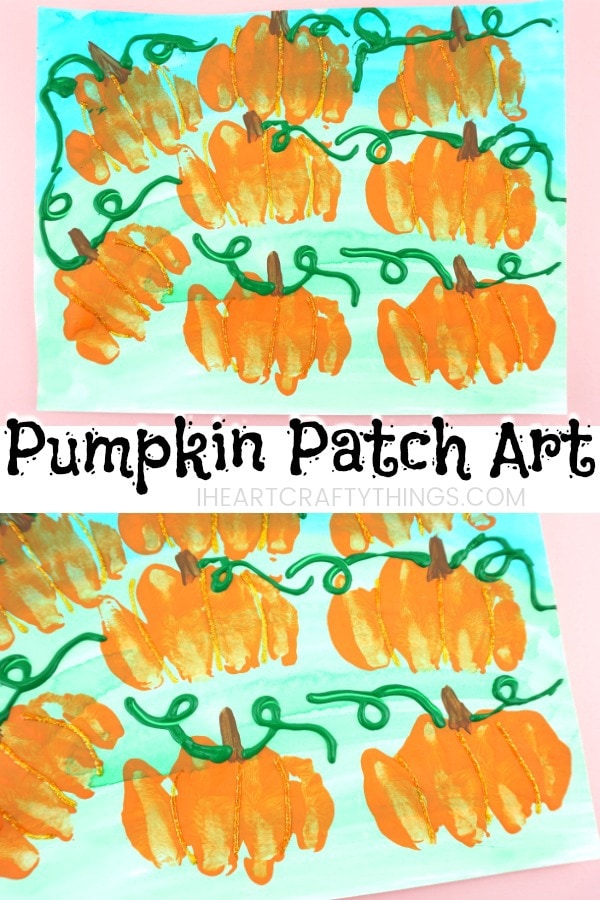
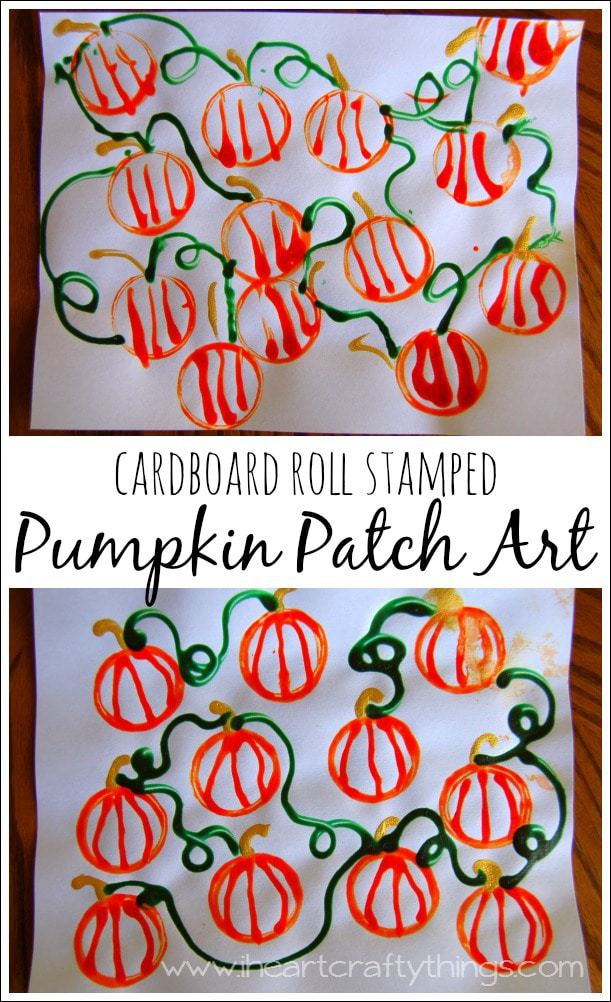
To help my children, I used a light pencil marking to draw the hill before the kids painted.
Set the paper aside for the watercolors to dry completely.
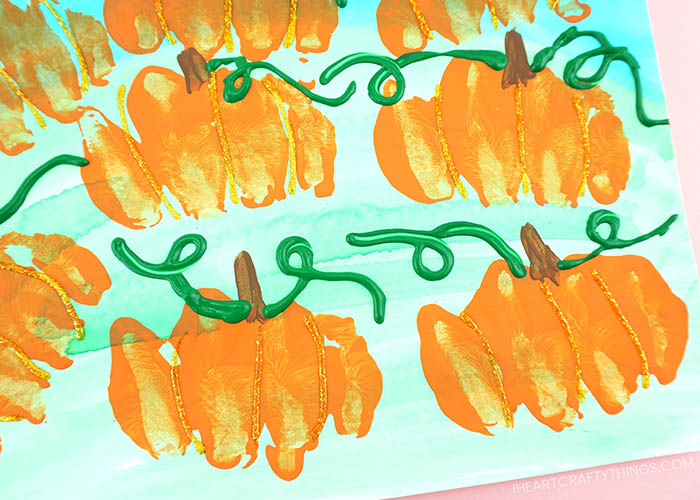
Have the children make a fist with their hand.
Dip the fist into the orange paint and then press it down onto the hill to make pumpkins.
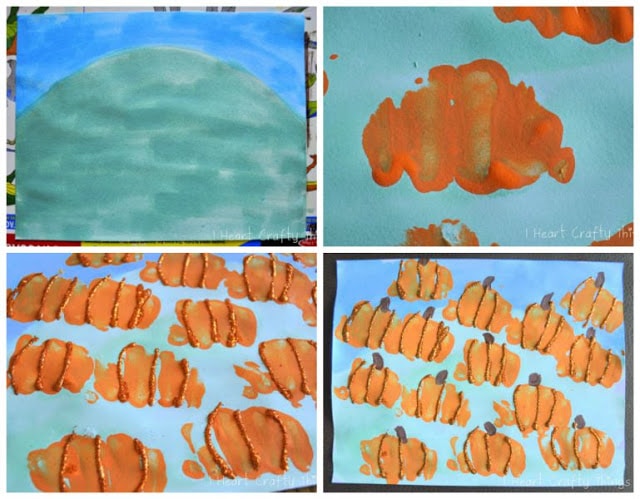
I helped my children press down their fists at first to help them get the hang of it.
Children continue dipping their fist into the orange paint and then onto their hill to fill it with pumpkins.
Set your paper aside for the paint to dry again.
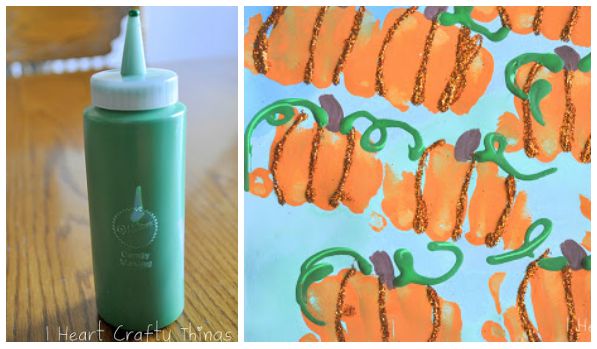
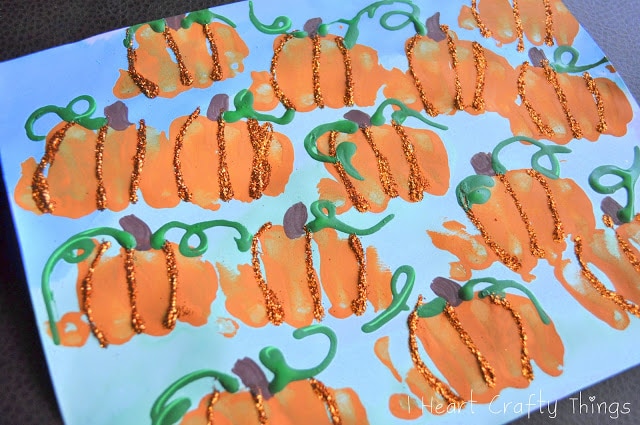
Glitter glue is much less messy though.
Use a paintbrush to paint pumpkin stems at the top of each of the pumpkins.
The trick to making the vines is using one of these plastic squeeze bottles.
Simply fill the plastic bottle partially with green paint.
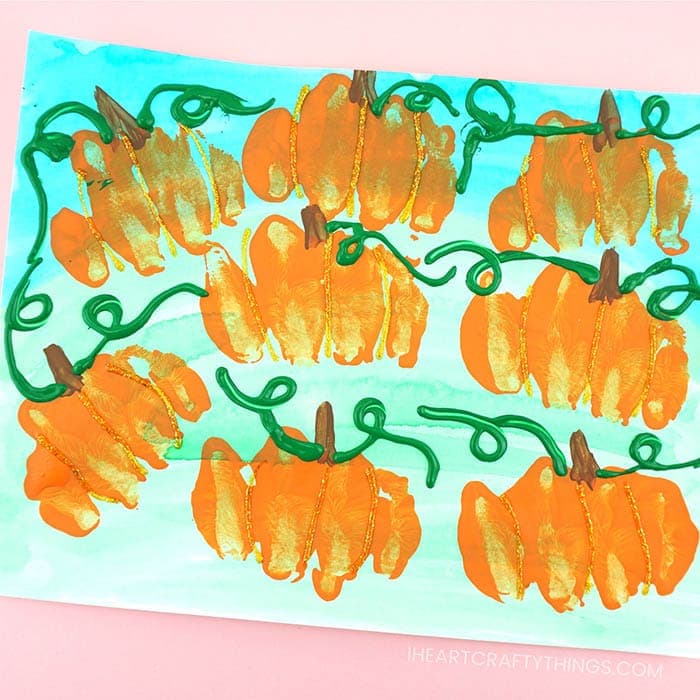
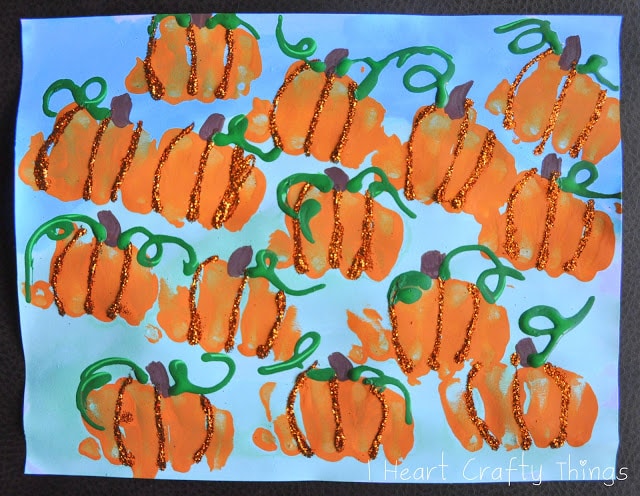
Your pumpkin patch art project is complete!