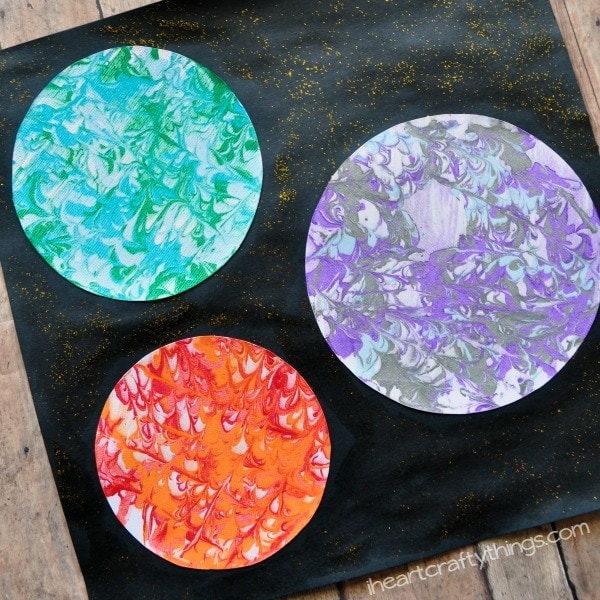
The marbled planets among the stars inspired my daughter and I when we were creating this preschool space craft.
Supplies Needed:
Instructions for Marbled Planet Artwork:
1.
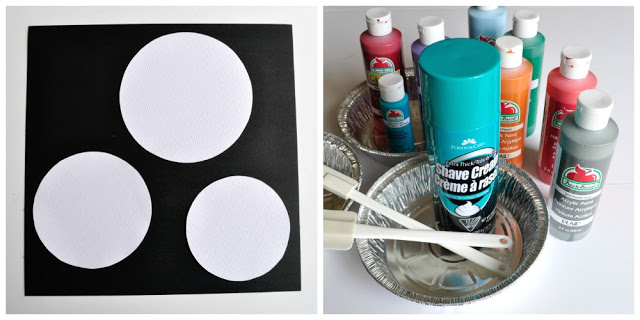
Cut out 3 different sized circles
Start by cutting 3 different sized circle shapes from your white cardstock paper.
I used different sized cups, bowls and containers to trace my circles.
It really helps with keeping things uniform!
Use your rubber spatula to spread the shaving cream out evenly and make it as smooth as you could.
The kids will have fun doing this part, just double-check you do the final once over.
It seems to work best If you squirt the paint in lines of various directions.
Use a toothpick to create lines up and down, side to side and diagonally.

Carefully remove the circle from the paint and let it sit for 1-2 minutes.
Use your squeegee to remove the excess shaving cream from your circle.
You are left with a beautiful marbled planet.
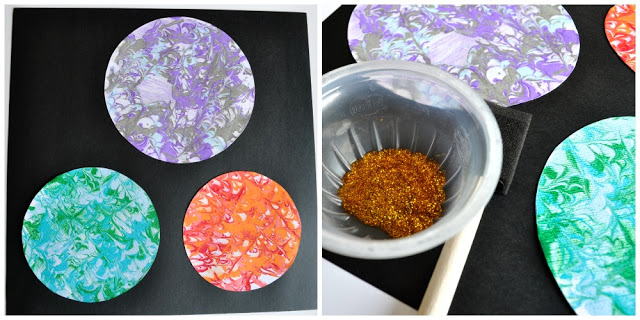
After the painted circles are dry, simply glue the planets onto black cardstock paper.
Add glitter
Although this last step is optional, the gold glitter really gives is the perfect finishing touch.
The glue adds a bit of shine and the glitter makes it looks like little stars.
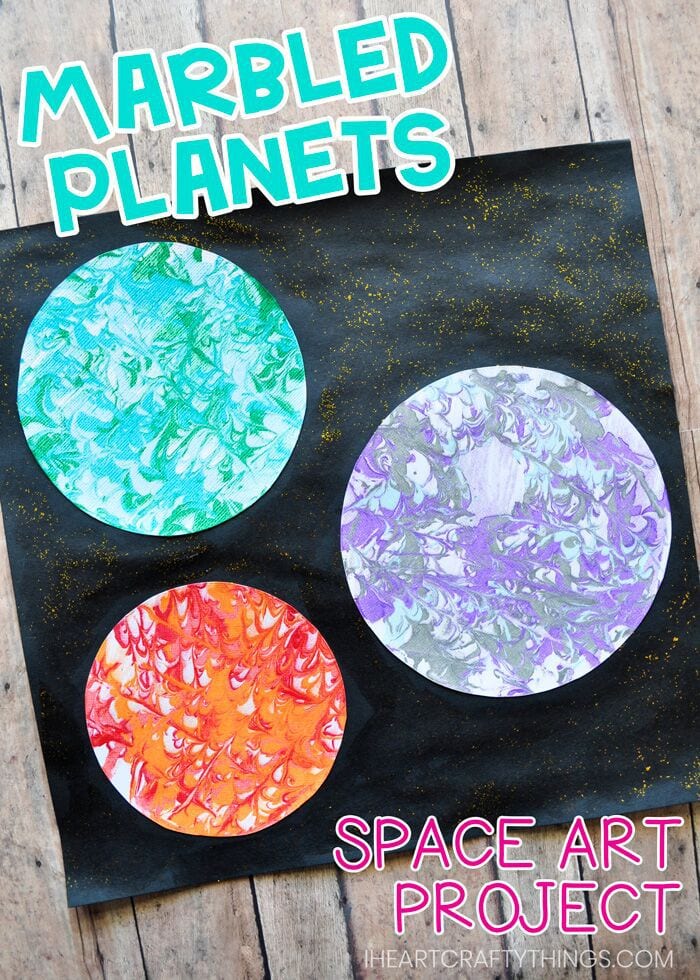
Its just what your preschool space art needs!
What do you think of this space themed art project?
Do you think your little astronaut will like it?
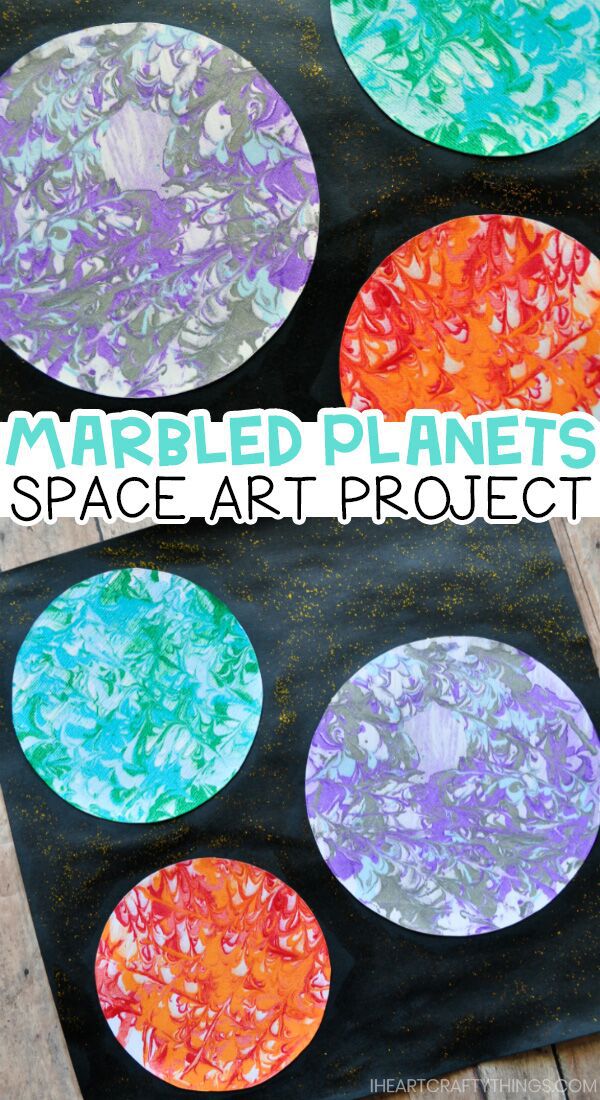
Does the shaving cream marbled painting technique replicate the real look of the planets in space?
