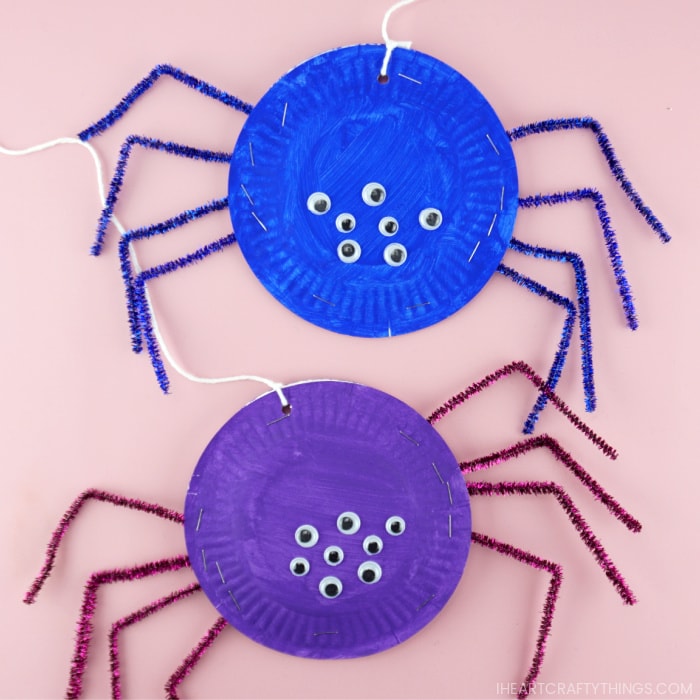
Ive had a swarm ofpaper plate spiderstake over my house the last couple days!
Luckily they are the cute kind that I dont mind having around!
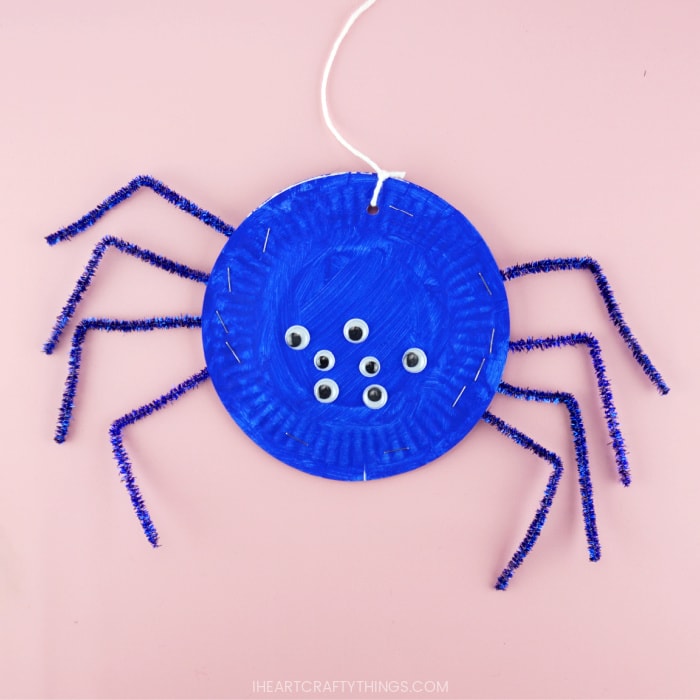
These colorful spiders are so simple for kids to make and they make spooktacular Halloween decorations!
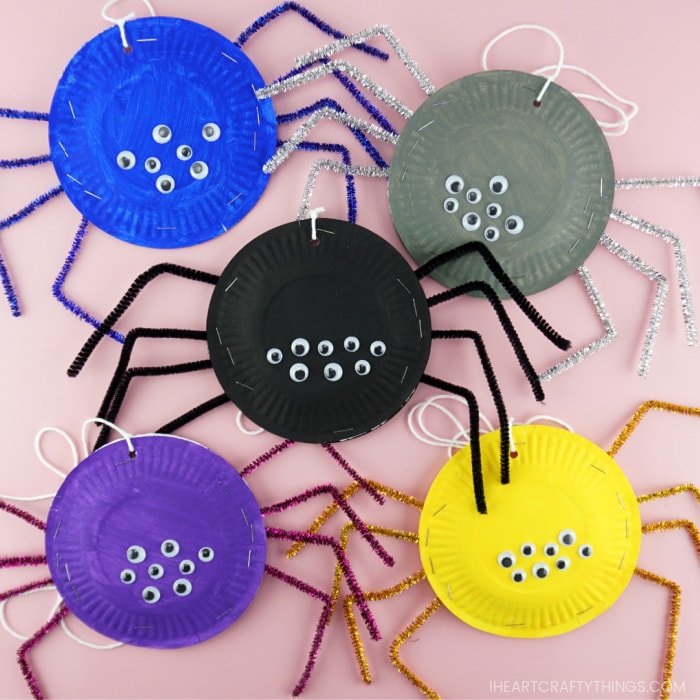
We used small, dessert sized paper plates for this Halloween craft.
I found they were the perfect size when coupled with the pipe cleaner spider legs.
Read our easy step-by-step instructions below for how to make your own paper plate spider craft.
see to it to watch our video tutorial inside this post before get started too.
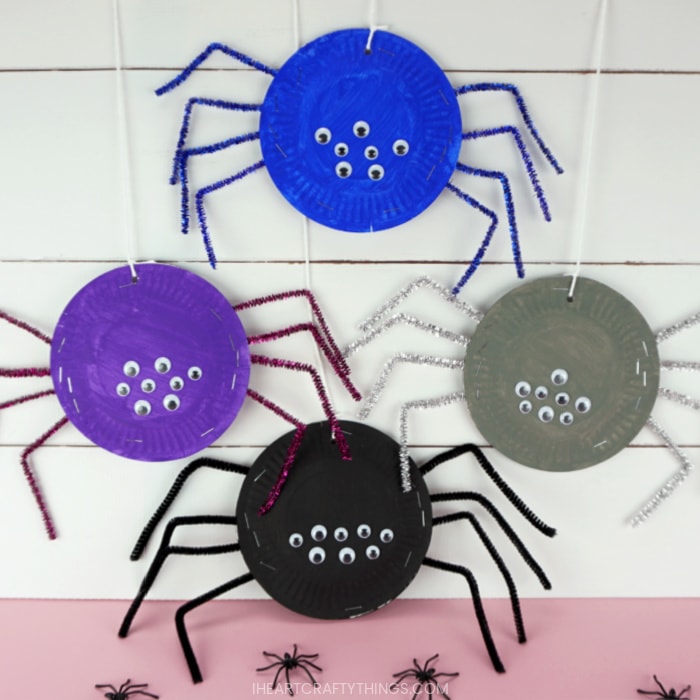
Before you know it, youll have some spooky spiders to hang from the ceiling for Halloween decorations too!
Read ourdisclosure policyfor more information.
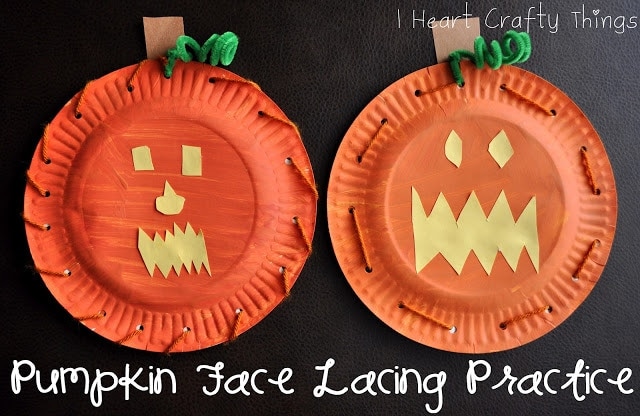
Instructions for making your colorful spider craft
1.
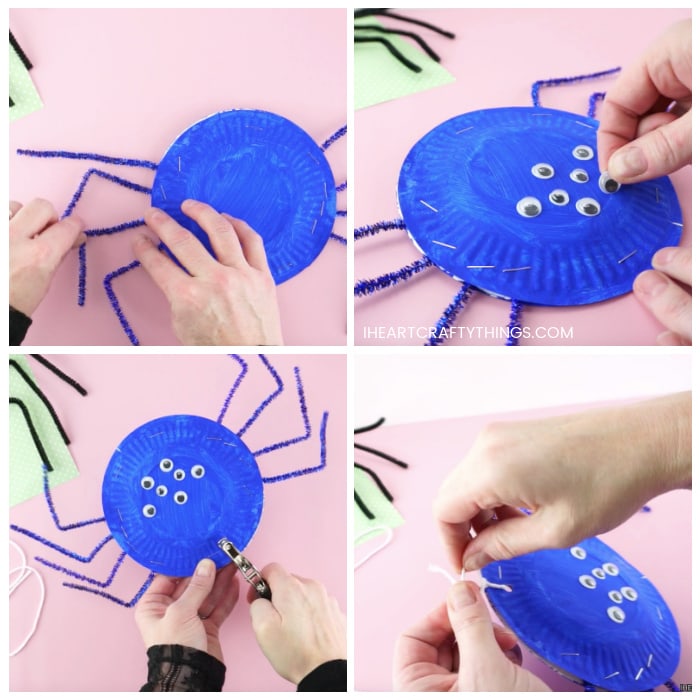
Do this with all eight legs, with four on each side of the paper plates.
Then place additional staples around the paper plates to close them shut.
What if you cant use a stapler in the classroom with children?
I have had a few people comment that they are not allowed to use staplers inside the classroom.
Finally, place the second paper plate onto the glue with the painted side facing out.
It is completely optional though.
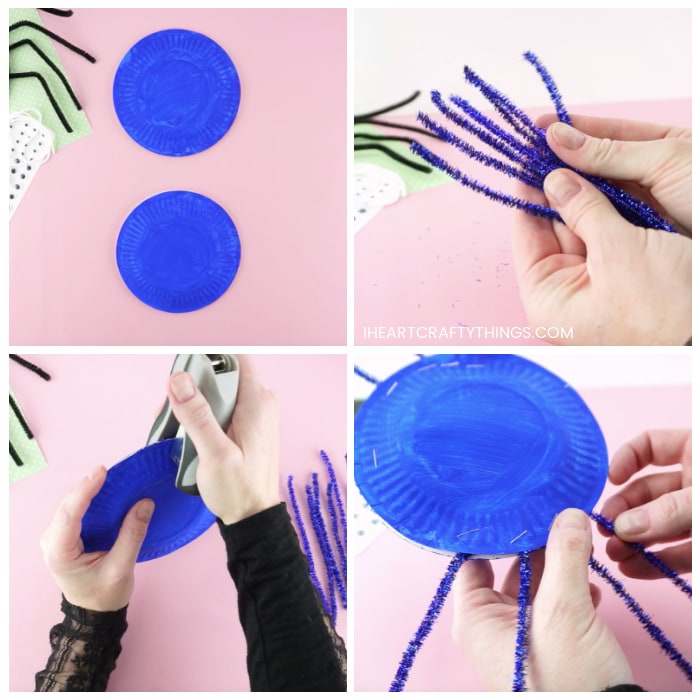
Bend spider legs
Create a bend in each of the chenille stems to make them look like spider legs.
Add eyes
Glue on eight wiggly eyes of different sizes on the top of your spider.
You could also use self-adhesive googly eyes so you wont have to wait for drying time.
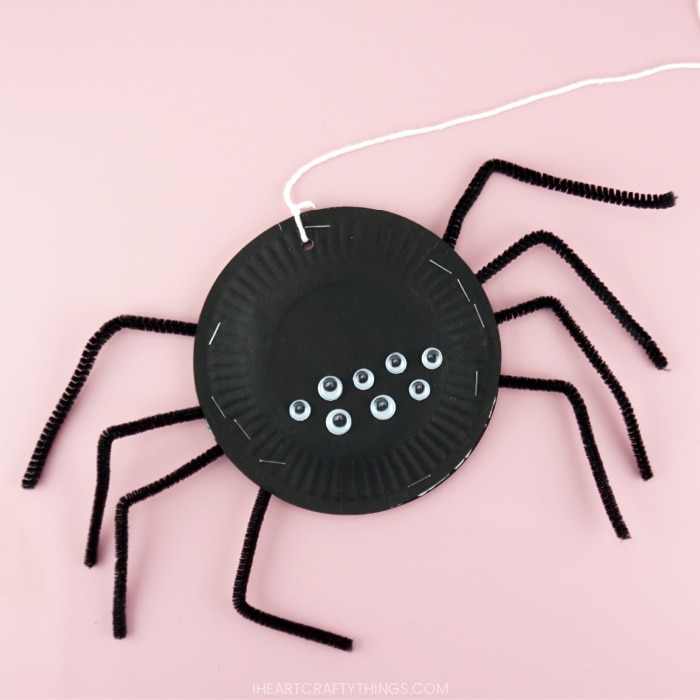
After they insisted on gluing on 8 eyes, I googled it and sure enough, they were right!
My sons black spider is extra creepy.
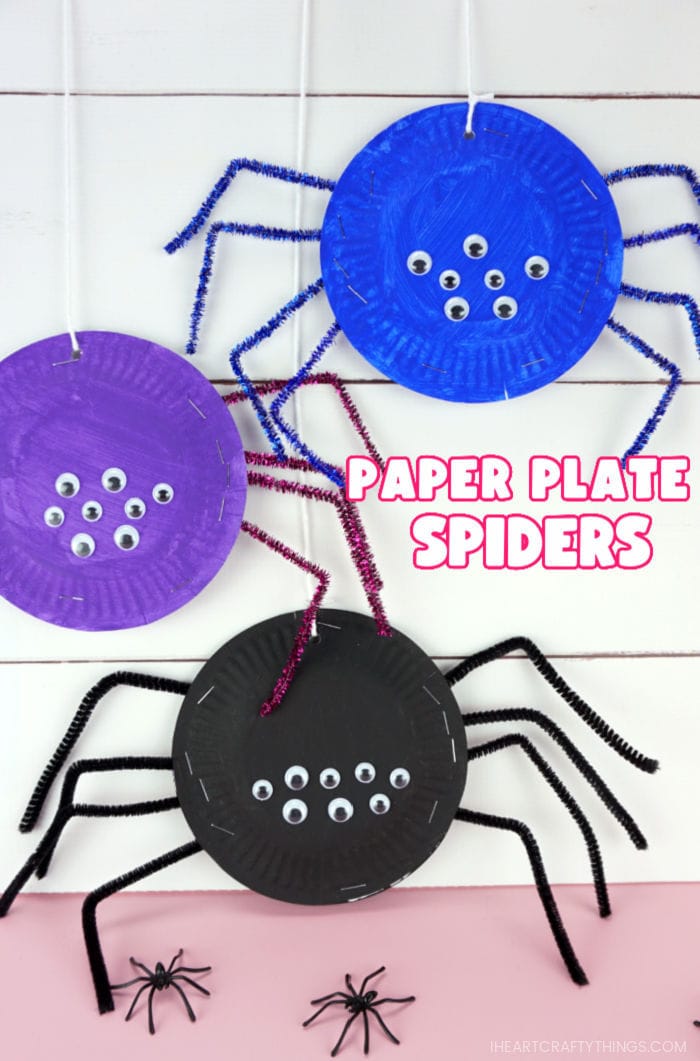
He told me it was a black widow.
These look super fun hanging down at varying lengths along my living room curtains as Halloween decorations.