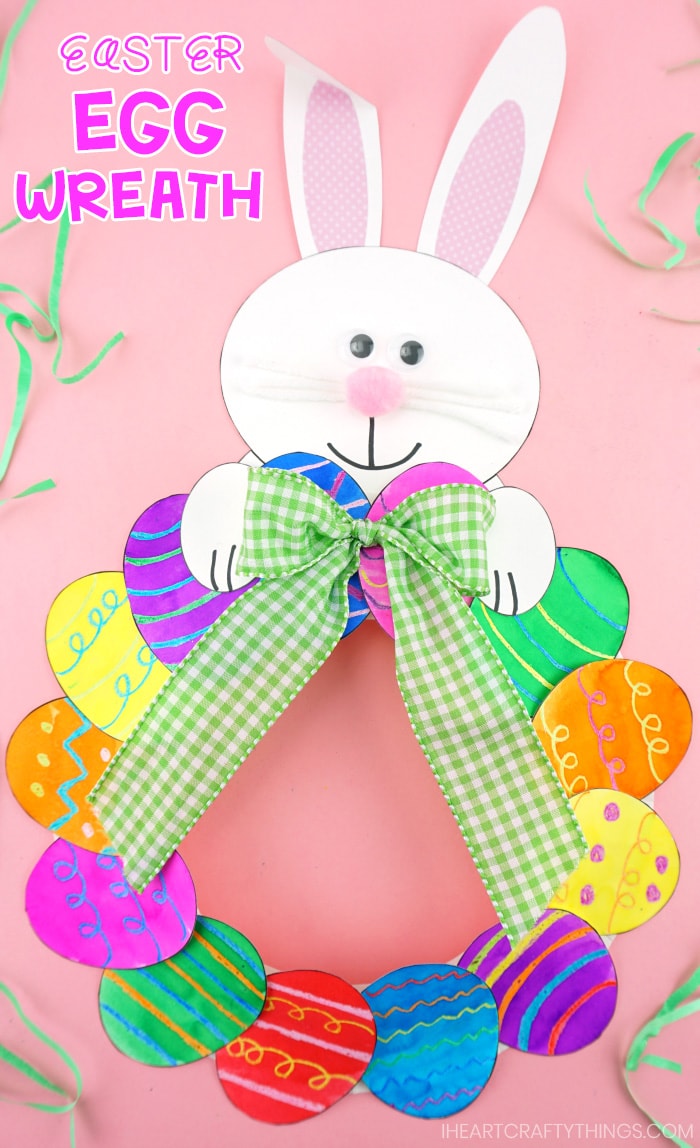
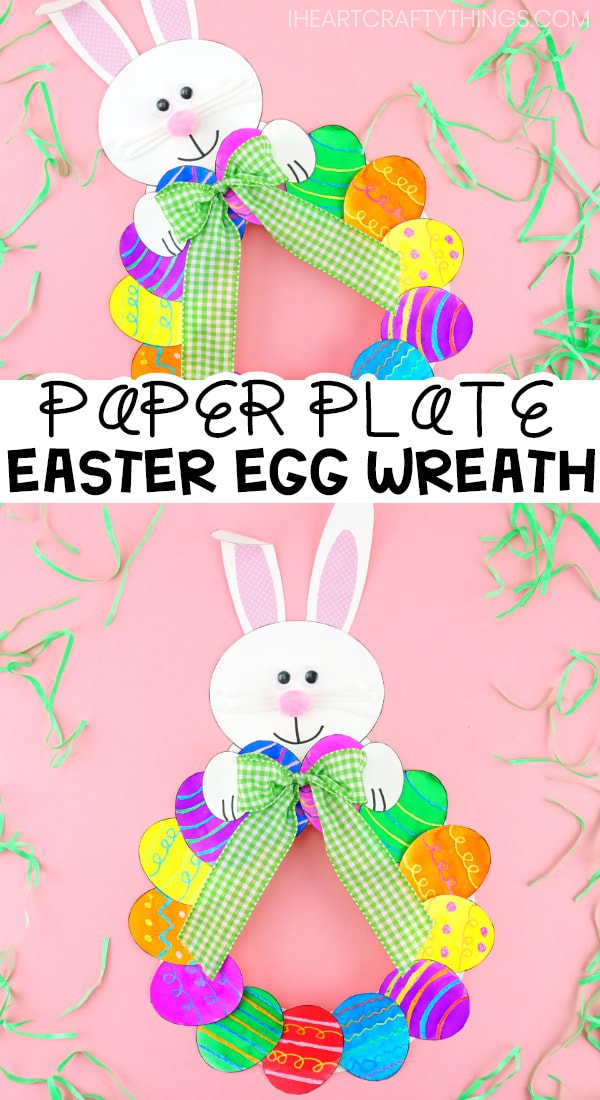
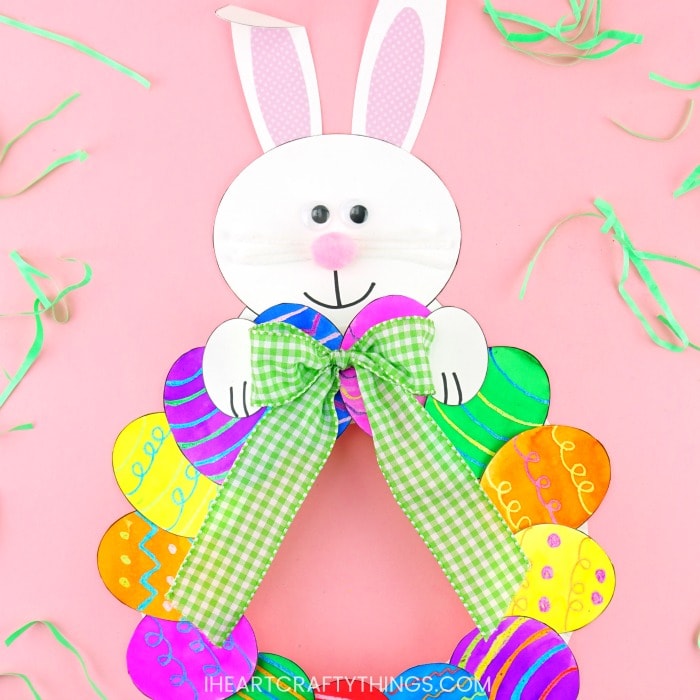
This paper plateEaster egg wreathis beautiful and so simple for kids to create.
That means theres no need to whip out the hot glue gun to make this darling egg wreath!
Not to mention, its so much better for the environment.
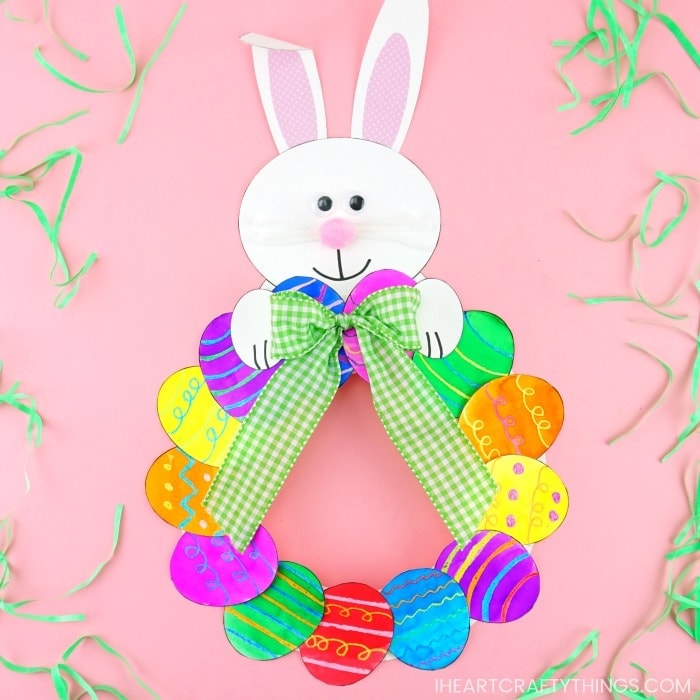
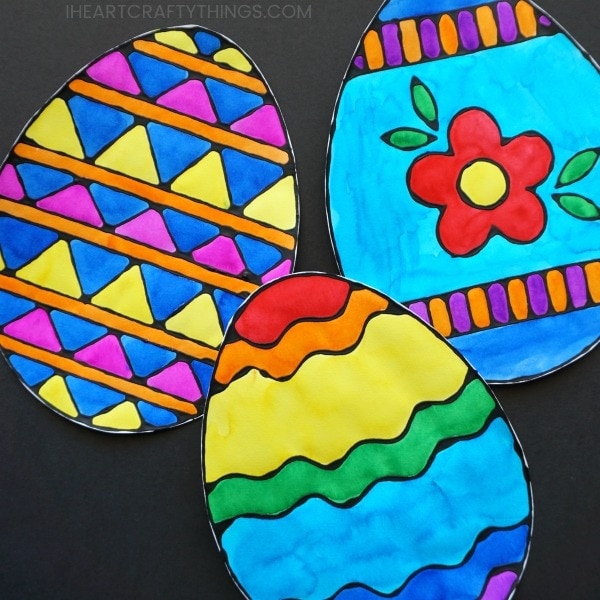
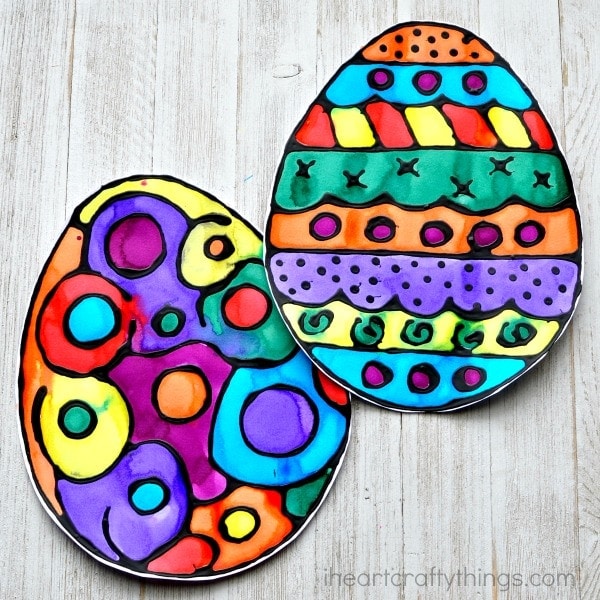
Youll notice each Easter egg on the wreath is created with a crayon resist and watercolor painting technique.
The finished egg wreath will turn heads being up on display this Easter holiday.
Instructions for Paper Plate Egg Wreath:
1.
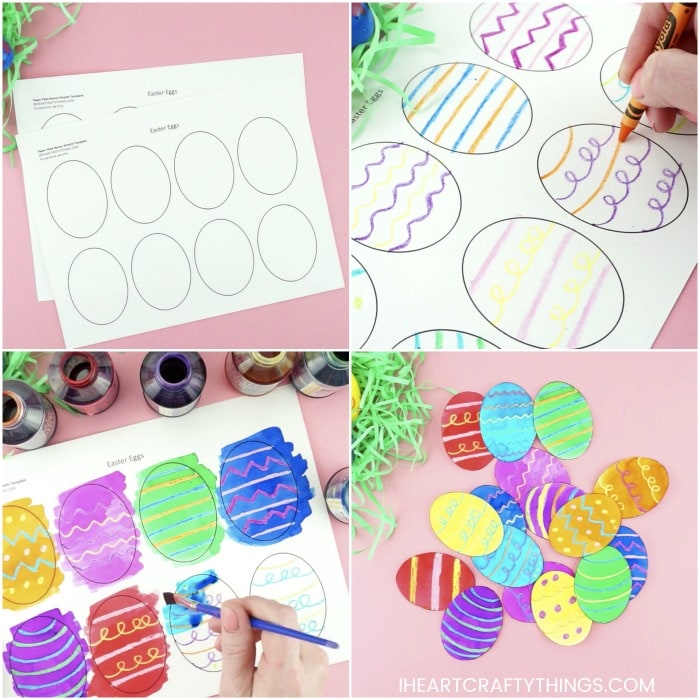
This is a great way for kids to express their own creativity and make their wreath extra unique.
Straight lines, squiggly lines, zig-zag lines and polka-dots are all fun ways to decorate your eggs.
I loved using a combination of them all when decorating each of my Easter eggs.
Paint the eggs with watercolors and let them dry
Paint the decorated Easter eggs with watercolors.
Set them aside to let the watercolor paint dry completely.
I cant say enough about how much I love using liquid watercolors for projects like this!
We love and use theSargent brand found on Amazon.
The colors are vibrant and each bottle lasts us over a year so they are worth every penny.
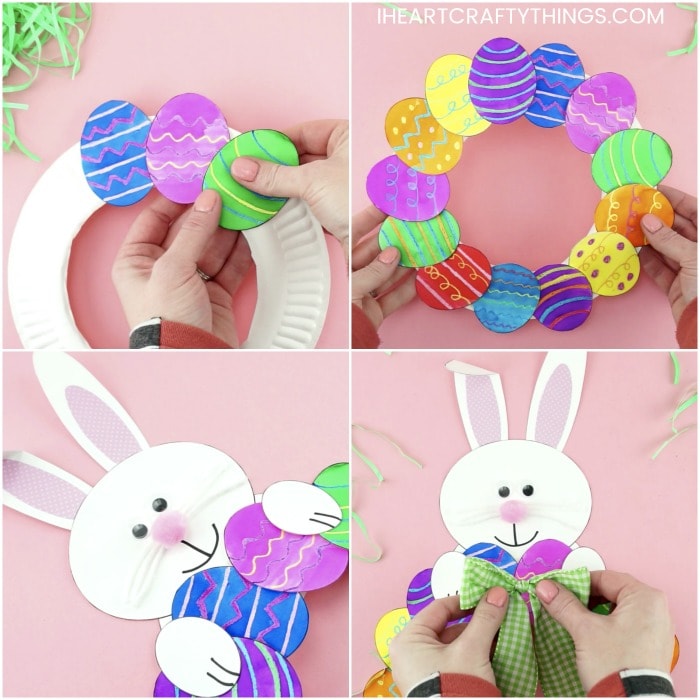
Cut out the Easter eggs
Once the watercolors are finished drying, cut out each of the eggs.
Set them aside until step nine.
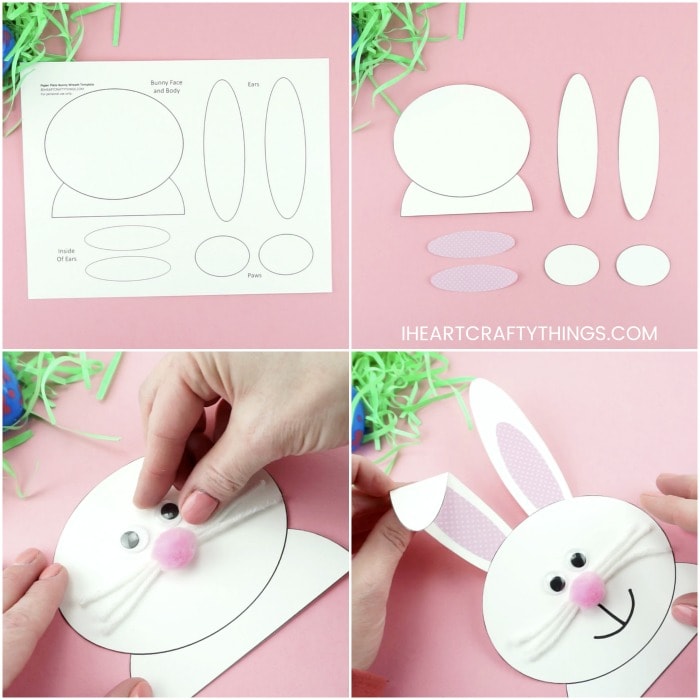
Cut and color the bunny template pieces
Cut out each of the bunny pieces of the template.
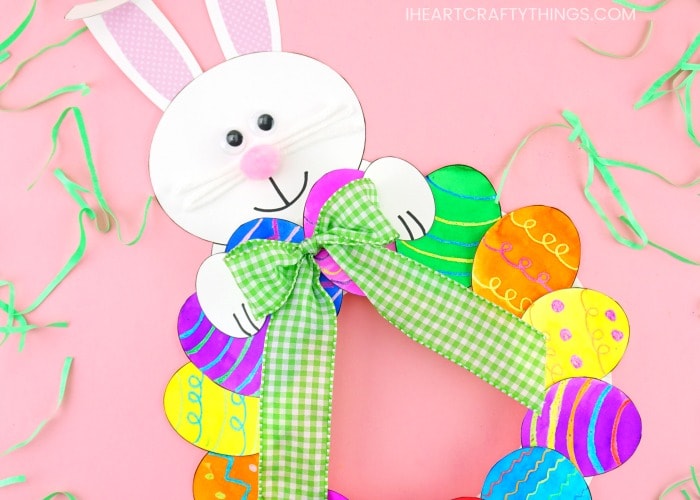
Glue the ears to the bunny face
Glue the ears at the top of the bunny face.
If wanted, fold one of the ears down to look like a floppy bunny ear.
Glue them on the center of your bunny face with Tacky Glue.
Then glue a pink craft pom in the center of the whiskers.
Add googly eyes to your bunny.
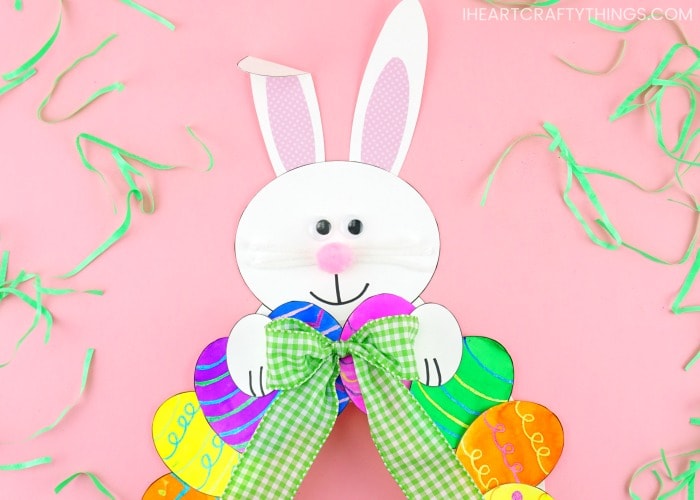
you could also choose to omit the bow on the wreath.
Your Paper Plate Easter Egg Wreath is complete!

Using a crayon resist and watercolors technique on the Easter eggs makes this wreath colorful and stunning.