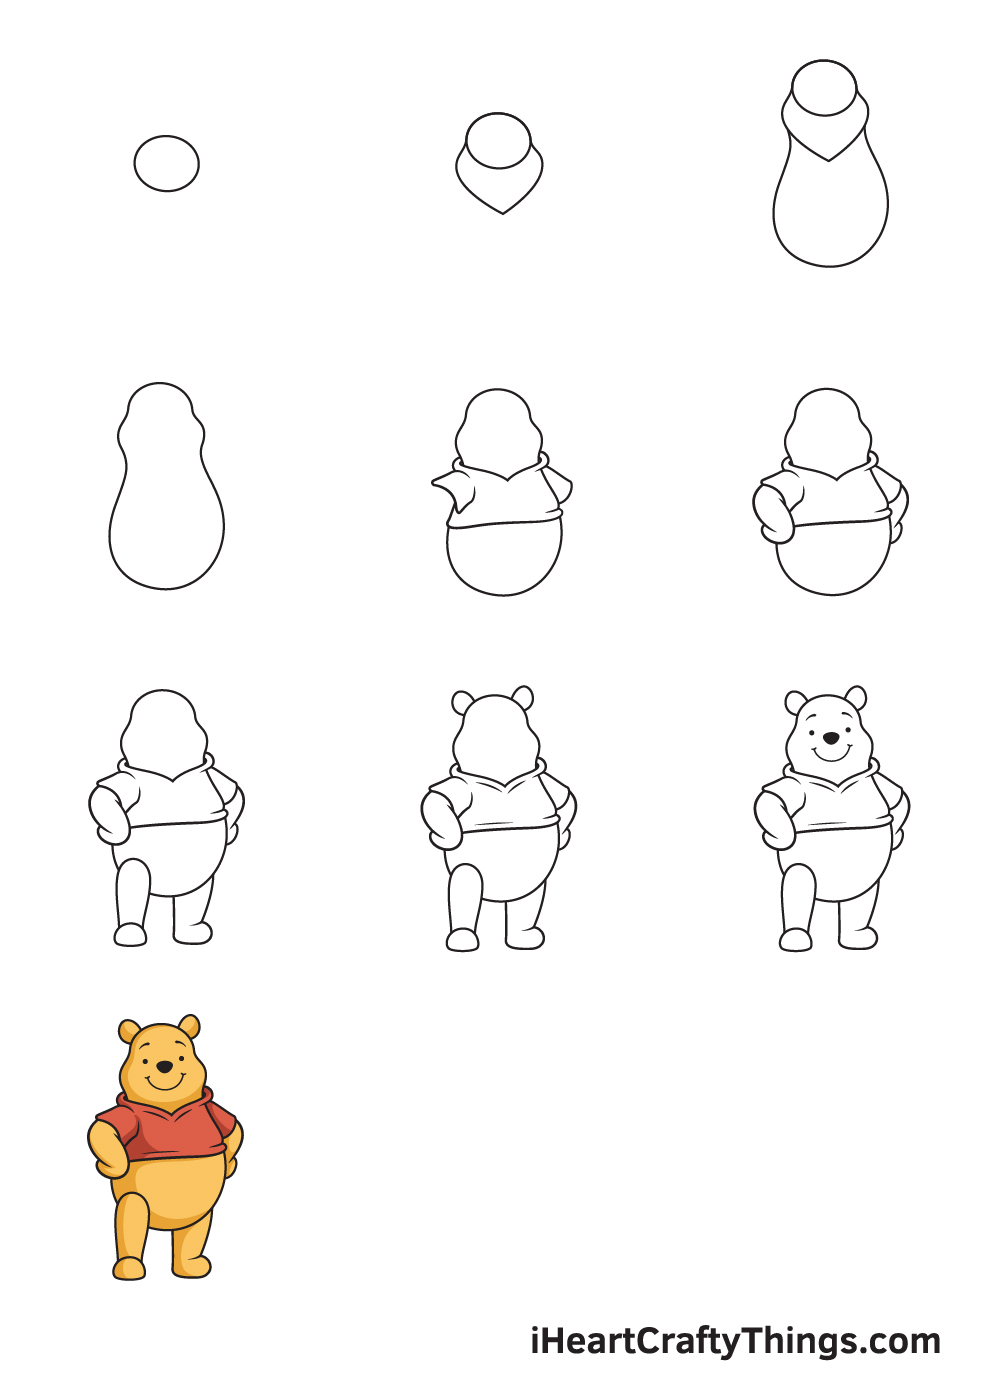
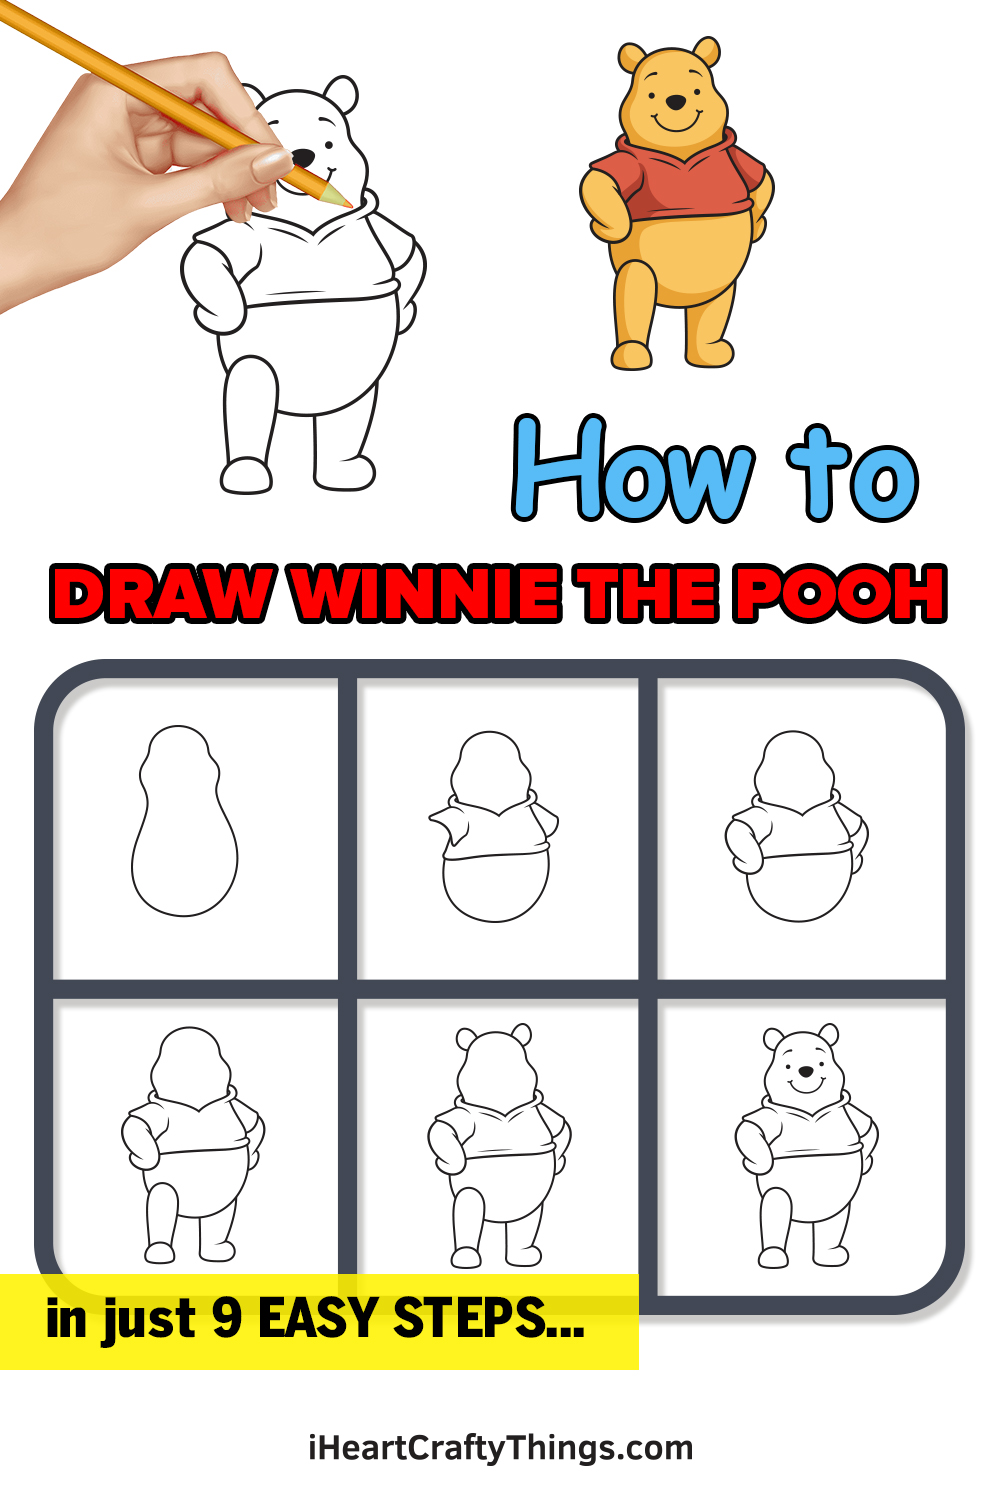
Complete Winnie the Pooh drawing in just 9 easy steps!
If you want to know how to draw Winnie the Pooh, youre in the right place!
We will learn how to draw this iconic character in this simple guide for kids.
That popularity is due in large part to the enormously successful adaptation by Disney.
It is that interpretation you and I will be recreating in this guide.
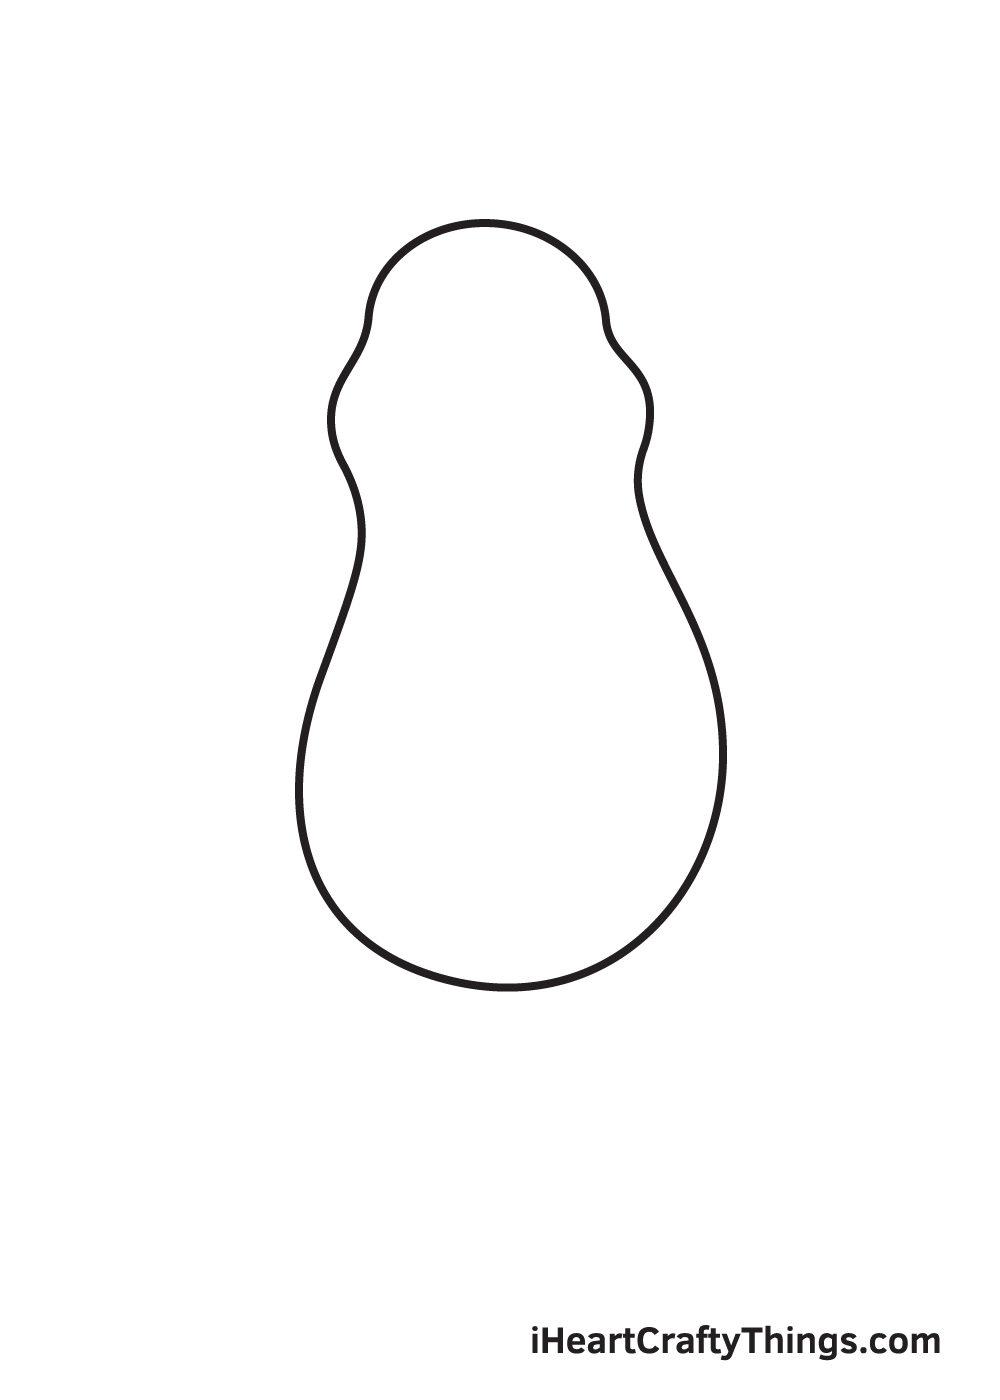
This outlines the top of Winnie the Poohs head.
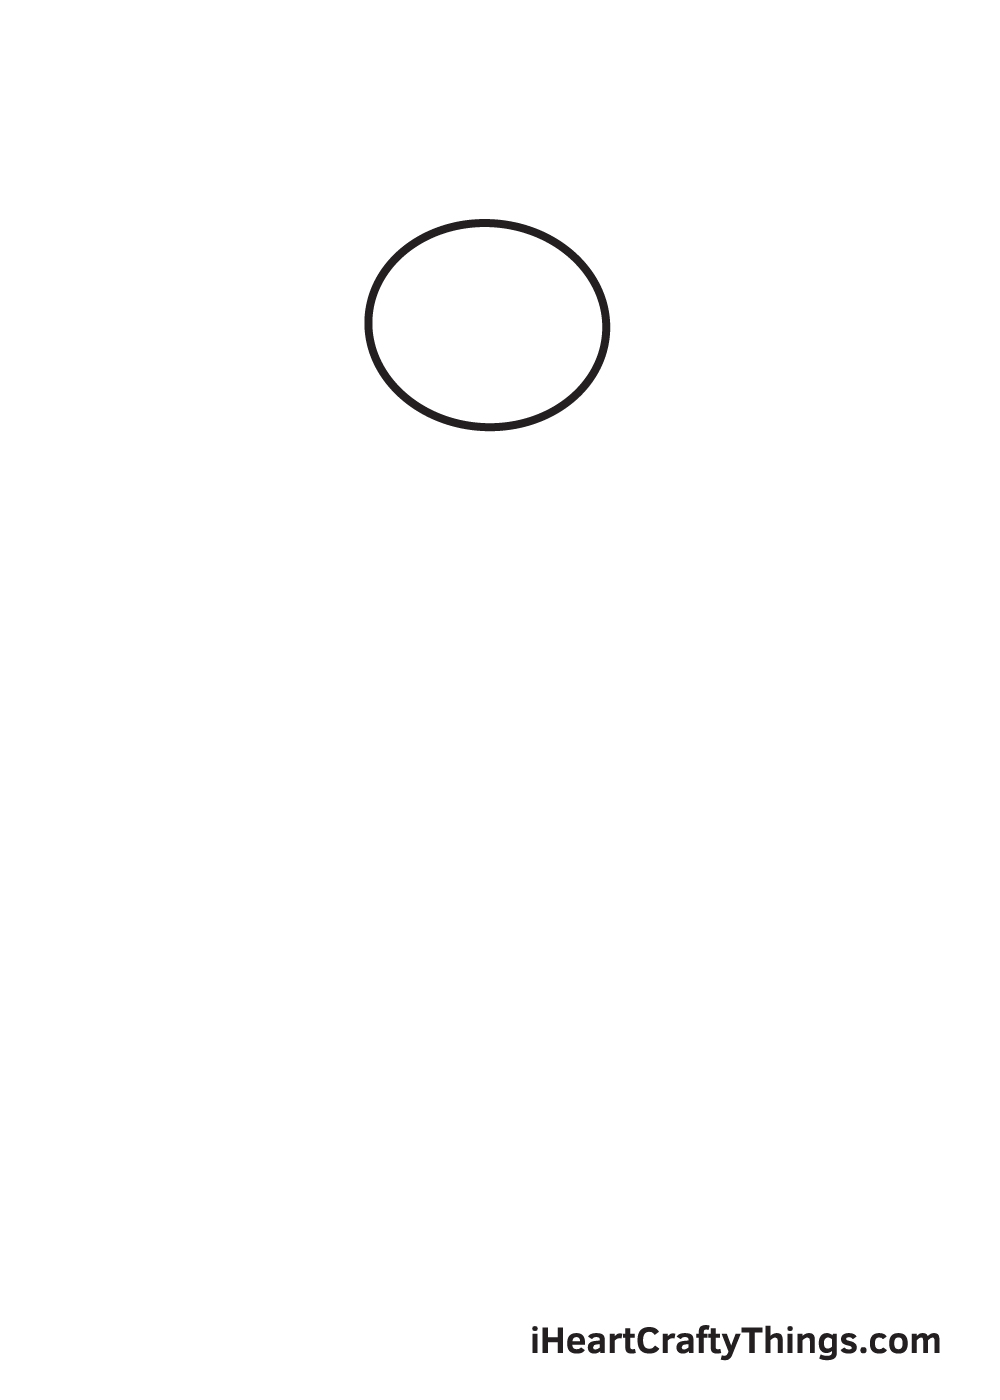
This also helps you position your drawing in the center.
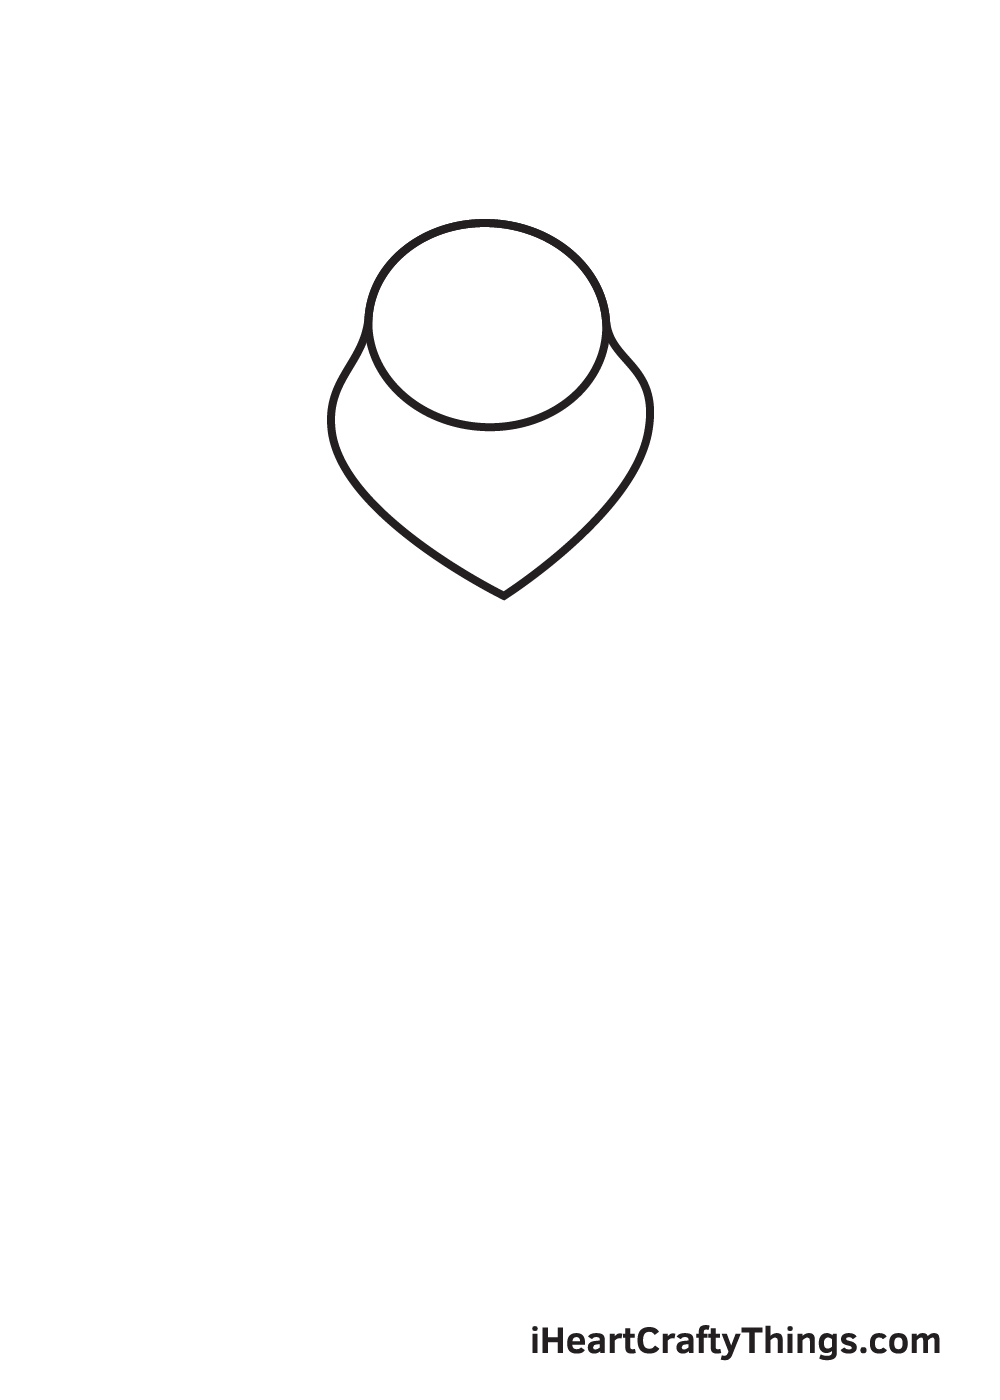
This forms the curvy pointed shape below the head.
This shape is also a part of the outline of Winnie the Poohs head.
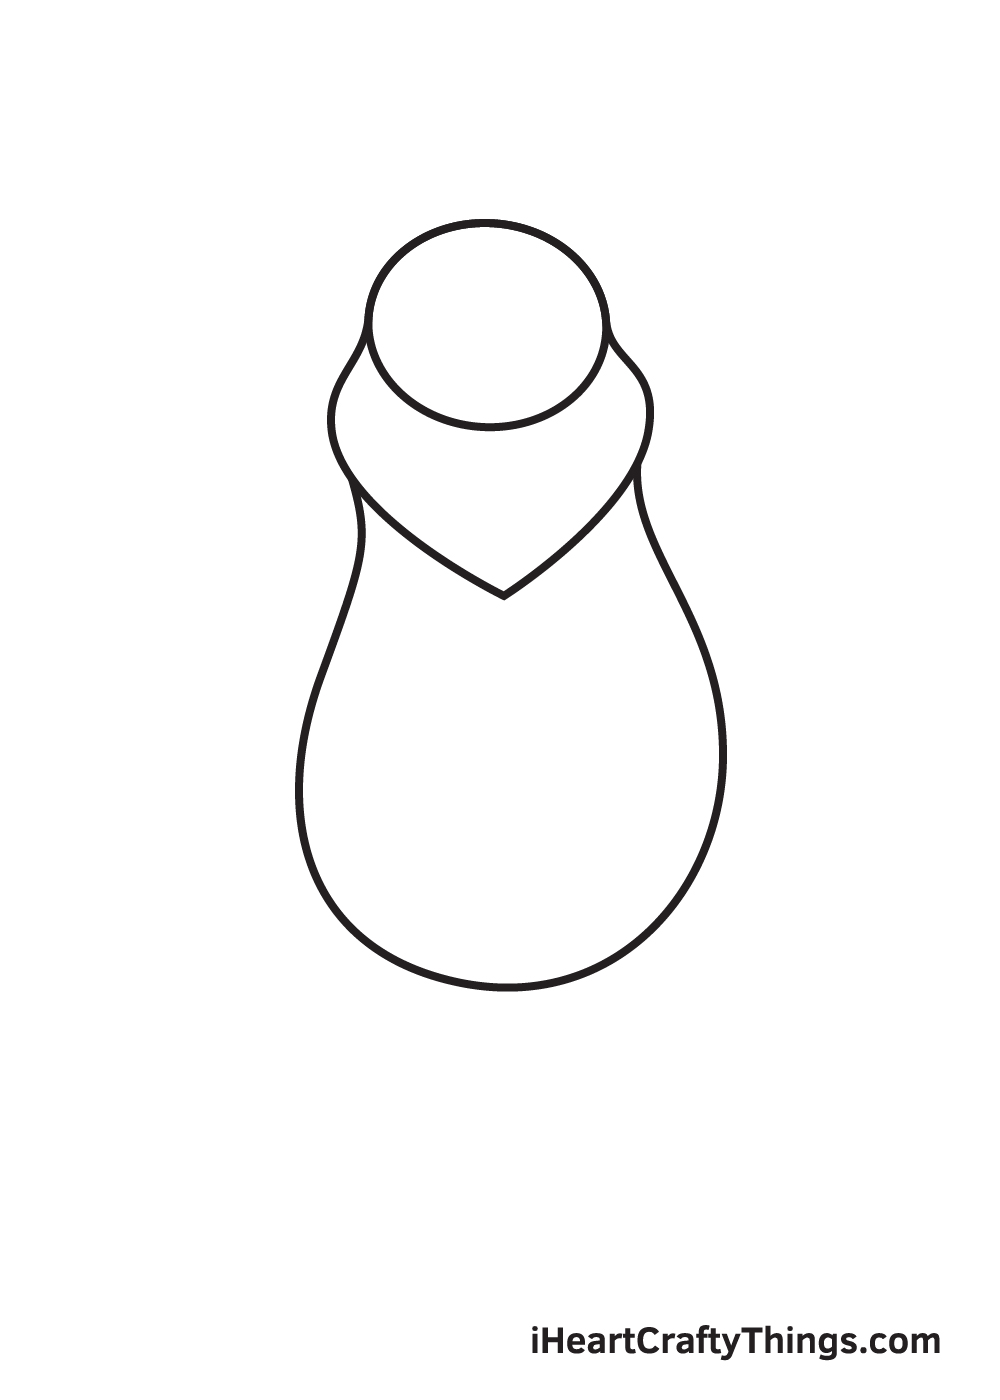
This shape forms the outline of the body of Winnie the Pooh.
see to it to put emphasis on Winnie the Poohs tummy by making it the rounder and wider.
This makes the belly appear bloatedone of Winnie the Poohs distinctive features!
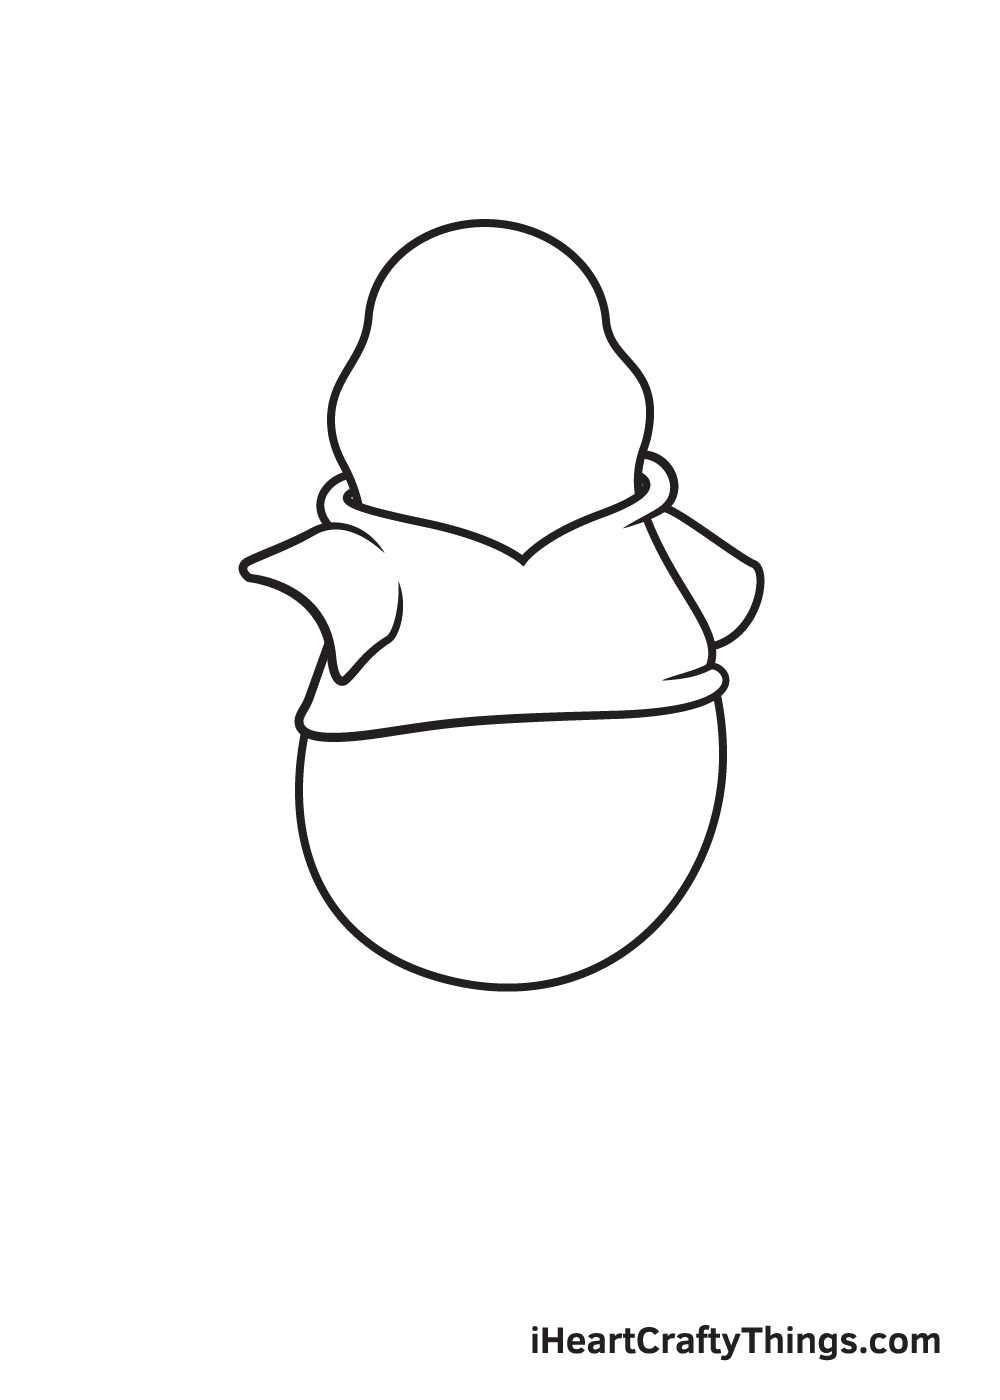
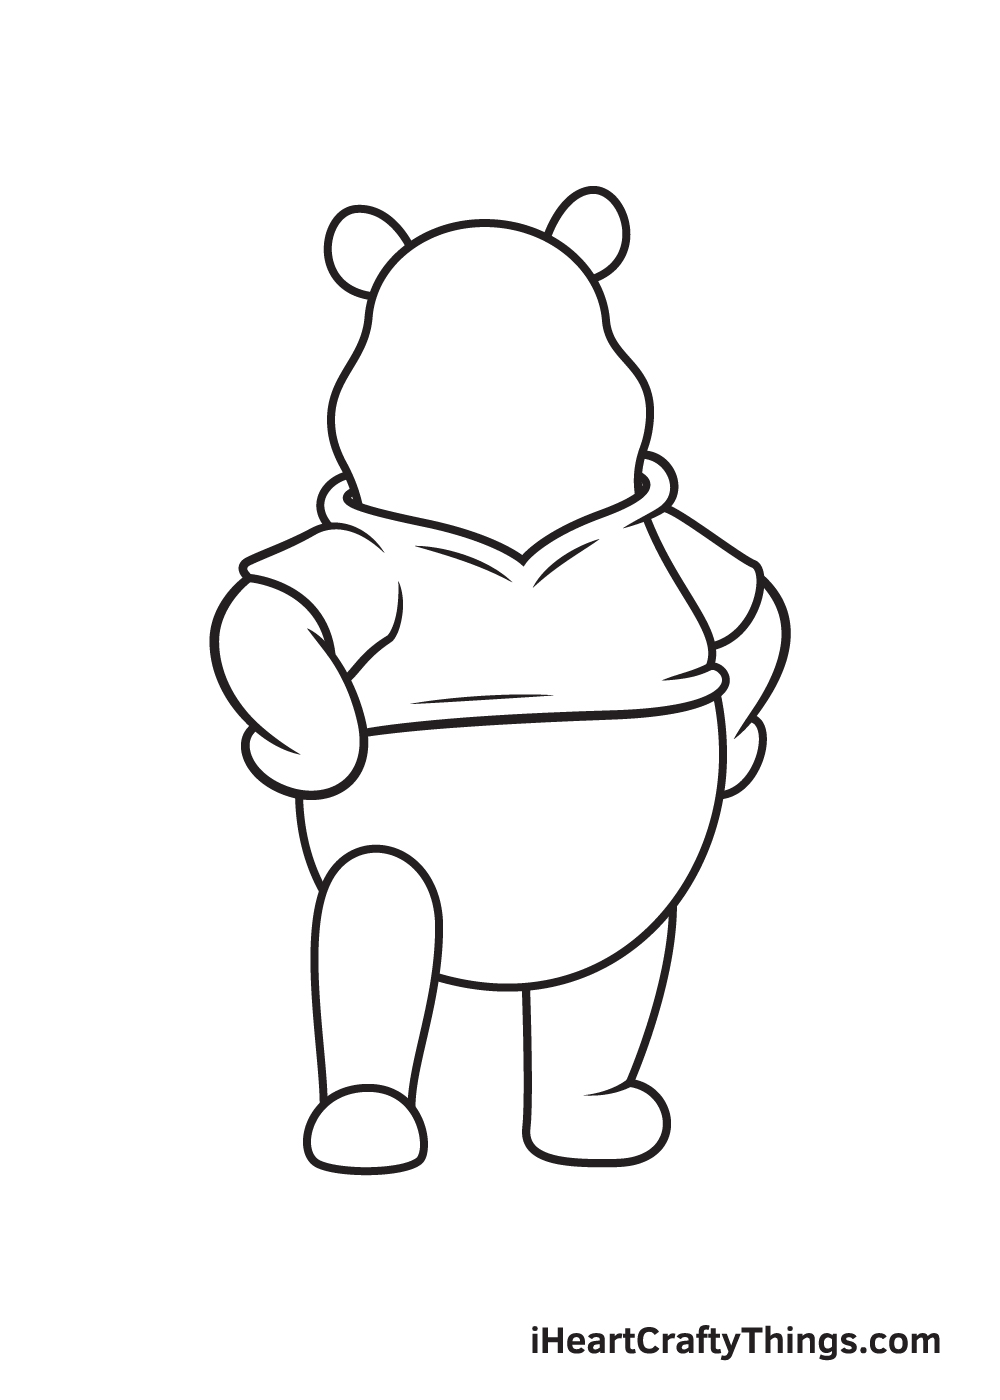
Then, draw an outline covering the upper body of Winnie the Pooh.
Lastly, draw the short sleeves on both sides of the shirt.
This completes the form of the cropped t-shirt, which is the signature outfit of Winnie the Pooh.
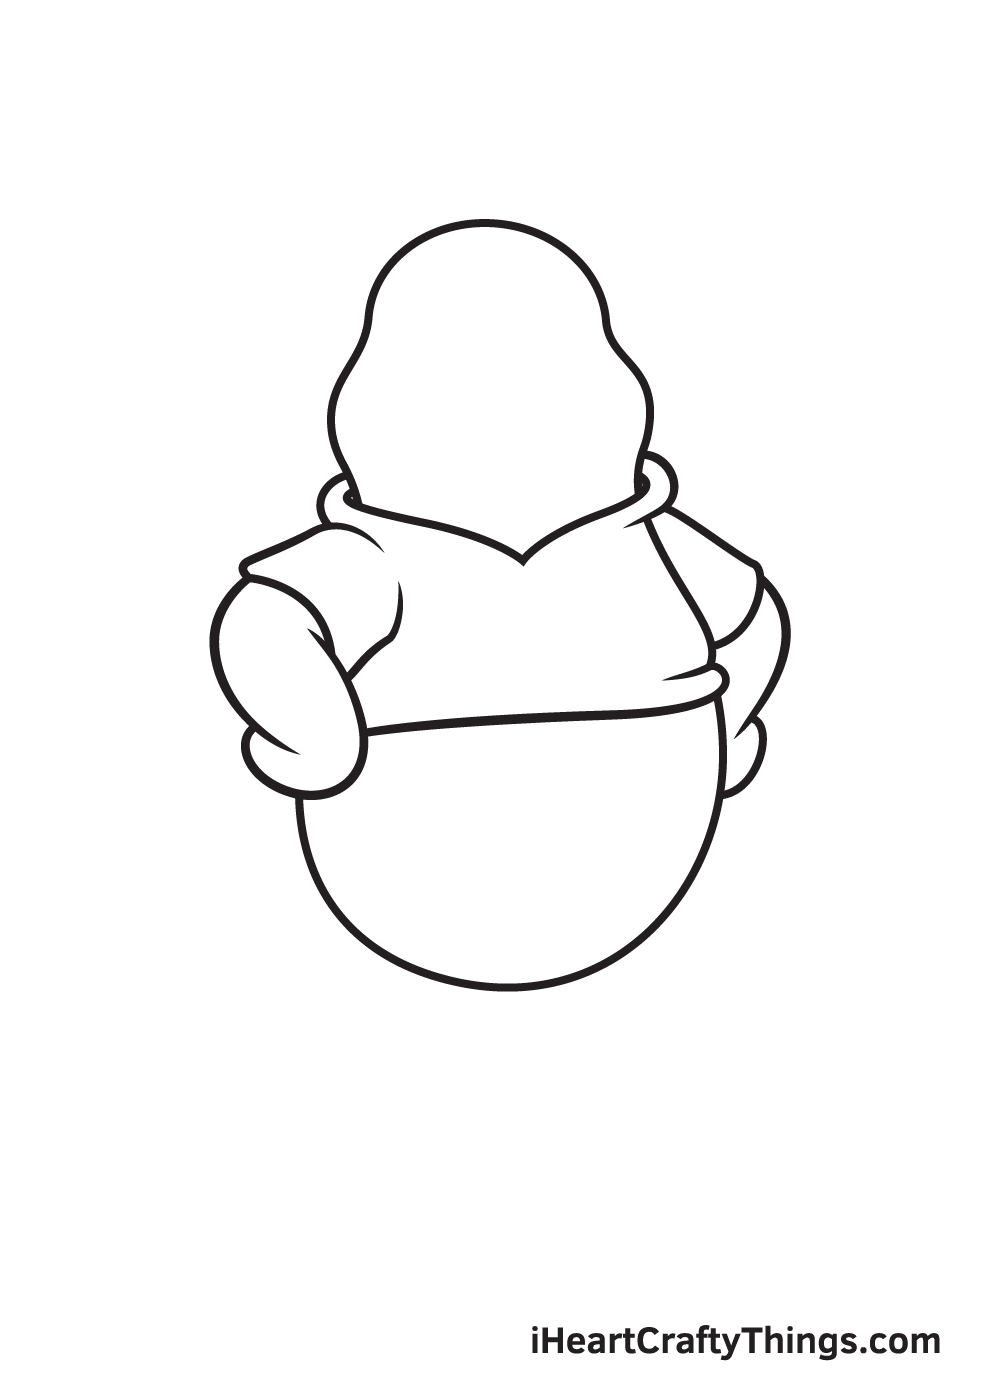
Afterwards, repeat the same procedure on the other sleeve.
This forms the left and right arm as well as the hands of Winnie the Pooh.
So, ensure you draw the arms at an angle.
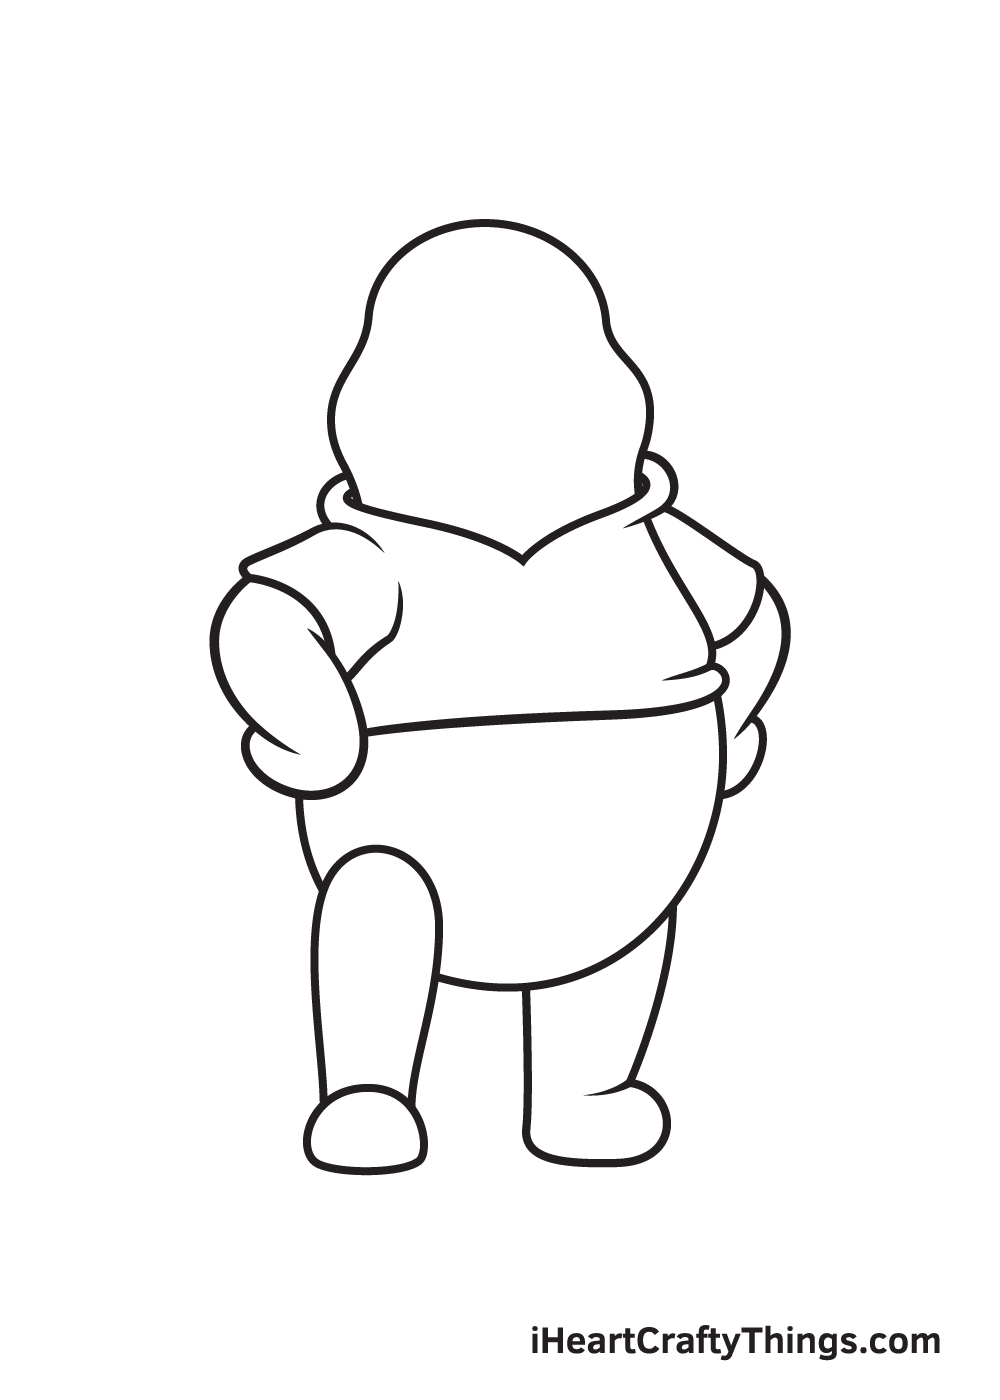
Then, draw a semicircle at the bottom of the leg to create the foot.
confirm you erase the line overlapping inside the left leg.
verify that the edges of both ears are rounded.
Afterwards, draw light strokes on the collar and the hem of the Winnie the Poohs shirt.
This adds a texture on the clothing, making its fabric appear soft and realistic.
It also helps ensure that everything is aligned and proportioned.
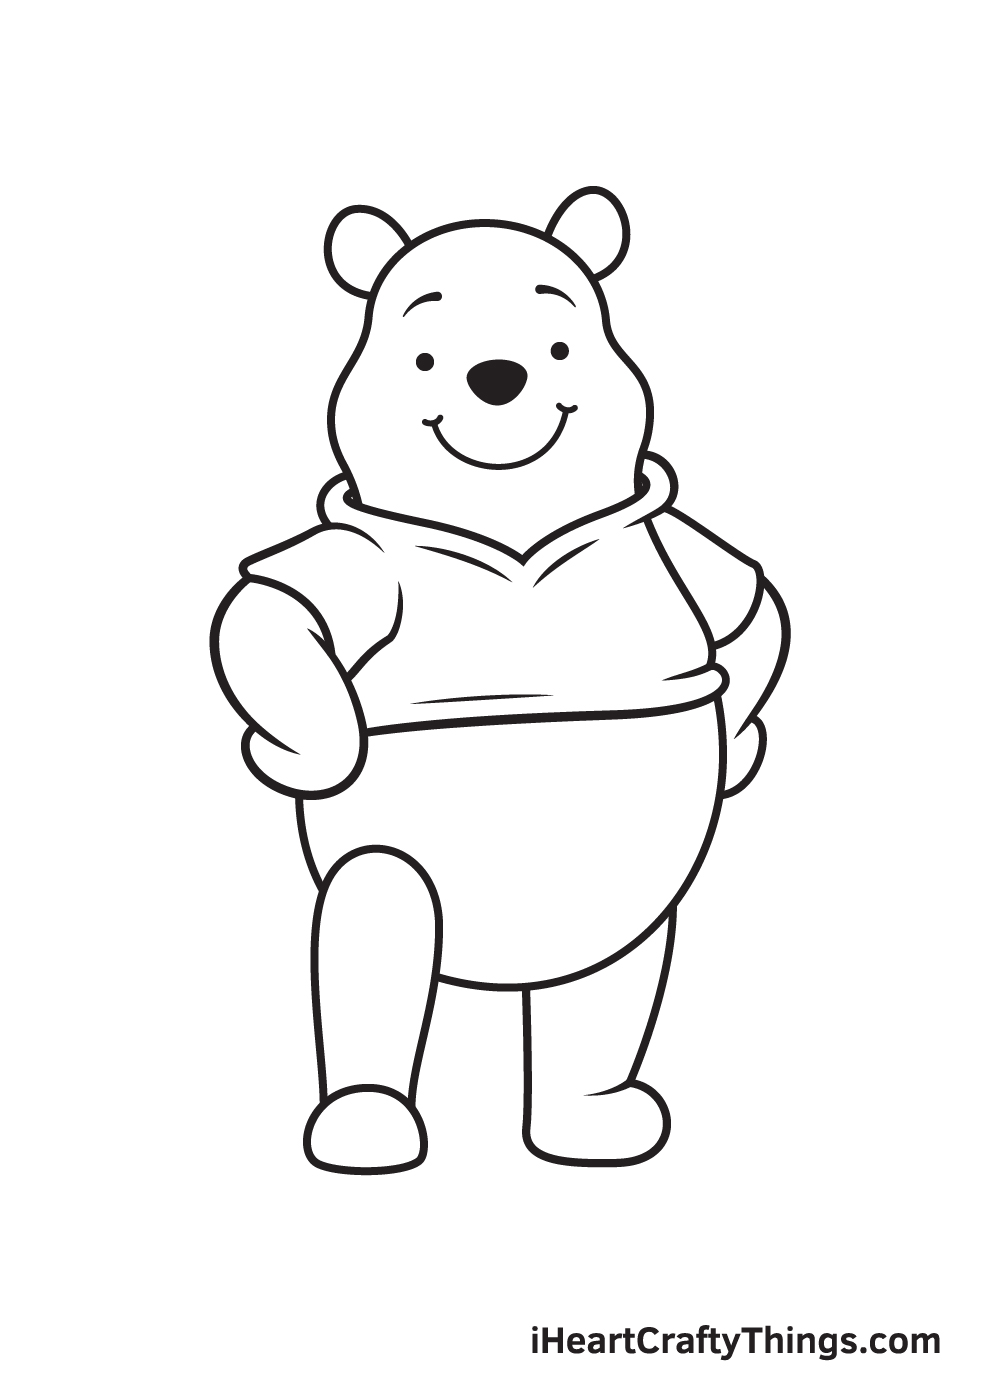
Continue by drawing two short curved lines on the upper part of the head to create the eyebrows.
Then, draw a small shaded circle underneath each eyebrow for the eyes.
To create the nose, simply draw an upside down triangle shape filled with shade.
Lastly, draw a wide upward curve to put a huge grin on Winnie the Poohs face.
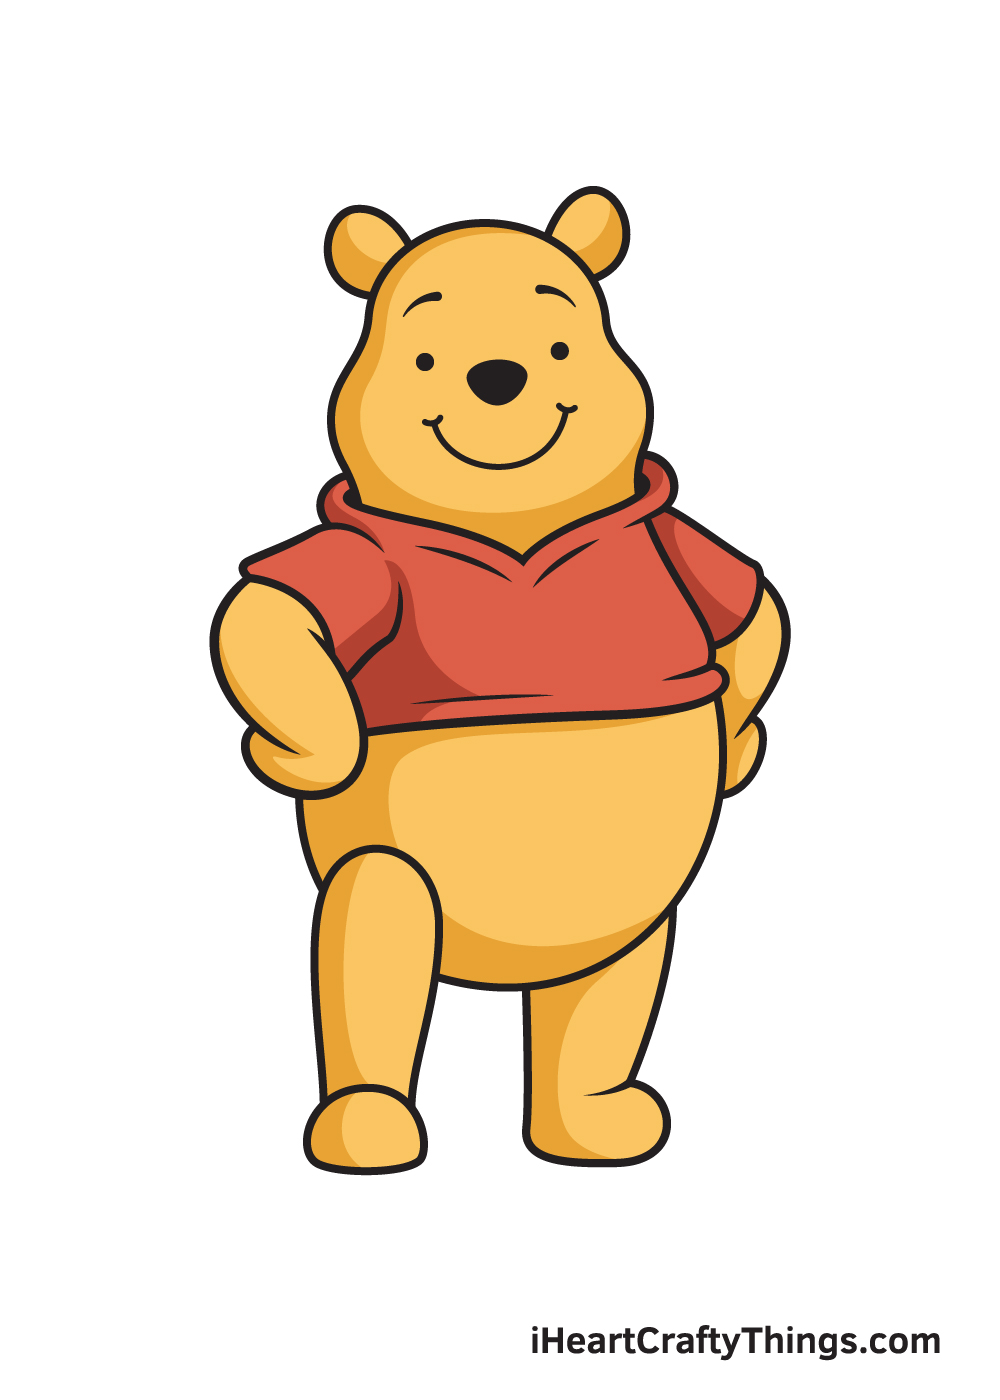
Either way, were sure the colors will turn out amazing!
Have fun coloring Winnie the Pooh and watch as he ultimately comes to life!
Try These Ideas To Make This Drawing Easier!
One would be to change the style of the drawing.
First, focus on the areas of the drawing that are giving you the most trouble.
For example, lets say you just cannot get the hang of drawing his feet.
If that is the case, just hide them!
They could be behind some blades of grass or maybe some pots of honey.
This could be done no matter what area of the drawing youre struggling with.
As you’re free to see, there are many ways to make it easier!
5 Tips To Make Your Winnie The Pooh Drawing Even Better!
Enjoy some classic drawing fun as we give you tips for this Winnie the Pooh sketch!
In the various forms of media Winnie the Pooh appears in, he is joined by many friends.
These characters would be perfect for this Winnie the Pooh drawing!

You would have so many options and favorite characters to choose from.
These could include Piglet, Eeyore, Rabbit and many more.
It all depends on which characters you like most, so who would you like to add?

This series has many iconic characters, but there are also some famous locations.
You could use some of these as a background for your drawing of Winnie the Pooh!
These could include areas of the Hundred Acre Wood or the various houses the characters live in.

You could use the books, films and other Winnie the Pooh media to help you with the design!
when you’ve got added additional characters and background details, you could then add some accessories.
No Winnie the Pooh drawing would be complete without a jar of honey, for instance!

What are some objects you could add?
When it comes to coloring your Winnie the Pooh sketch, you could replicate all manner of styles.
In the original books, the characters were colored in a pretty watercolor style.

You could replicate that look by using watercolor paints yourself!
You could also get a similar look with colored pencils.
You may even want to make the colors bright and bold to better fit the famous Disney version instead.

What will you choose to color this picture?
When you have mastered this design, you could also change the pose that Winnie the Pooh is in.
You could have him in different scenarios or maybe even have him interacting with objects.
He is portrayed in a very unique style in the original books that differs greatly from the Disney version.
It could be fun to replicate that style as well!
Your Winnie the Pooh Drawing is Complete!
We hope you enjoy this step-by-step Winnie the Pooh drawing.
Dont forget to show off your masterpiece once youve completed drawing and coloring Winnie the Pooh.
Youve worked tirelessly for it, so dont be shy to flaunt your artwork!
Dont worrywere sure it looks awesome!
We can;t wait to see your adorable Winnie the Pooh drawing!
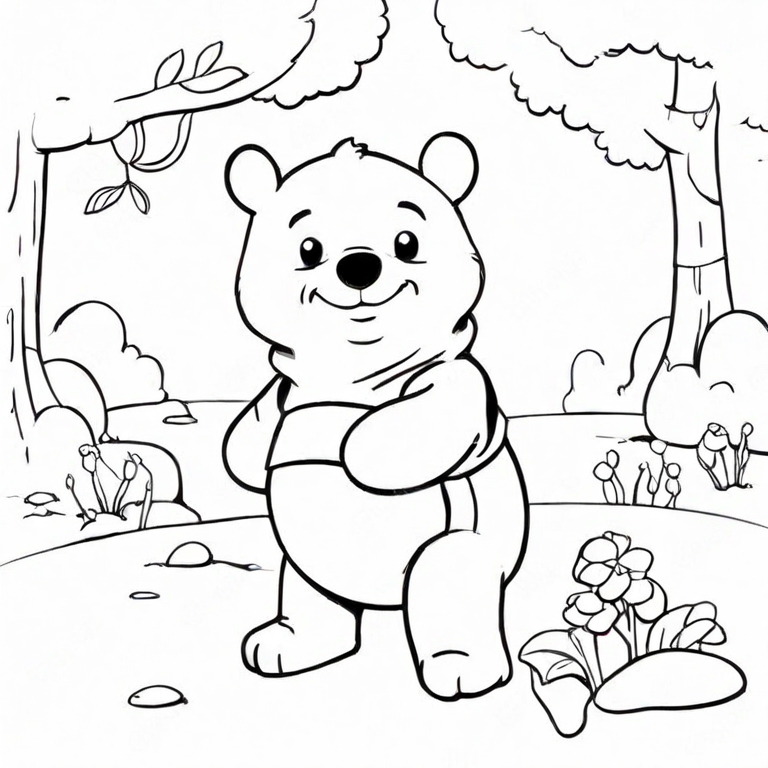
Here Is A Cute Winnie The Pooh Drawing To Inspire You!
If you love this adorable bear, then this Winnie the Pooh drawing for kids is perfect for you!
This was created by artist Freddy to aid you with your own drawing.
You could make yours look identical to this one, or you could change it up as you wish.
Adding colors will also help Winnie to look more like his normal self.
Will you add any of his friends to this drawing?
More From:How to draw
Printable Bubble Letters A Complete Guide!
