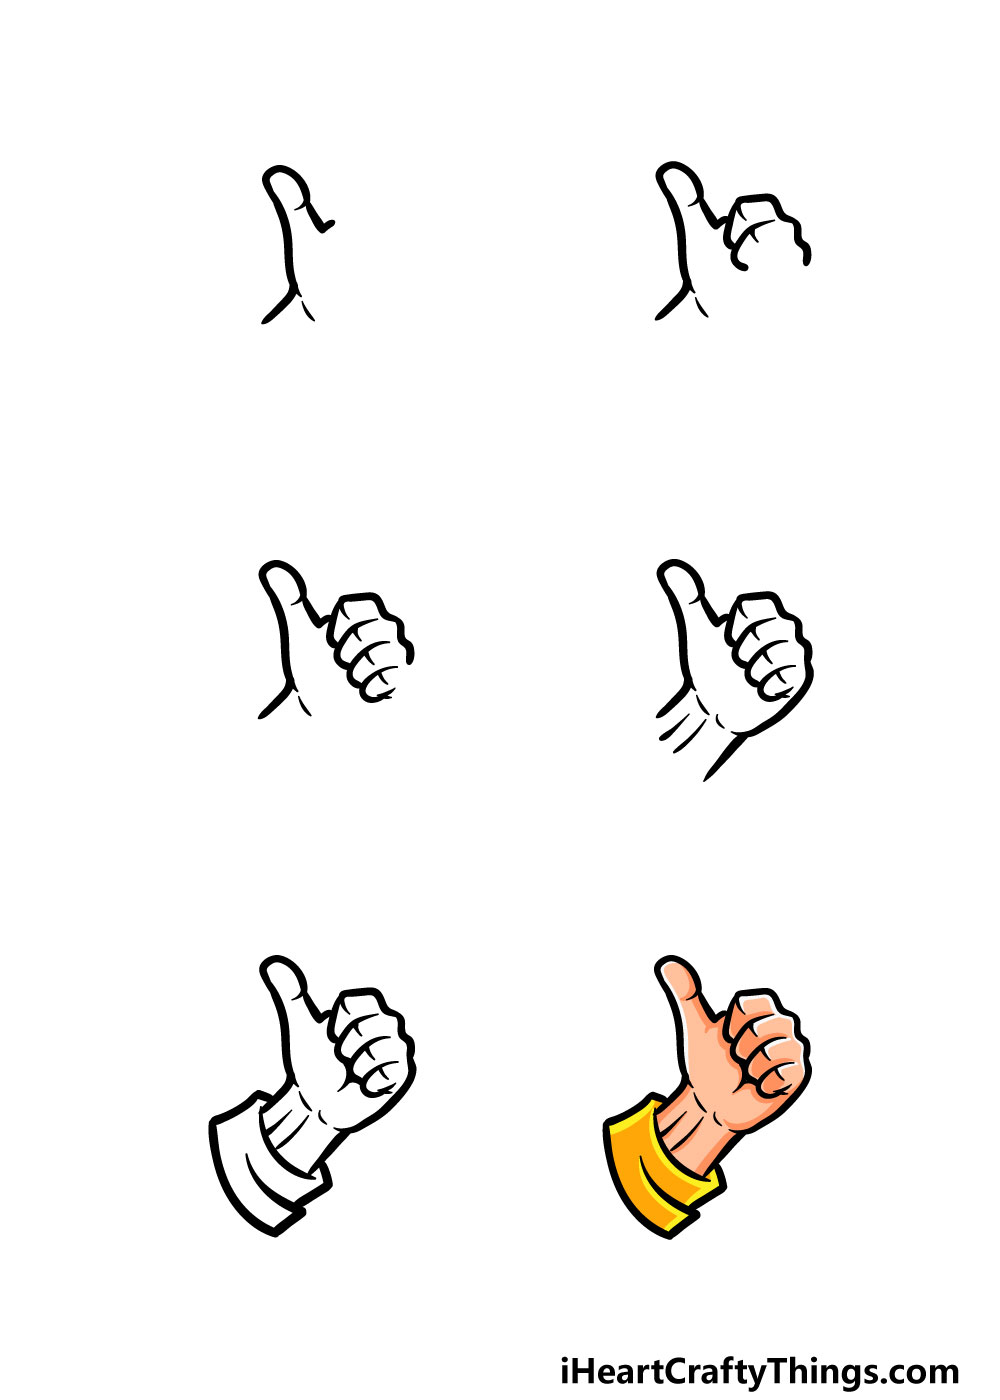
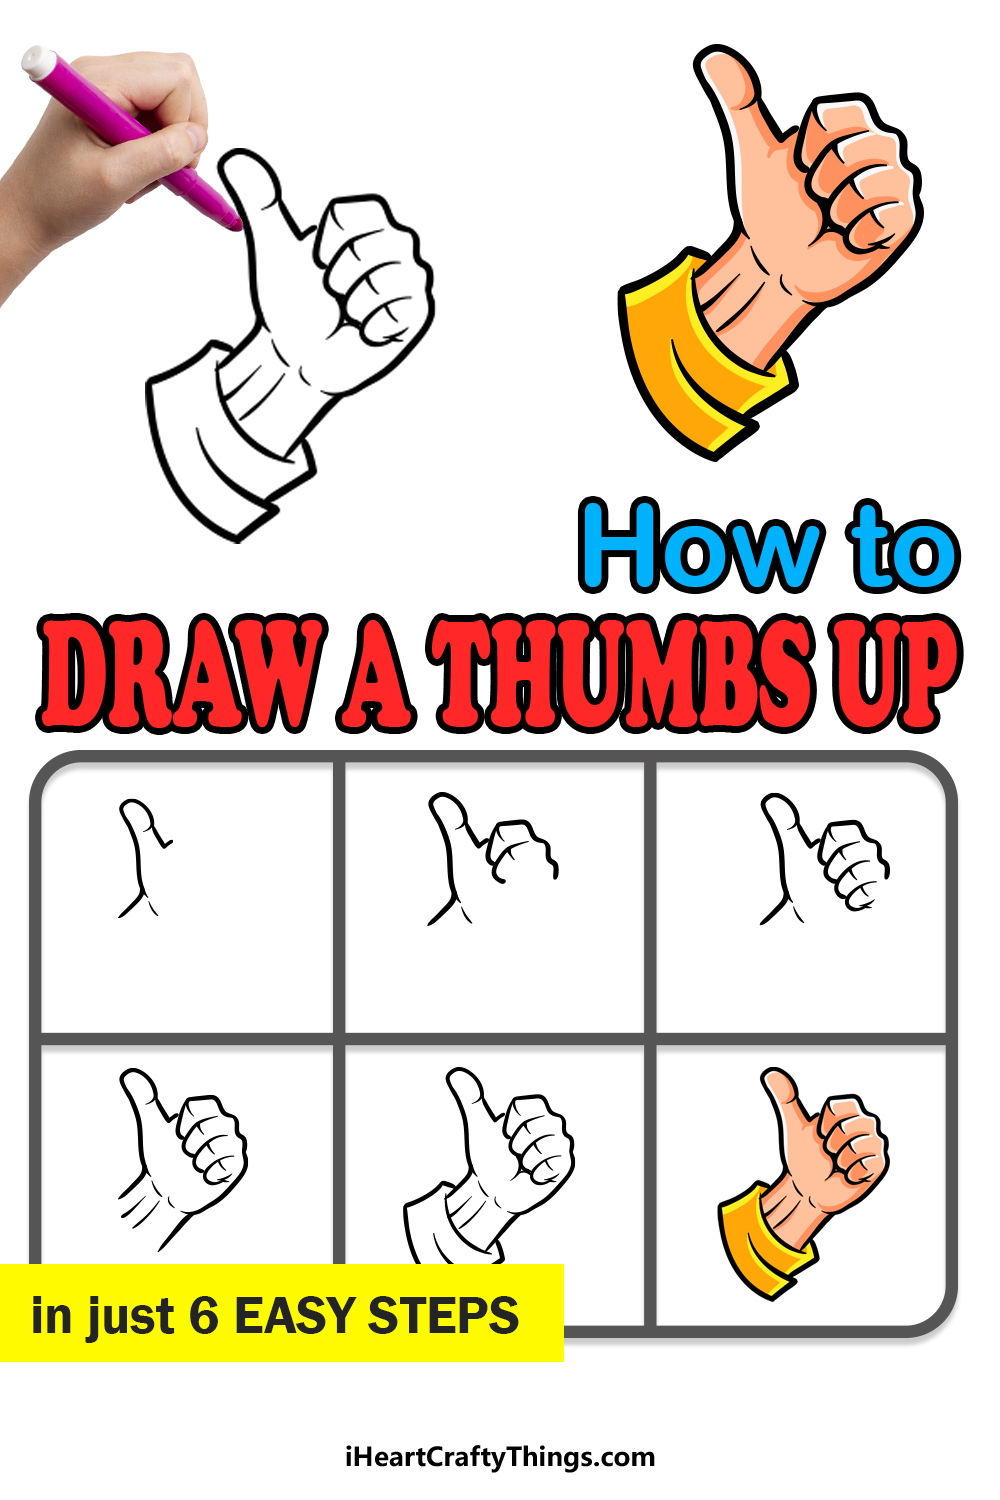
Thumbs Up Drawing in just 6 Easy Steps!
How to Draw A Thumbs Up Lets Get Started!
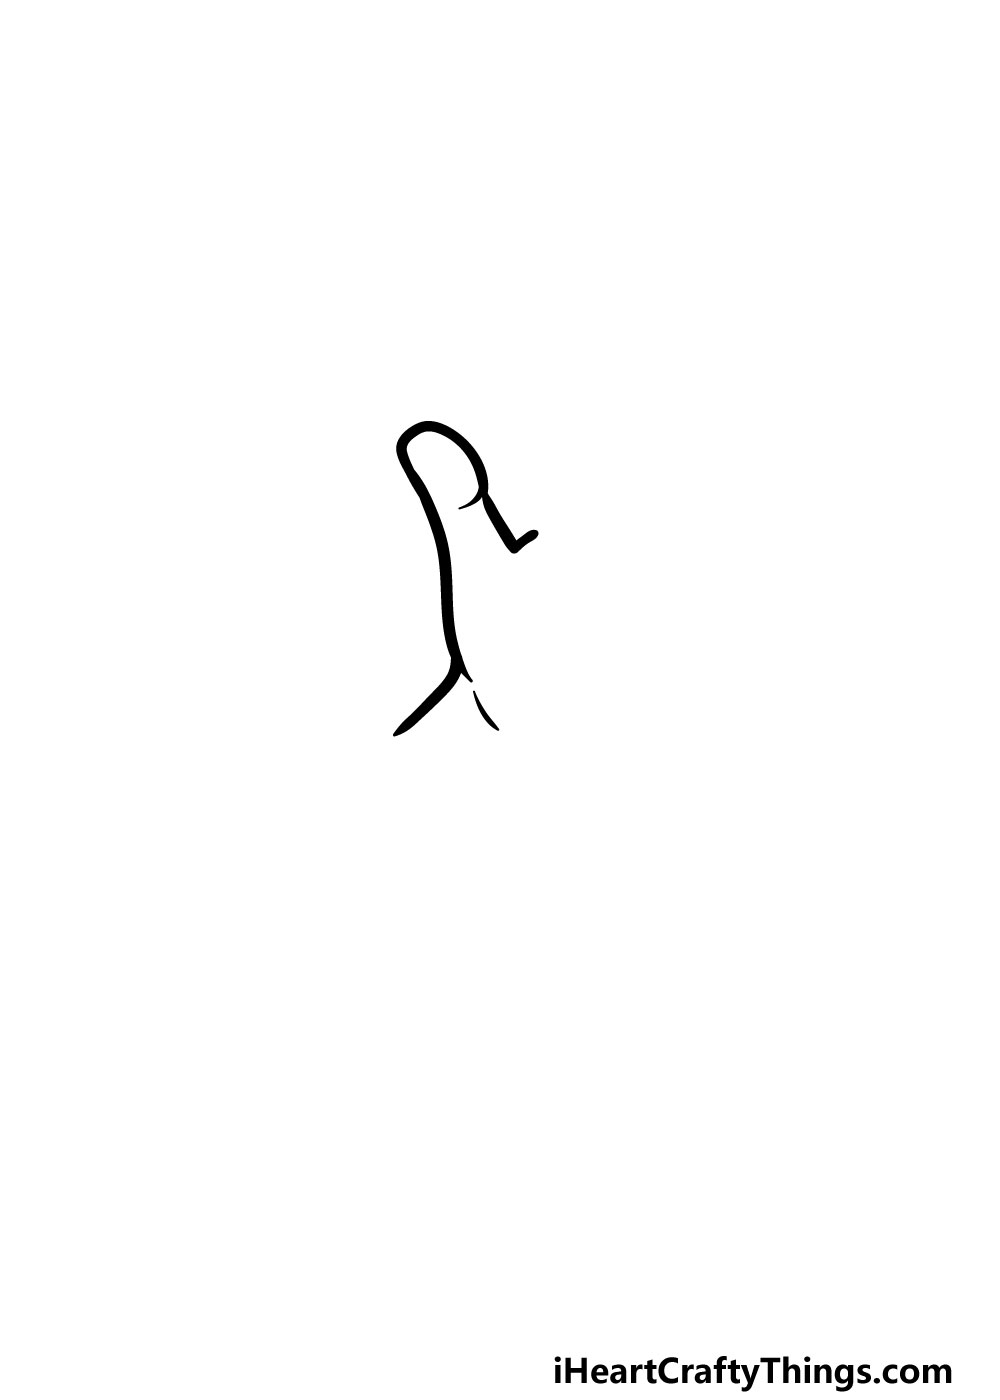
For this first bit, we will start with the thumb itself.
you’re free to start with a diagonal, slightly curved line for the wrist.
This will then loop over with a bulge at the top for the tip of the thumb.
This way, you wouldnt have to worry about making any mistakes!
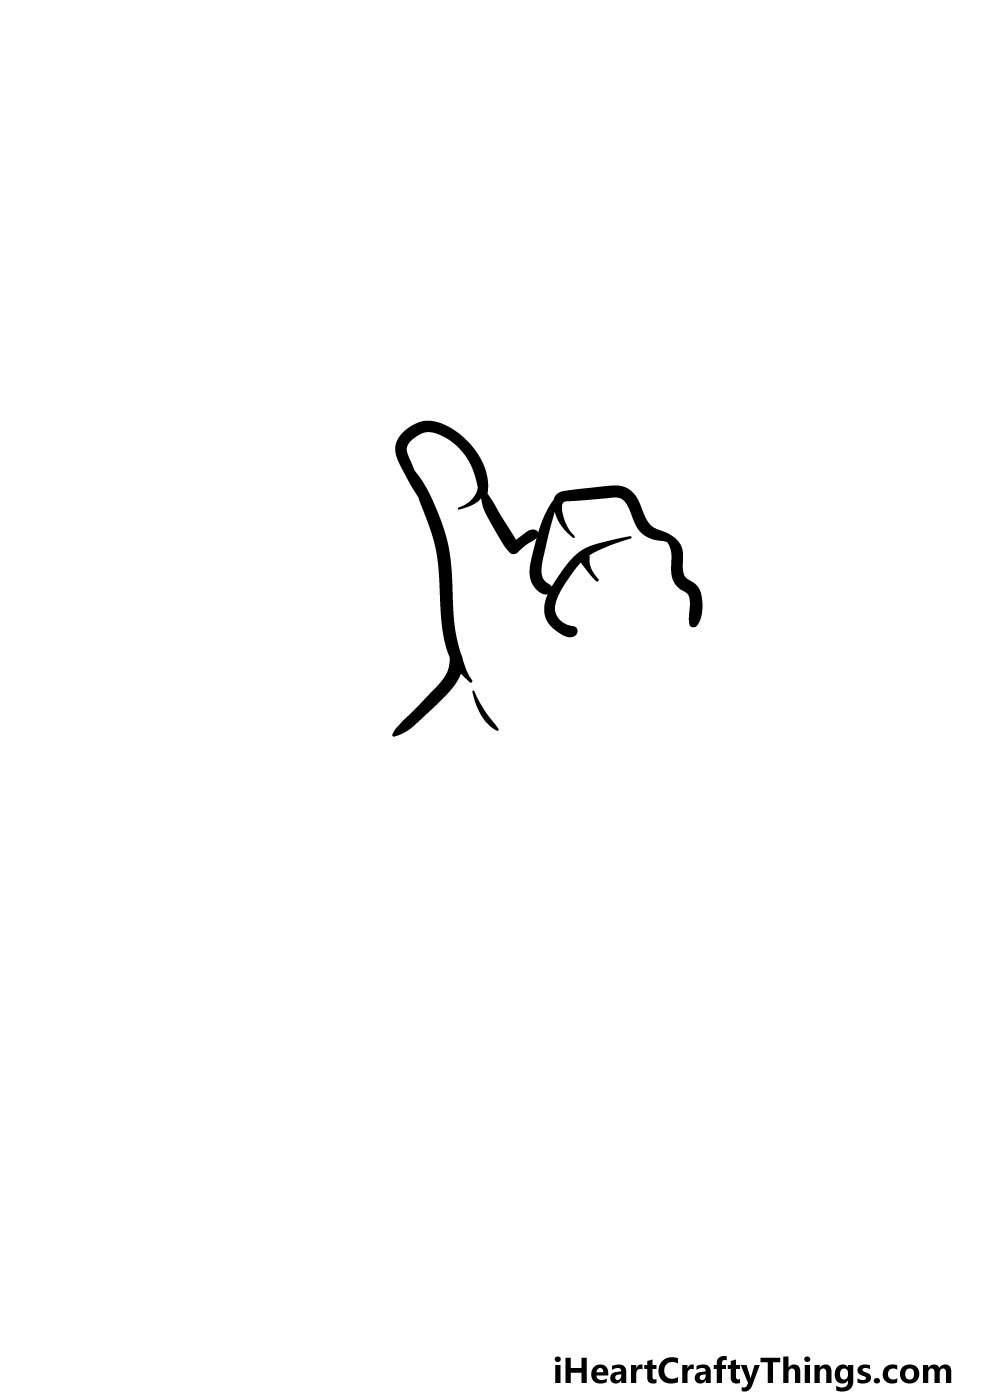
you might do this by extending a wavy line from the short line at the base of the thumb.
Each of these fingers will have a line going across about halfway for the second knuckle.
Theyre also a little more structurally simple than the previous ones.
First, use a curved line for the side of the palm, as shown in the reference image.
Then, use a straighter line for the rest of the wrist.
Finally, add some straight lines inside of the wrist for even more detail.

The main element will be to draw the sleeve that the wrist is poking out of.
you could draw this with a combination of straight and rounded lines, as shown in the reference image.
You could venture to drawthe rest of the arm or add a background for a few ideas.

Maybe you could write some text beneath the thumbs up to make this a motivational image!
What ideas can you think of to put your own spin on this picture?
In our reference image, we have shown you one way that you might color in the picture.

You could even use your colors to make it look like your own hand!
For more muted tones, you could use watercolor paints and colored pencils for a few suggestions.
What will you use to bring this drawing to life?

3 More tips to make your thumbs up drawing easy!
Creating this thumbs up sketch can be tricky, but these tips are here to help!
Luckily, you have hand models all around you!
You could use your own hand in a thumbs up pose to help you as you draw.
For example, you could draw it in a simple cartoon style.
It all depends on what your strengths and weaknesses are when it comes to drawing.

If you change the design, it will also result in a more unique image as well!
With a light pencil, take a stab at break down the design into very basic shapes.
Then, you might slowly add more and more layers of detail until it resembles the design we prepared.

Using this trick along with the other tips we suggested will only make it easier.
Your Thumbs Up Drawing is Complete!
With that, you have finished this guide onhow to draw a thumbs up!

By taking it slow and trying your best you could overcome any drawing challenge that you take on!
We cant wait to see what you come up with!
Once you are ready for more drawing fun then you’re able to visit our website!

More From:How to draw
Printable Bubble Letters A Complete Guide!


