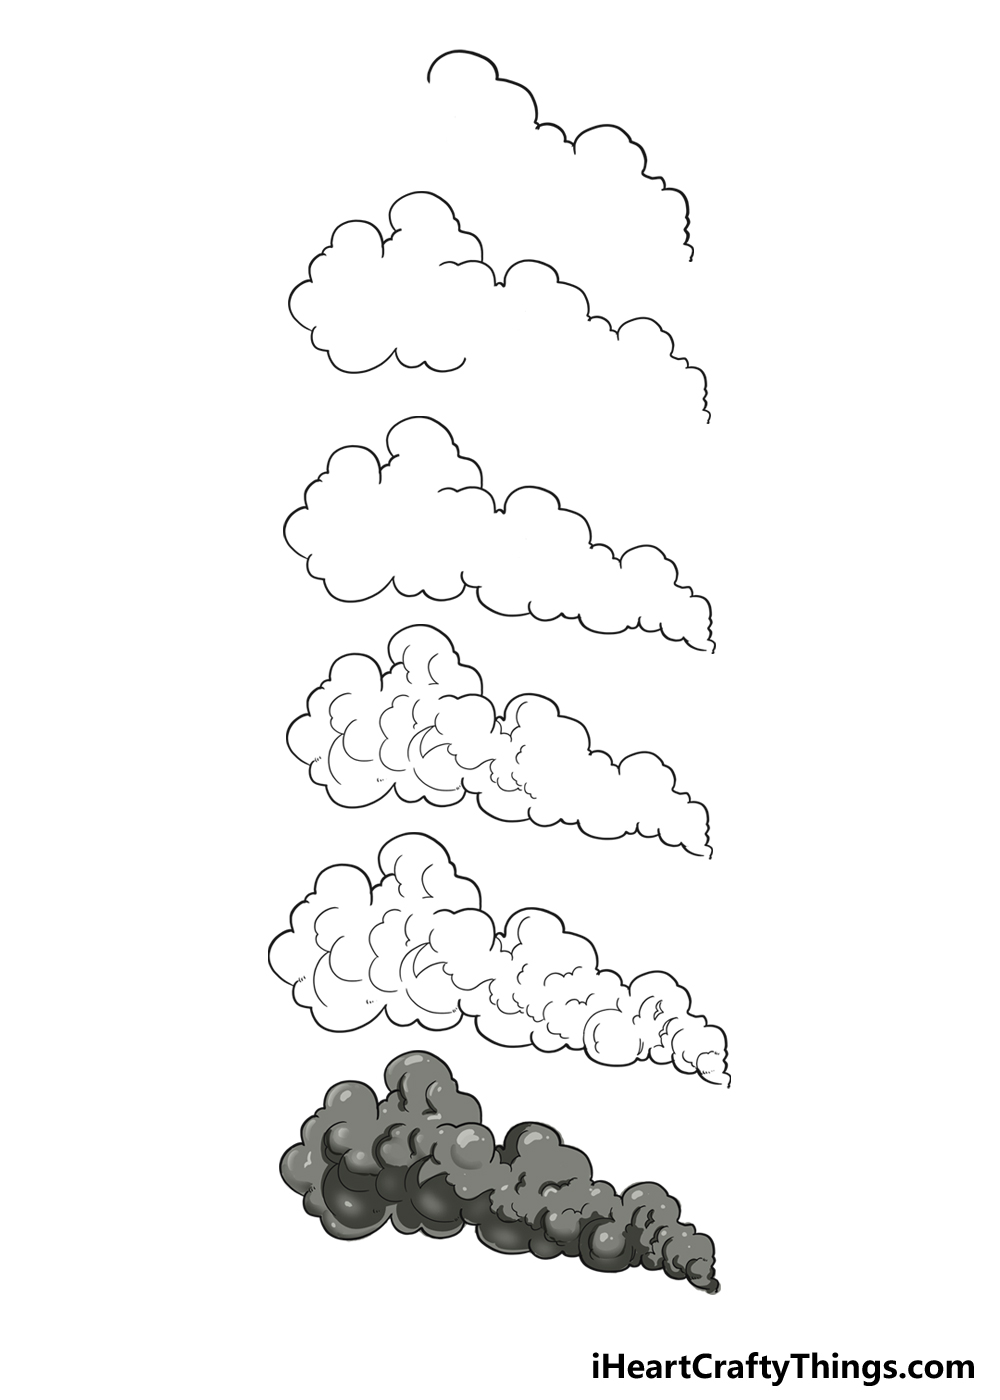
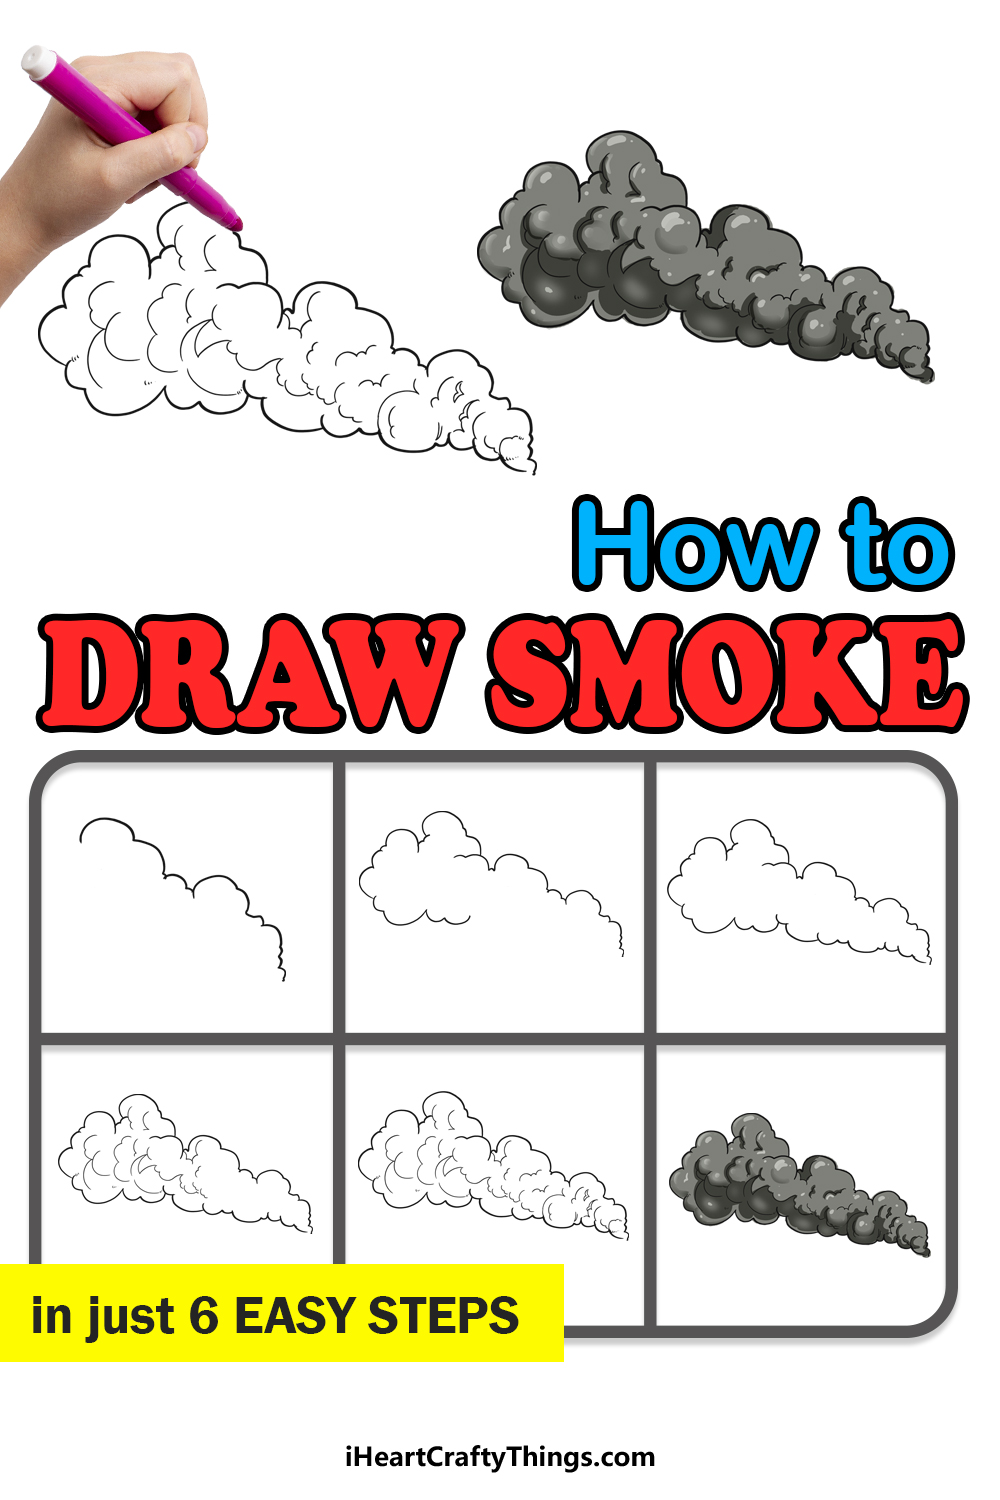
Smoke Drawing in Just 6 Easy Steps!
Find out how to draw smoke by following this guide for kids.
These steps will make it fun and simple for you to make some cool drawings!
Theres a saying that says Where theres smoke, theres fire!
Therefore, if you want to draw fire then you will need to learn to draw smoke too.
Ill take you through all of the steps and make it much simpler for you to draw it.
Learn How To Make Your Smoke Drawing
How to Draw Smoke Lets Get Started!
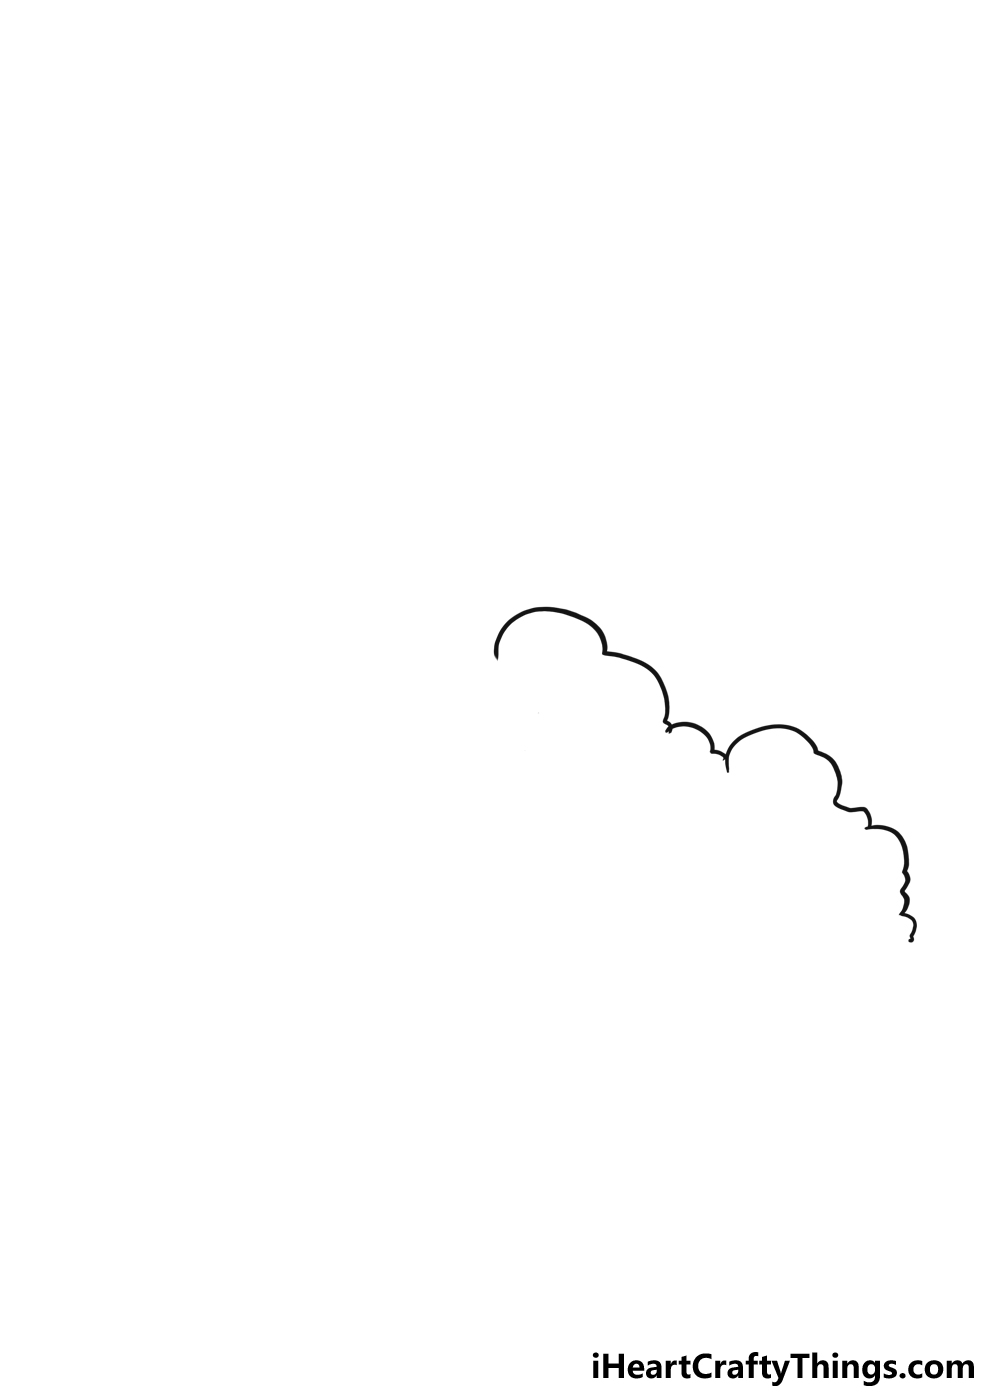
When considering smoke, you will see that there is always a point of origin.
Then, we will be ready for step 2 of the guide!
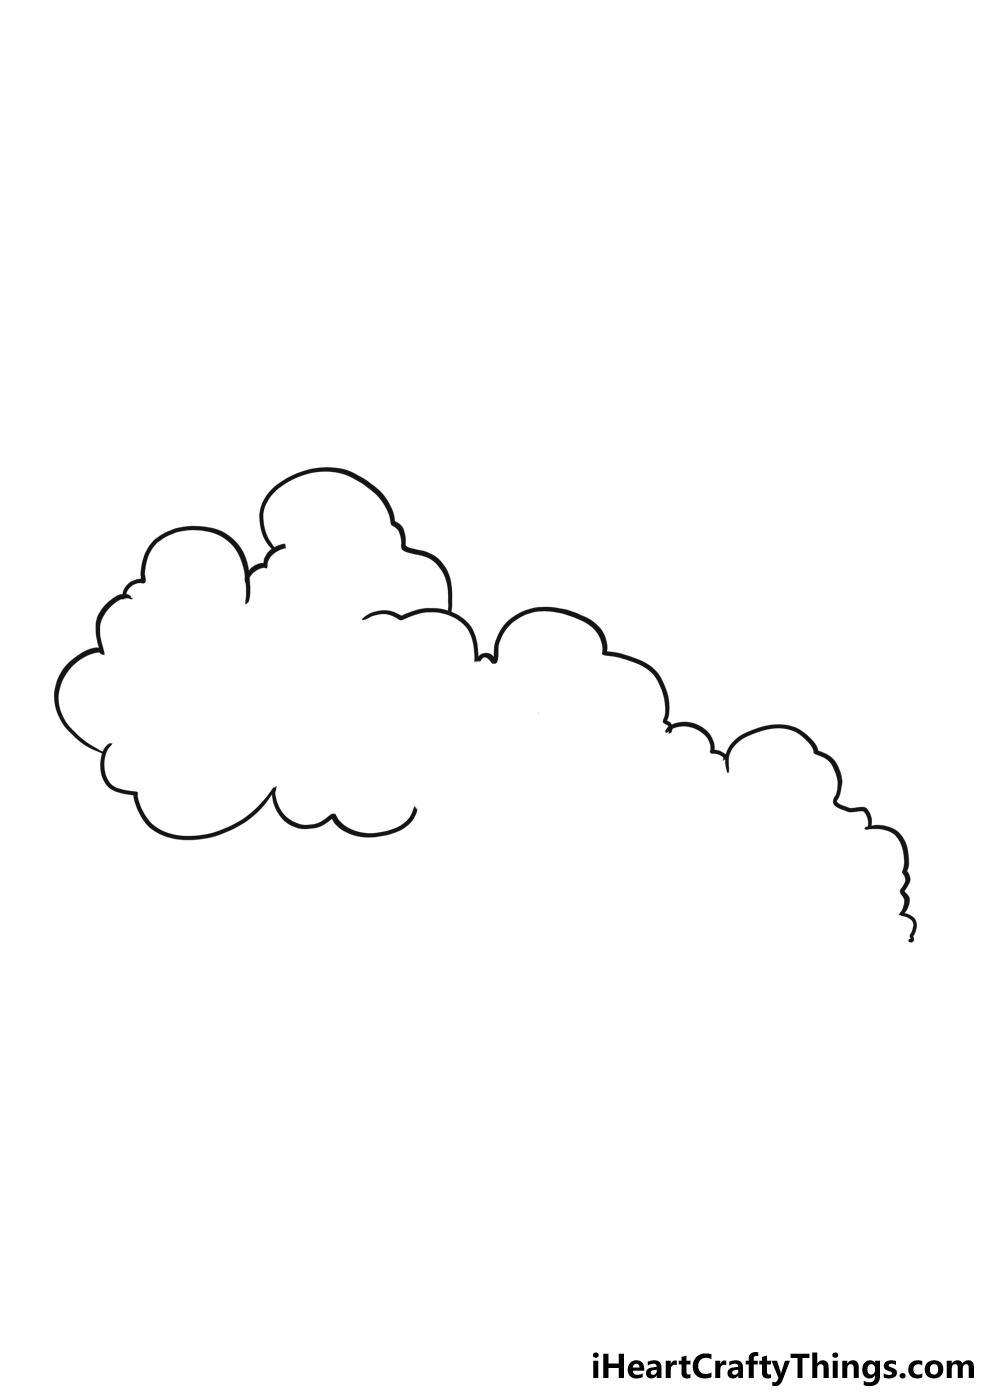
Some of these will overlap with one another and bulge out.
You could make it look even larger to suggest a bigger, fiercer fire.
Thats really all there is to it for this step, and we can move on.
It will end at the point of origin, which will be the smallest part of the design.
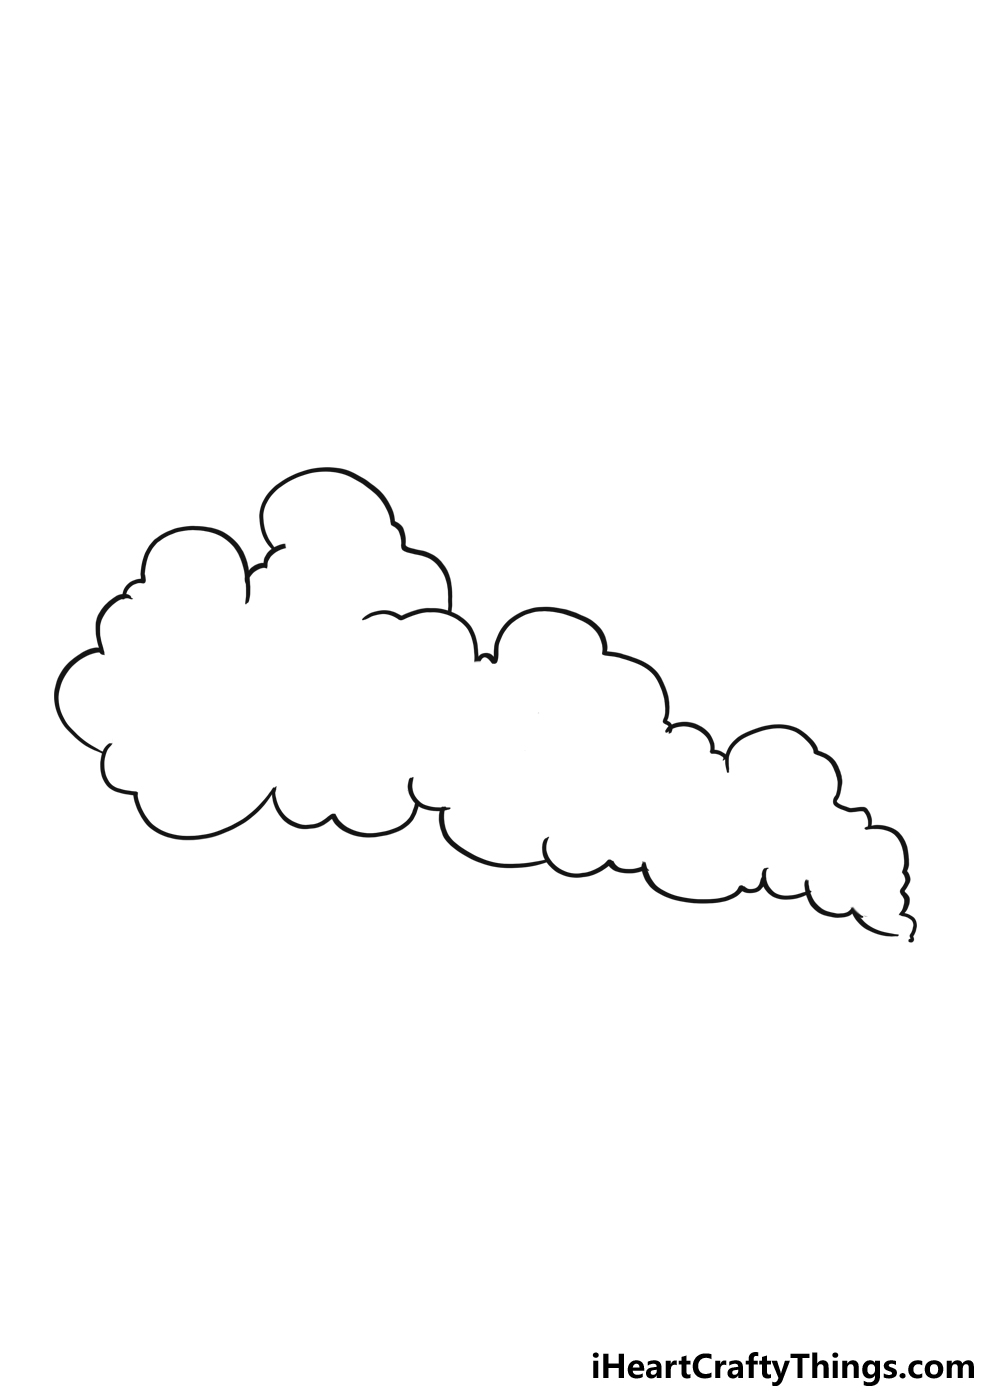
For now, we have the entire outline for the smoke complete now!
In our reference image, you will see we added lots of small curved lines connected to one another.
These look chaotic, but we would recommend putting a bit of thought into where you place them.
If you add too many, it may start to look like a mess.
For example,you could draw some of thesedetails with different colors and mediums.
This can also help to make the drawing look more dynamic.
These can really help to make the drawing come alive in different ways.
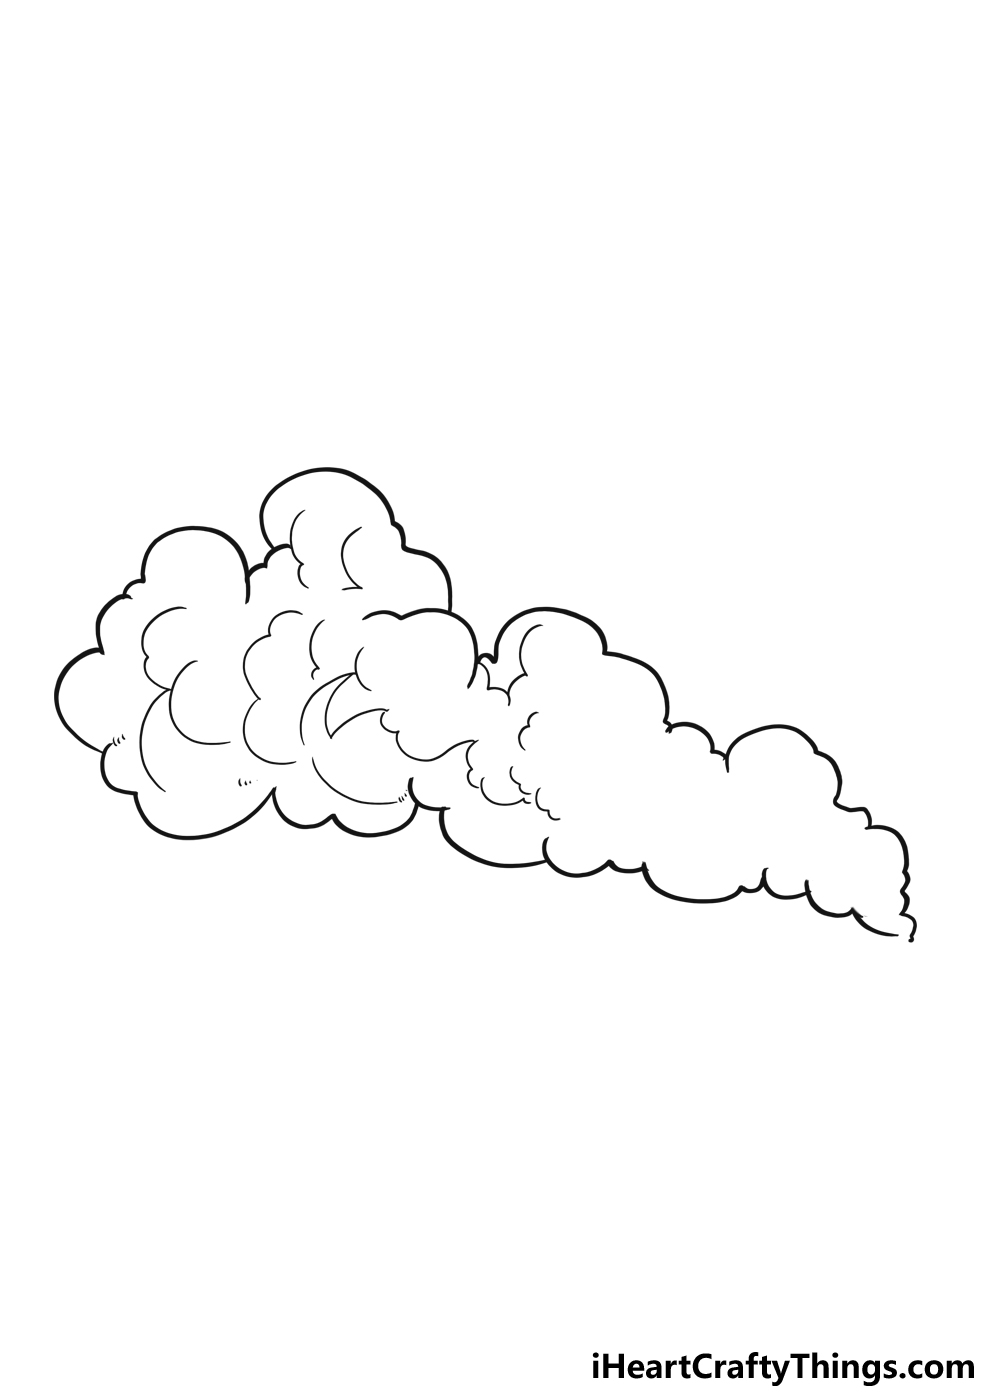
You will notice we only filled the left side of the outline with details for now.
For now, lets focus on the details that are in the guide.
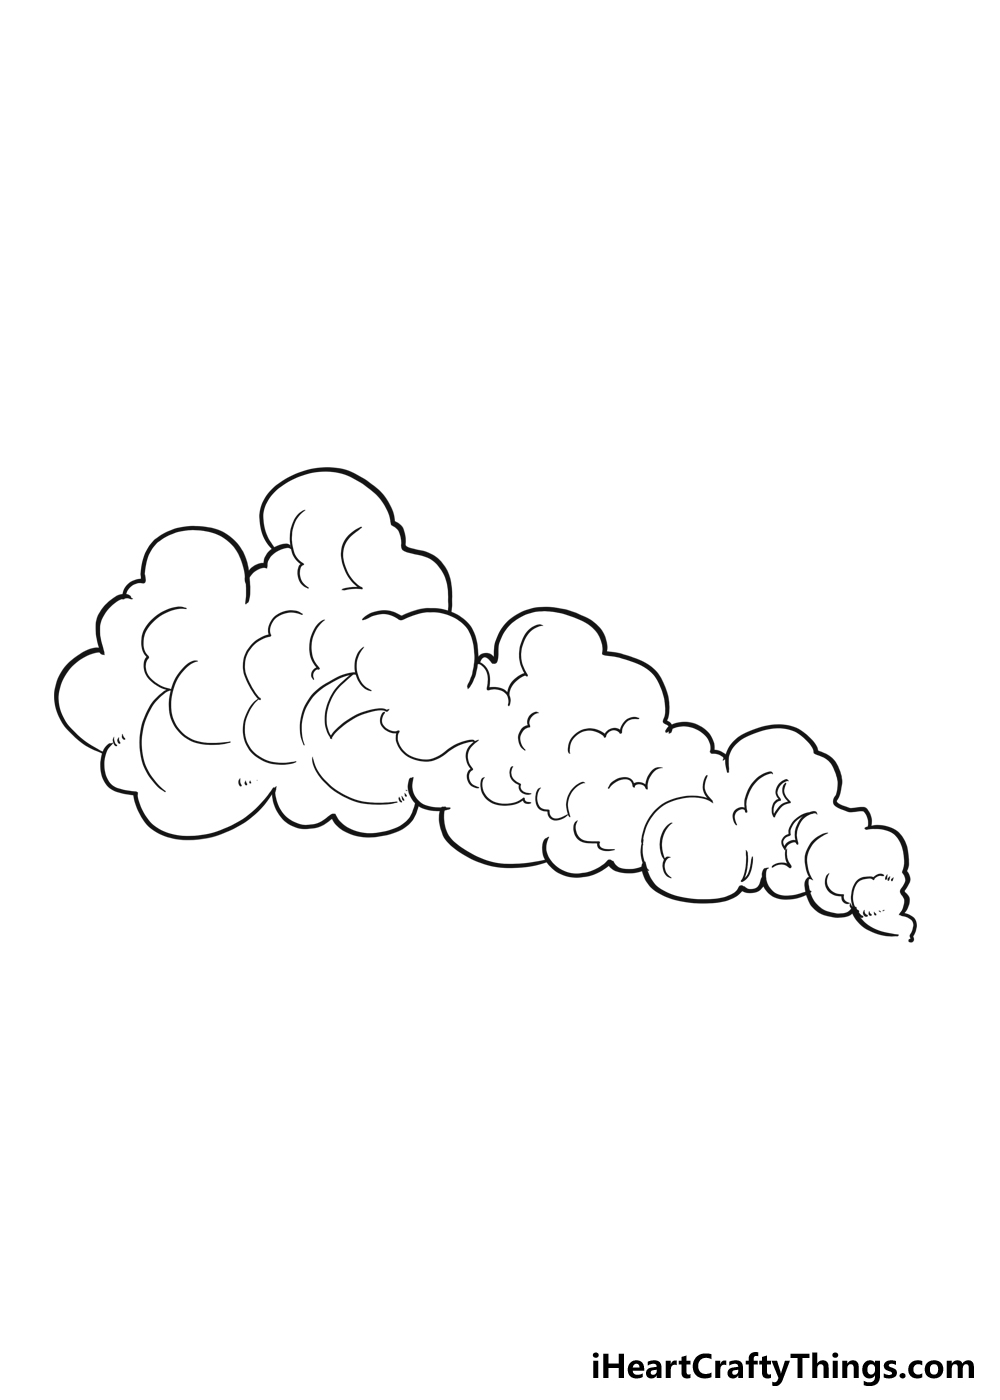
In the previous step, we focused on adding details to the left side of the image.
Now, we will add some detailing to the rest of the smoke on the right-hand side.
That means that you might use similar curved, bumpy lines to add some texture to the smoke.
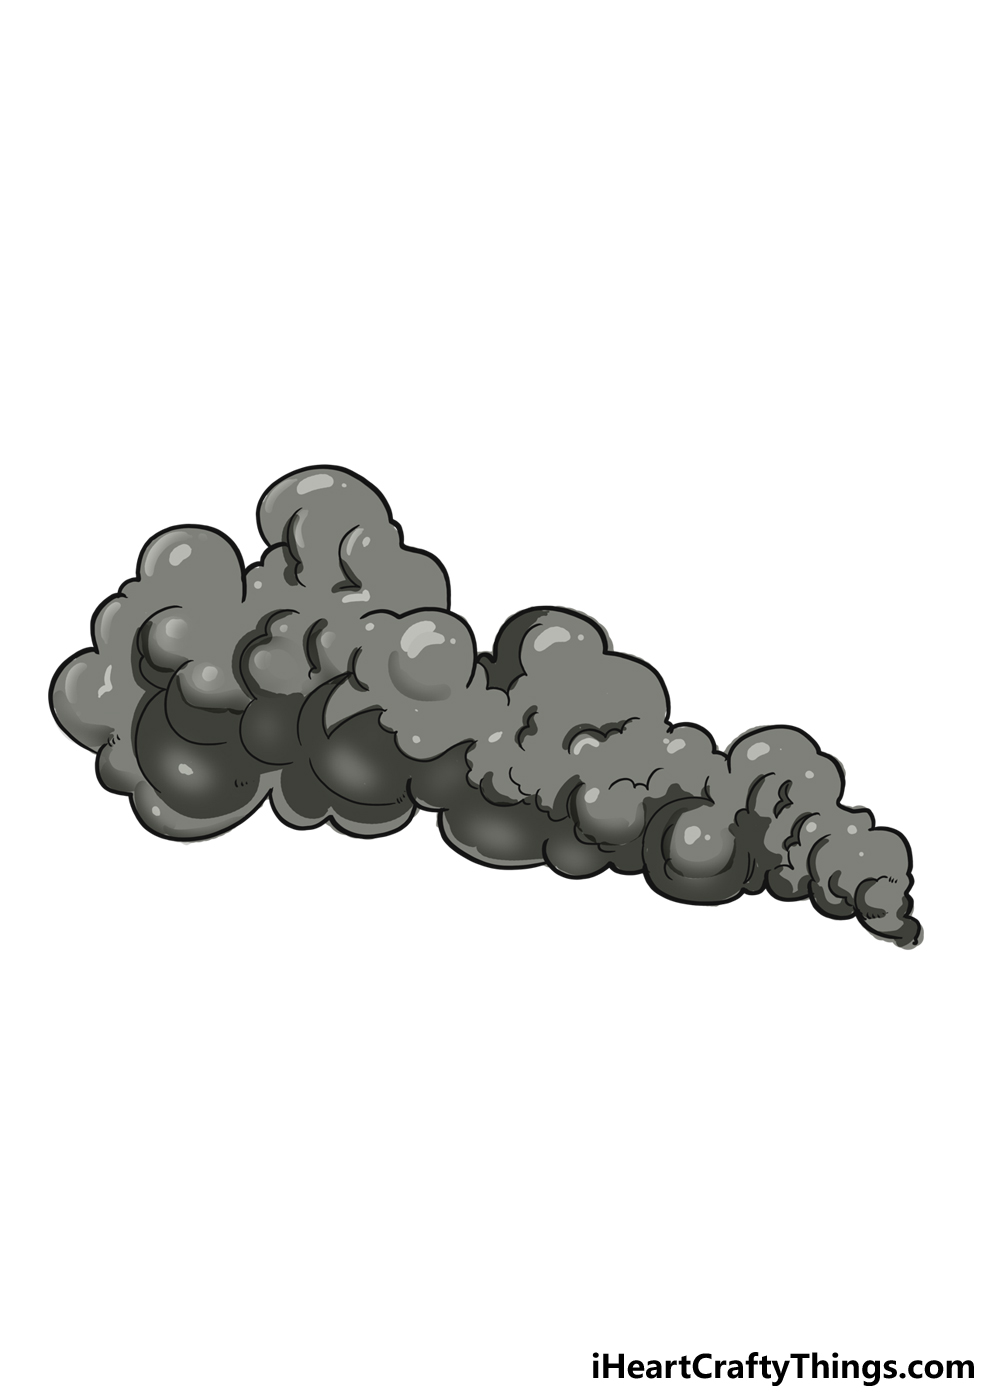
You could have a simple campfire, have a bonfire or maybe show a house on fire.
You could also add small bits of red or orange to show sparks amongst the smoke.

For instance, if you added any additional details then you’re free to color those as well.
Then, you could also incorporate some darker mediums for highlights and shading.
Hopefully, weve given you a lot to think about for this image.

Now you’re able to take over and show us what you think the colors should be like.
We will be interested to see how you add colors to the smoke!
Your Smoke Drawing is Complete!

You did a great job working your way through this guide on how to draw smoke.
There are so many possibilities for you to try!
Let your imagination run wild so you can see what you might come up with.

More From:How to draw
Printable Bubble Letters A Complete Guide!


