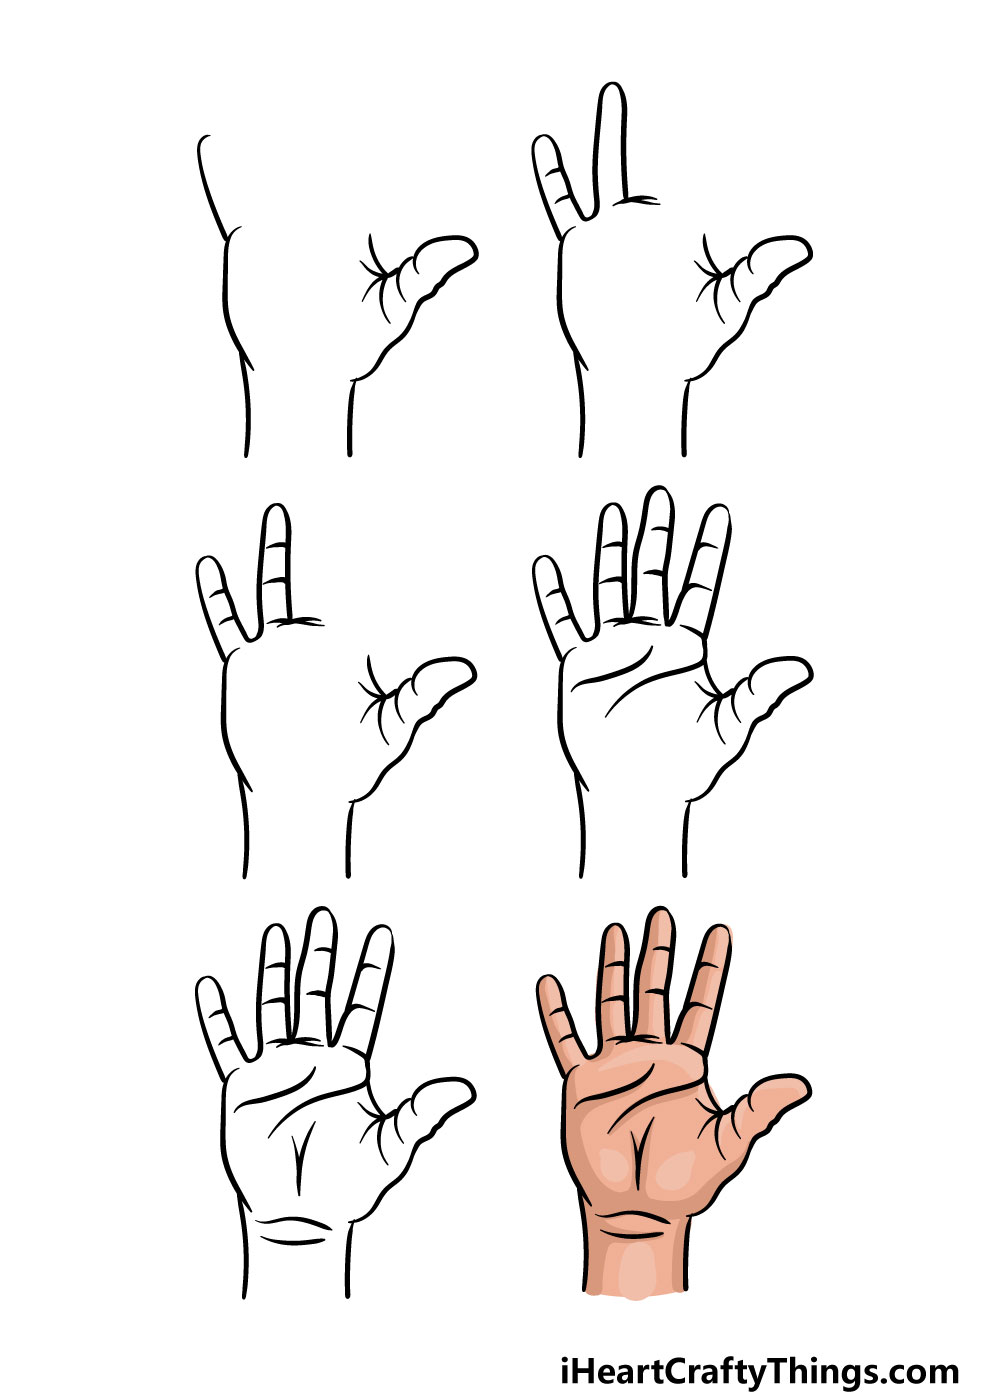
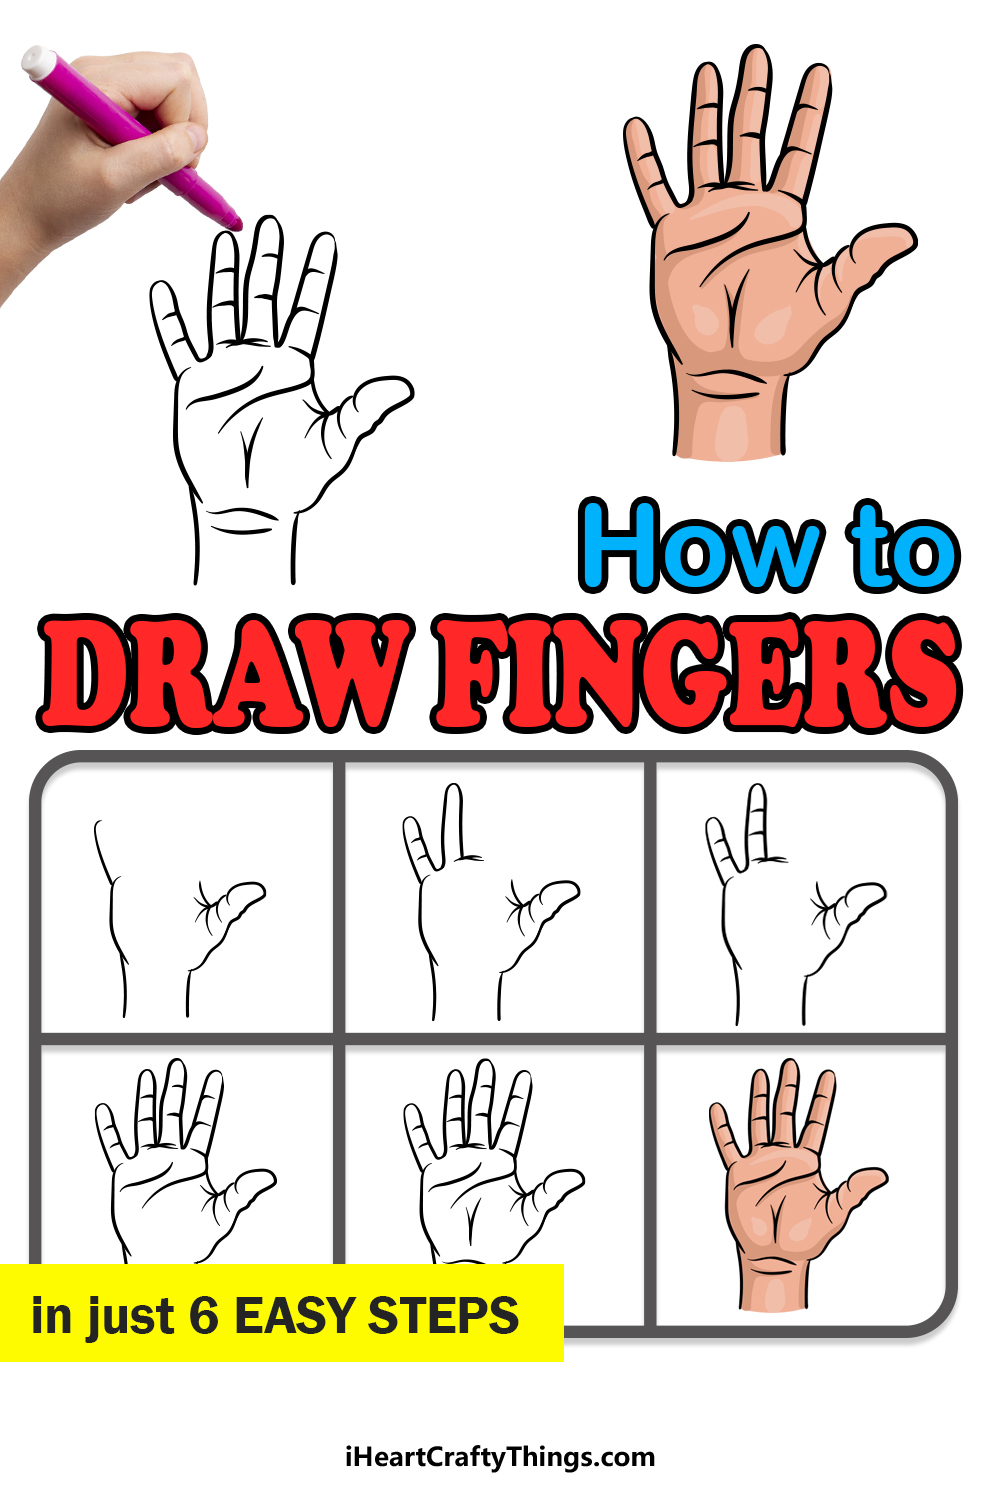
Fingers Drawing in just 6 Easy Steps!
Lucky for you, that very guide is before you right now!
How to Draw Fingers Lets get Started!
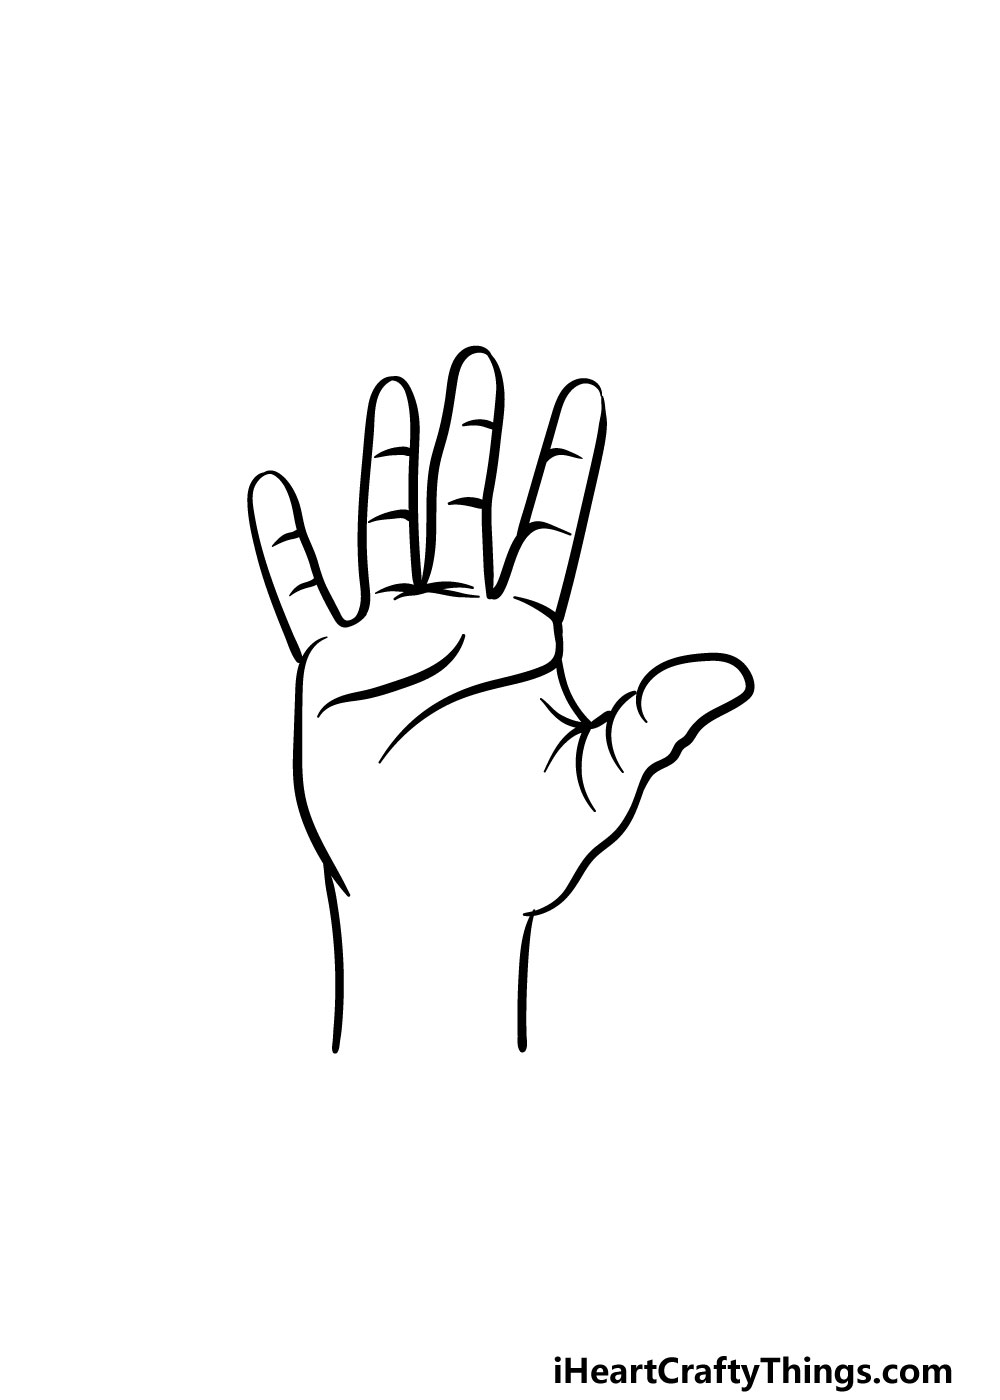
As you might see in the reference image, the thumb will be divided into several segments.
It will also be attached to the wrist on the right-hand side.
Dont be shy to follow the reference image very closely as you draw!
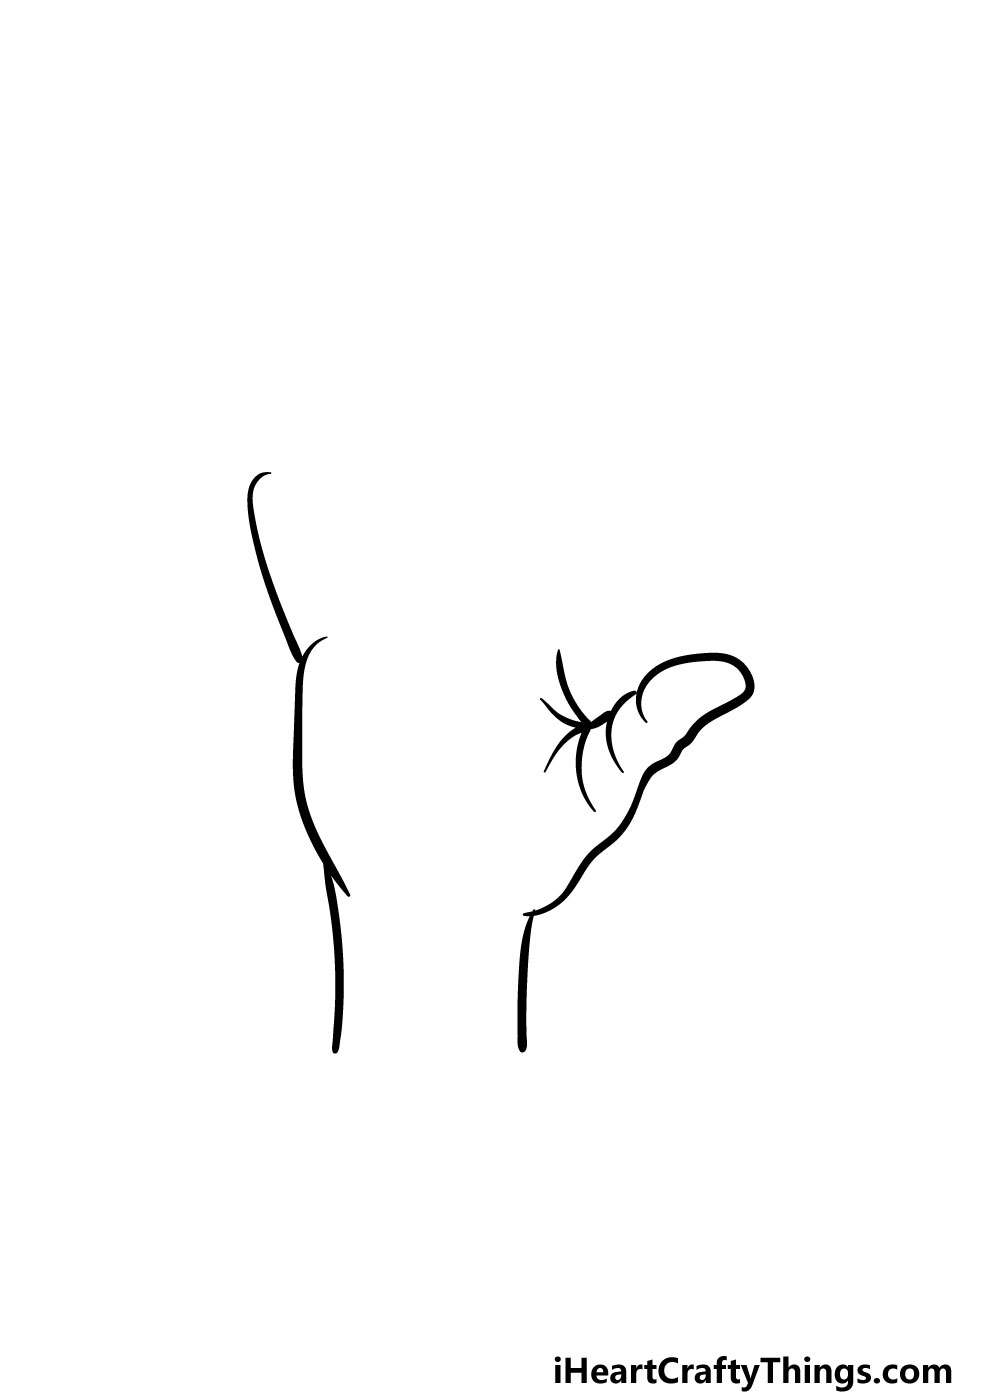
when you obtain these sides of the hands drawn then youre ready for step 2!
There will then be a small curved gap before you draw the curved outline of the second finger.
These should start on the right-hand side and not quite touch the left side.
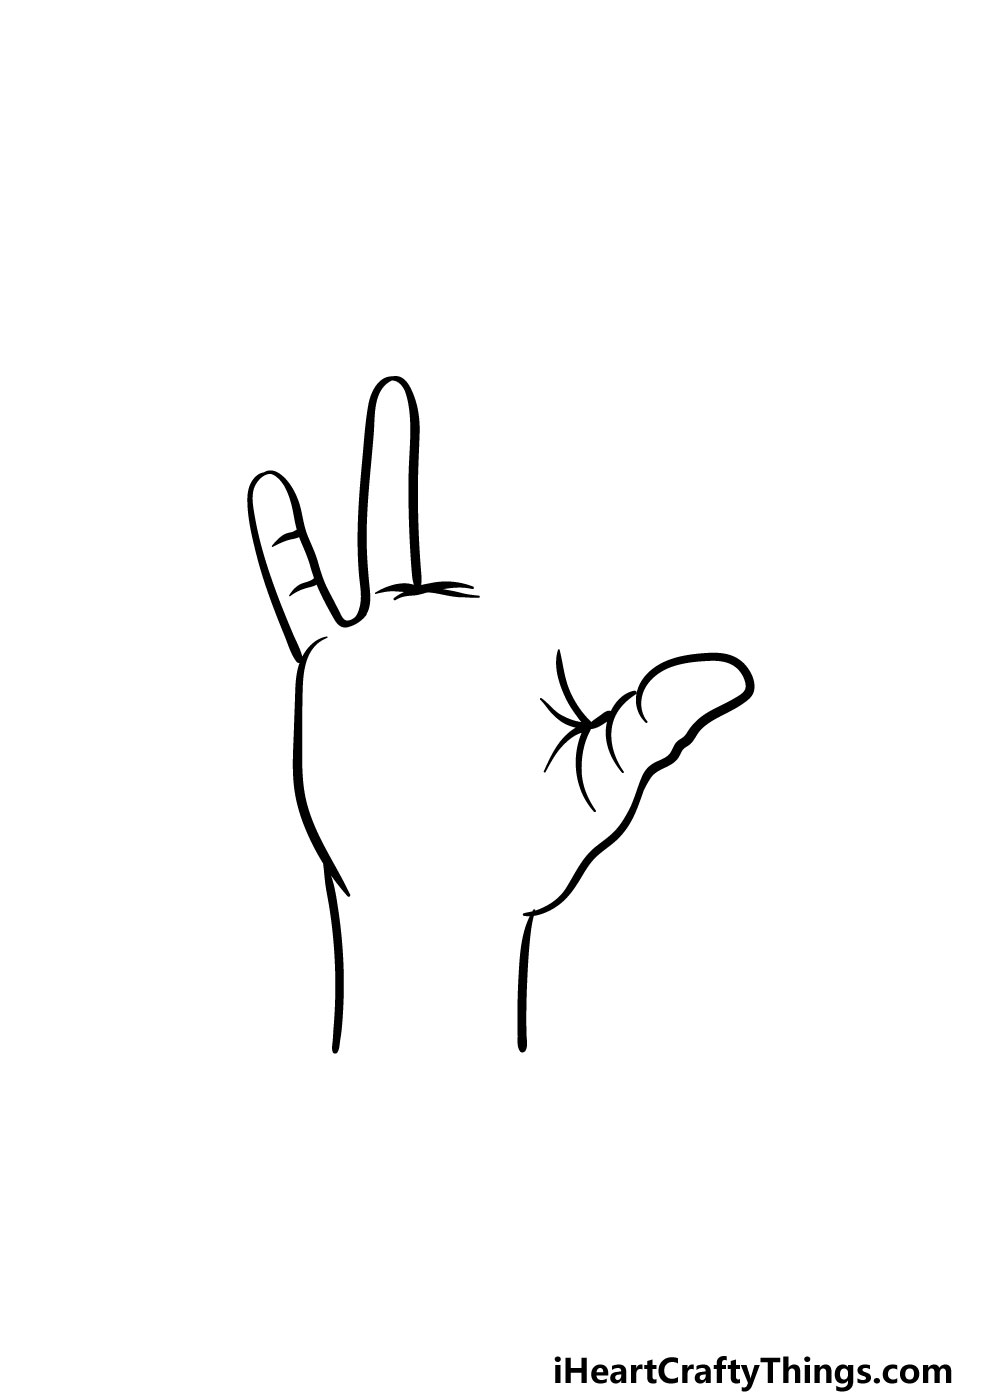
Thats all there is to this simple step, so lets proceed!
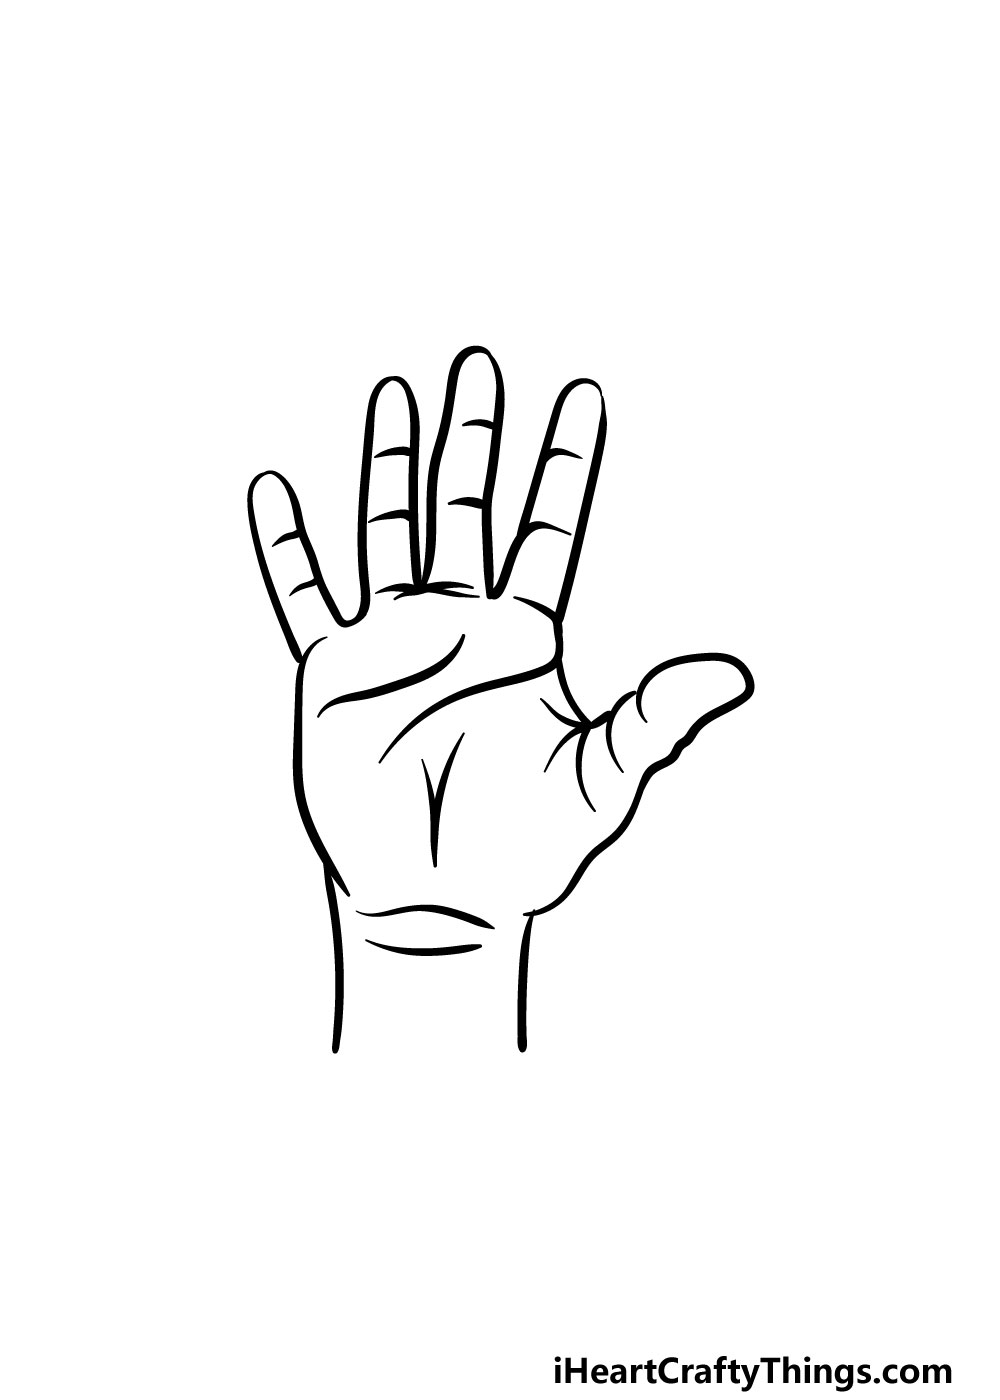
Now that you might draw these fingers so well, you might add the remaining two fingers.
Each of these fingers will also have two lines drawn inside them for the various segments.
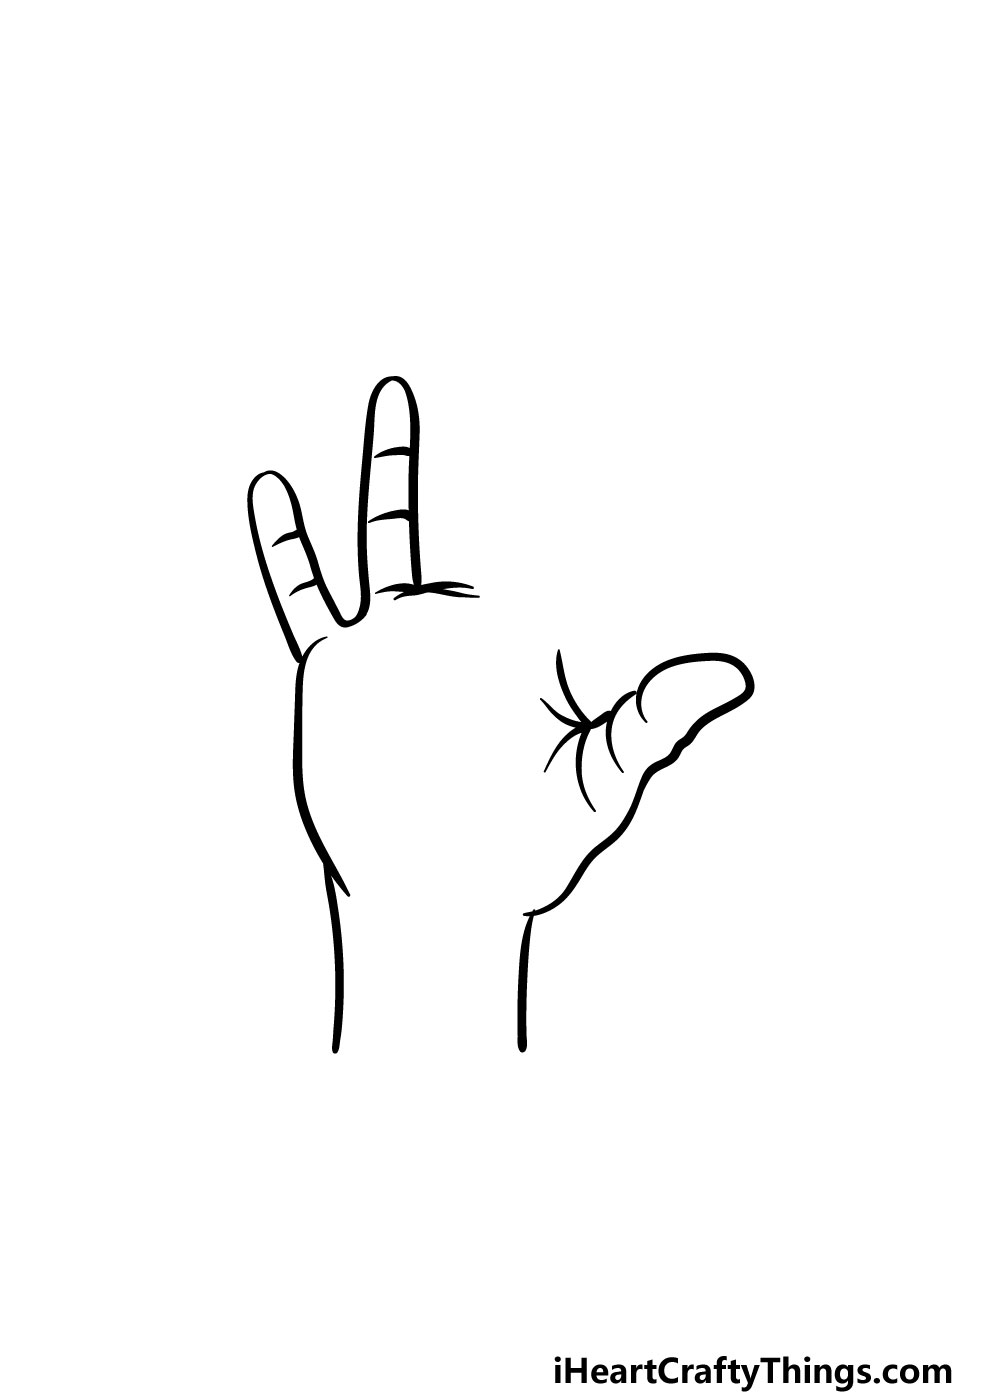
Before that, however, we have just a few final details to add.
Youll also be able to add some fun details of your own in this step as well!
These details could include changing the positioning of the fingers for a more personalized image.
You could also add some rings onto the fingers or even add a tattoo design onto the hand!
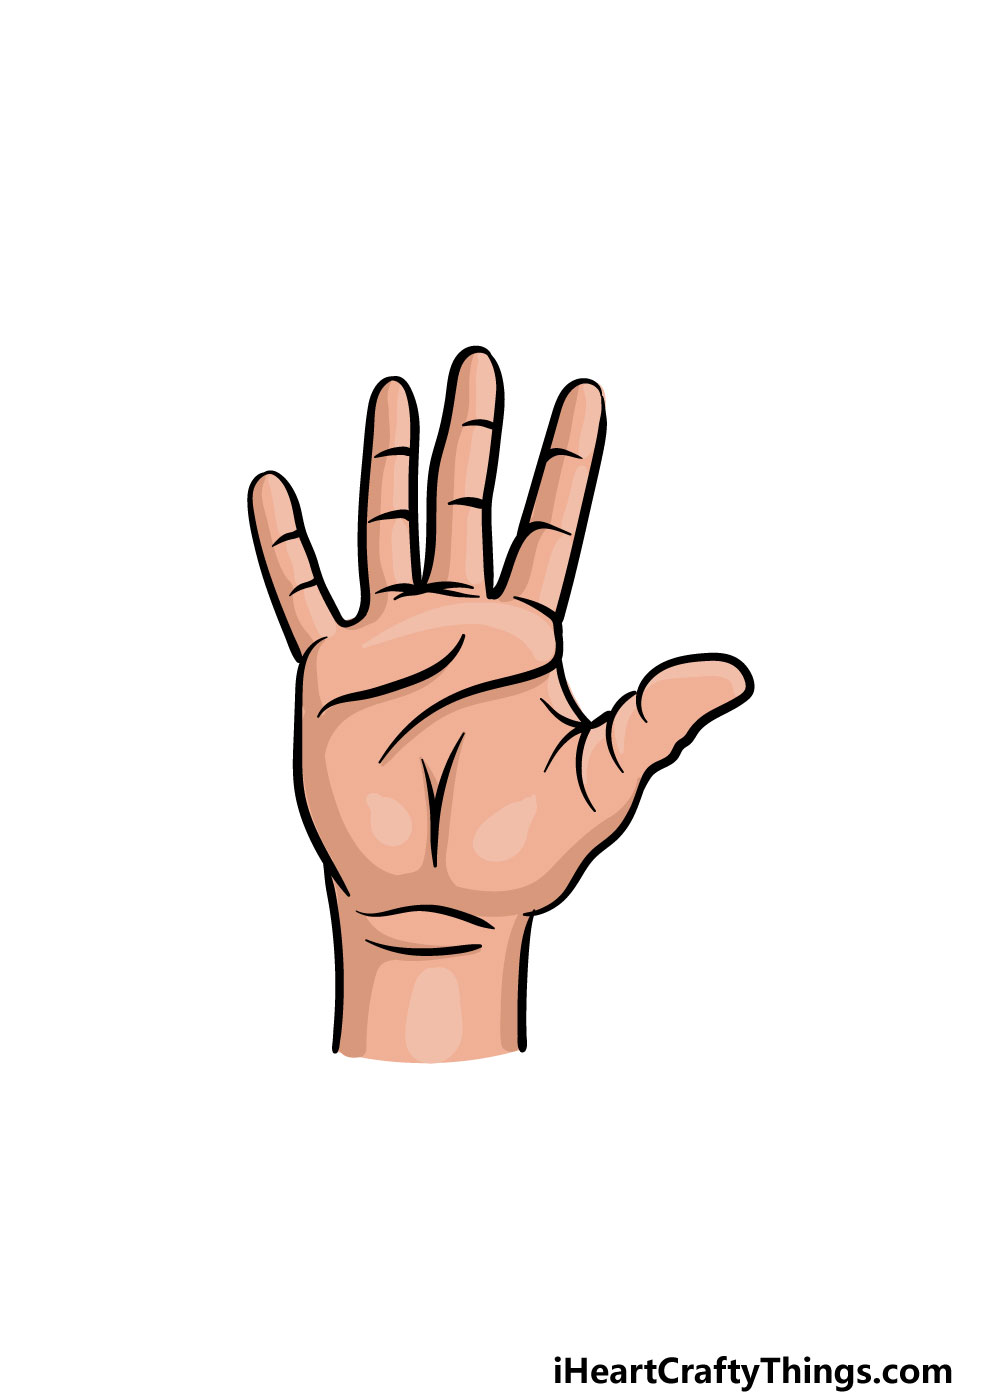
What details can you think of to add to this drawing of yours?
One fun idea to try would be using your art tools and mediums to replicate your own hand!
That can be a great way to put a personal touch on this drawing.
Be sure to get creative with your favorite colors and art mediums and see what happens!
3 More tips to make your fingers drawing easy!
Drawing hands is notoriously hard, but these tips for your fingers sketch should make it easier!
While you get the hang of this picture, you could remove some of these details.
One way of doing this would be by making the picture even more on the cartoony side.
That way, you wouldnt have to worry about adding the lines at the divides of the fingers.
What are some styles you could use to make your drawing a bit easier?
Next, you could make this fingers drawing a bit easier by using a pencil to plan it out.

We would suggest drawing an oval shape for the palm of the hand.
Then, we would use longer oval shapes for each finger on the hand.
These shapes will make the lengths and proportions of the various details much easier to get looking accurate.

Then, start adding more layers of details and sharpen up the shapes of all aspects.
Use a pen to add the final lines and then you will have a complete picture on your hands!
Using a reference is always a good idea when creating any drawing.

Luckily, you have the perfect model literally at the tips of your fingers!
When drawing, you could use your own hand to help you as you draw.
Using the real thing can help you to draw all of the smaller details.

It would also help if you want to create a different hand gesture or position.
You may be surprised to see how much easier it can make it!
Your Fingers Drawing is Complete!

Now that you have mastered this guide, its up to you to really make this drawing your own.
Finishing this guide is just the start of the fun, though!
Once youre ready for more, be sure to visit our website for more incredible drawing guides.

We also upload new ones frequently for you to enjoy.
More From:How to draw
Printable Bubble Letters A Complete Guide!
