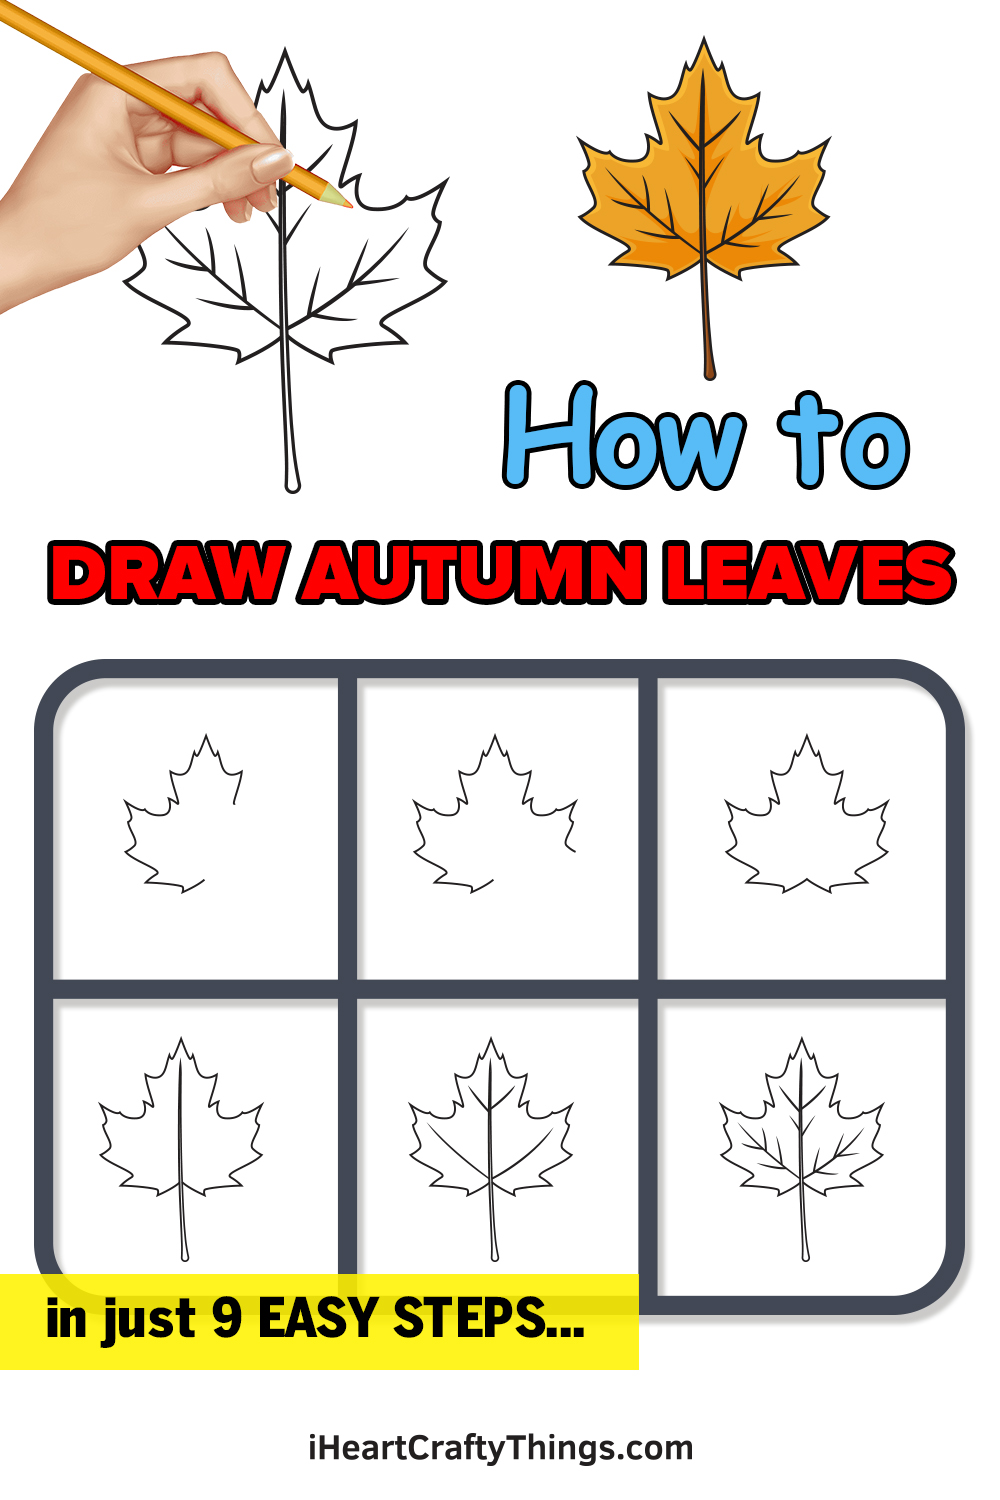
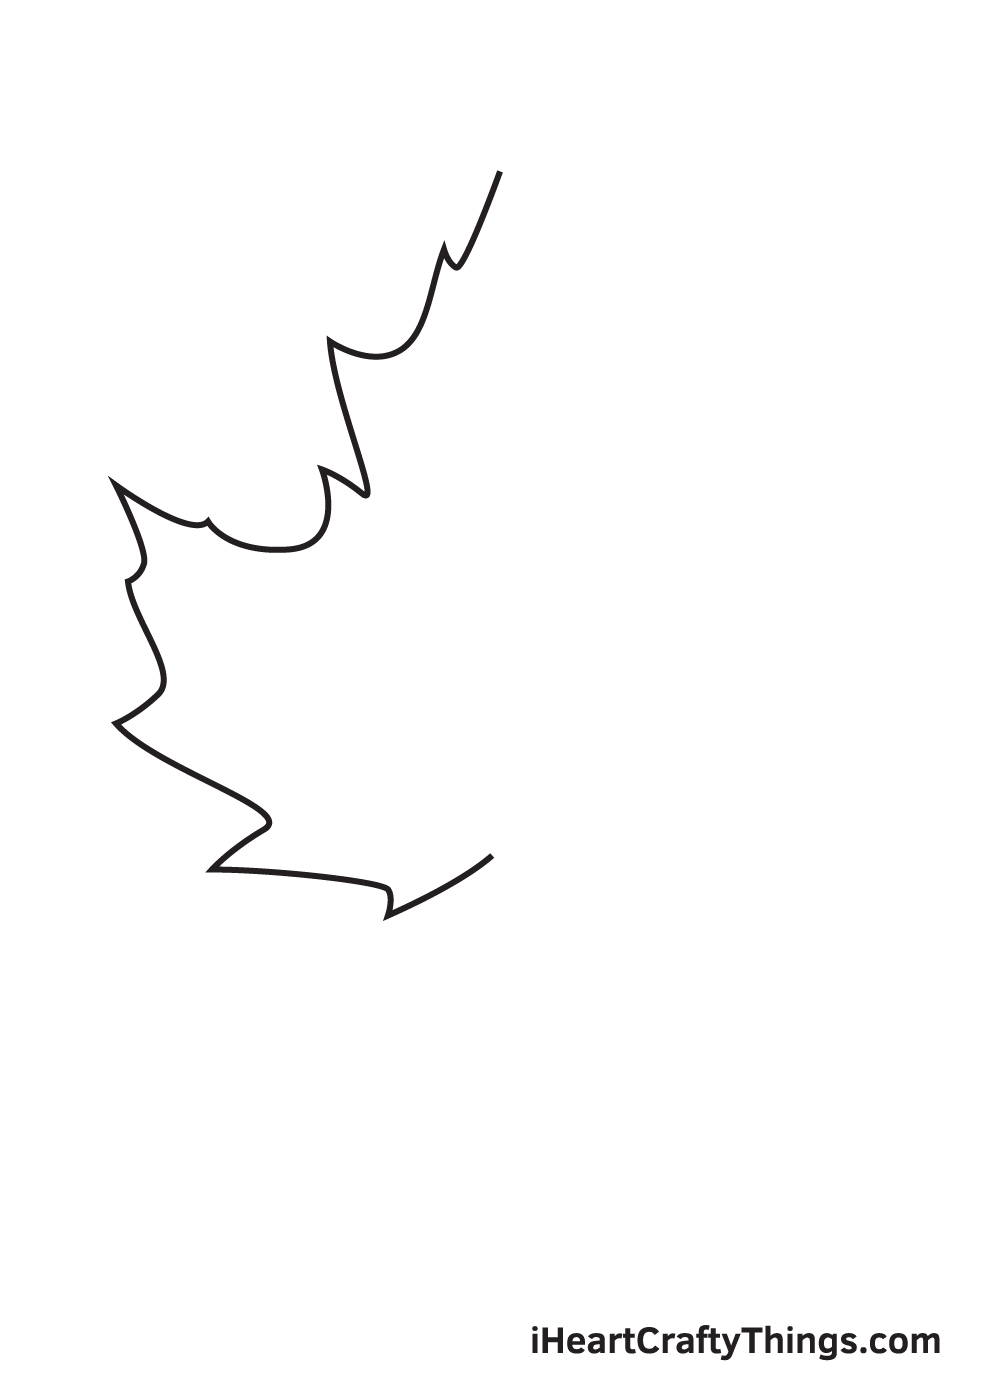
Fall Leaves Drawing in just 9 Easy Steps!
Capture the joys of Autumn with this guide on how to draw Fall leaves!
it’s possible for you to make this drawing so much easier by following this tutorial for kids.
It should be so much easier than you think, but getting it right isnt as simple as that.
Once it looks like the picture, we can move on to step 2!
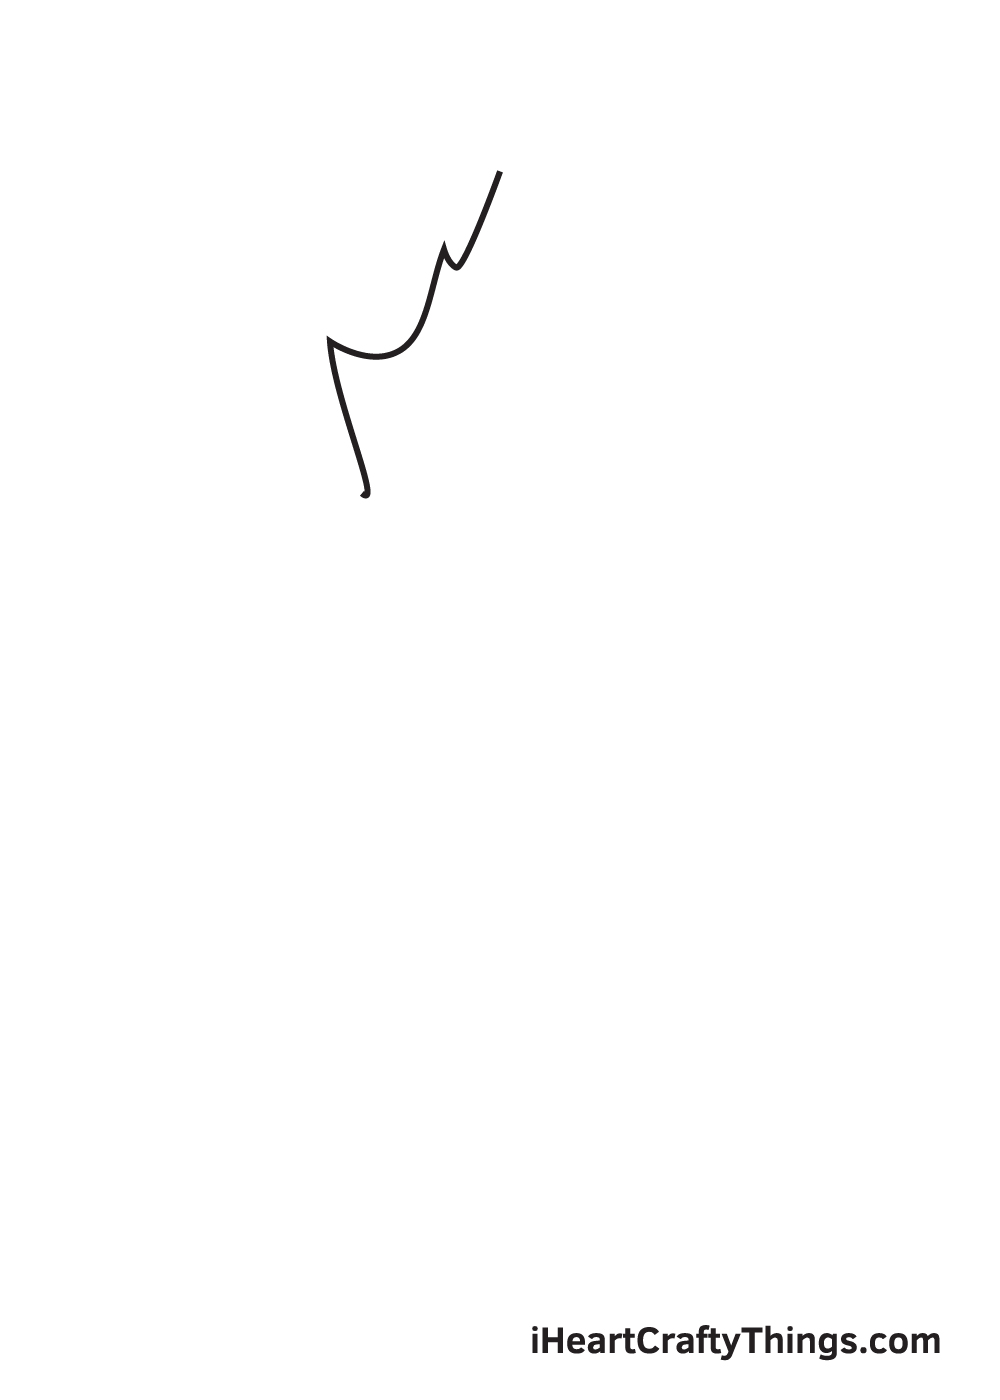
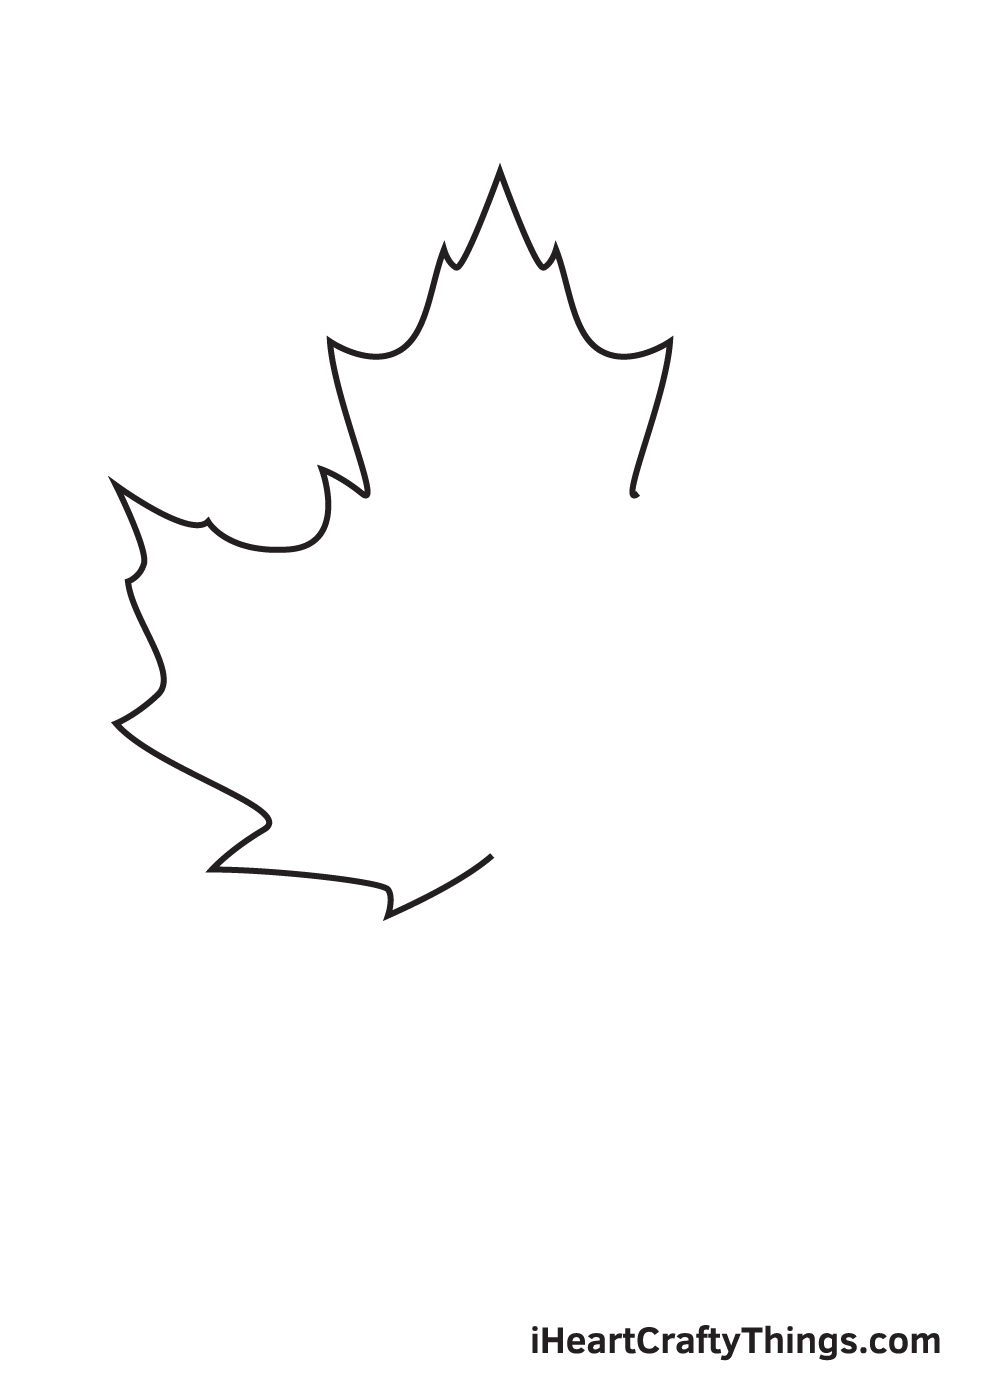
They will have a large point before moving back inwards as you might see in the reference picture.
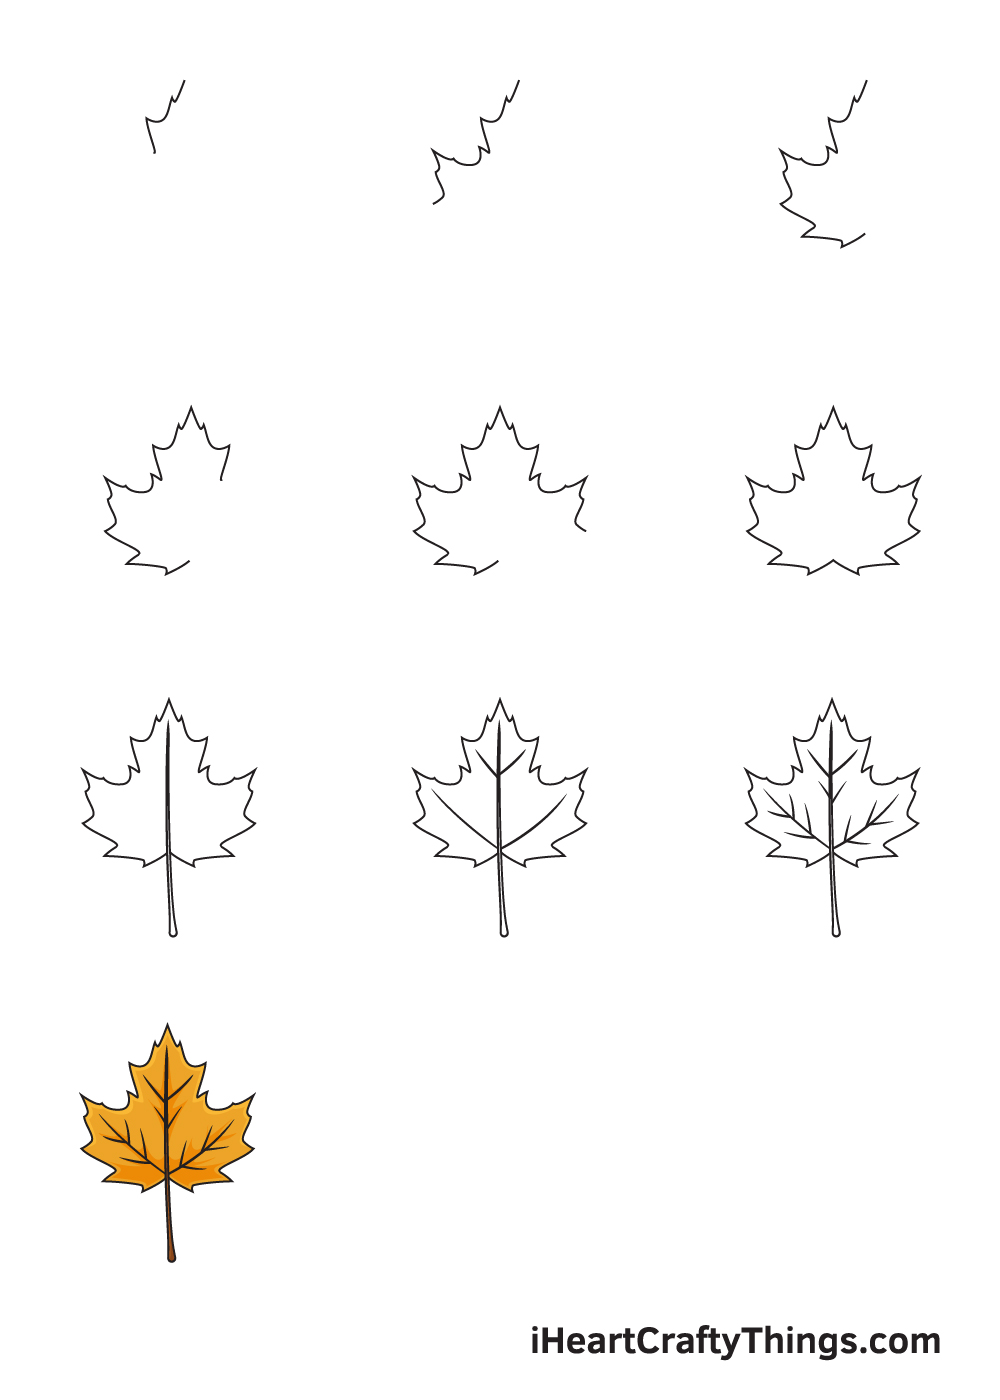
For this part, simply replicate what you did in the very first step.
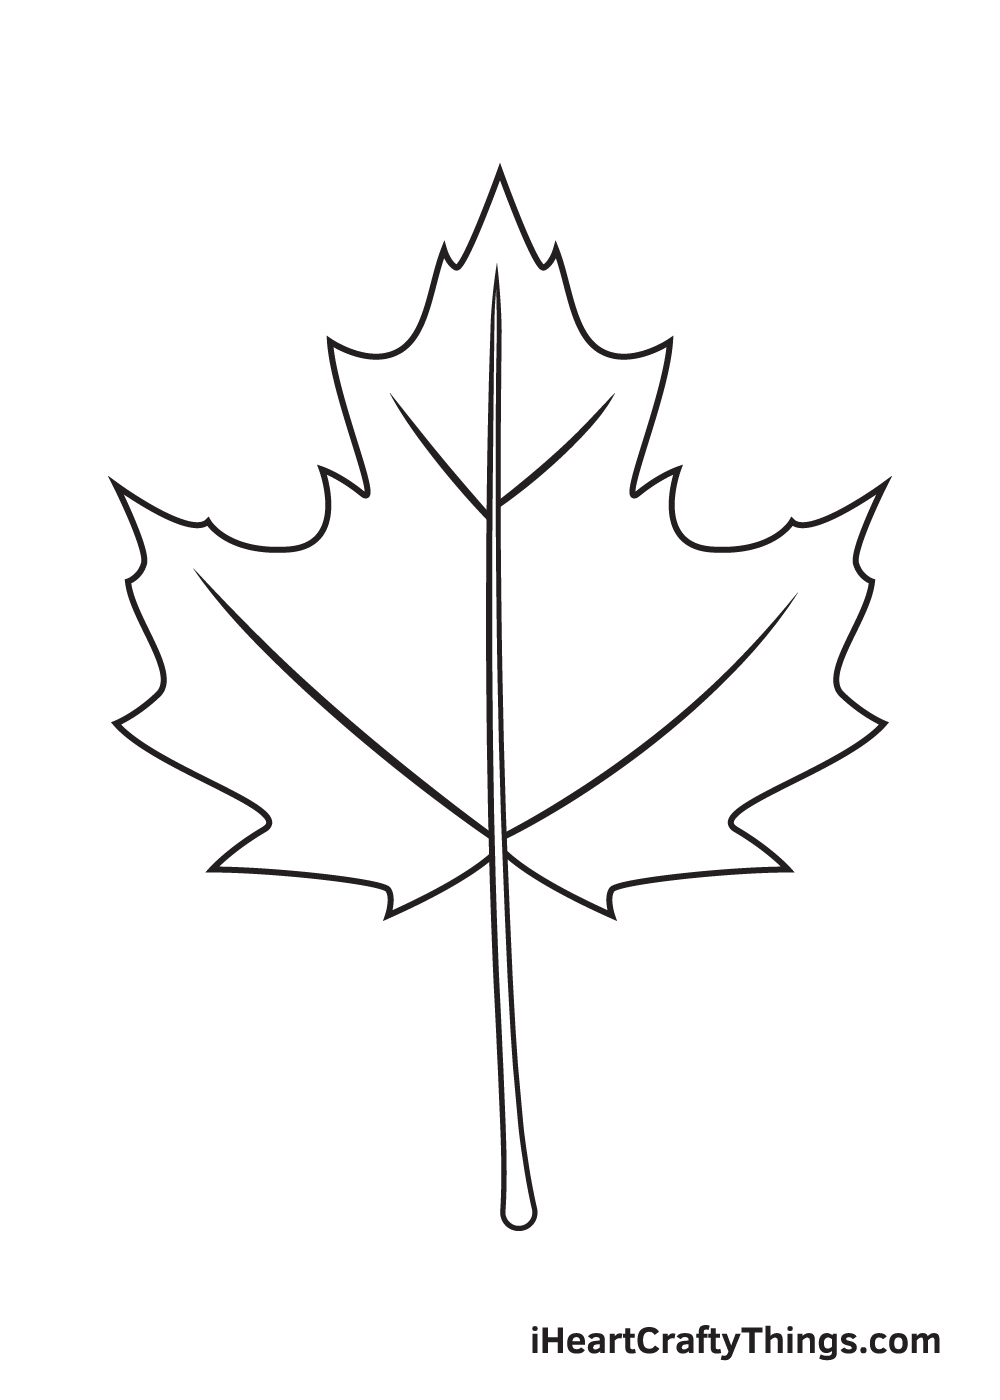
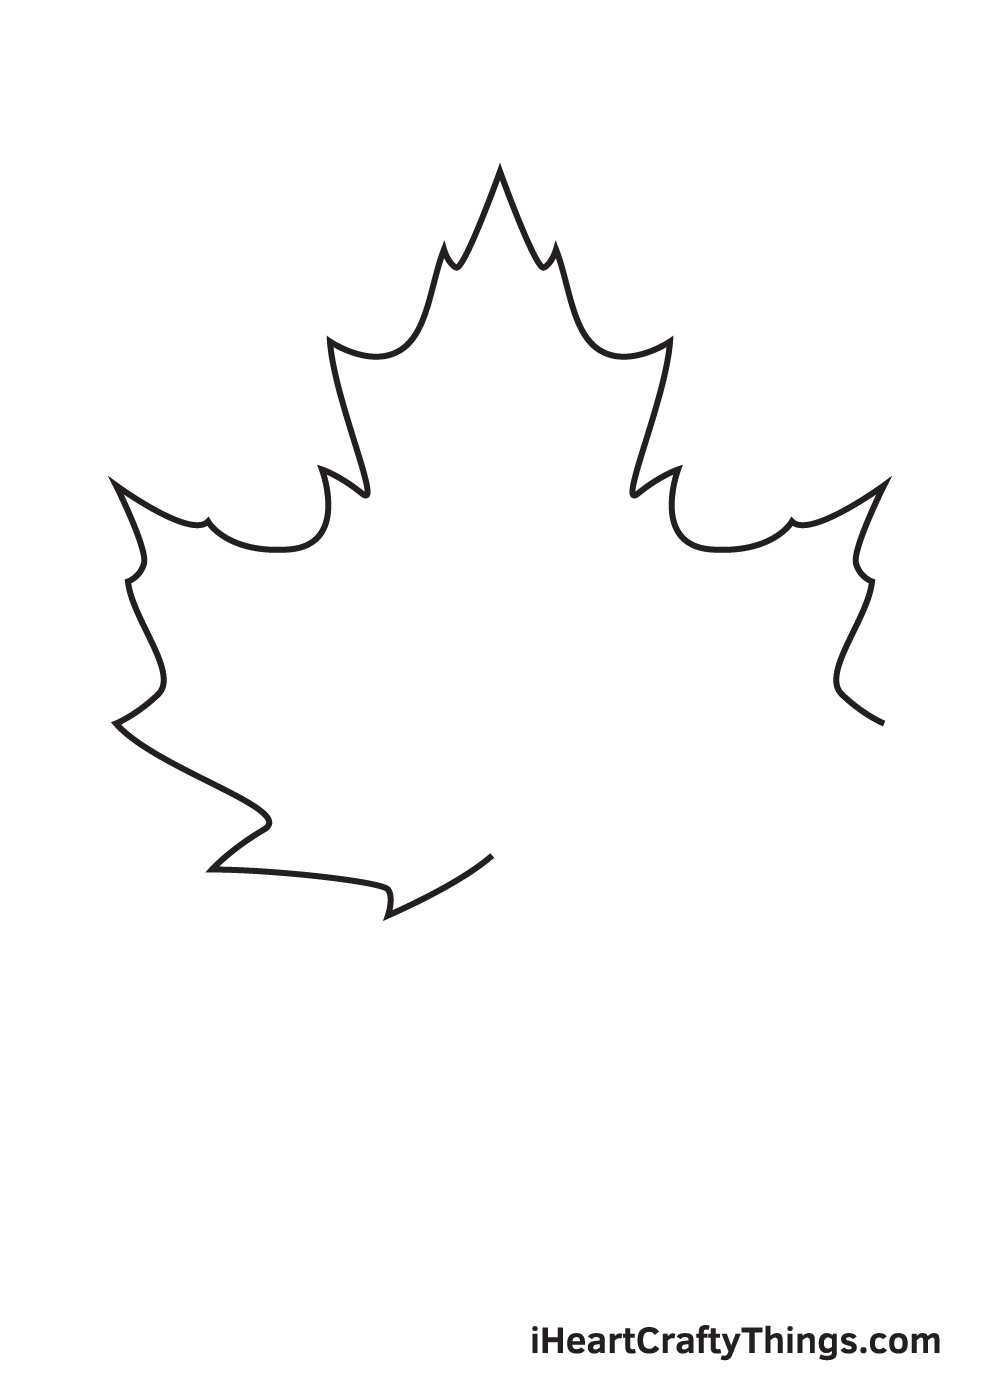
Step 6 Finish mirroring the final part of the leaf
You know the drill at this point!
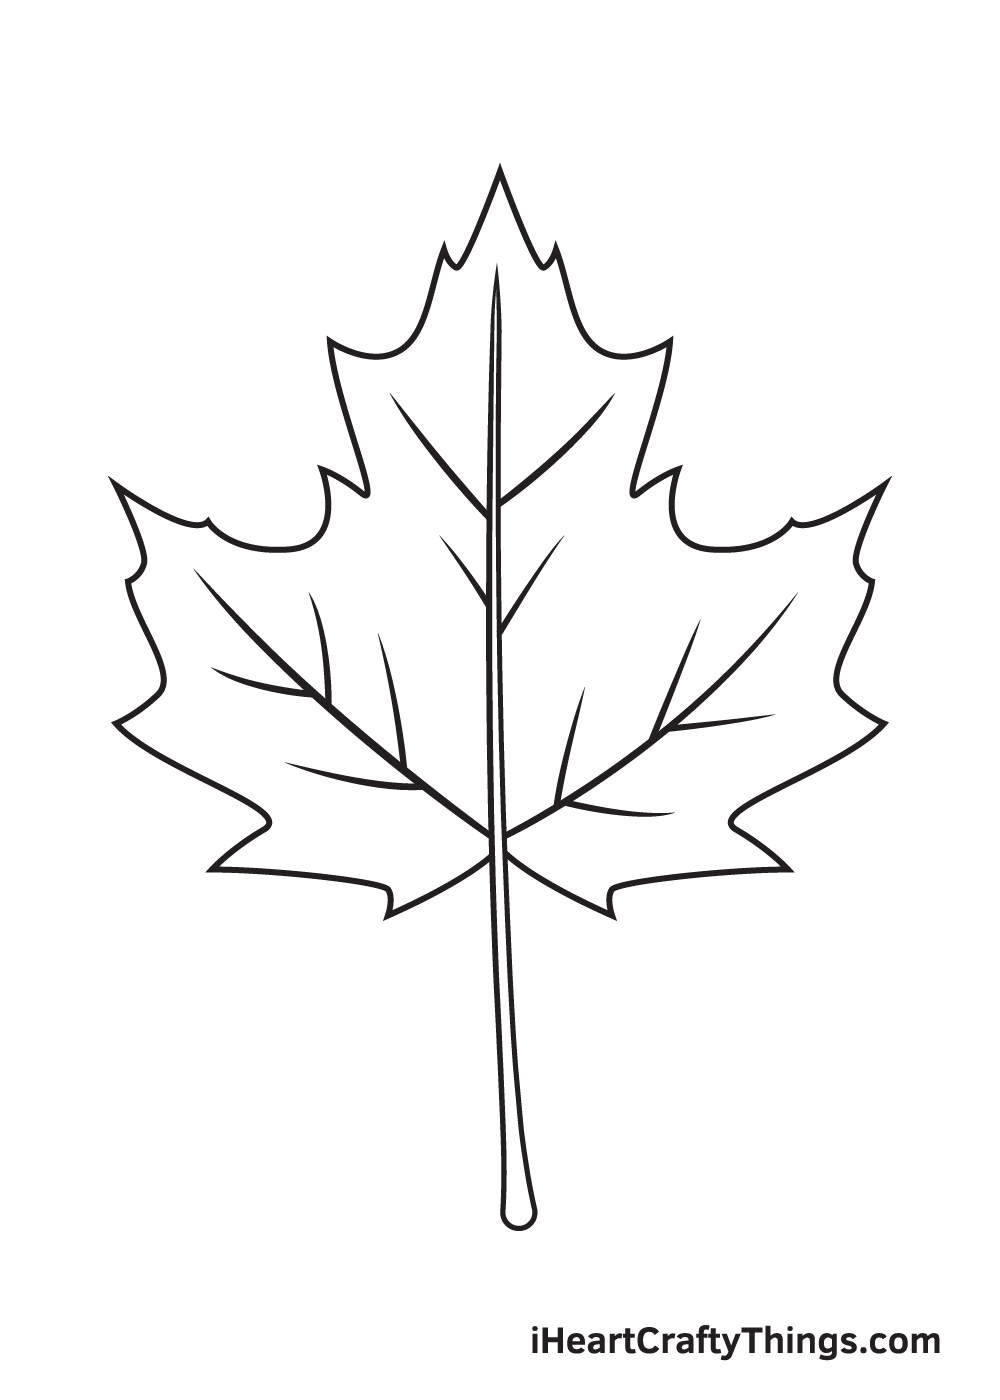
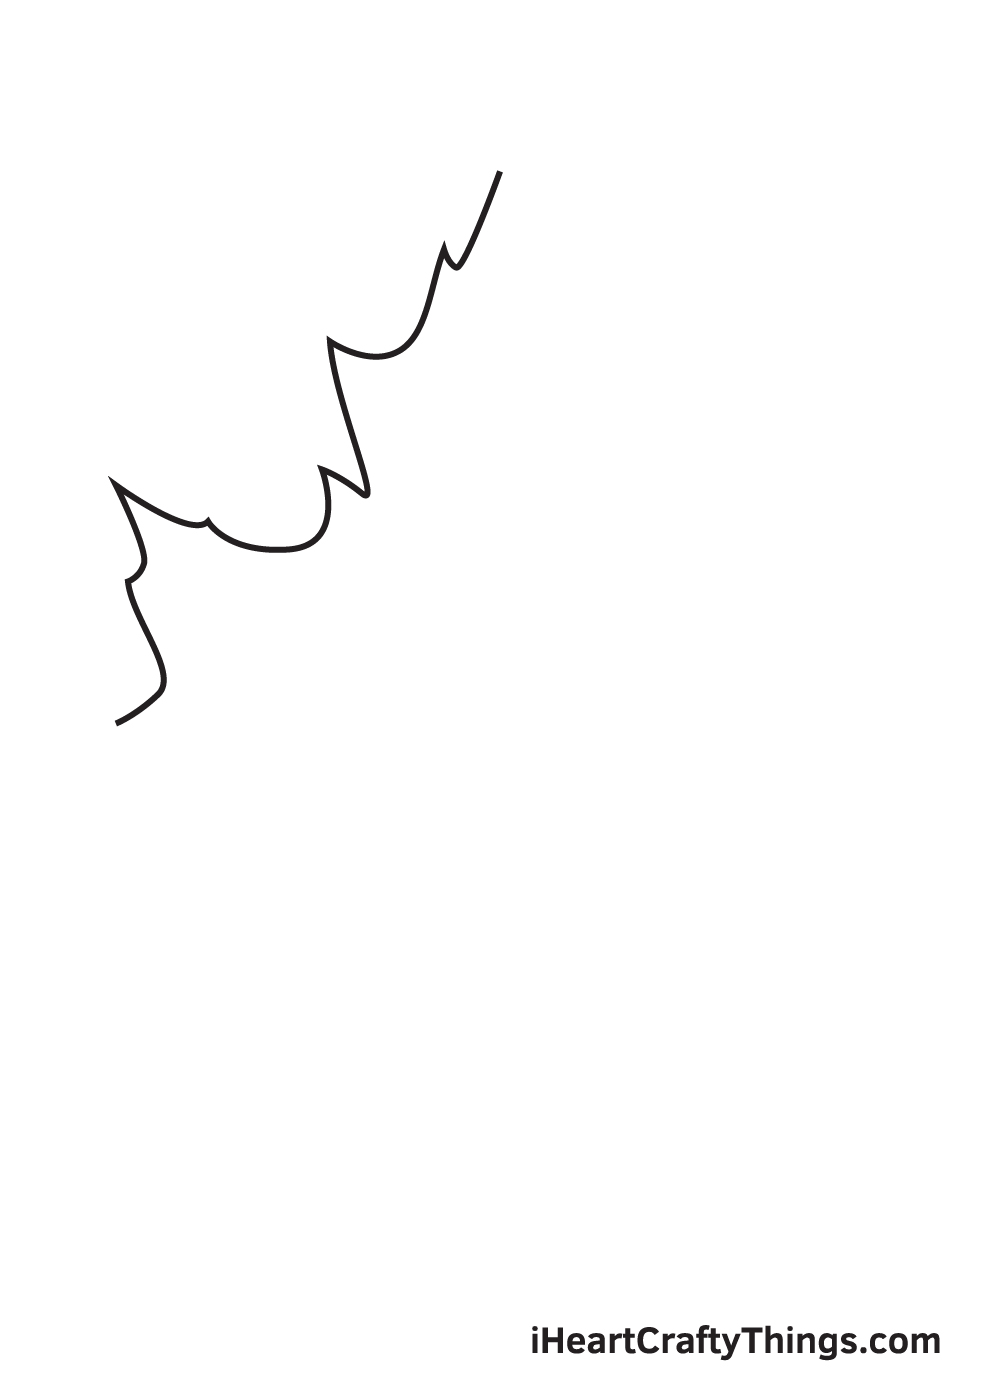
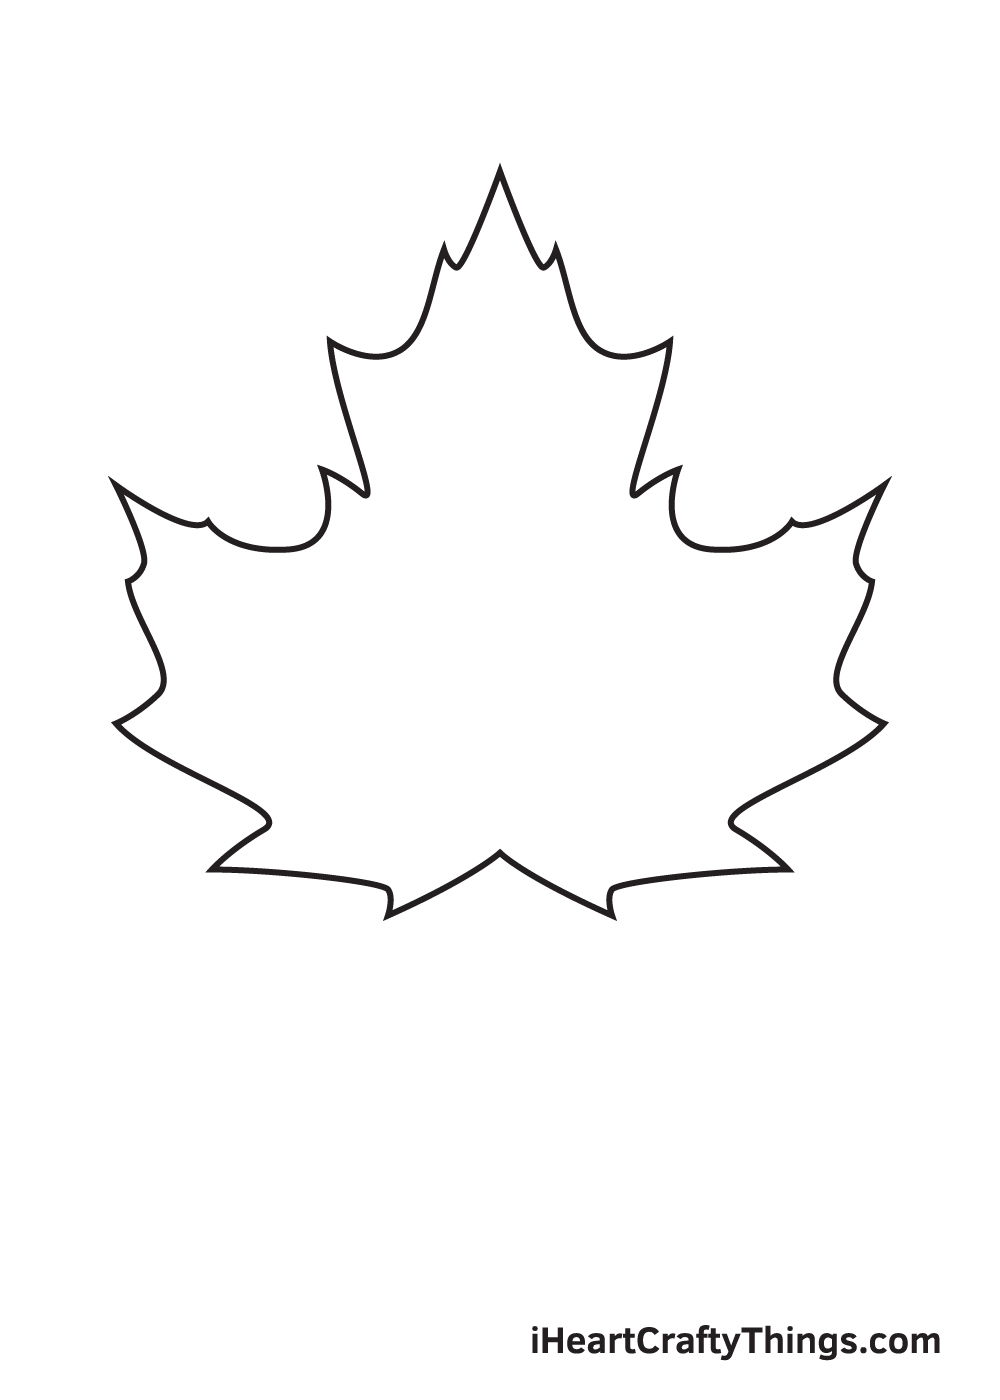
Now that you have the full leaf, we can move on to the next steps.
With that, you have reached the final step of our guide on how to draw Fall leaves.
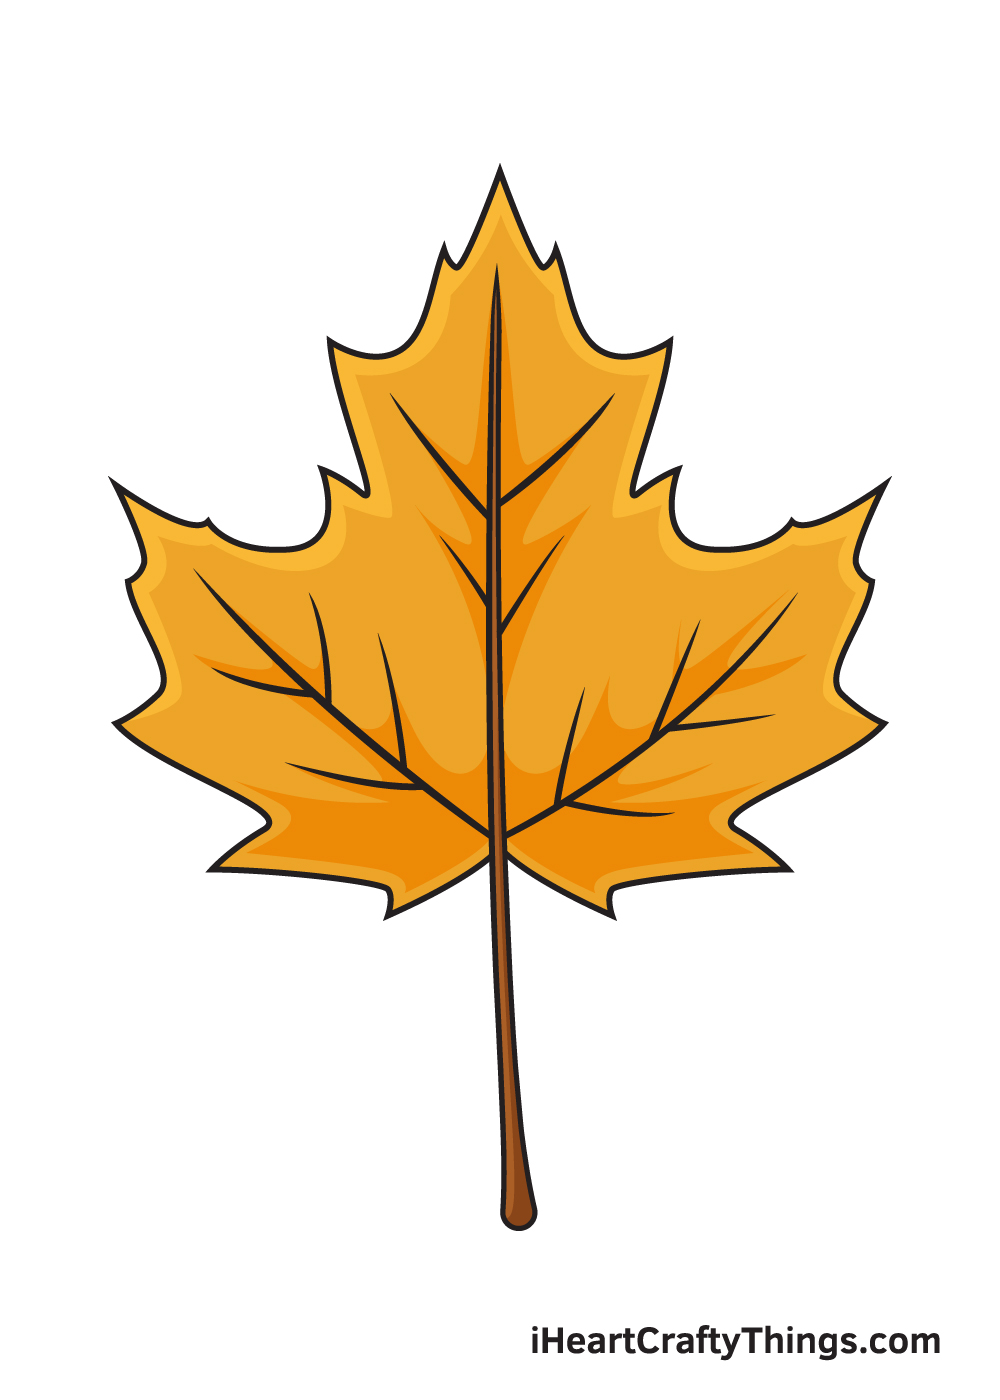
Theres only one more fun step remaining, and thats to color it in.
There are brilliant yellows, warm reds, fiery oranges and rich browns.
There are so many options open to you, and you should really let your creativity shine!
You could also experiment with some fun art mediums, such as paints, watercolors and so many more.
What will you use to finish off your drawing?
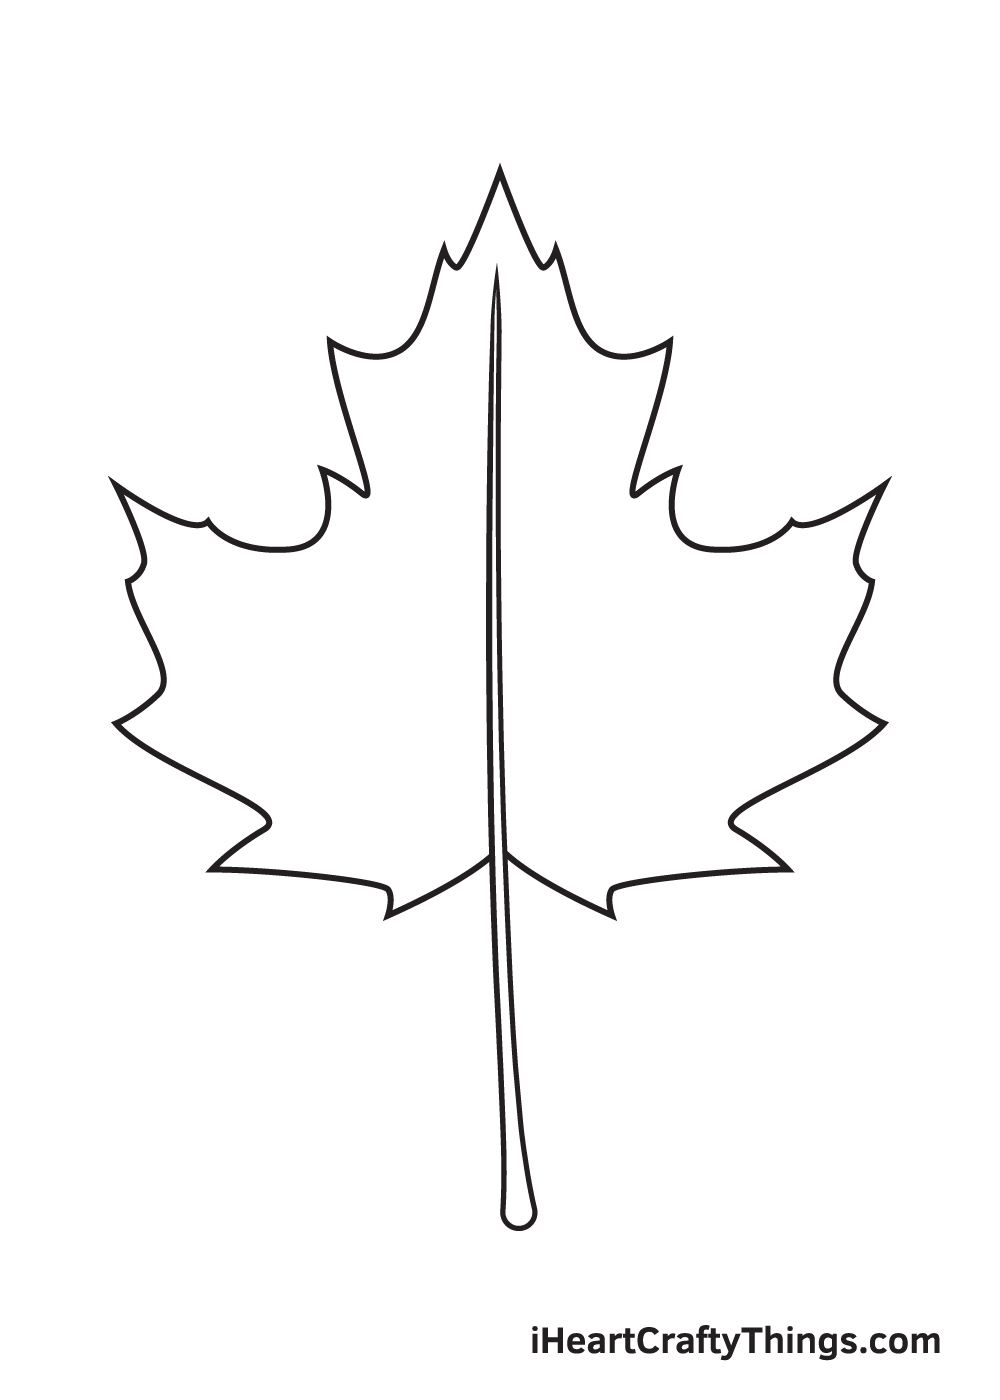
For this Fall leaves drawing, we worked on a maple leaf to create a wonderful iconic shape.
If you have some leaves in your yard then you could bring some in to use as you draw.
That is a great way to really make this a Fall extravaganza!
What other leaves could you use for this picture?
What other ideas do you have for the background of this Fall leaves sketch?
These kinds of details can make a big difference even if theyre small.
Can you think of some small details you could add?
We hope that this guide helped to make this trickier drawing subject easier for you.
With this guide completed, now you could have some fun putting your own spin on it.
The possibilities are endless and we cant wait to see what you do.
We cant wait to see your amazing creativity.
More From:How to draw
Printable Bubble Letters A Complete Guide!