Hourglass drawing in just 6 Easy Steps!
Youre on the right guide to learn that, so be sure to read to the end!
We hope that you enjoy this step-by-step guide on how to draw an hourglass in 6 steps.
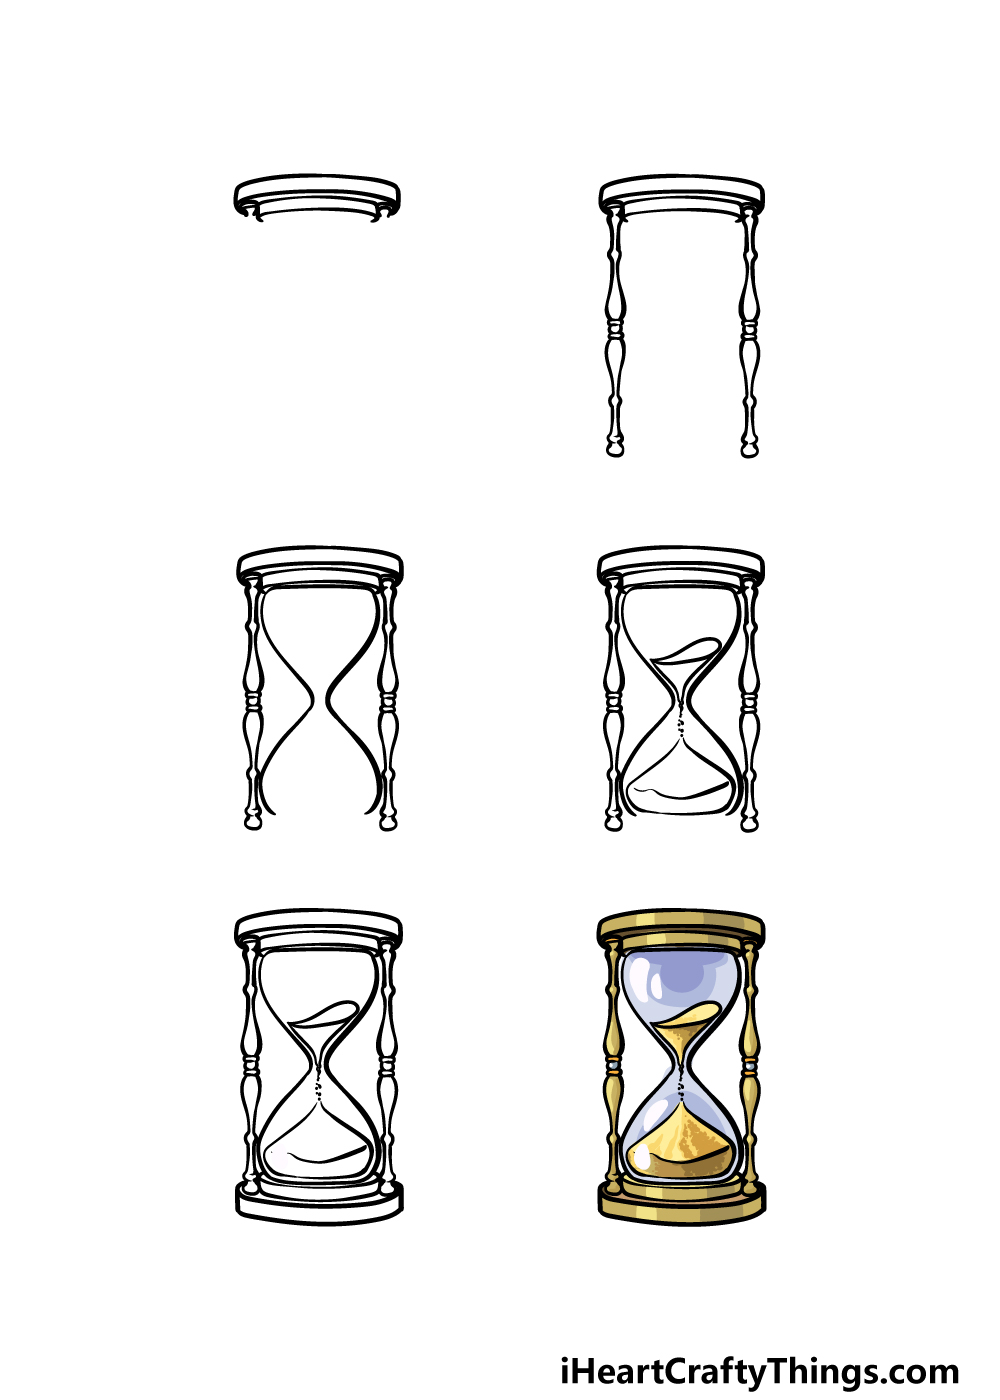
How to Draw An Hourglass Lets Get Started!
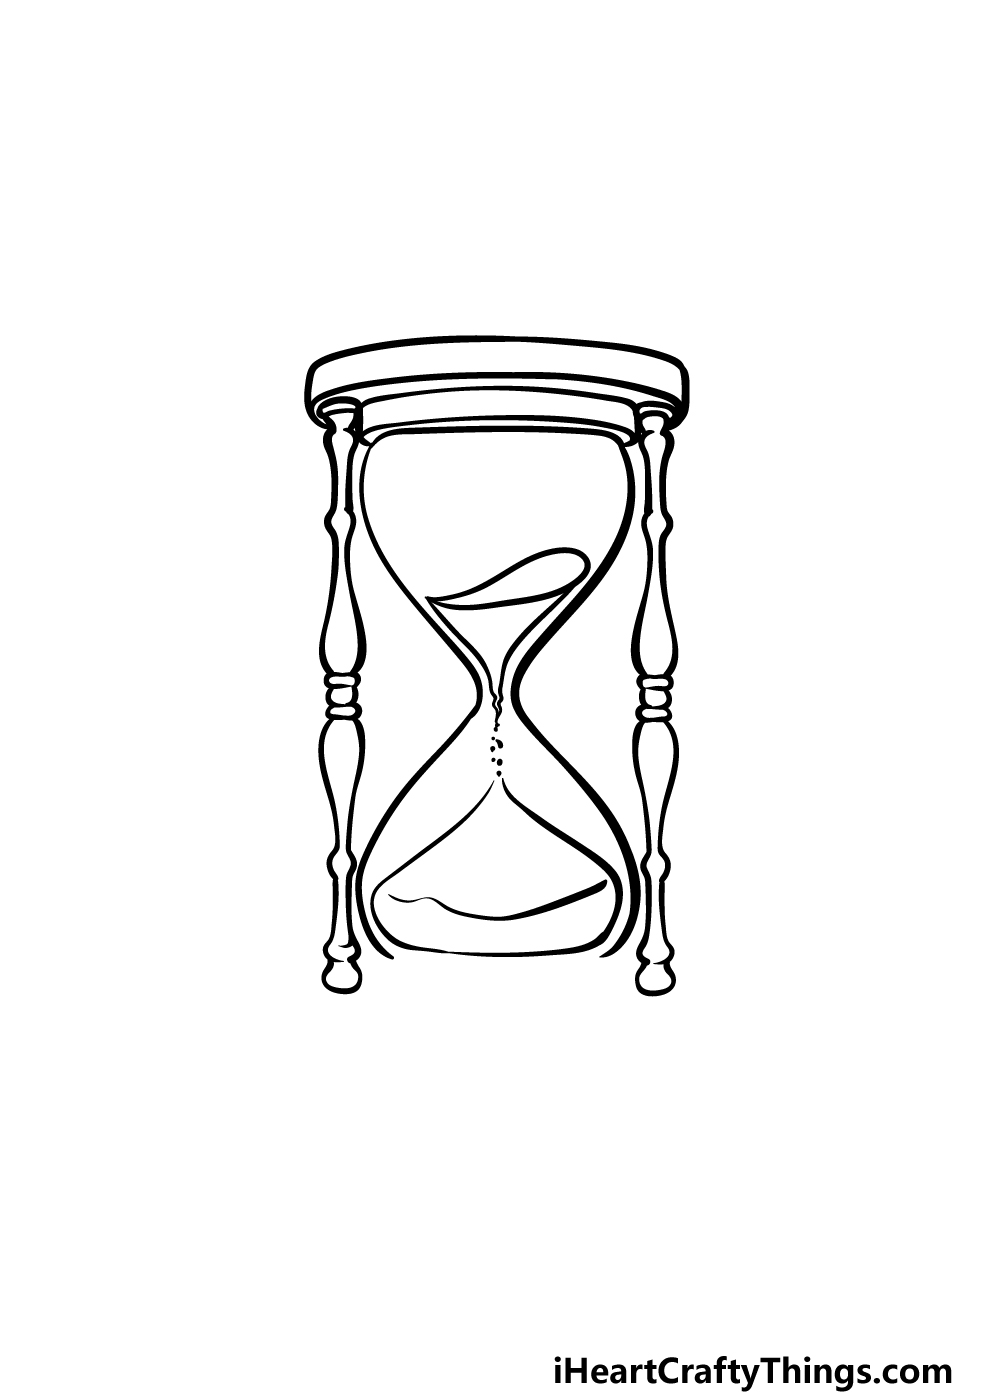
To begin, the top of the frame will go first.
First, draw two curved lines that connect to one another for the top of the frame.
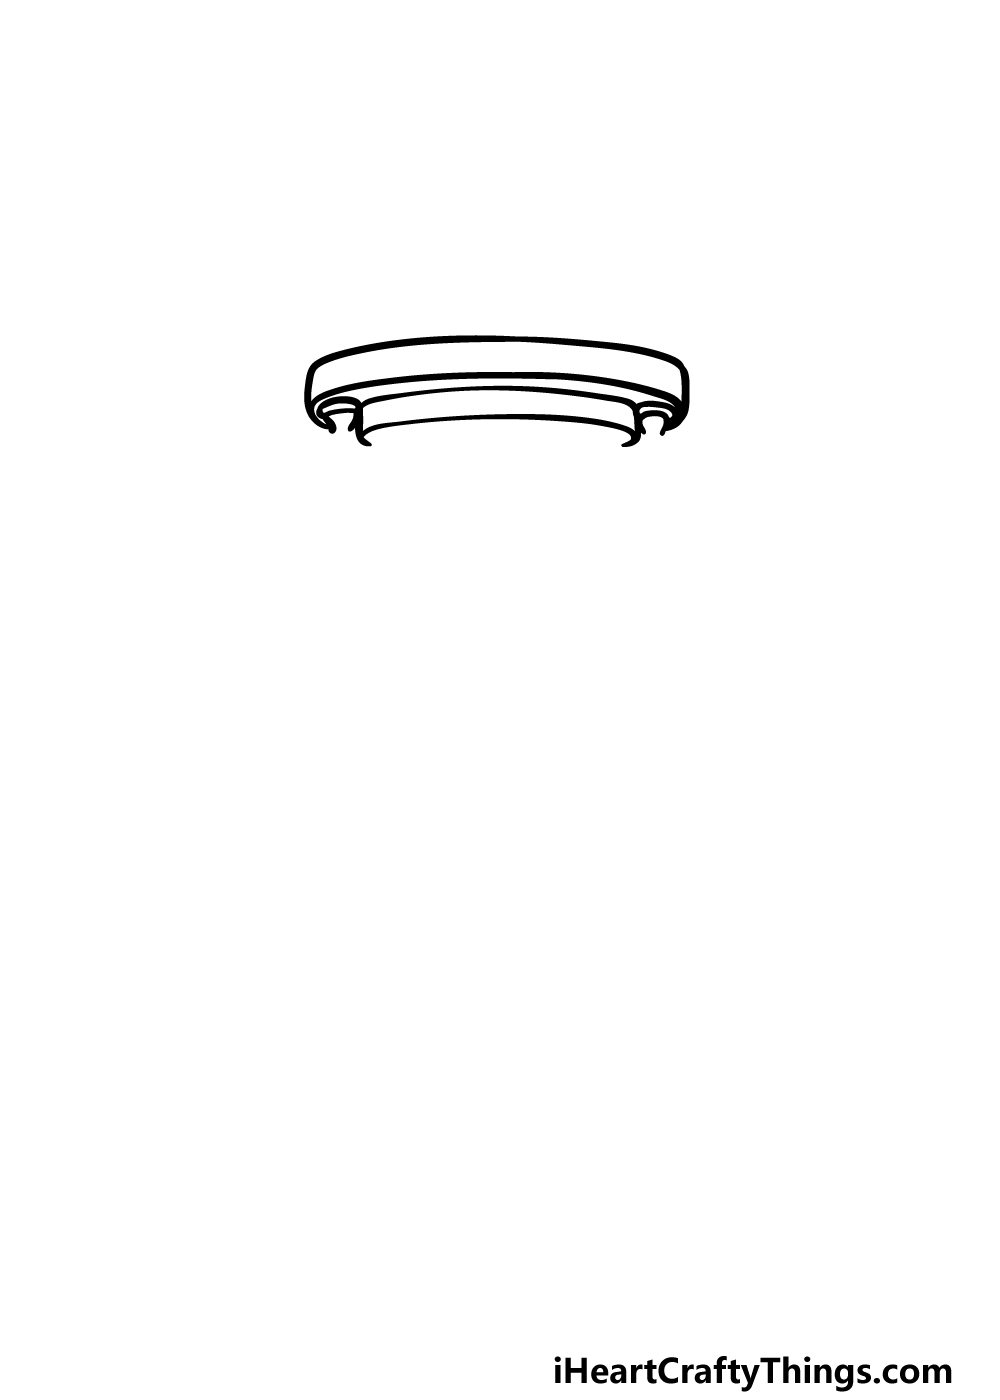
Finally, draw two small round shapes at the corners for the top of the sides of the frame.
when you land drawn these lines youre ready for step 2!
These will extend down from the top round shapes that you drew in the previous step.
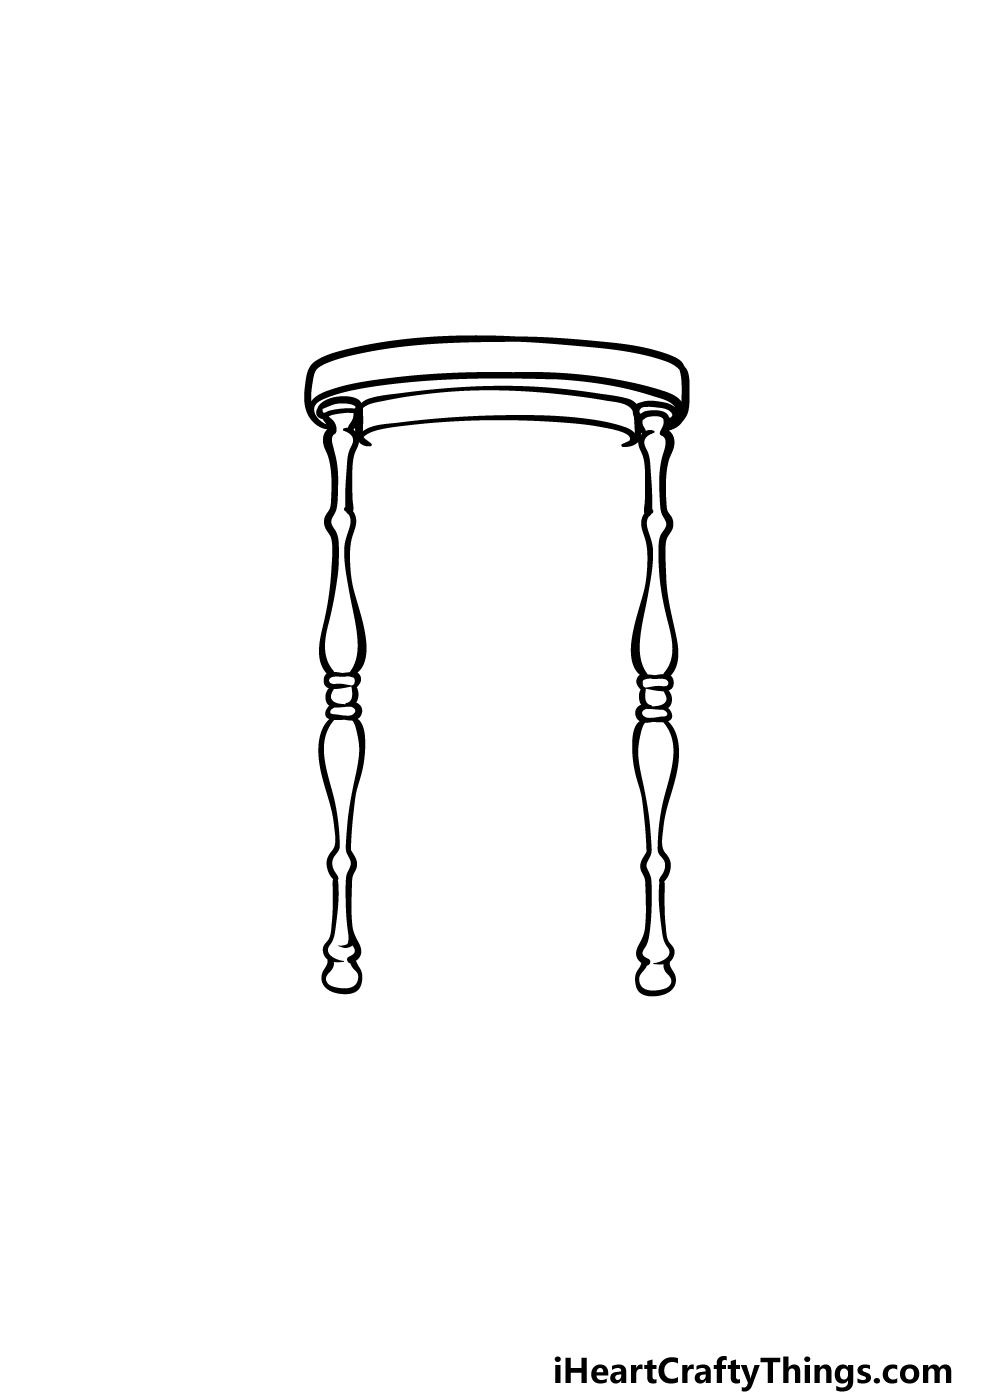
There will also be some thin, round shapes in the center of the supports for some extra detailing.
You could also change the look of some of these decoration elements if you wish as well!
when you’ve got drawn the lines for the casing, youre ready for step 4!
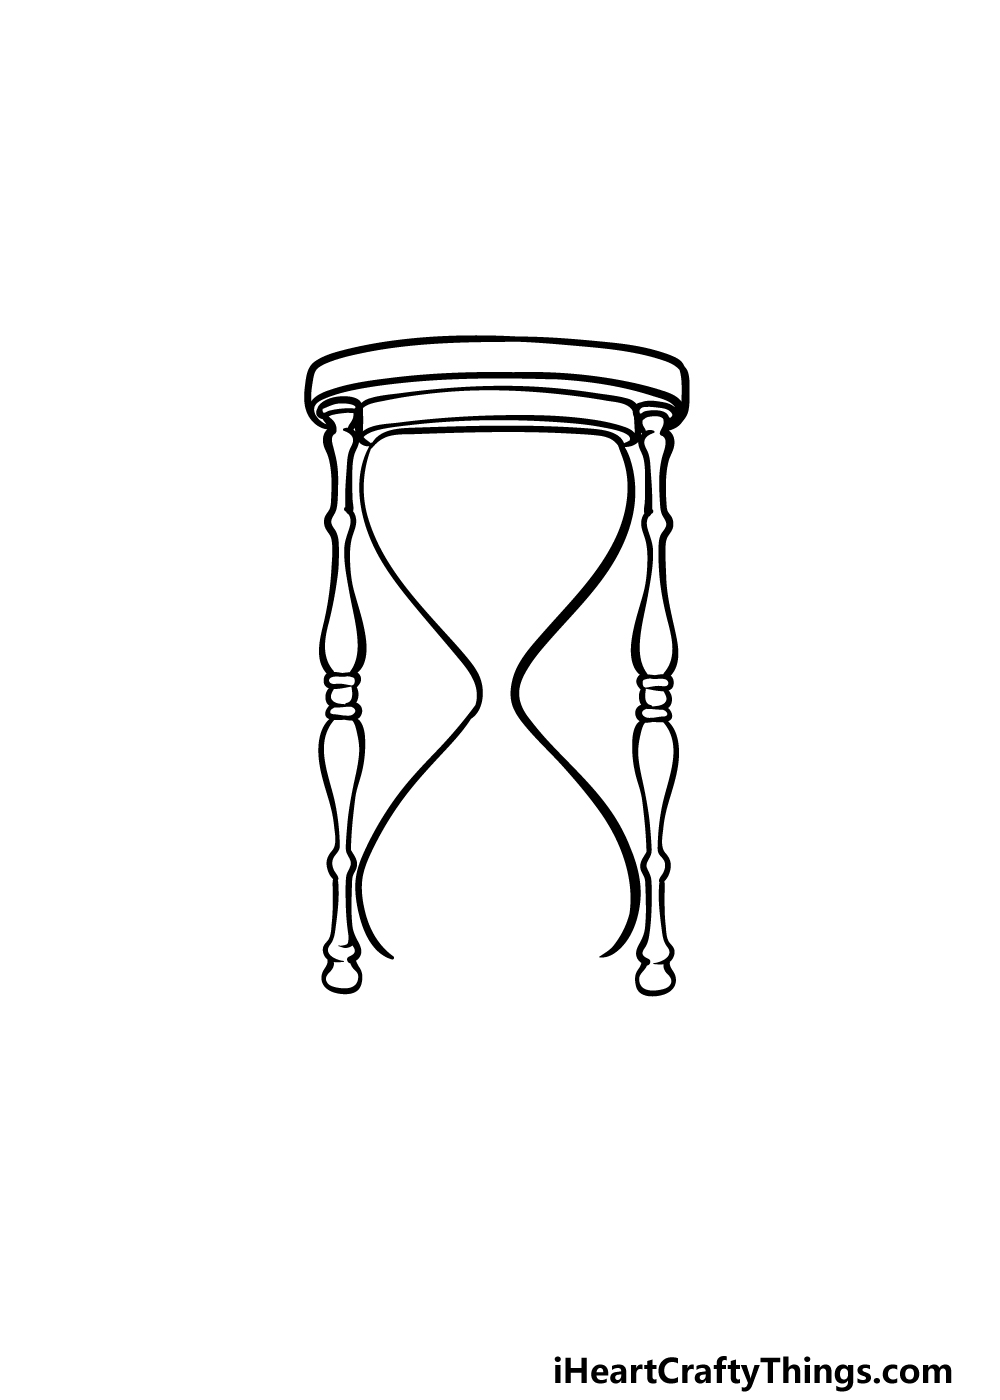
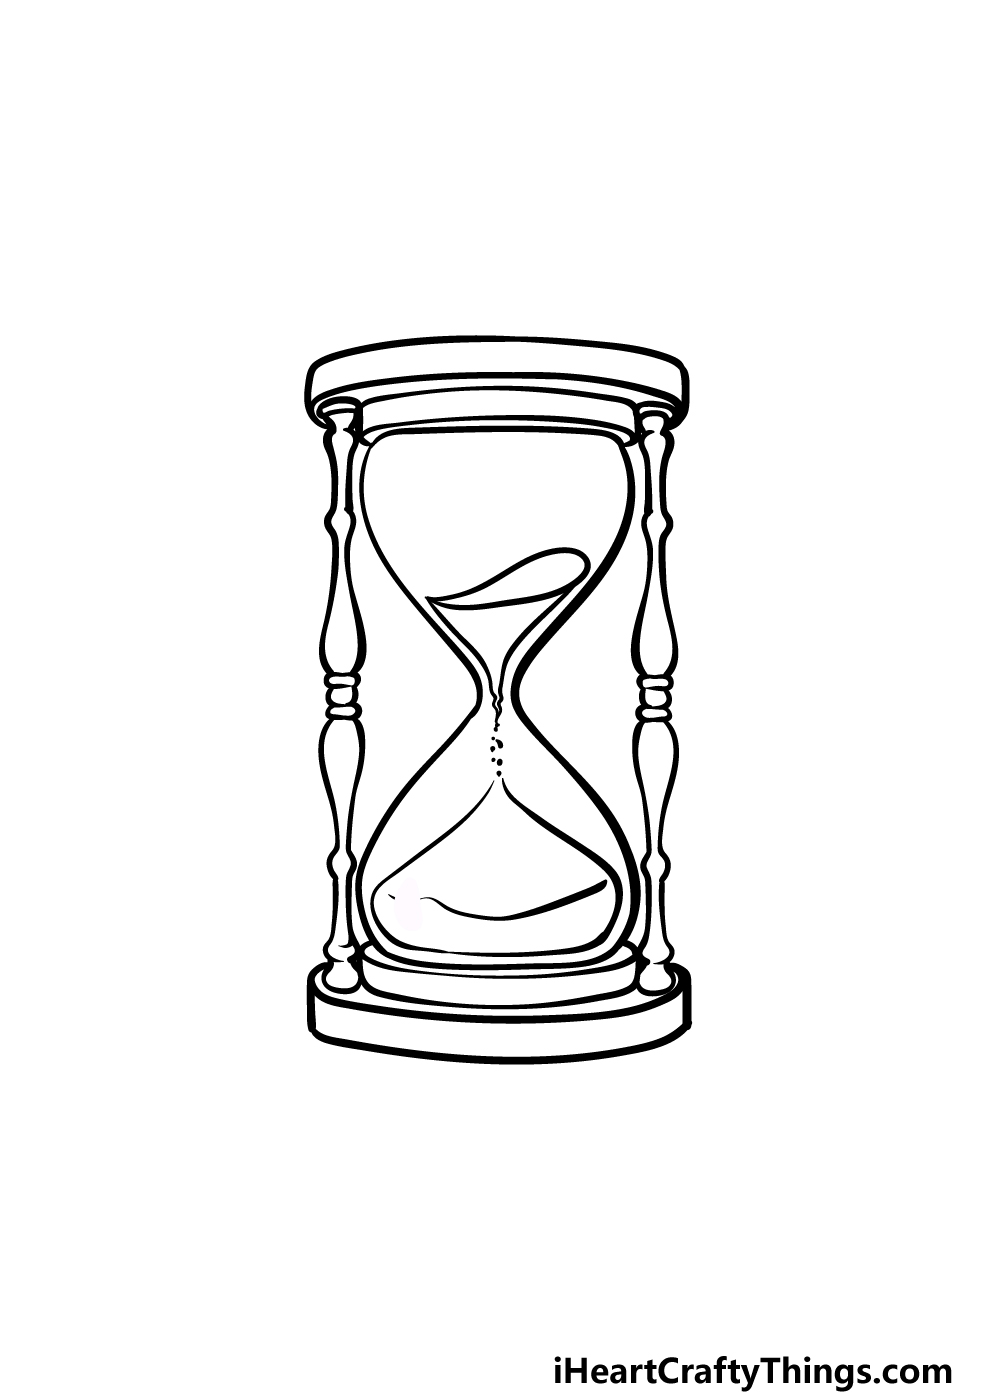
In step 4 of your hourglass drawing we will add that aspect.
you could also add some dots above this tip for more sand trickling down onto it.
after you snag drawn this base, you have finished all of the details in this picture!
Some ideas could include engraving a message or a pattern onto the frame of the hourglass.
You could also draw a background and maybe show this hourglass on a table along with some other objects.
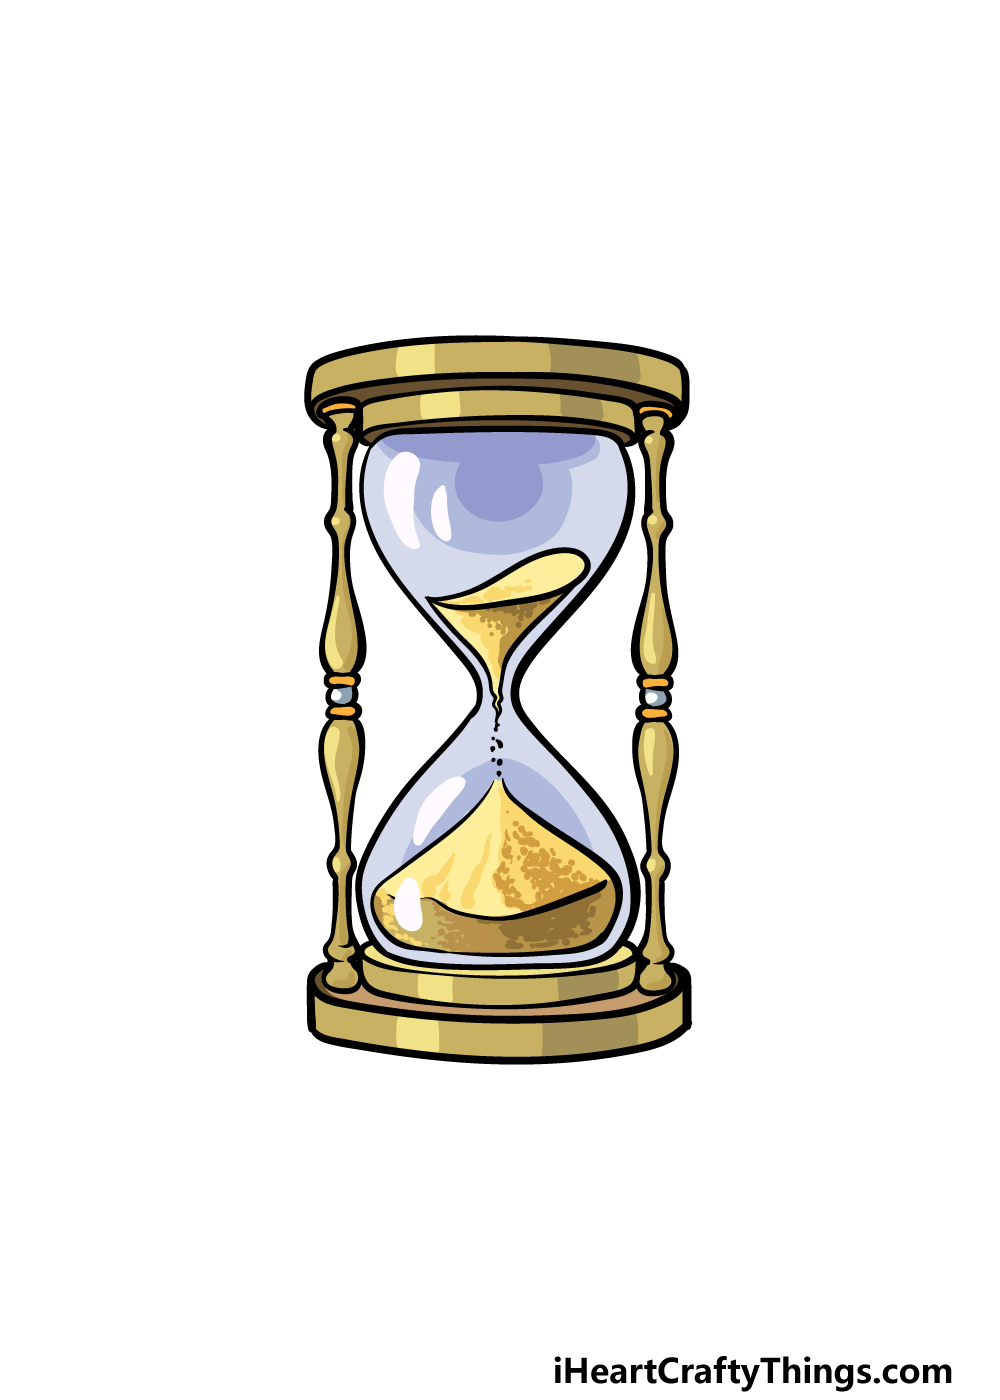
Then, we used various shades of blue for the glass and then used some yellows for the sand.
Heres how you’re free to make your hourglass drawing even better…
Spend some time making your hourglass sketch even more amazing!
You could create one of your own by changing just a few of the details.
These could include the frame of the hourglass, but it could be the shape of the glass itself.
Another way to improve your hourglass drawing even further would be by adding some other objects beside it.
These could include objects such as an old telephone, a compass or maybe an antique globe.

What objects do you think you would like to add to this?
There are many different ways that you could do this.
It would also be an interesting image to use in a greeting card for someone you care about.

What other uses can you think of for your hourglass?
after you snag added colors using your more conventional tools, you could experiment with something more unusual!
For instance, you could put a layer of glue over the sandy portions of the hourglass.

What other fun crafts could you use for this drawing?
Your Hourglass Drawing is Complete!
You have completed all six steps of this guide onhow to draw an hourglass!

Hopefully we succeeded in this goal for you!
Now that you have completed this drawing, you could take it even further with your own details.
Be sure to visit often to never miss out!

More From:How to draw
Printable Bubble Letters A Complete Guide!


