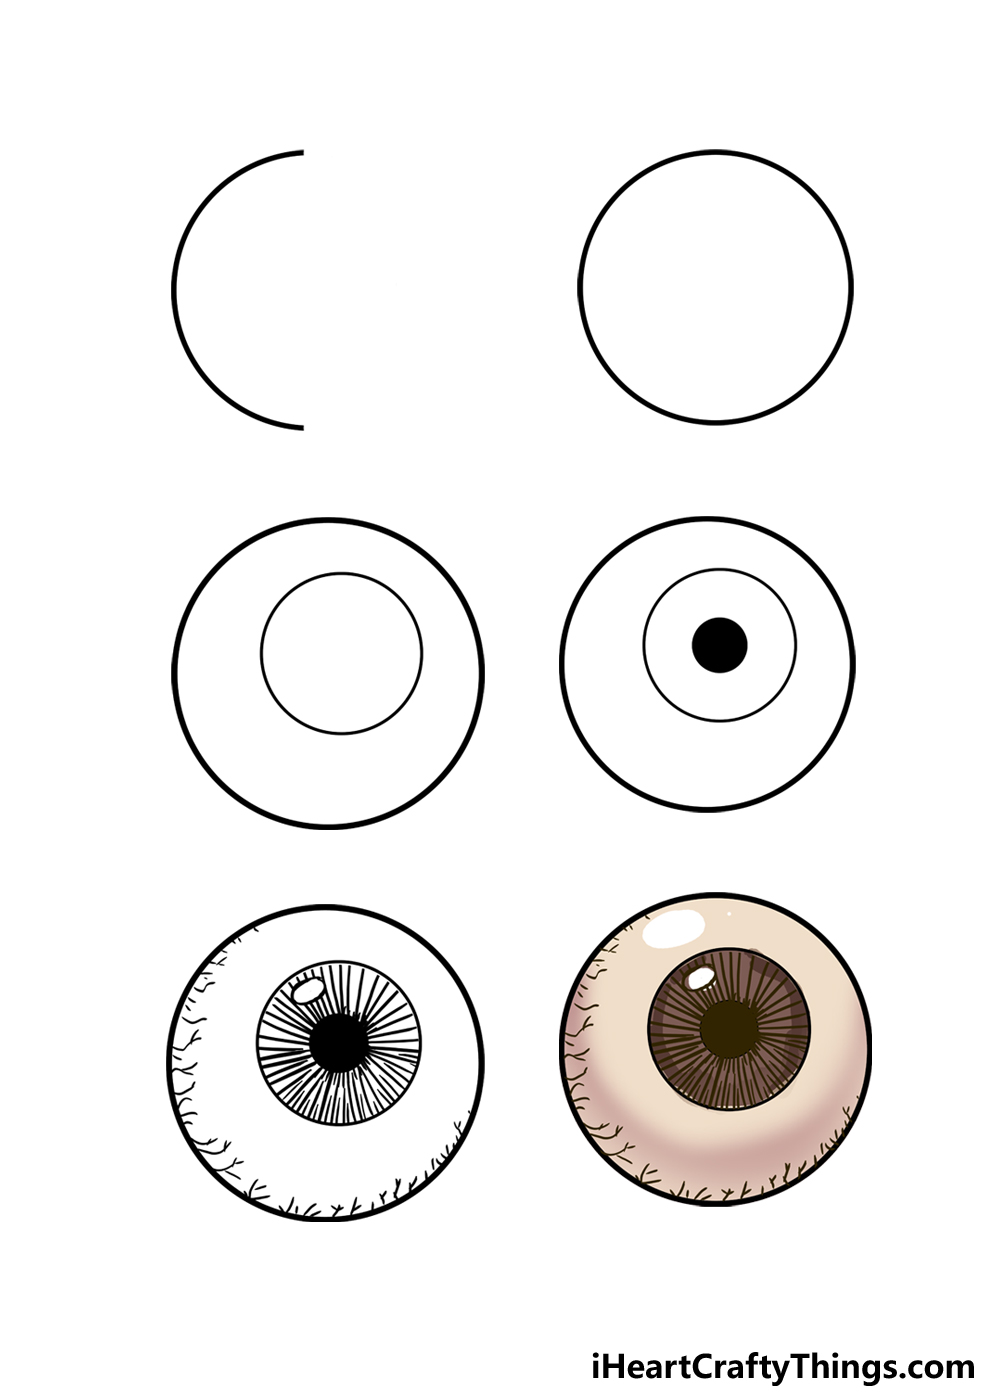
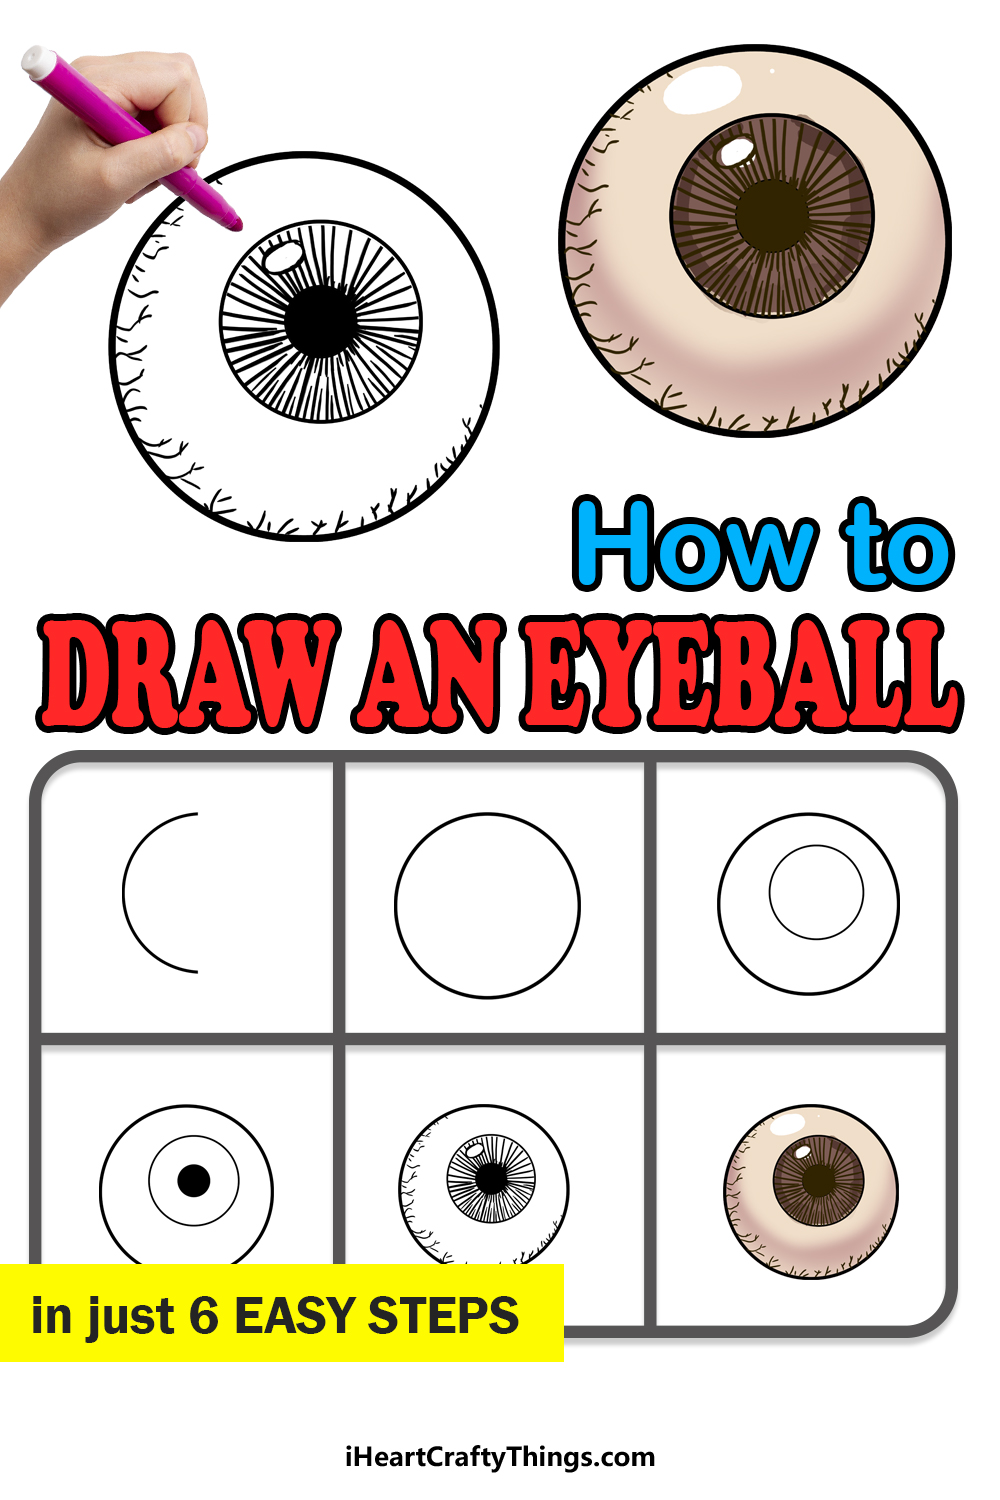
Eyeball Drawing in just 6 Easy Steps!
Allow us to show you how to make an eyeball drawing with this simple step-by-step guide for kids!
These steps will break it down to make this easy for kids and adults of all skill levels.
You may assume drawing an eyeball would be easy, as we see them every day.
Lets go through each step slowly with our eyes and discover how to make this drawing a reality.
For this drawing, we will be creating lots of circles.
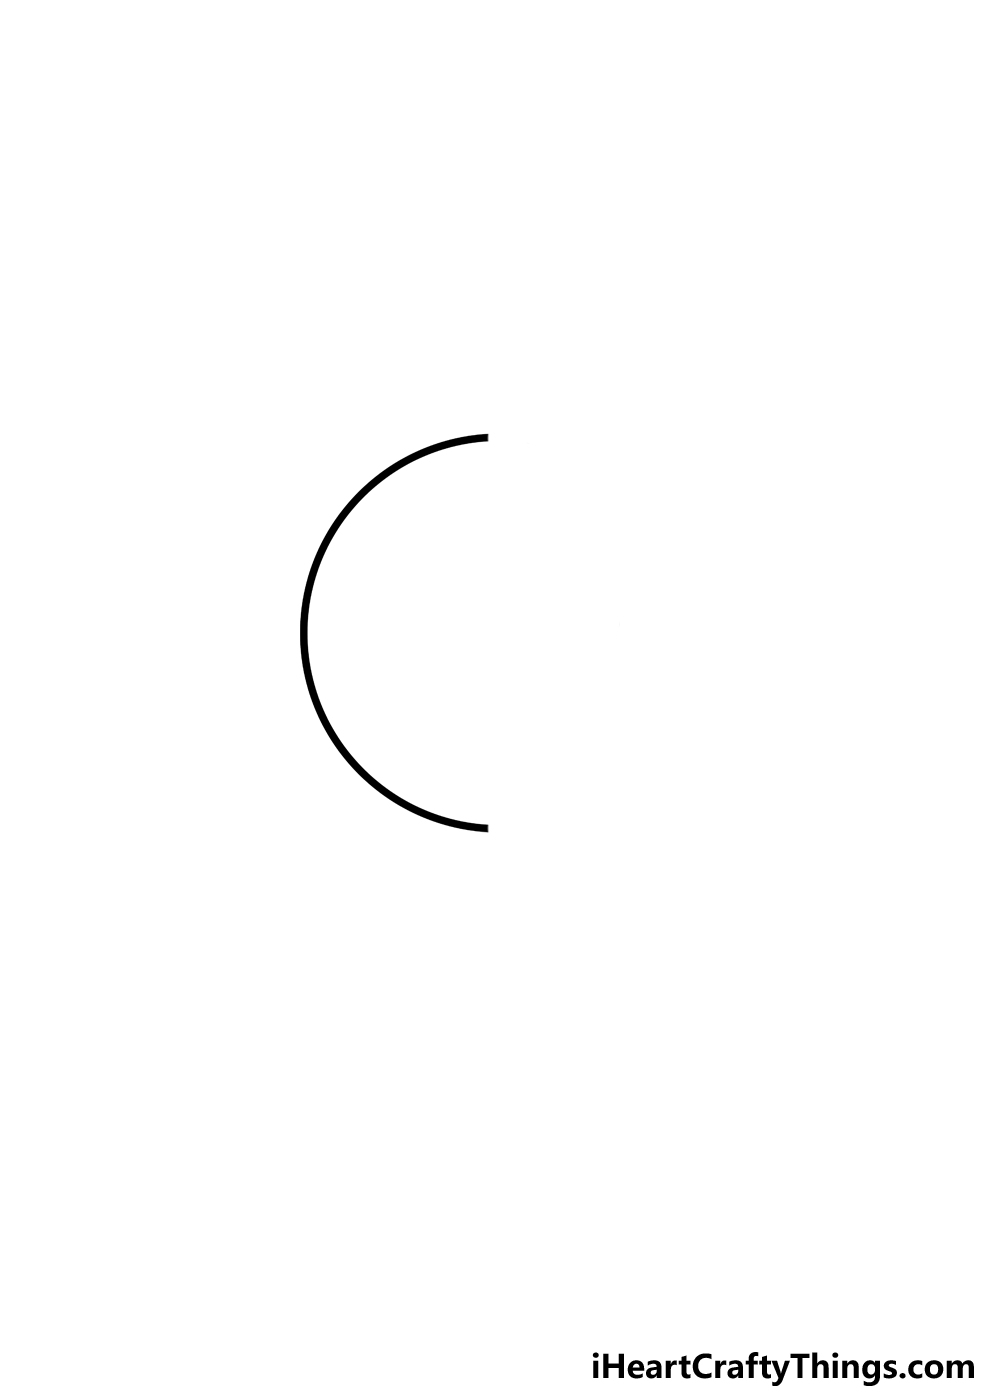
A drawing compass is the best tool to use for the job.
Using the point on the page, it can then rotate in a perfect circle.
If you dont own a drawing compass, they can be purchased cheaply at any stationery or art stores.
Another option is to use a round stencil or a flat round object that you could draw around.
You could even use something like the lid of a jar in a pinch.
No matter what you use to draw it, we can move on to step 2 when youre ready.
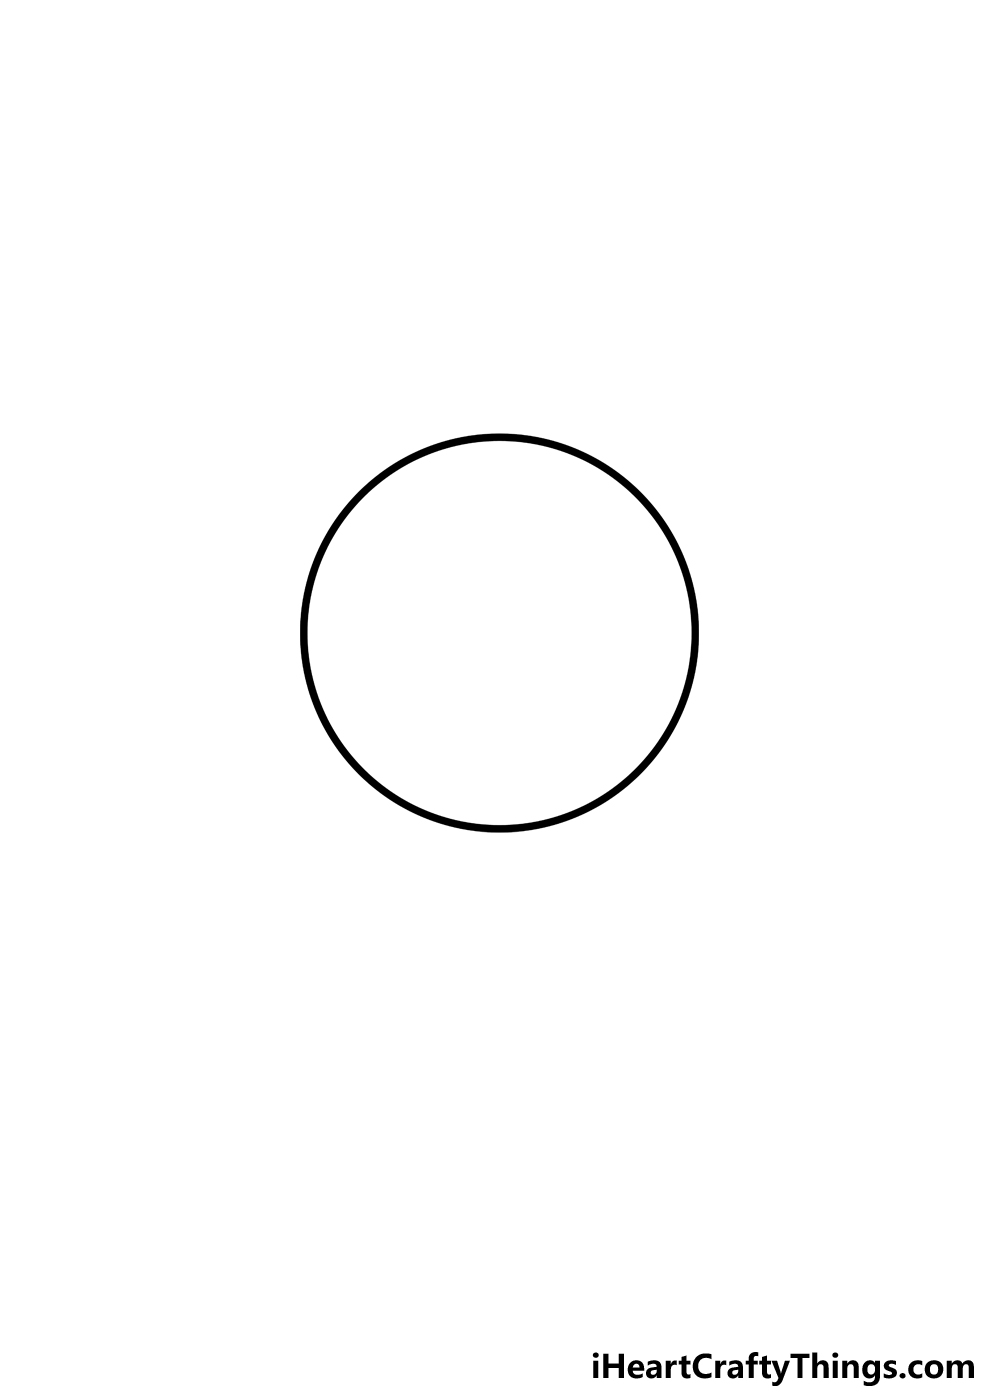
How you go about doing this will depend on the method that you used to draw the first half.
If you used a drawing compass, then simply continue the motion to finish off the circle.
Any method may result in small holes or spots that your pen or pencil didnt reach.
Those should be easy enough to fix, and then you will have your complete circle!
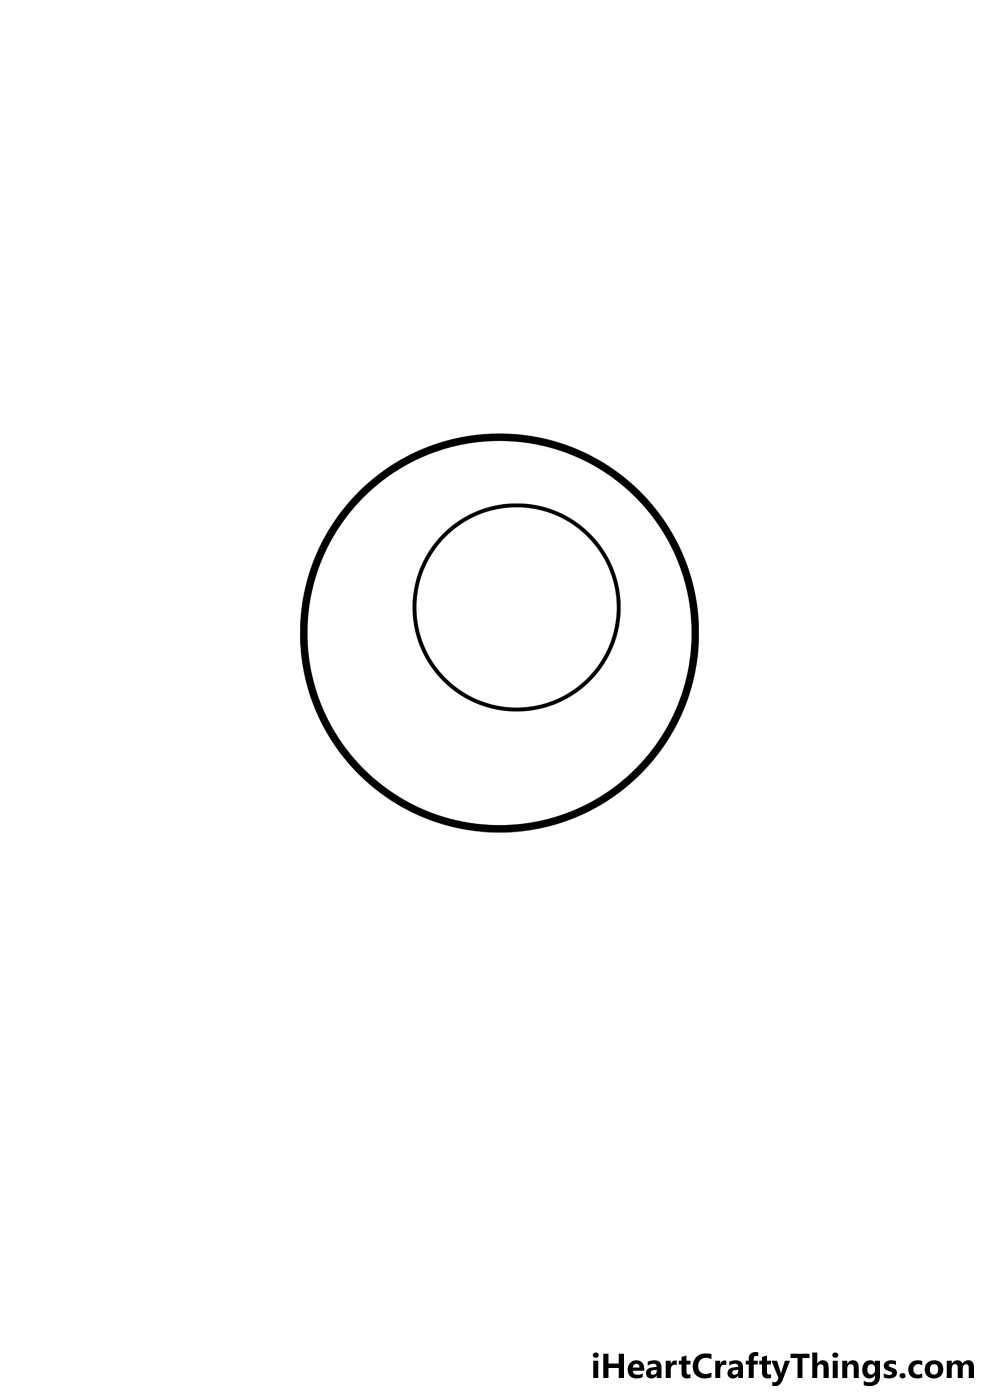
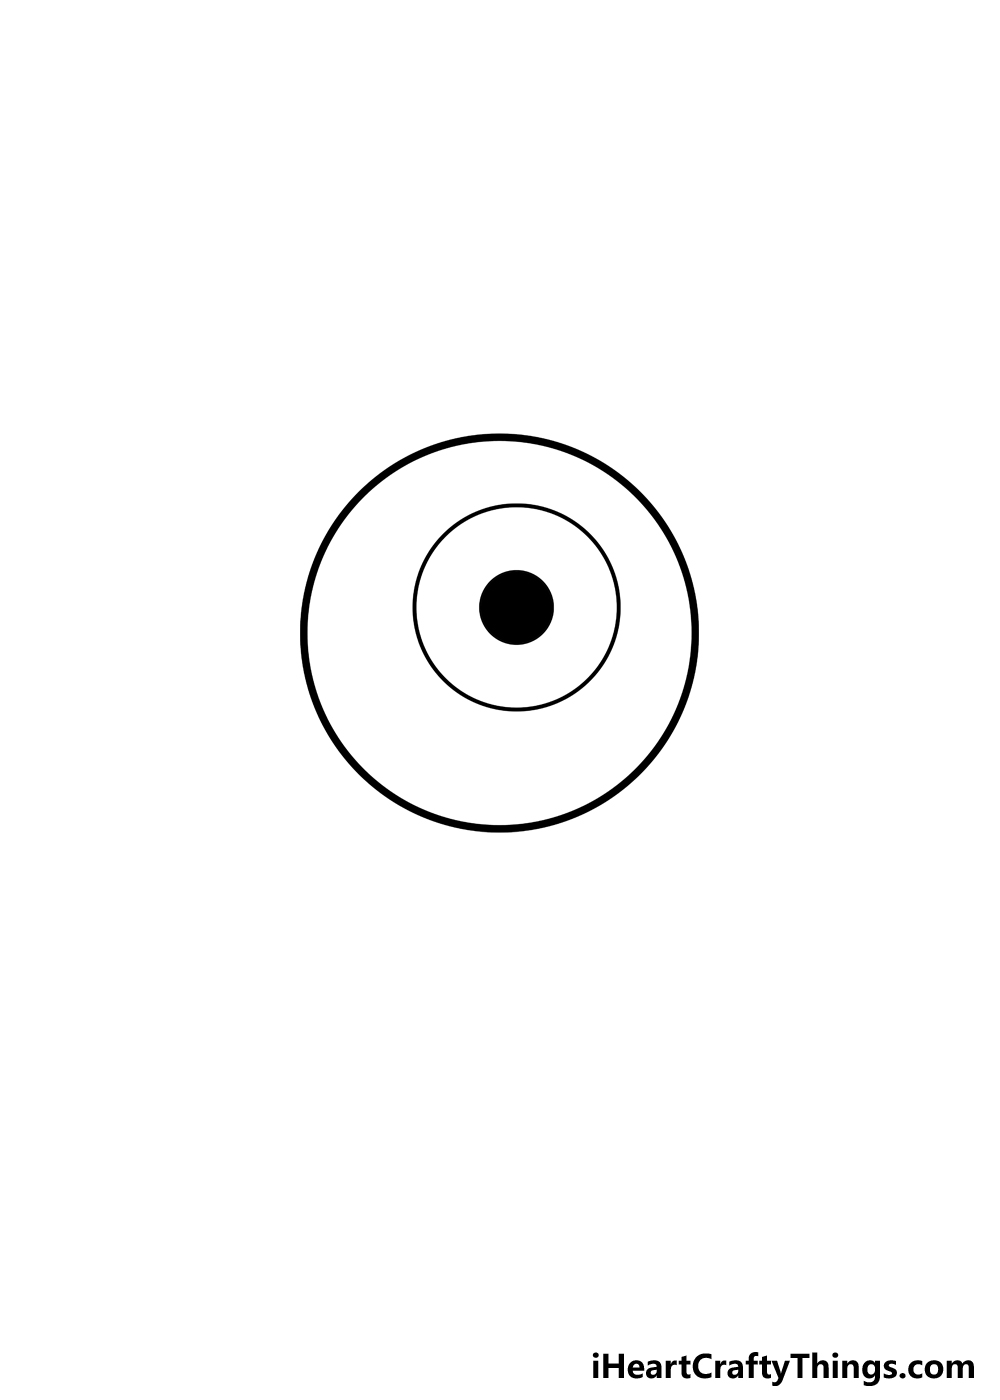
The iris could go pretty much anywhere on the eyeball that you choose.
As you could see in the reference image, the iris is actually quite large on the eyeball.
It should be around half the size of the actual eyeball, maybe a bit smaller.
Remember that you might use a light pencil to practice drawing it before adding the final lines.
Therefore, we would recommend using a drawing compass or a stencil.
when you obtain the pupil there, all that remains is to fill it in.
the pupil is a large black dot, so be sure to color it in with some solid color.
With the pupil drawn, we are ready for those final details.
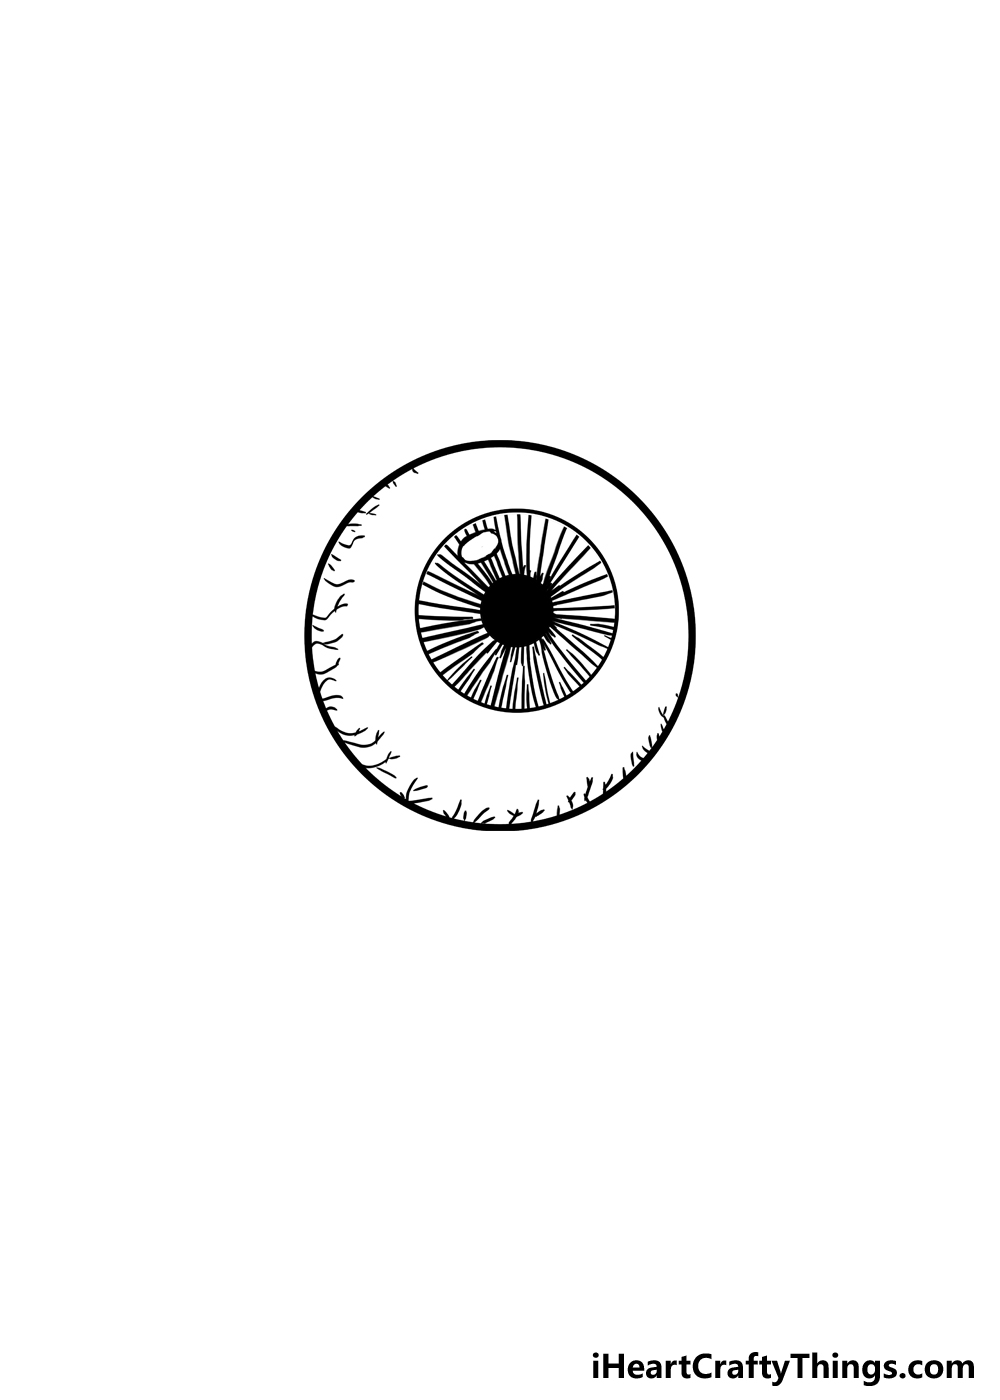
With that out of the way, lets focus on some final details and make this drawing even cooler!
First, create a glint on the eye by drawing a small oval shape on the iris.
Then, we will make the iris a lot more realistic.

To do this, we will be adding many lines from the outline to the center of the pupil.
This is a pretty gruesome touch, but it looks pretty cool.
With that, we have finished the design and can move on to the final step!

Before you do, be sure to add any other fun details that you may like.
There are some creative ways that you could finish off this artwork.
For another kind of gross touch, you could add the optic nerve hanging from the eye.

It could also befun to draw a background settingsuch as a jar thats filled with eyeballs.
For a more educational angle, you could label the different parts of the eye.
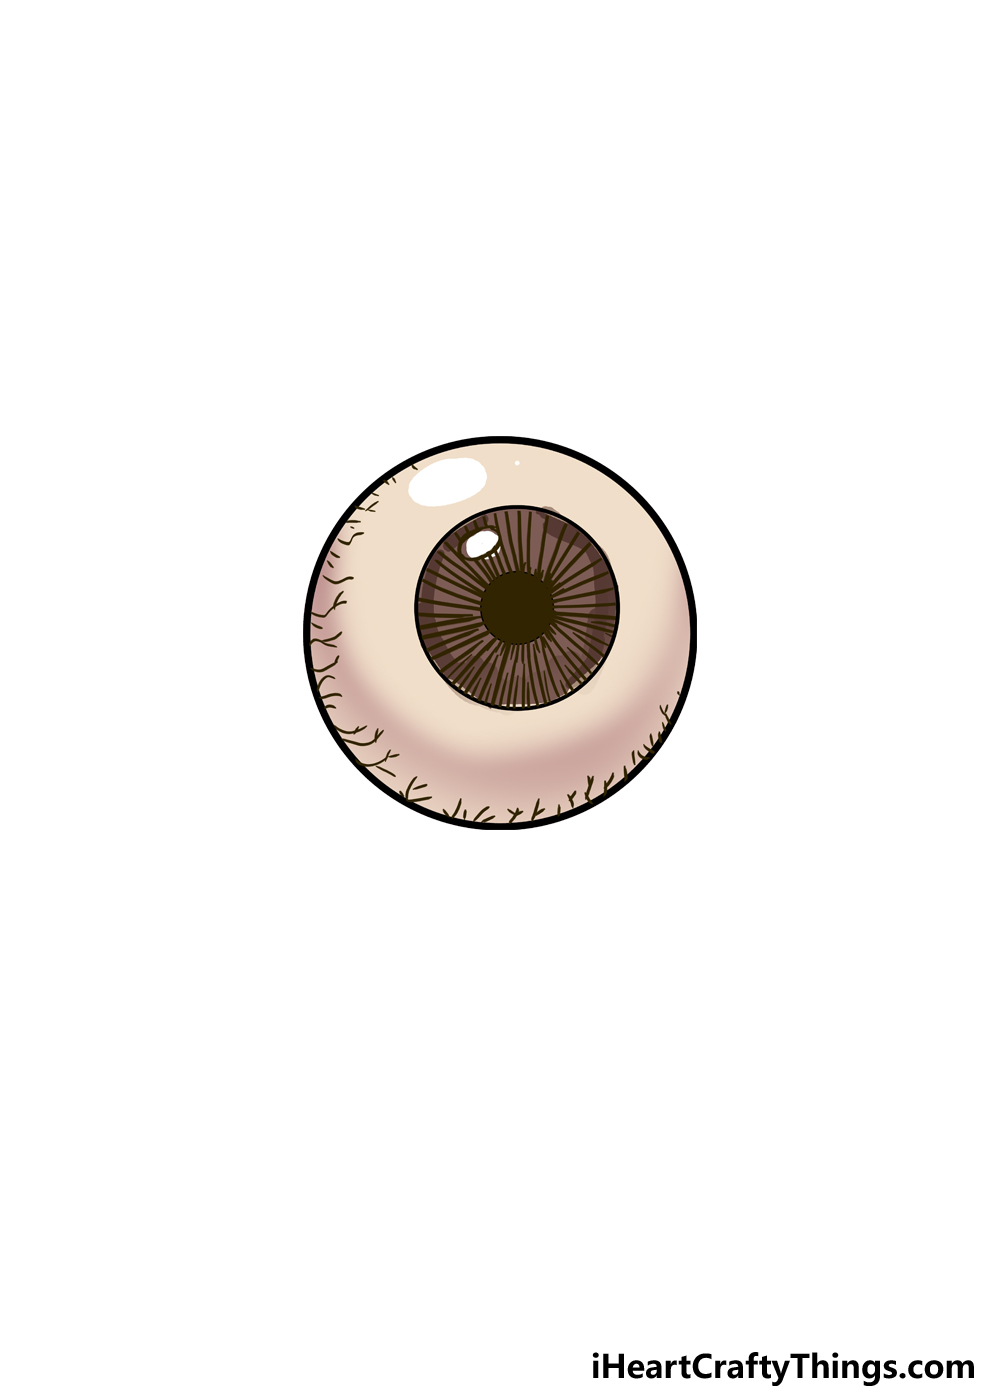
In our example, we kept the colors pretty muted and simple.

When you color in the iris, the medium you use can make it easier.
For example, lets say you drew the eyeball using a black pen.
There are a few ways that you could make this easier.

Of course, you also dont have to stick to the same colors that we did.
It doesnt even have to be a realistic color, necessarily.
you might also add some additional fun color details.

Not only can you try out different mediums, but mixing them together can also be fun.
What colors and mediums will you choose to finish off this eyeball in style?
Your Eyeball Drawing is Complete!
That brings us to the end of this guide on how to draw an eyeball!
If you have any other tricks to make it easier, be sure to use them!
We spoke of a few ideas that you could use to do this.
There are so many possibilities for this relatively simple drawing, so let your imagination run wild!
When your drawing is finished, we would be thrilled to see how it turned out.
More From:How to draw
Printable Bubble Letters A Complete Guide!
