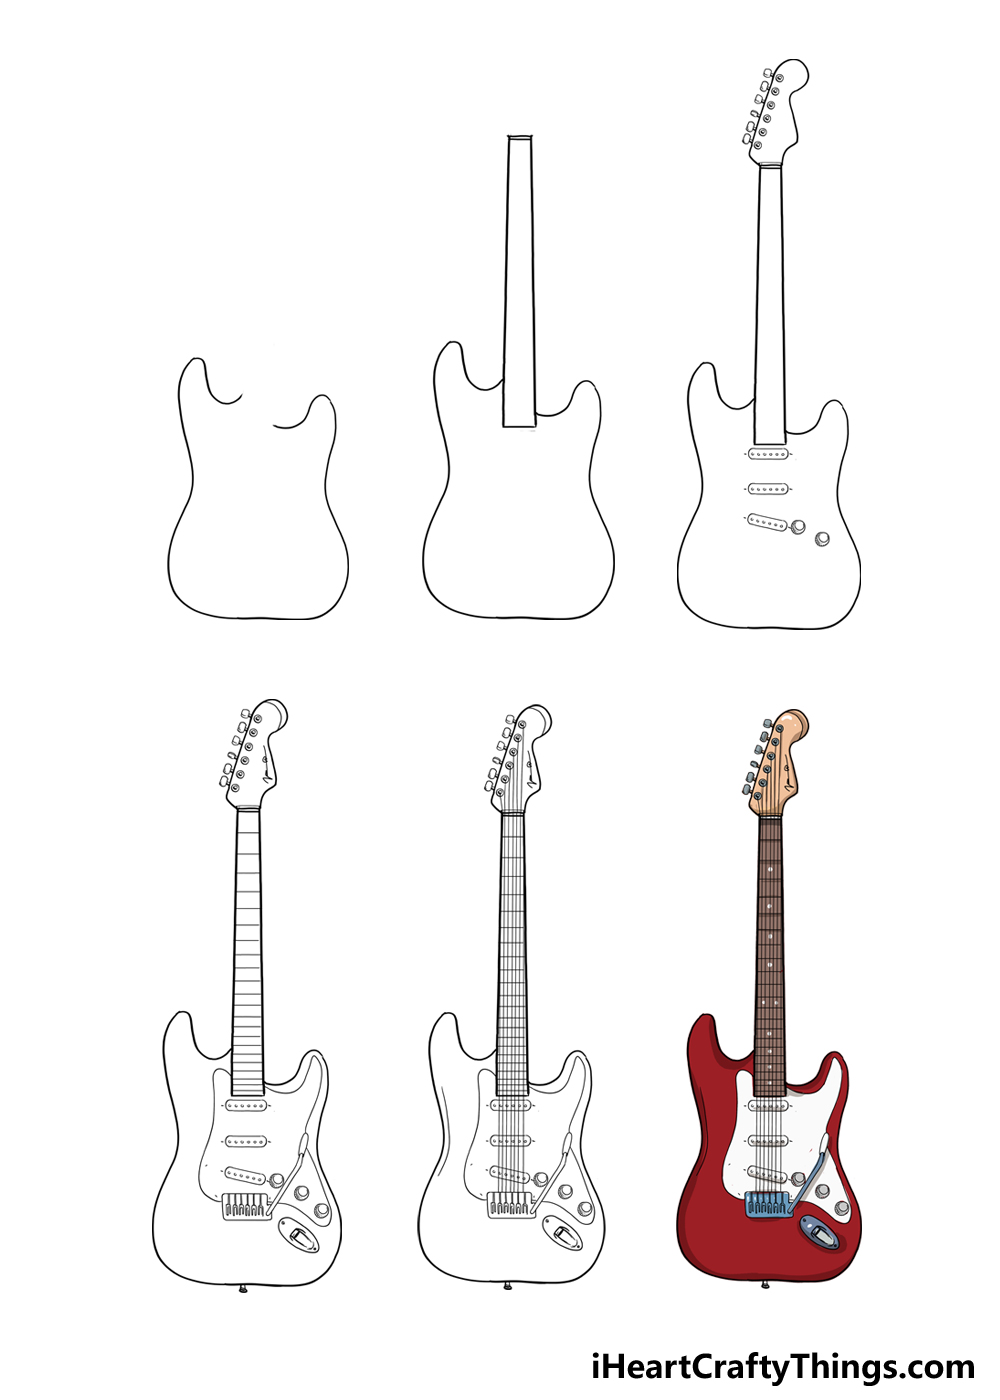
Electric Guitar Drawing in Just 6 Easy Steps!
Everybody loves music, and there are so many genres to choose from.
Music can be made in many different ways using lots of different instruments and tools.
Grab your favorite art tools, put on some rocking tunes and lets get started.
How to Draw An Electric Guitar Lets Get Started!
These would include the usuals, such as various pens or pencils.
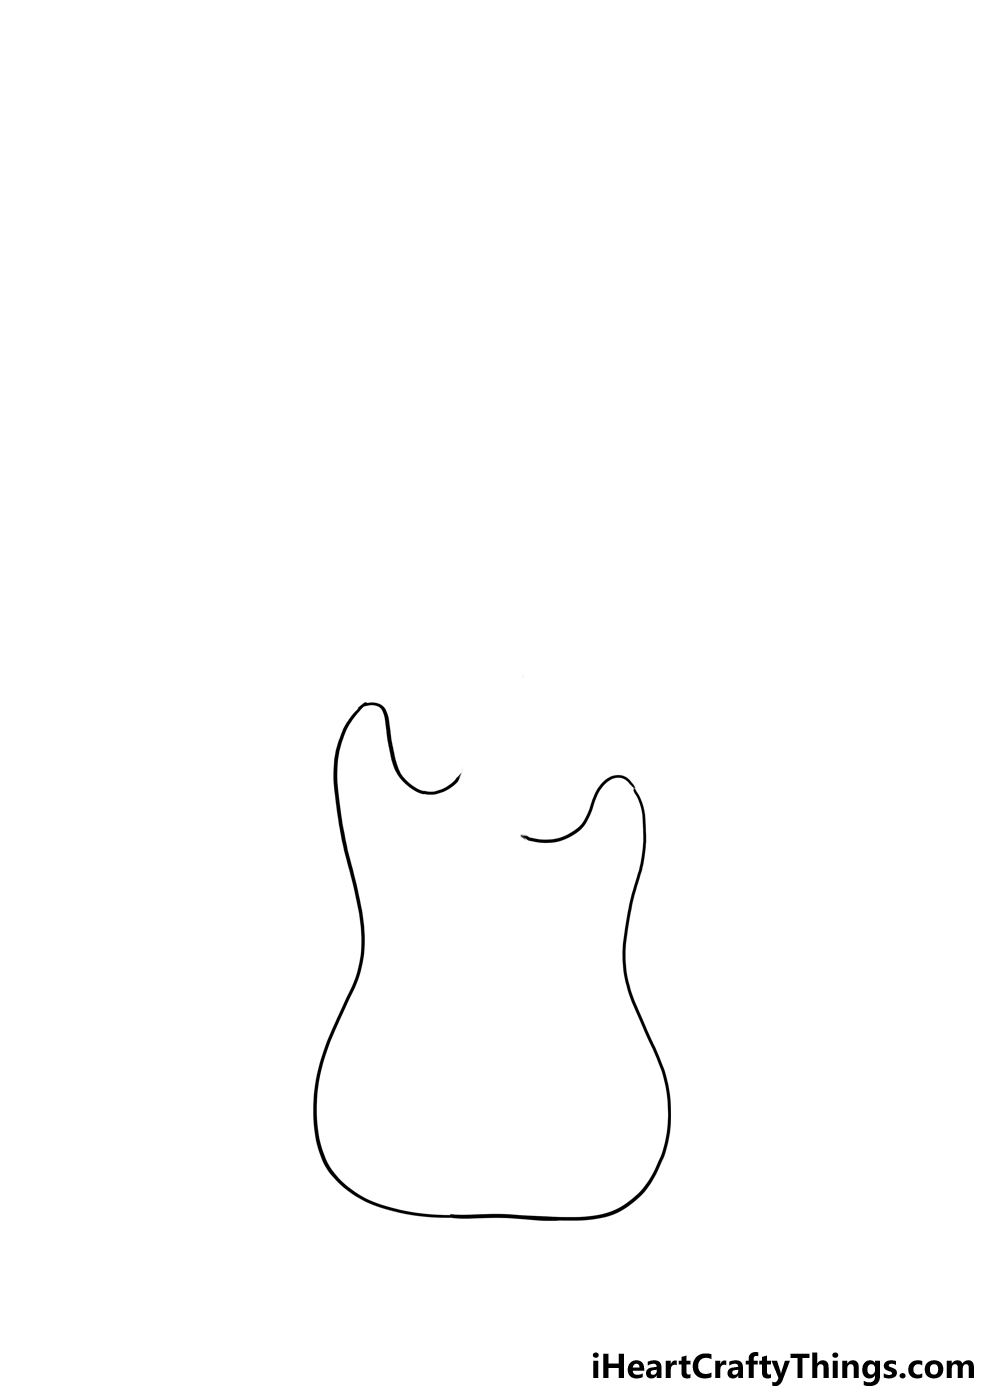
With that out of the way, we will start drawing the outline of the guitars body.
The body of the guitar will be a single wavy line, and it can take a steady hand.
This will result in a wider base for the guitars body.
Be sure to leave a space at the center, as the neck will go there soon.
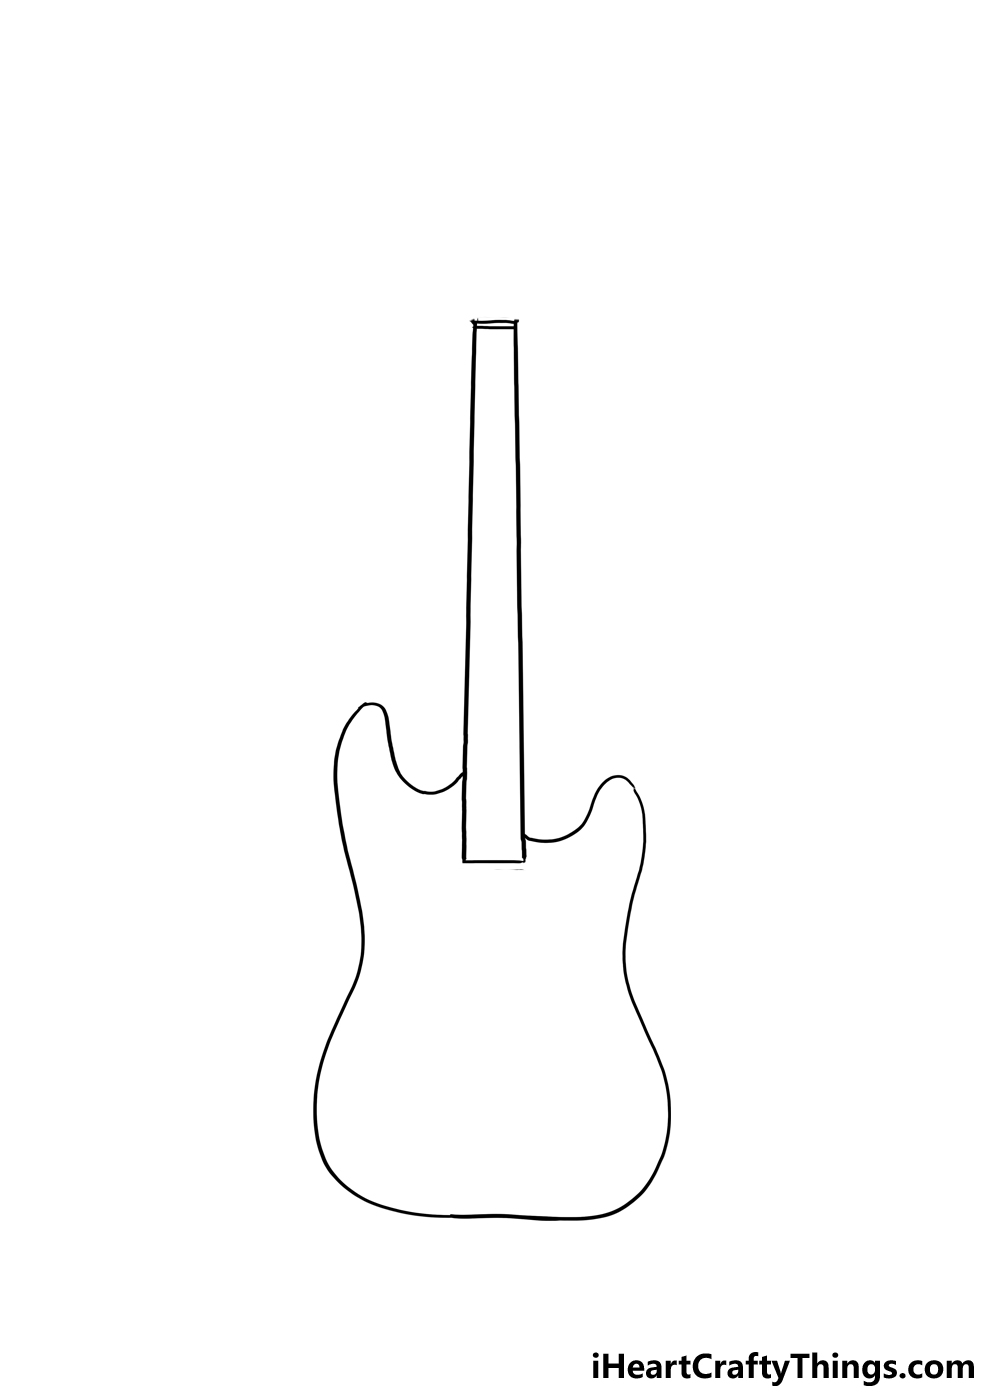
Drawing the neck without some kind of tool to help you would be quite tricky.
Thats why we recommended using a ruler to help you.

However you end up doing it, we are ready to start drawing the neck now.
It will essentially be a long, thin rectangular shape.
It will also slot into the space at the center of the body that we left previously.

Then, connect them at the bottom with a horizontal line.
At the top, we will add a line and then another one really closely under it.
Theres no specific length for the neck, but have a go at make it fairly long.
We will keep adding details as we proceed, so lets head on to step 3!
First, we will draw the head of the electric guitar.
This goes at the very top of the neck, and it has a rather unusual shape.
The left side will be drawn with a fairly straight line that angles slightly to the left.
The top of the head will be a rounded line that angles to the right.
Then, the right side of the head will have a more angular line to it.

Then, we will add the tuners to the head.
These will start with a row of small circles on the left side of the head.
And each one will have a smaller circle inside of it.

Then, you’re able to add the tuners themselves.
Finally for this step, we will draw the pickups.
These go on the body of the guitar, and they will be some long, thin rounded shapes.

The first two will be straight, while the third one will be drawn at an angle.
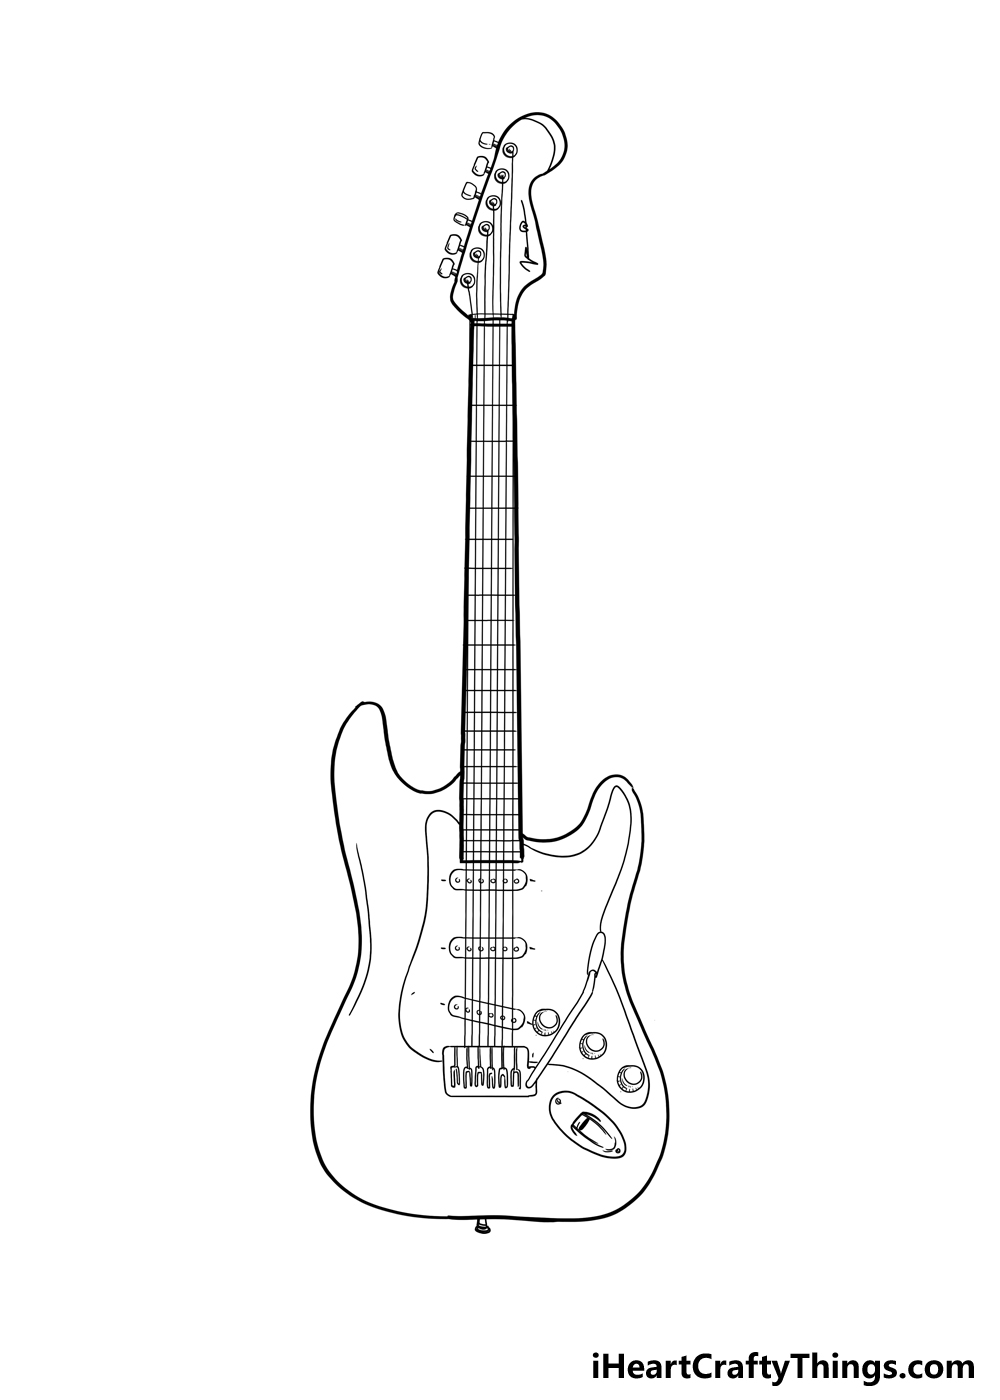
Lets start with some of the more minor details on the head of the guitar.
We will start with a curved line on the upper right-hand side of the head.

Then, we have some more details to draw on the body of the electric guitar.
For now, we will draw the strings of the guitar.
This will create a fine grid pattern on the neck as well.

Finally, add a simple curved line on the inner outline of the guitar body.
when you land added these final touches, you could add some ideas of your own!
For one idea, some guitars will have flame decals on them to create a fiery look!

Others may have specific branding or stickers.
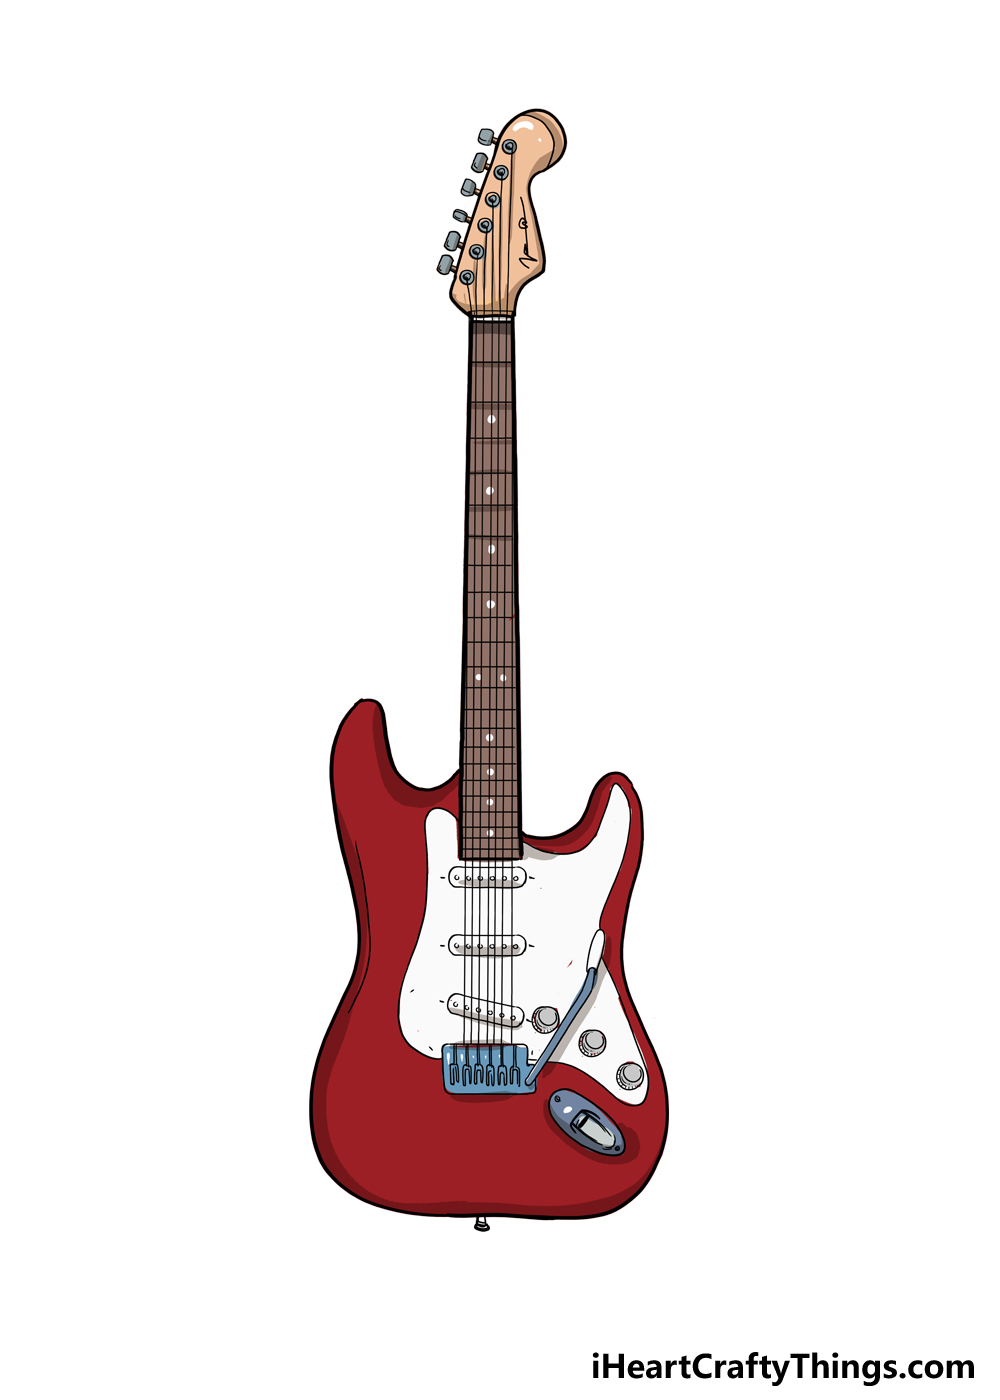
Then, we used simple browns for the neck and head with some silver for any metallic parts.
Now its up to you to decide how to color your own design, however!

When coloring, the colors you choose are not the only aspect to pay attention to.
you could also have fun with the art tools and mediums that you use for the colors.
you’re free to also incorporate crafts like glitter or stickers to make it extra fancy.
It can be fun to experiment with different ideas, so be sure to have fun with it!
Your Electric Guitar Drawing is Complete!
There were certainly some challenges here, but we hope that the steps of the guide made it easier.
This can be a great way to create your very own unique electric guitar.
When its complete, we would love to see your finished drawing.
it’s possible for you to share it on our Facebook and Pinterest pages for us to see!
It will be great to see what your awesome electric guitar looks like.
More From:How to draw
Printable Bubble Letters A Complete Guide!
