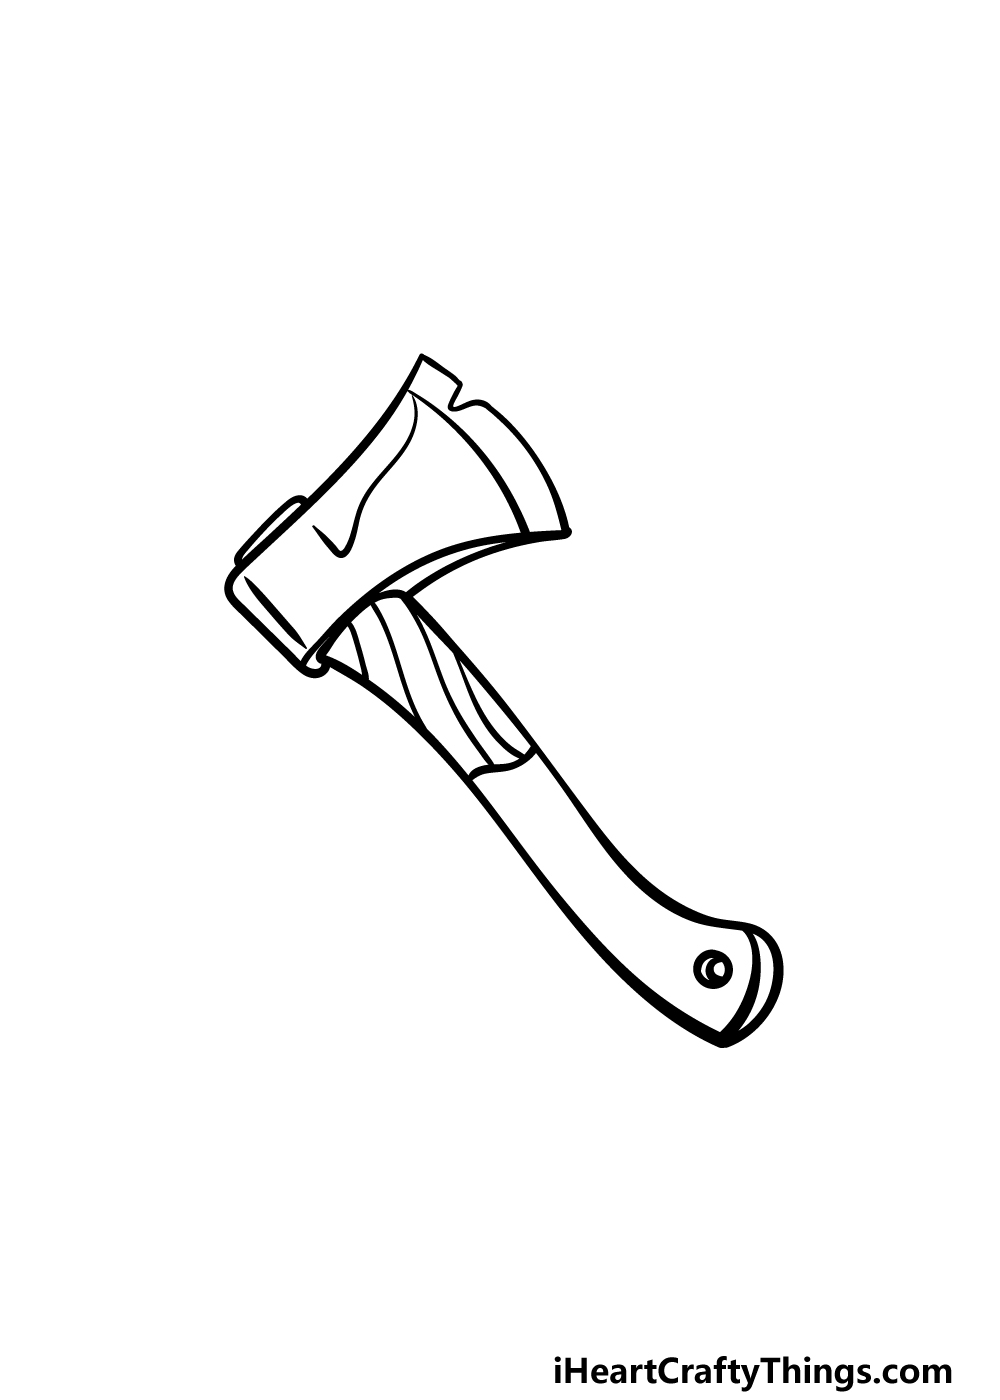
Axe drawing in just 6 Easy Steps!
An axe is a simple yet effective tool that can come in handy in a wide variety of situations.
Youre in the right place if this is your goal!
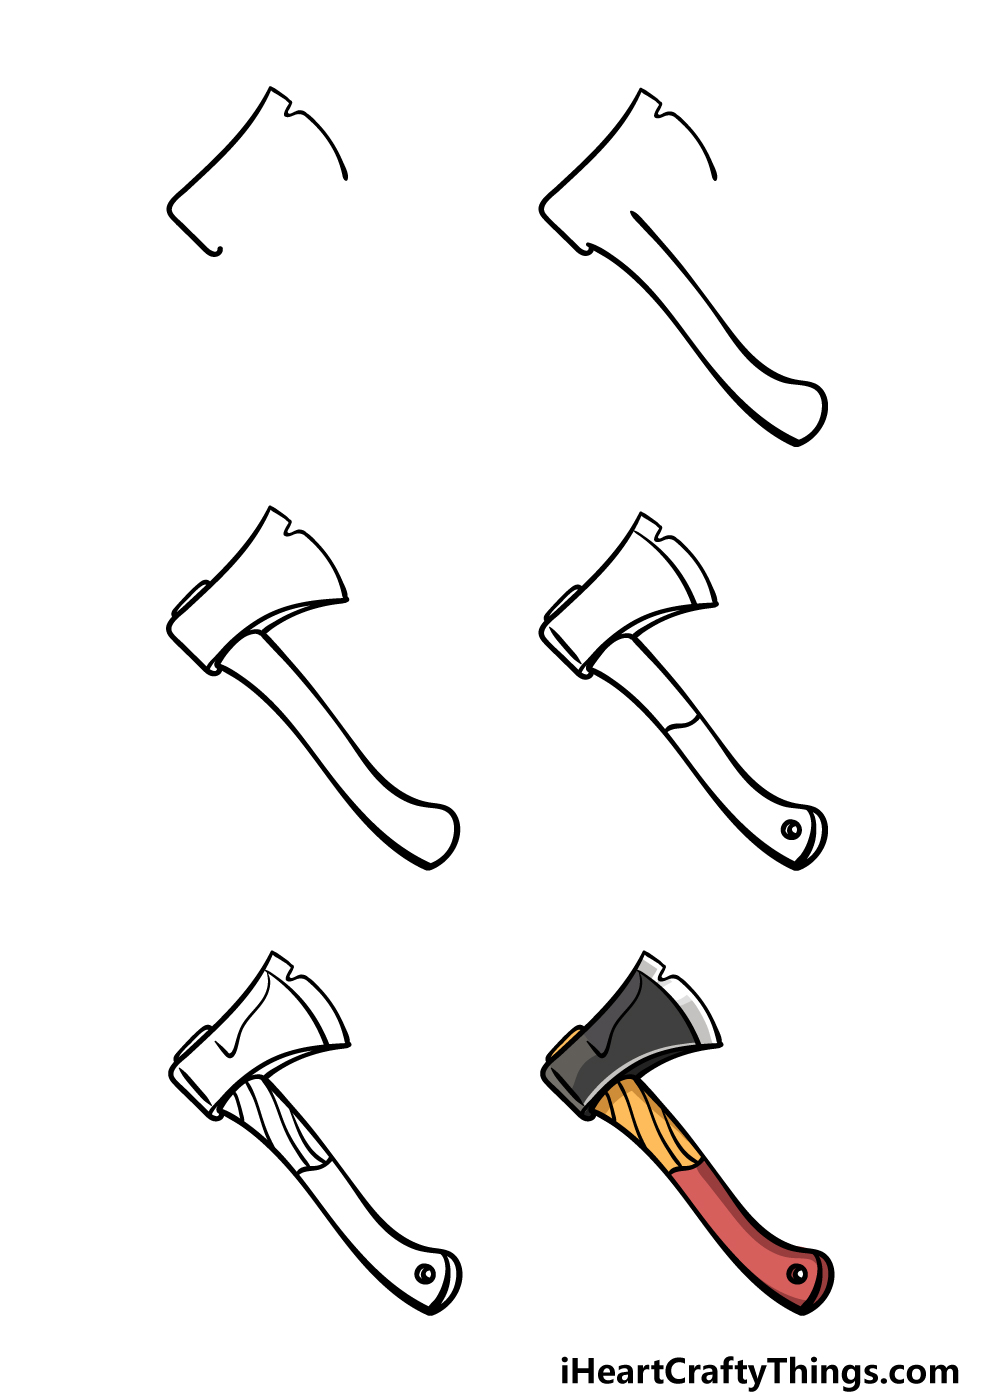
Our step-by-step guide on how to draw an axe will show you just how it is done.
How to Draw An Axe Lets Get Started!
To draw the blade outline, we will be using a mixture of curved and straighter lines.
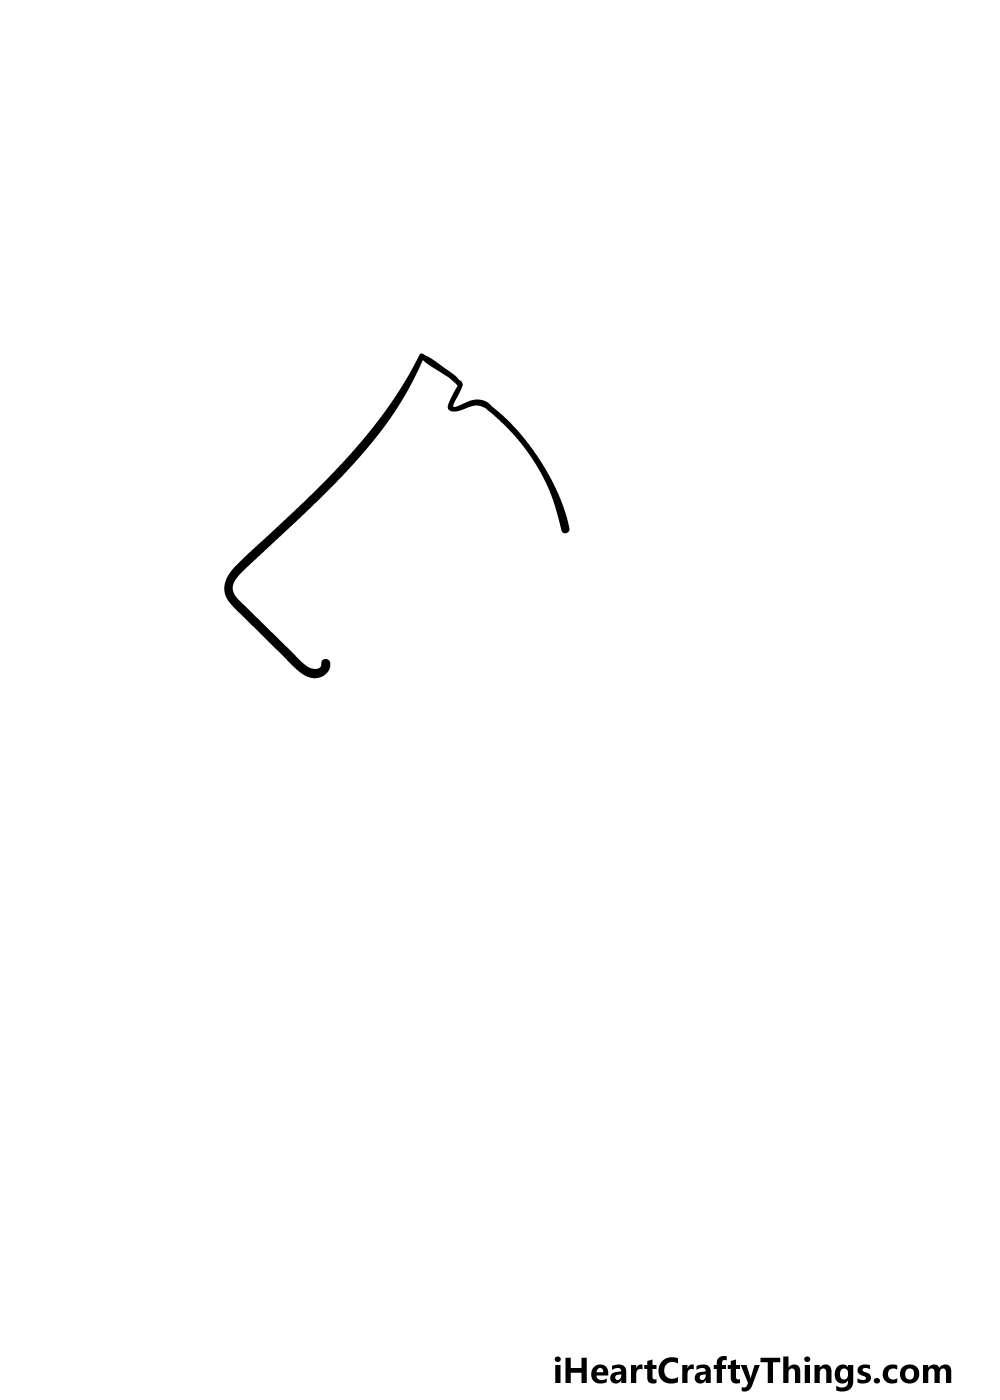
We will also be drawing a small nick on the sharp side of the blade.
Speaking of which, when youre ready we can move on!
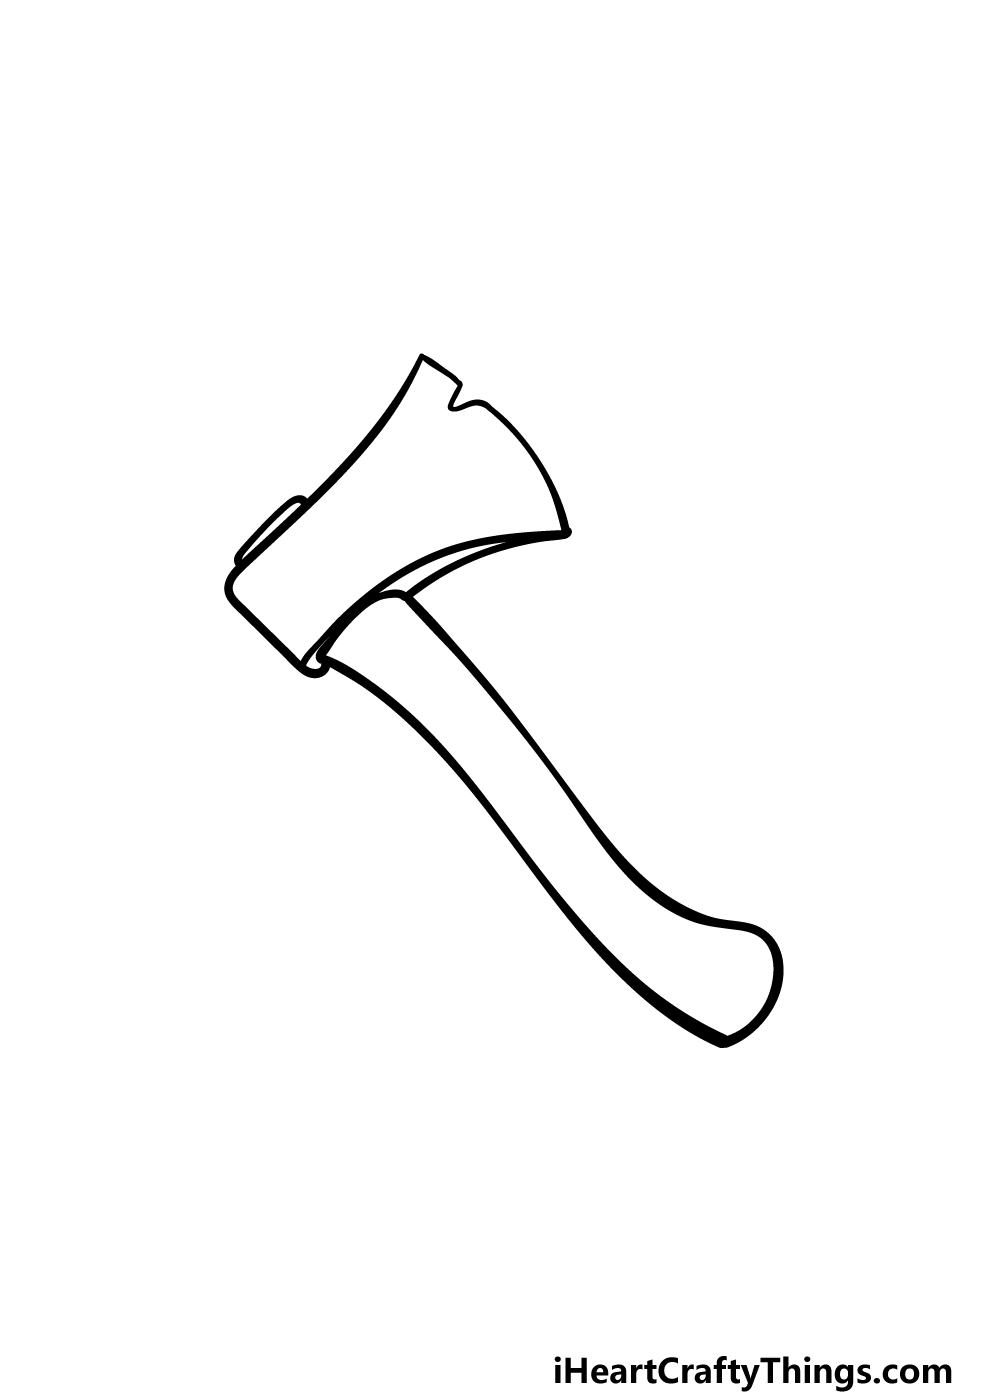
That is why we shall add a nice handle for it in this next step of your axe drawing.

Finally, the bottom of the handle will be a bit rounded as well.
There will also be a straight line near the back edge of the blade for another subtle detail.
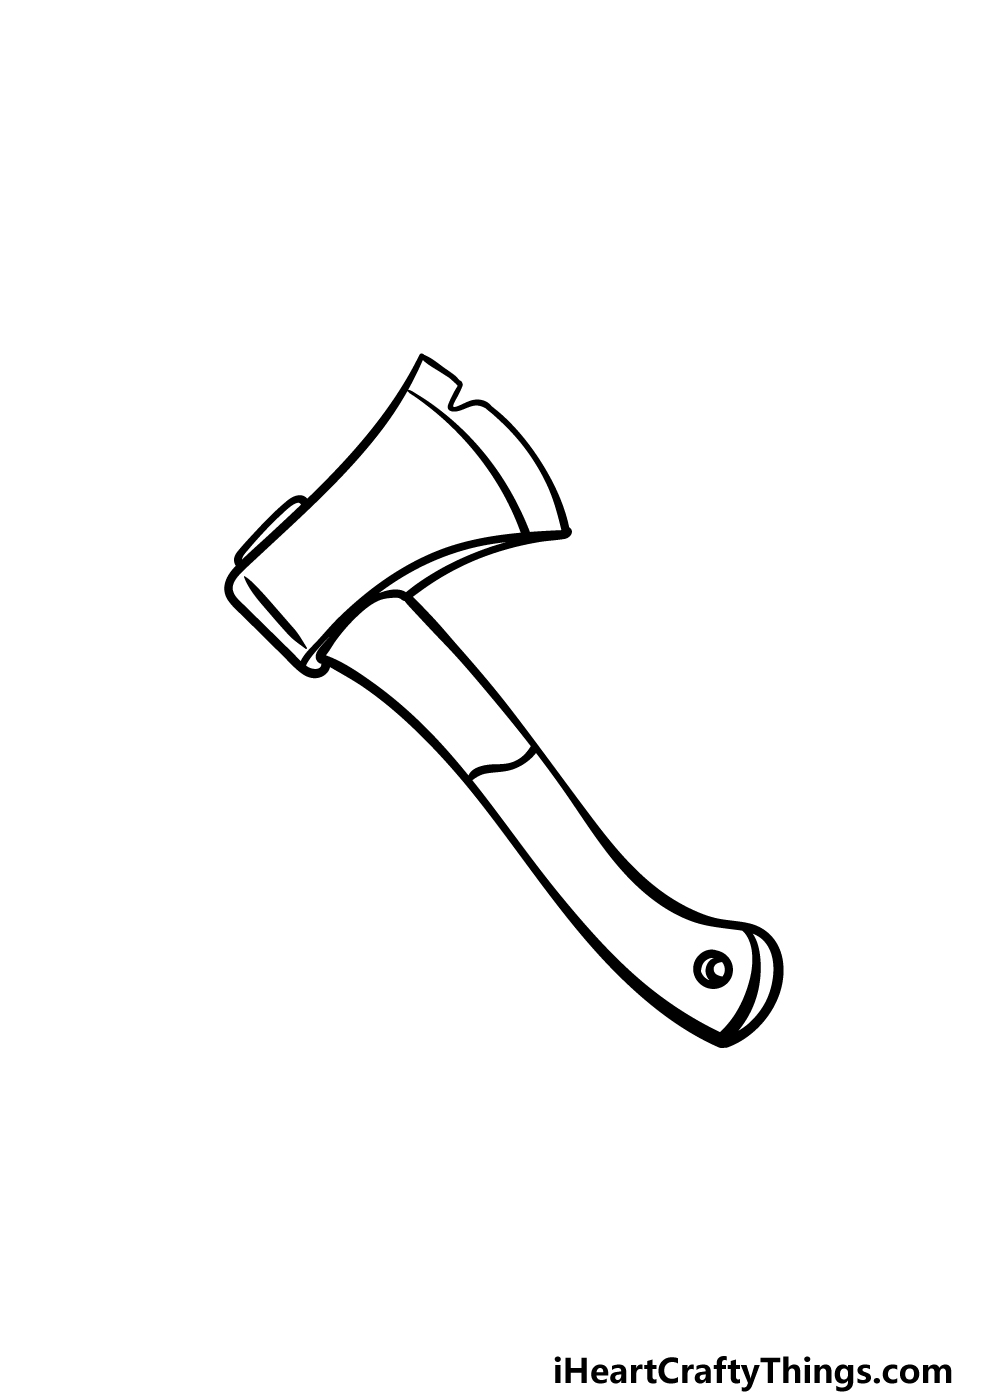
Then its time to add some final details in the next step of the guide!
Once again, these details should be simple yet effective!
First, draw a curved, angular line onto the blade of the axe.
Once these details are drawn, youre ready to move on!
Before you do, you could also add some extra details and additions.
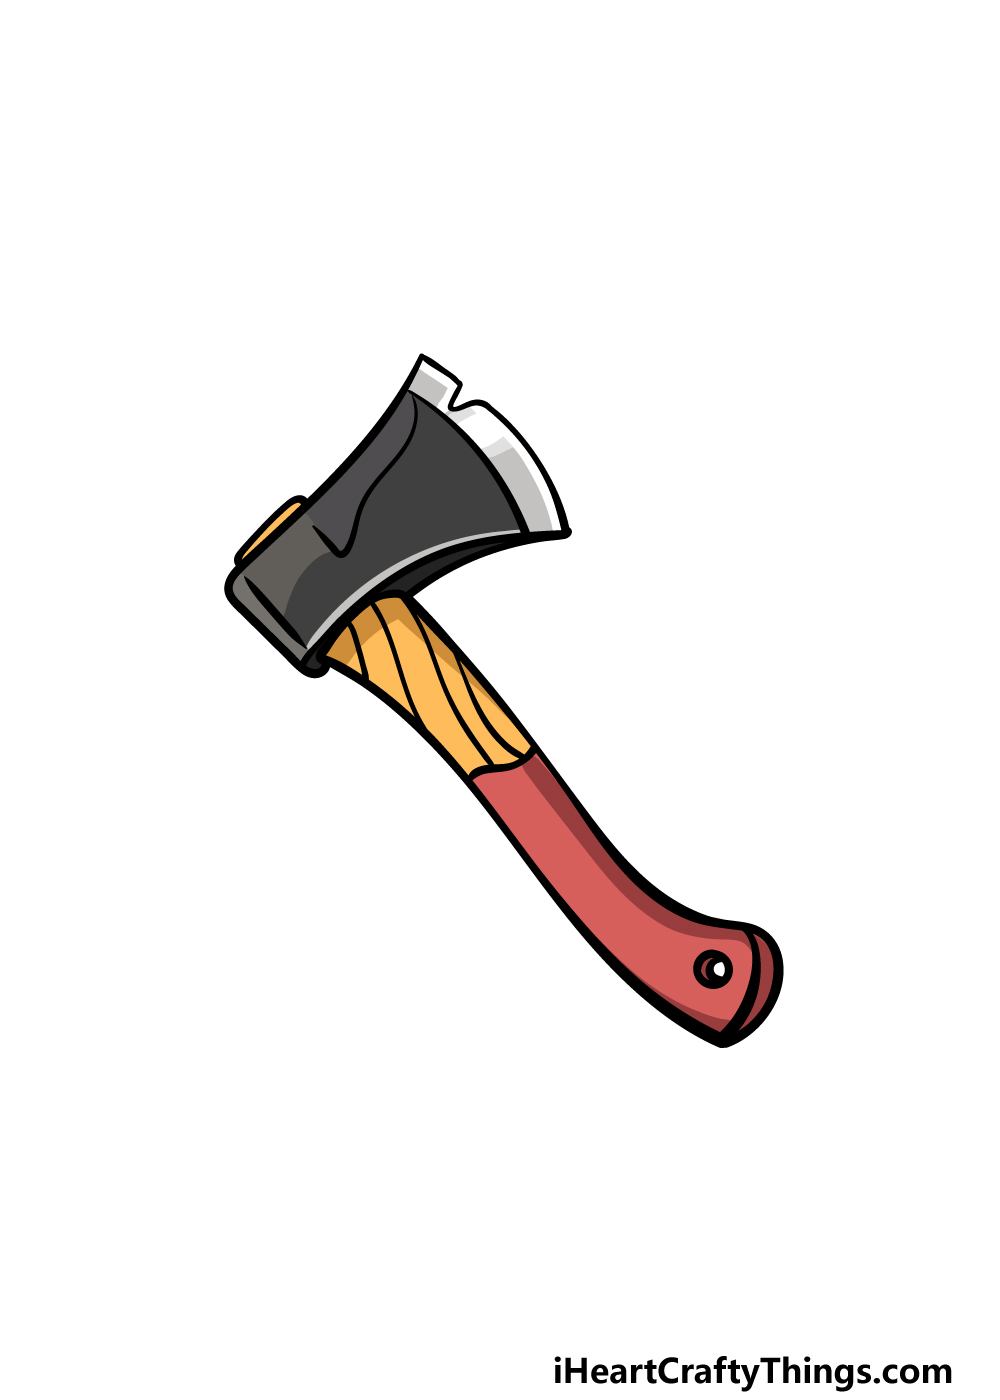
These would be our color choices, but they are merely a suggestion!
Be sure to have fun with it and see what happens!
This drawing of an axe shows a very typical axe design.
They can come in many shapes, sizes and designs, however.
You could change a few details on this one if you want to make it more unique!
When using an axe, there are some tools you could use alongside it.
These could also be added to the drawing to create a lineup of handy tools!
What are some other tools you could add to the drawing?

You could show the entire person or just stick to the arm and hand holding it.
There are also different art styles you’re able to use that will make it even more unique!
There are many purposes that an axe like this could have.

It could be used to chop firewood, wood for a house or maybe to chop down a tree.
Your Axe Drawing is Complete!
We have many more coming soon, so be sure to keep checking in!

More From:How to draw
Printable Bubble Letters A Complete Guide!


