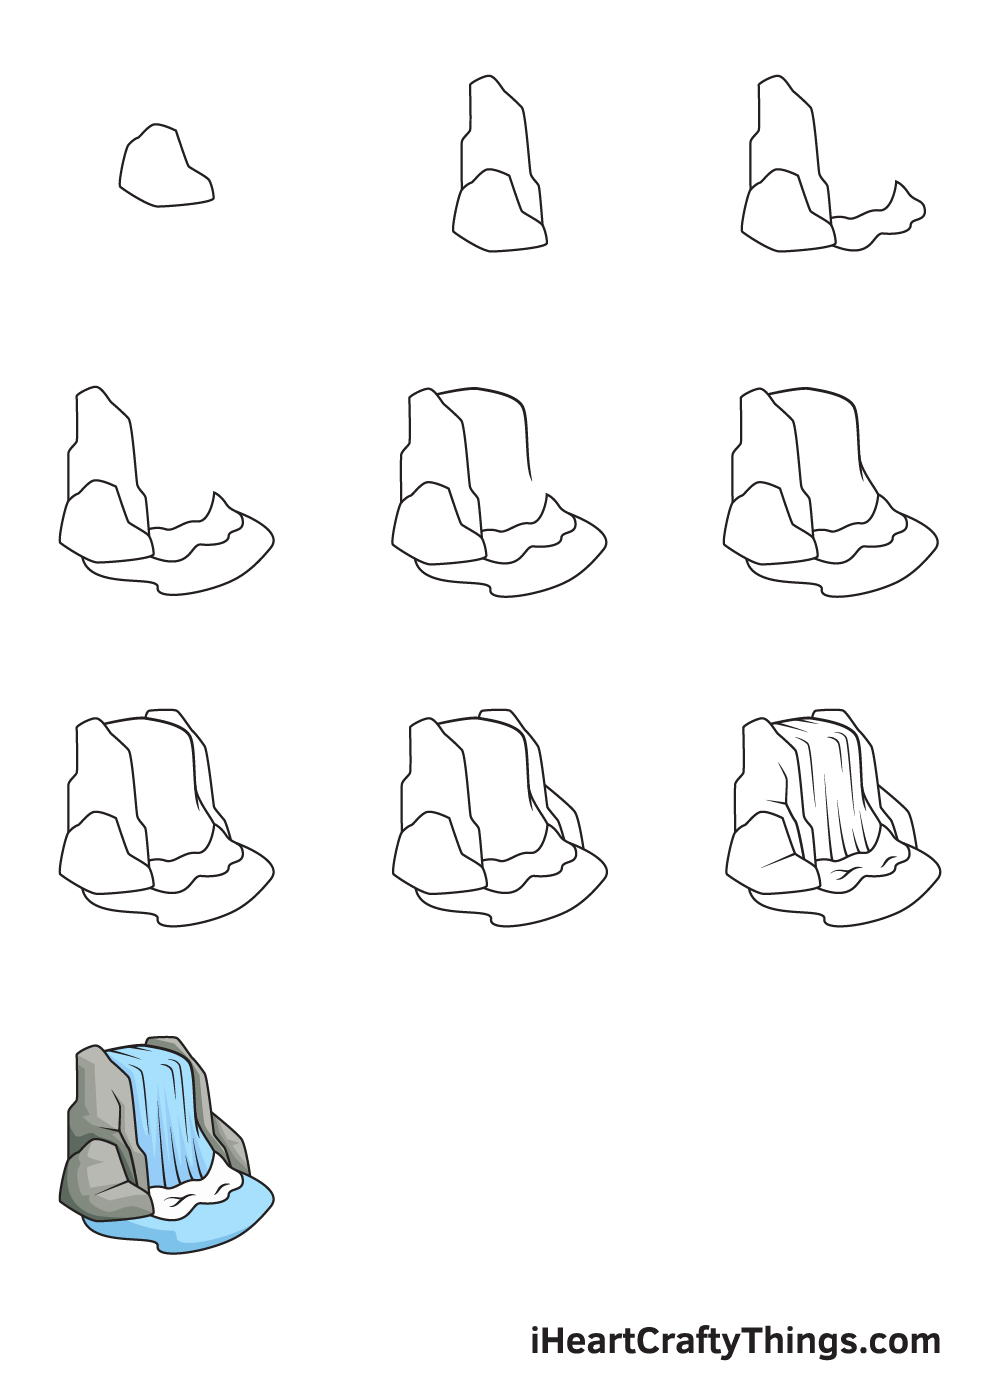
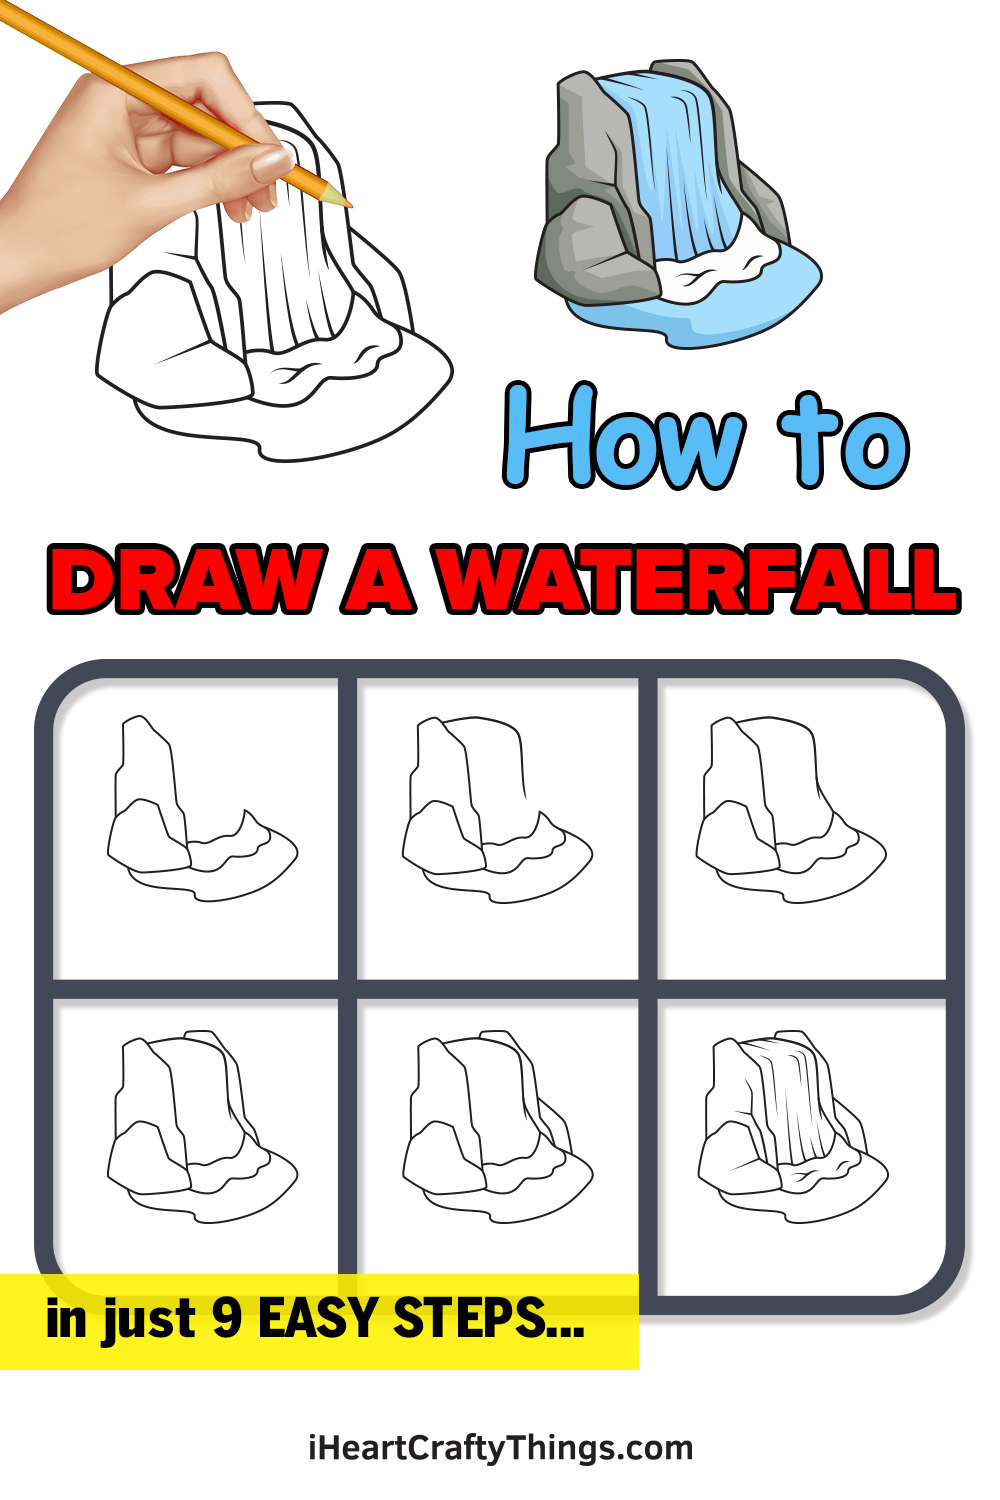
Complete Waterfall drawing in just 9 easy steps!
Its time to learn how to draw a waterfall with me!
This guide for kids will show you the easiest way to recreate this stunning natural phenomenon.
I always love to see a waterfall when hiking outside.
Often, you could hear them before you even see them.
Then, you crest the hill only to see the gorgeous sight before you!
Thats what were going to do in this tutorial.
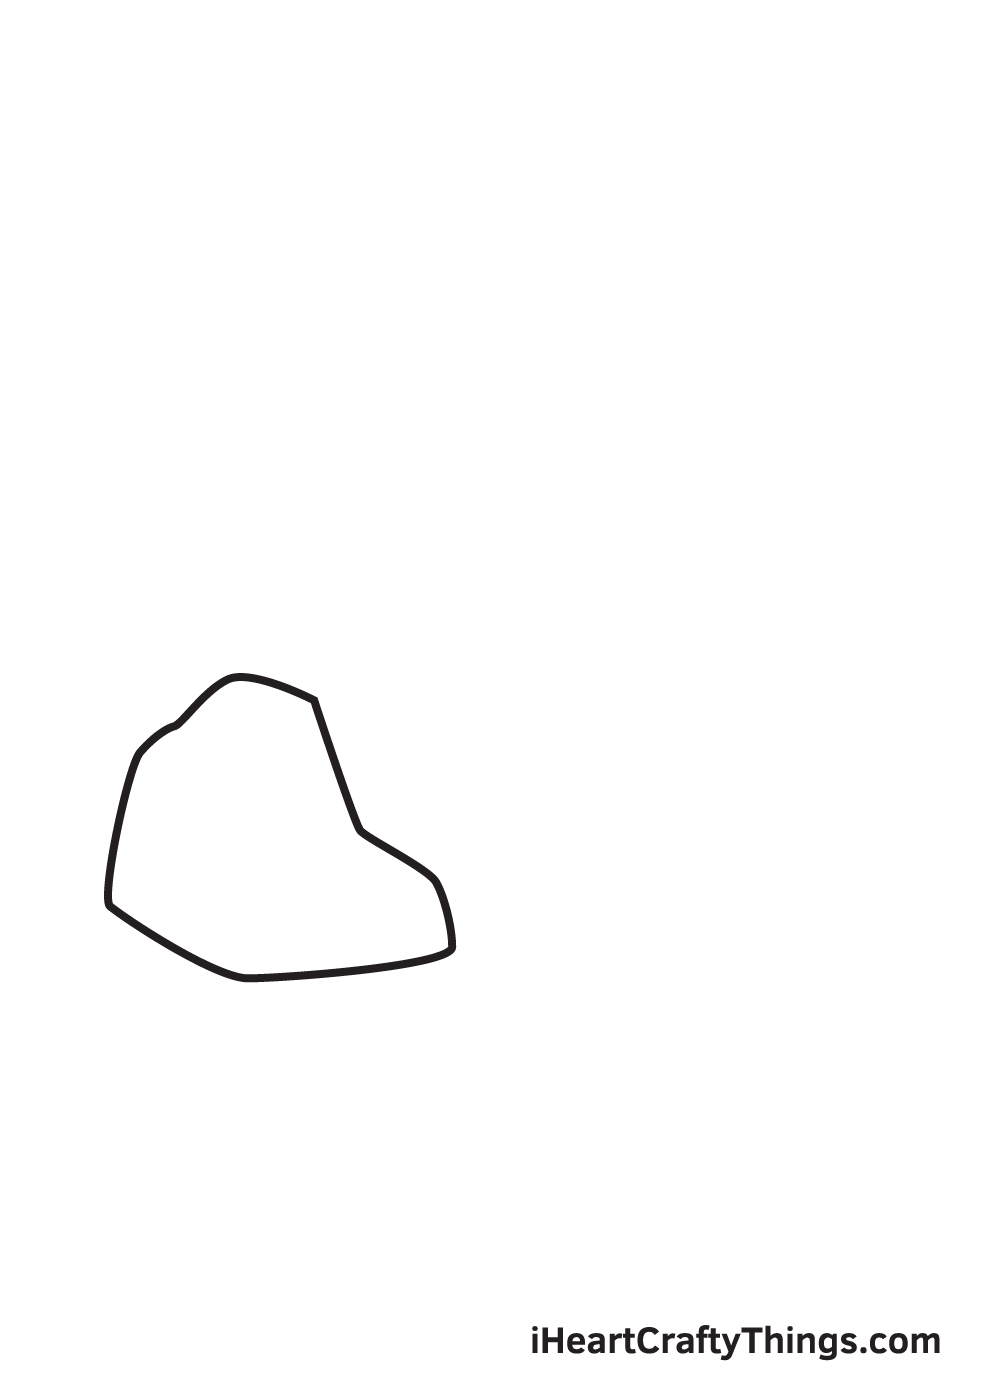
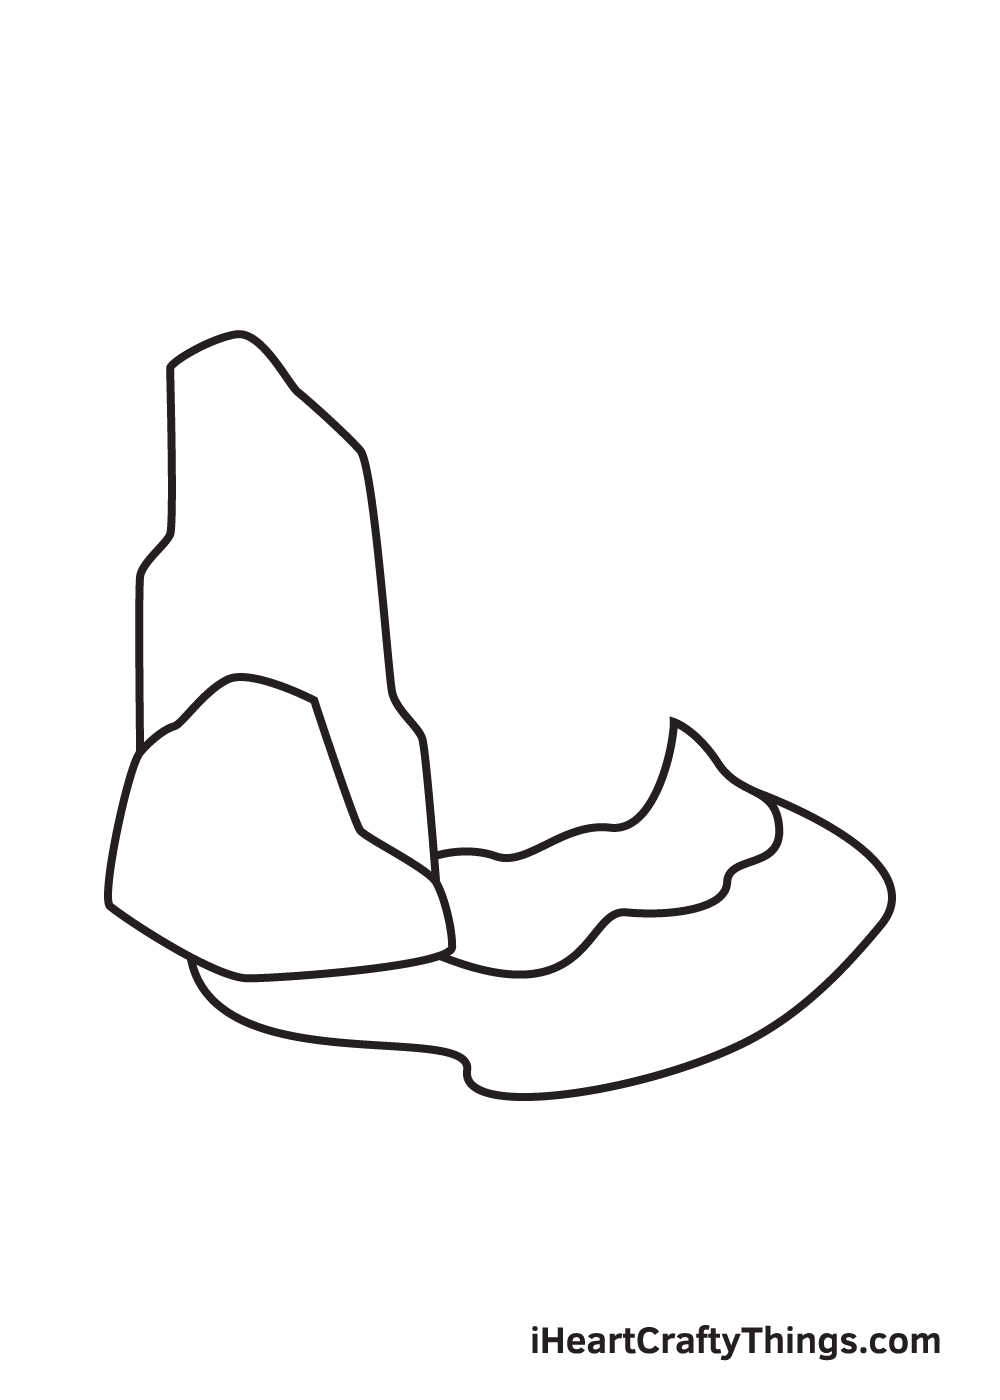
Draw various curved lines to represent the base rock.
Dont worry about perfecting the shape of the rocks!
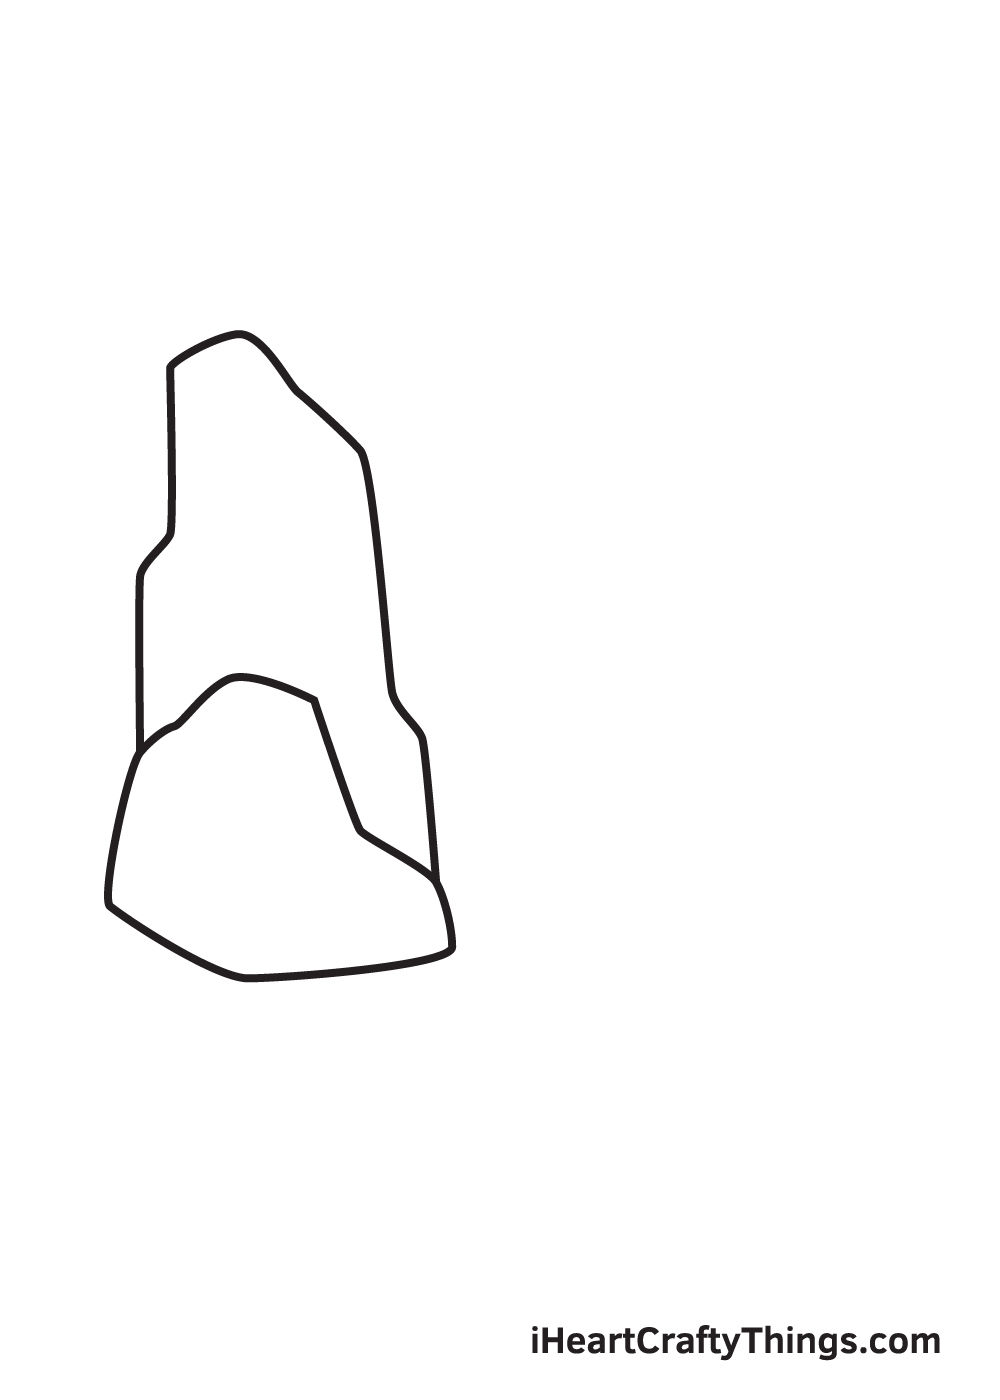
Use straight and curved lines to represent this vertical rock wall.
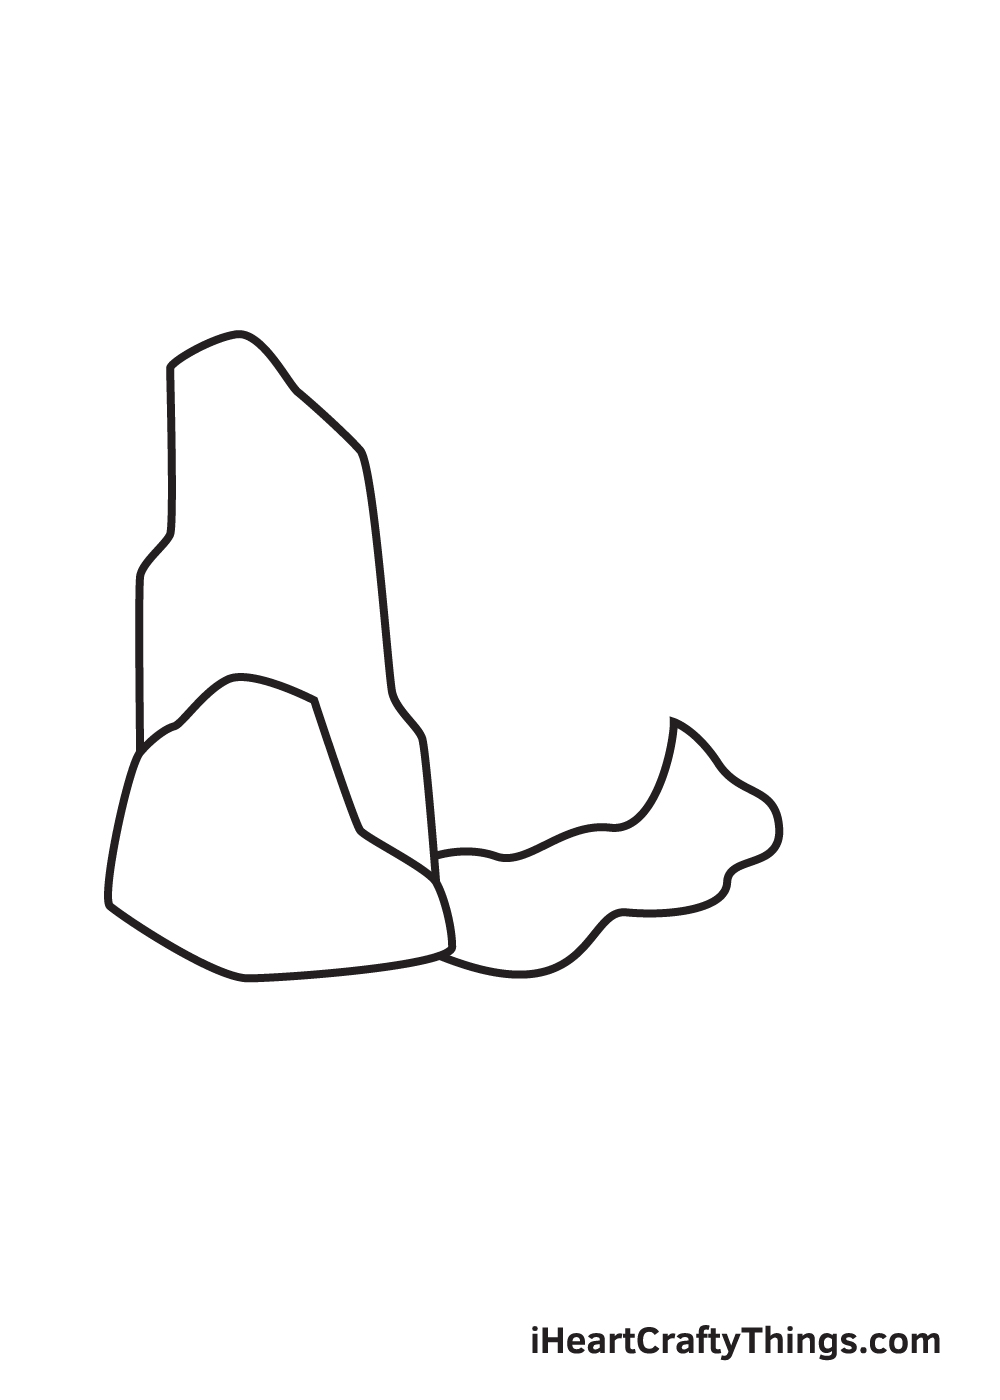
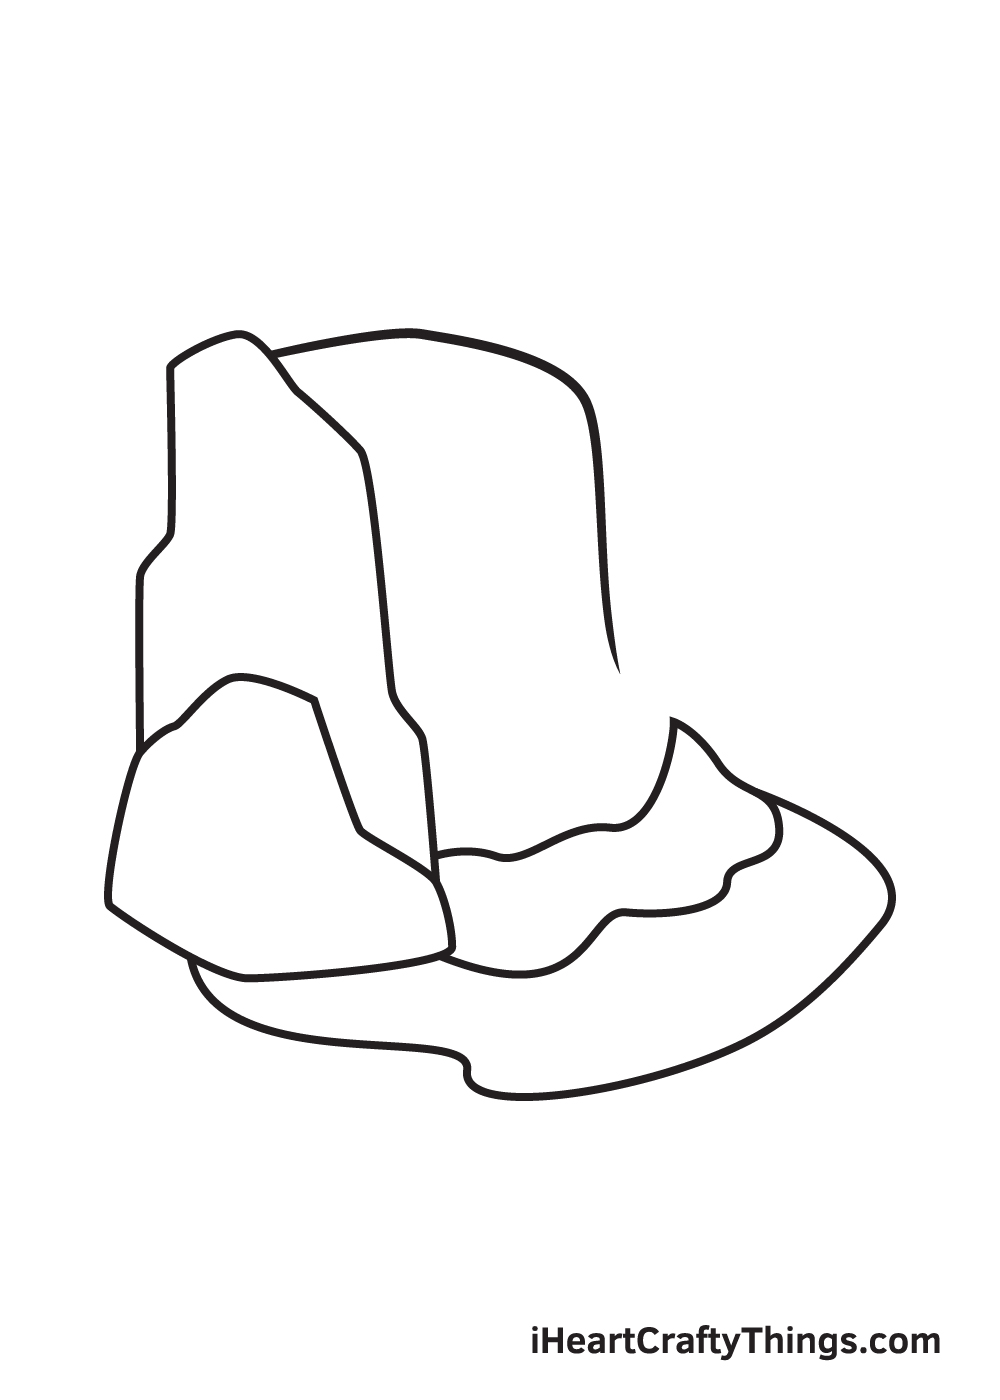
Draw various curved lines to represent this, just like the one shown in the illustration.
ensure to add this on the bottom part of the figure we drew in the previous step.
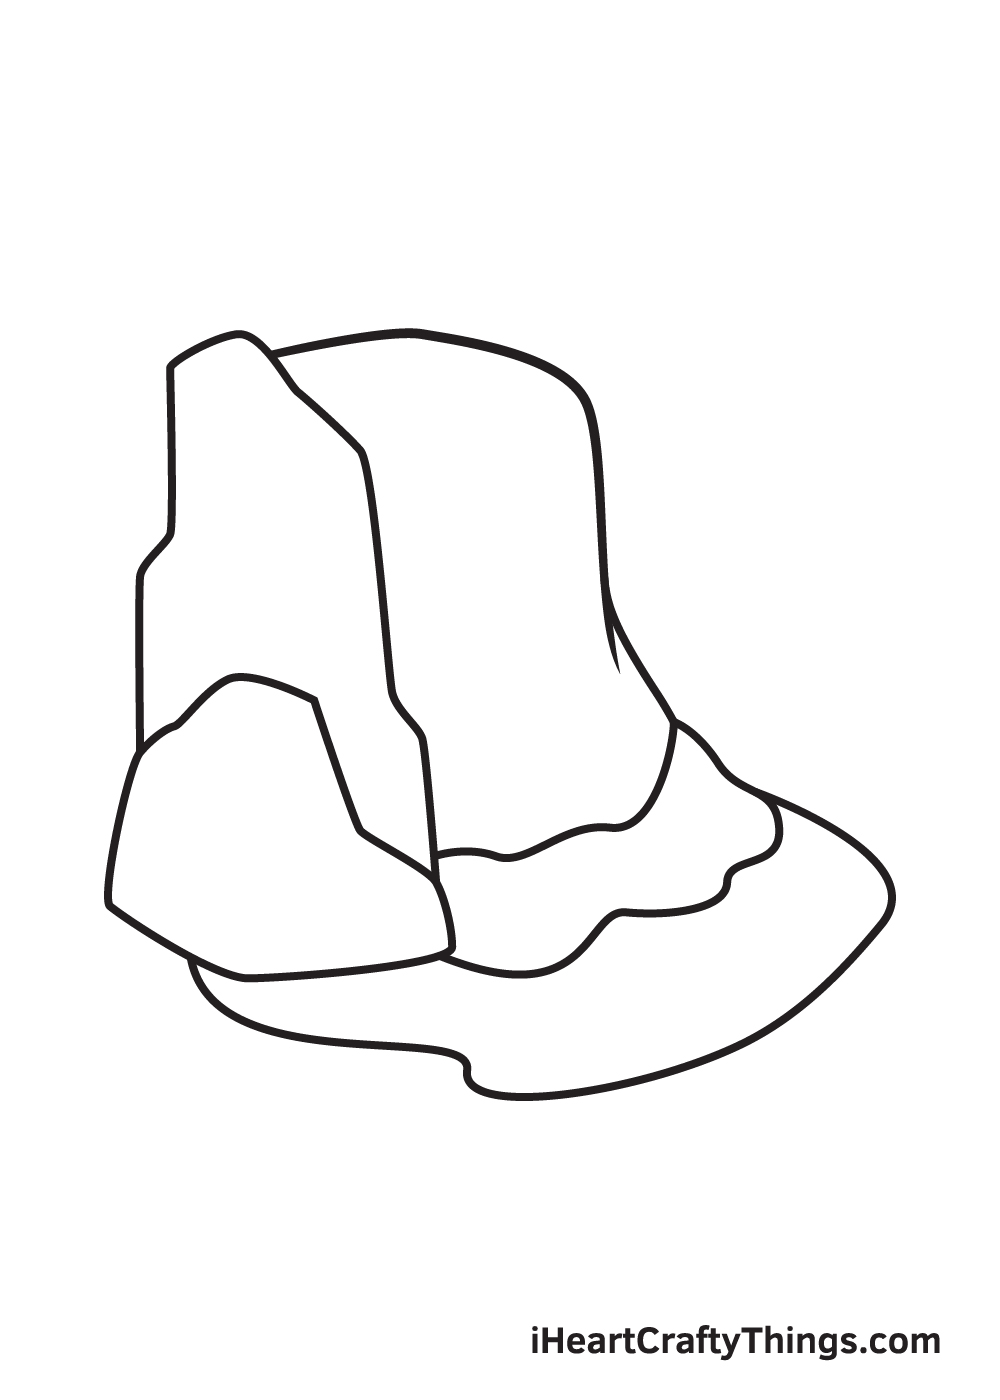
This time, however, use a wider set of curved lines to represent this.
The curved line will fade away, as seen in the illustration.
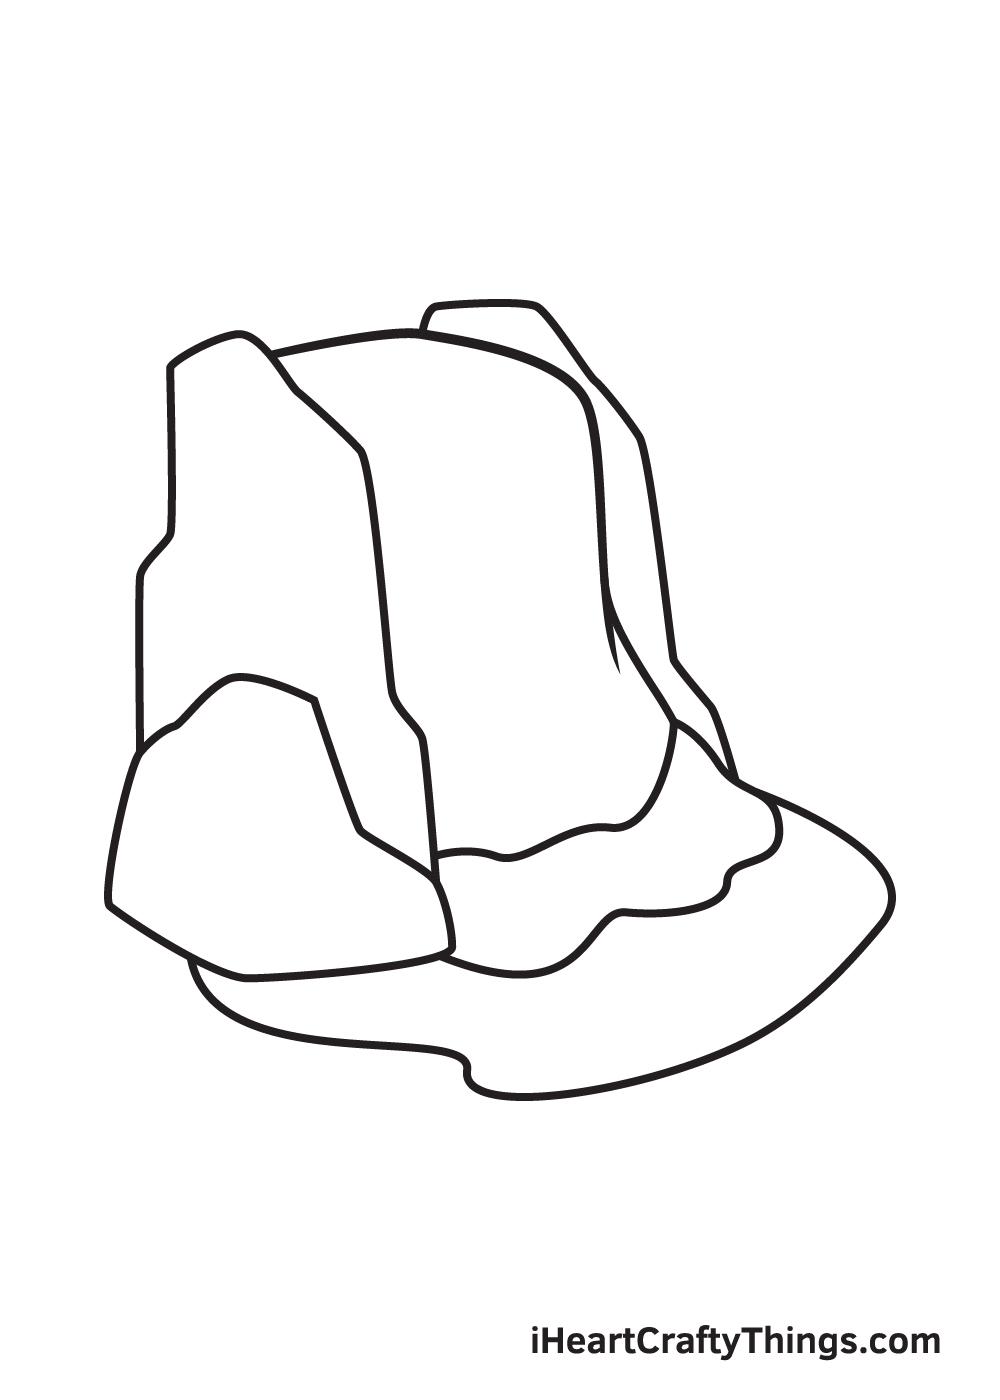
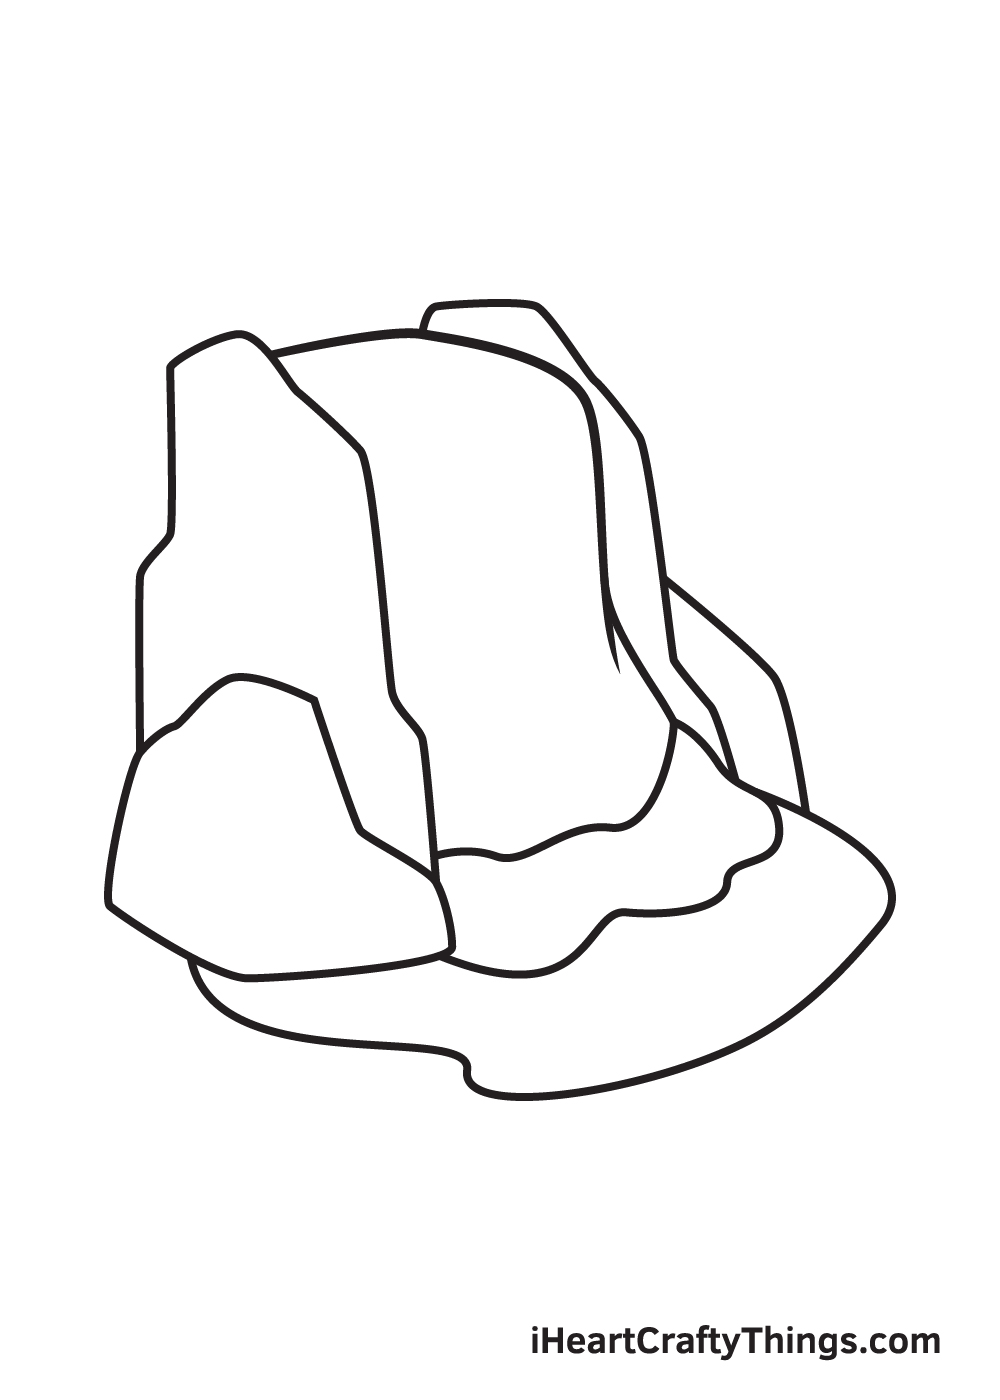
But this time, we will create a smaller version and on the right side.
This will be drawn beside and behind the right side rockwall.
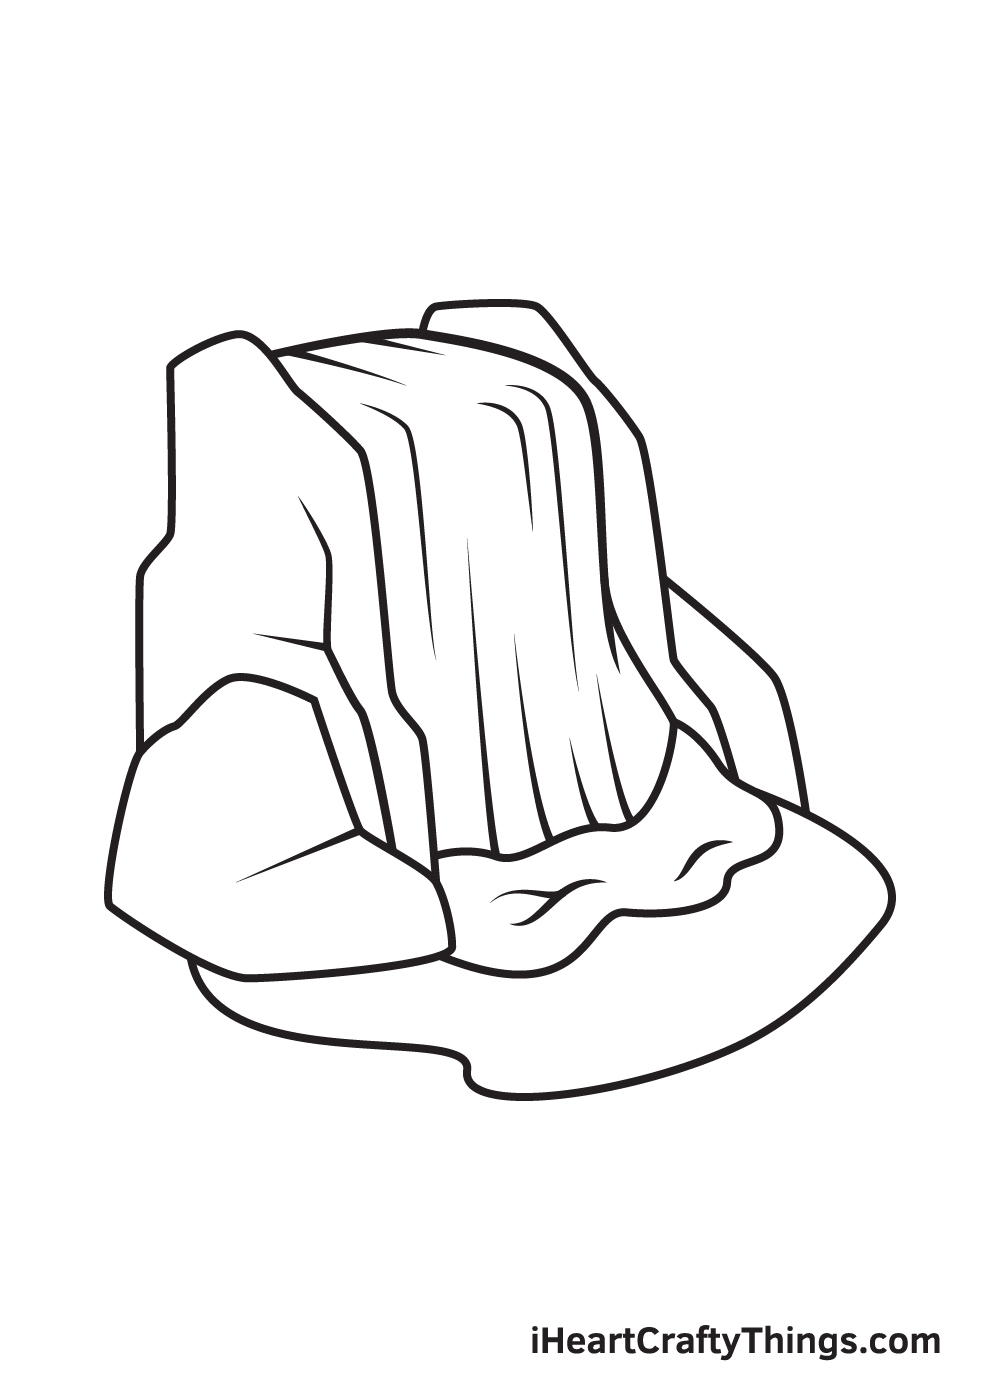
Step 9 Draw the Patterns All Over the Waterfall
Its time to make the waterfall look realistic!
Simply add crack lines to the base rock and the rock wall on top of it.
Then, add lines inside the waterfall itself to represent the water raging towards the edge of the waterfall.
Afterwards, also draw diagonal curved lines inside the water flow section you drew on Step 3.
Now, its finally time to put some color to the waterfall!
5 Tips To Make Your Waterfall Drawing Even Better!
Youre sure to fall for these tips we have for making your waterfall sketch even better!
In this particular drawing, we have some rocks surrounding the waterfall that are arranged in various shapes.
This already looks great, but you could also build on these rock features even more.
This could make the waterfall look even more distinct than it already does!
These could range from smaller bushes and plants to big palm trees.
Many people like to visit waterfalls not only to look at them but also to swim in them.
For that reason, it could be fun to draw some people enjoying this particular waterfall!
What sorts of adventures do you think people could be having around this waterfall?
You could do this by following the steps again and making it taller and wider.
How big do you think this waterfall could be?
Finally, you could bring it all together by adding a background for this waterfall drawing.

There are so many backdrops you could add to really finish it off nicely!
There could be some mountains looming in the distance, or there might be a lush jungle.
Your Waterfall Drawing is Complete!
Hopefully, you had an enjoyabledrawing activity with this step-by-step volcanodrawing tutorial.
Check out our How to Draw catalog to explore drawing tutorials of many more beautiful natural sceneries!
We are regularly updating our catalog so confirm you keep re-visiting our website to continuously enjoy brand-new drawing tutorials!

What would you like to draw next?
Let us know and well do our best to create a drawing tutorial for it!
Dont forget to take a photo of your artwork and share it on our Facebook page and on Pinterest.

Youve worked hard for it, so were sure it looks impressive!
We cant wait to see your realistic waterfall drawing!
More From:How to draw
Printable Bubble Letters A Complete Guide!


