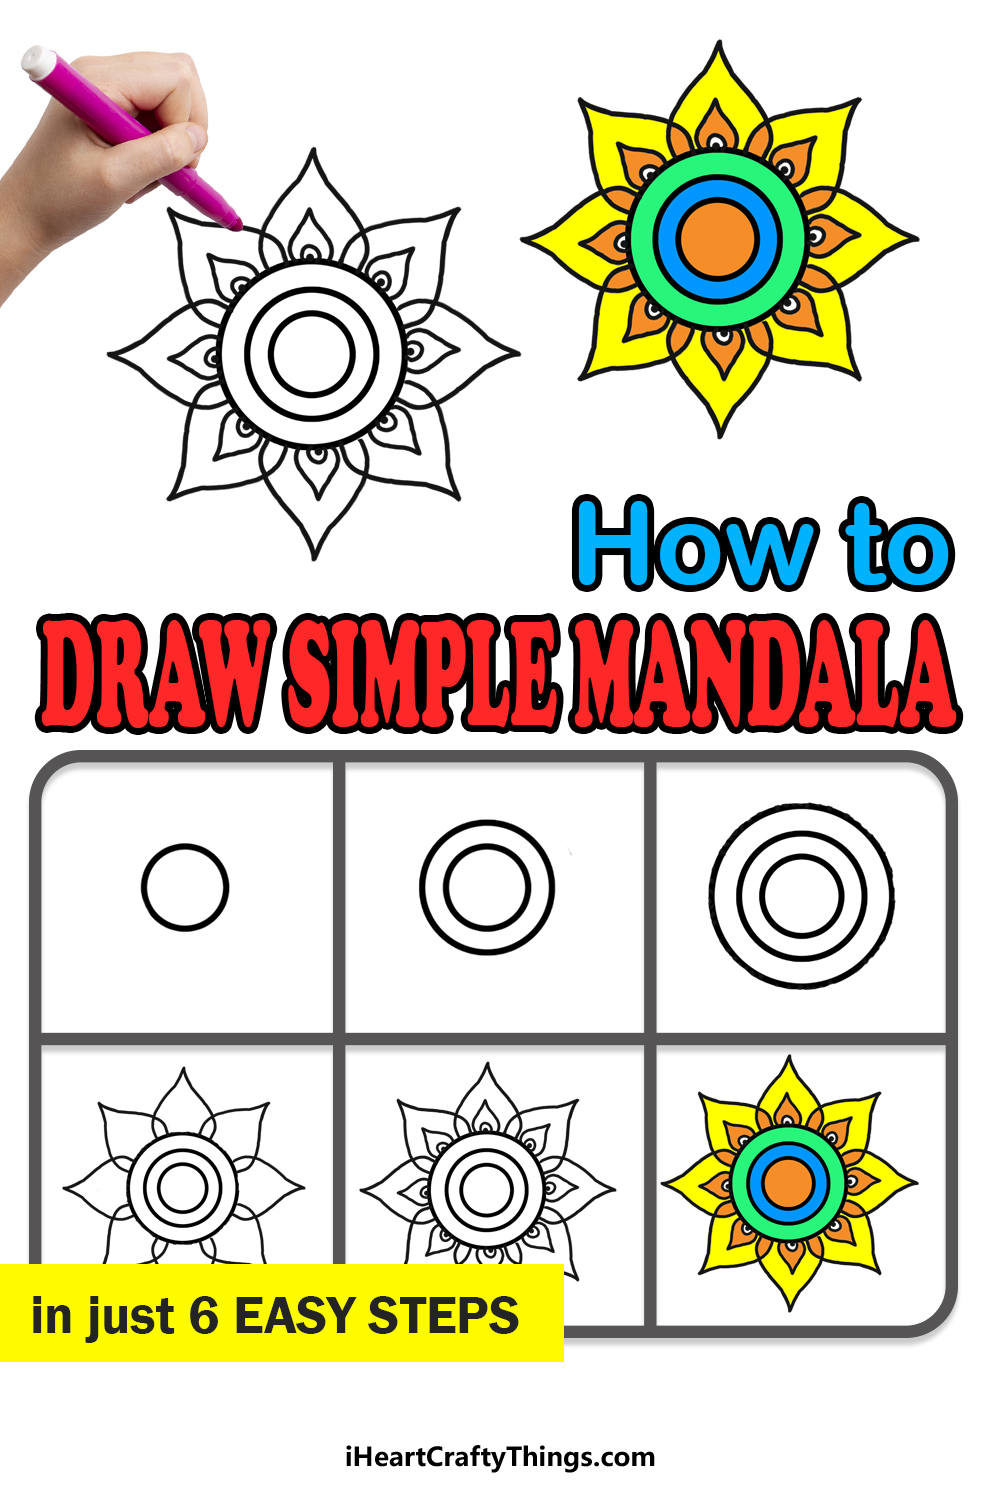
Simple Mandala Drawing in Just 6 Easy Steps!
Mandalas have become very popular in recent years for a variety of different reasons.
A mandala is a collection of geometric and usually symmetrical shapes that come together to form a complex shape.
They are used for relaxation and meditation in a variety of ways.
Some people like to use already drawn mandalas to color them in for relaxation and expression.
This can seem like an intimidating task, however, as mandalas are complex in appearance.
Throughout these six steps, we will get you started with a simple mandala design.
We will even go over some ways that you’re able to make your drawing more colorful.
How to Draw A Simple Mandala Lets Get Started!
Were here to show you that it can be easy when you break it down and take it slowly!
you could also make it easier by using the right tools for the job.
One of your best friends when creating this design would be a drawing compass.
If you dont have access to one, then there are other options.
These can then be traced around to create some perfect circles.
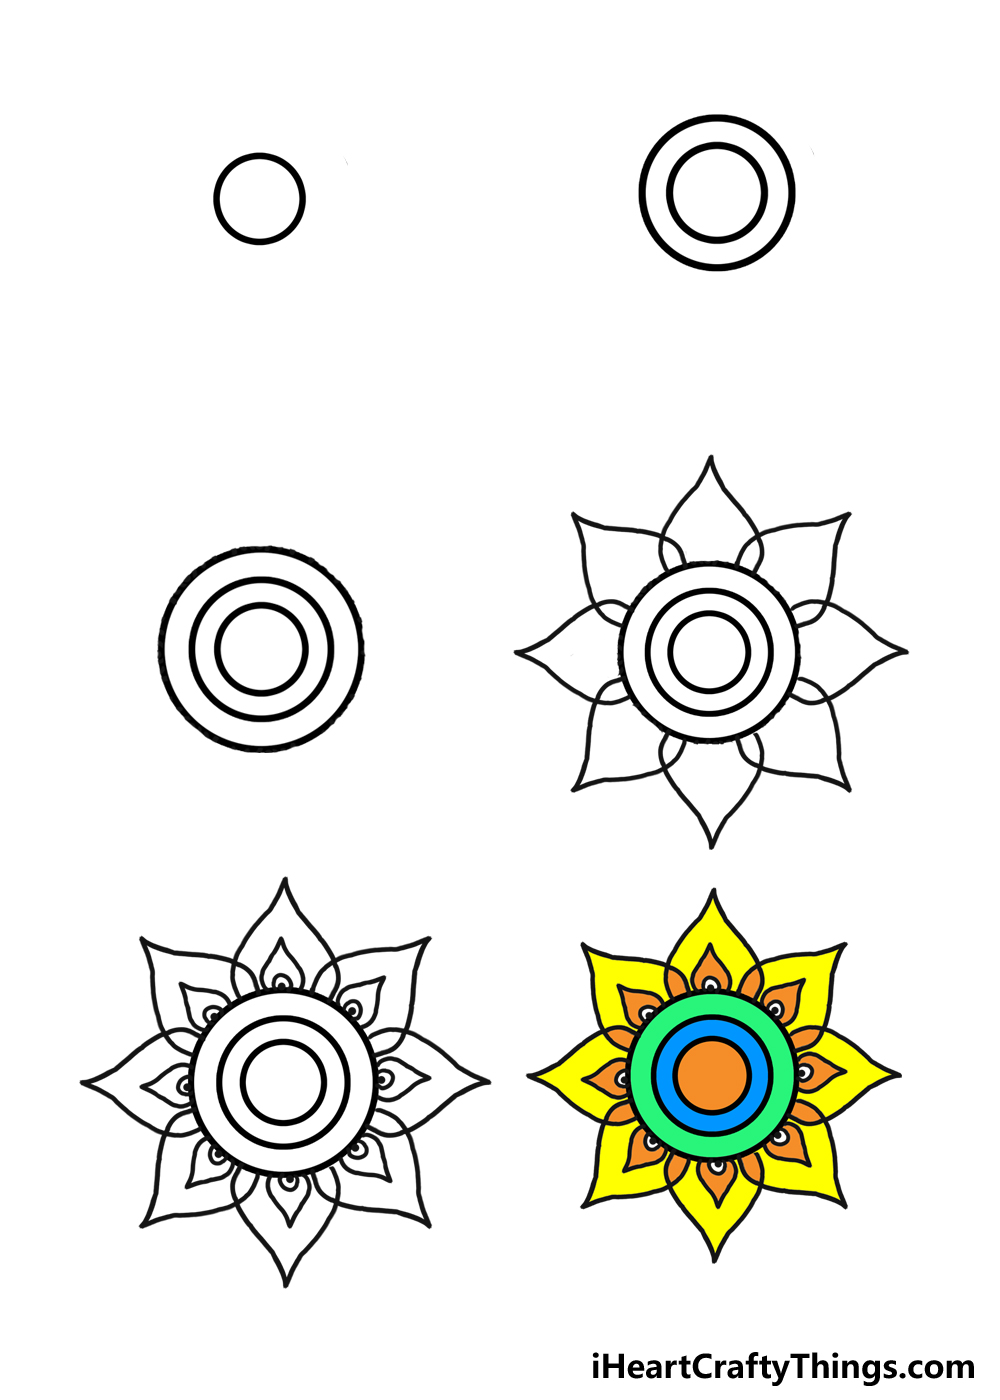
With all that out of the way, we will start things simply.
This is because you will essentially be recreating what you did in the first step.
If you were able to do it once, you’ve got the option to do it again!
This will be true no matter which method youre using to draw the circle.
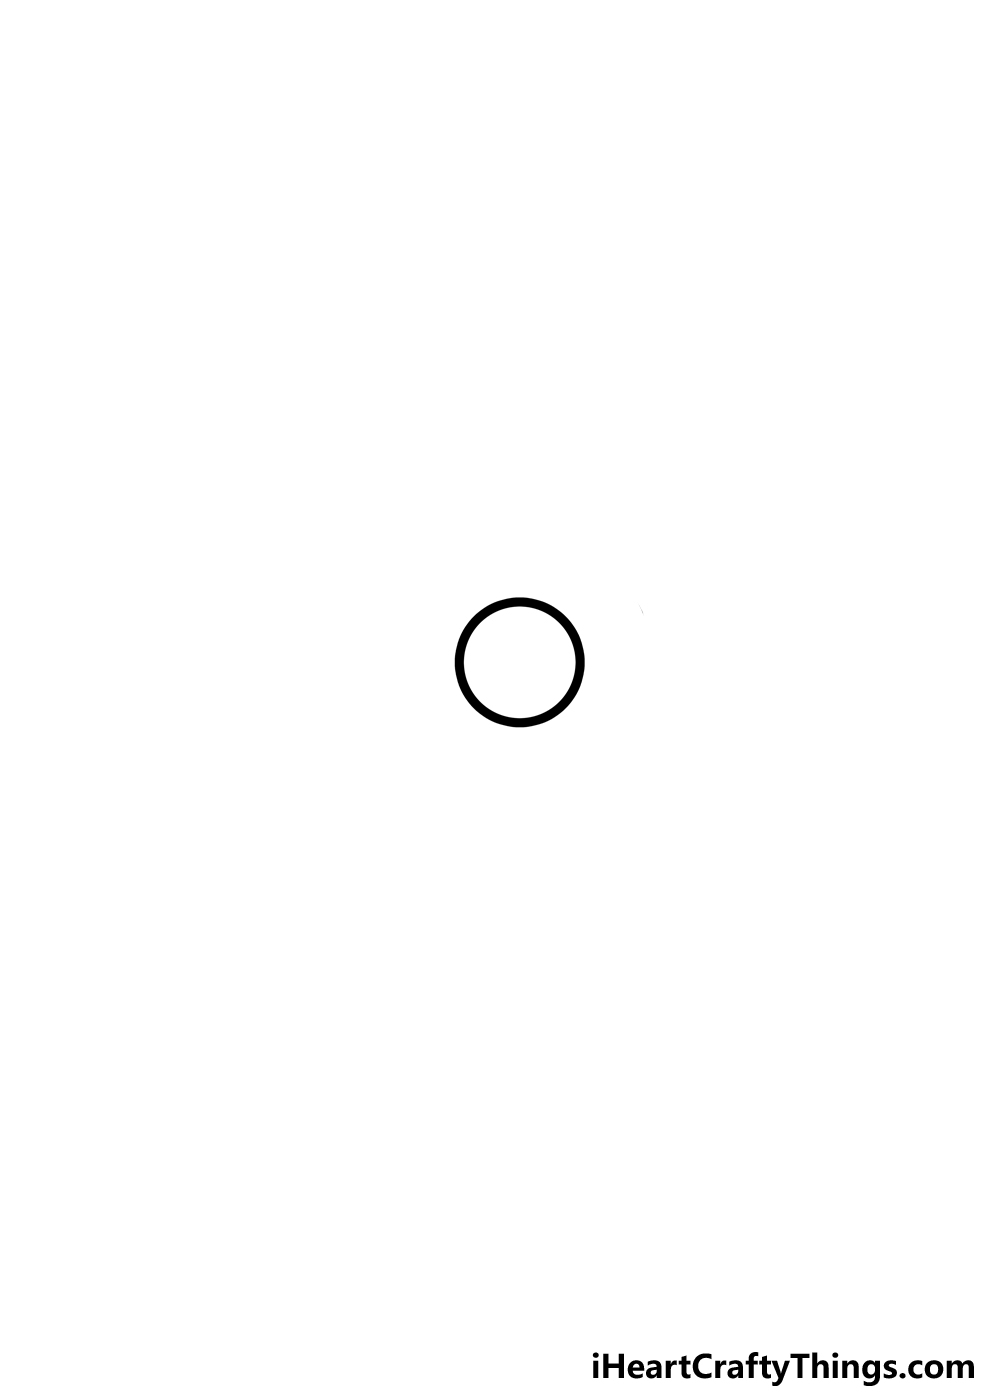
We started with one at the center, and this next one will go around the first one.
Drawing this second circle is simple, but it does also have its challenges.
If youre worried about positioning it properly, then you might always draw the circle with a pencil first.
You could still do this with your chosen circle drawing method.
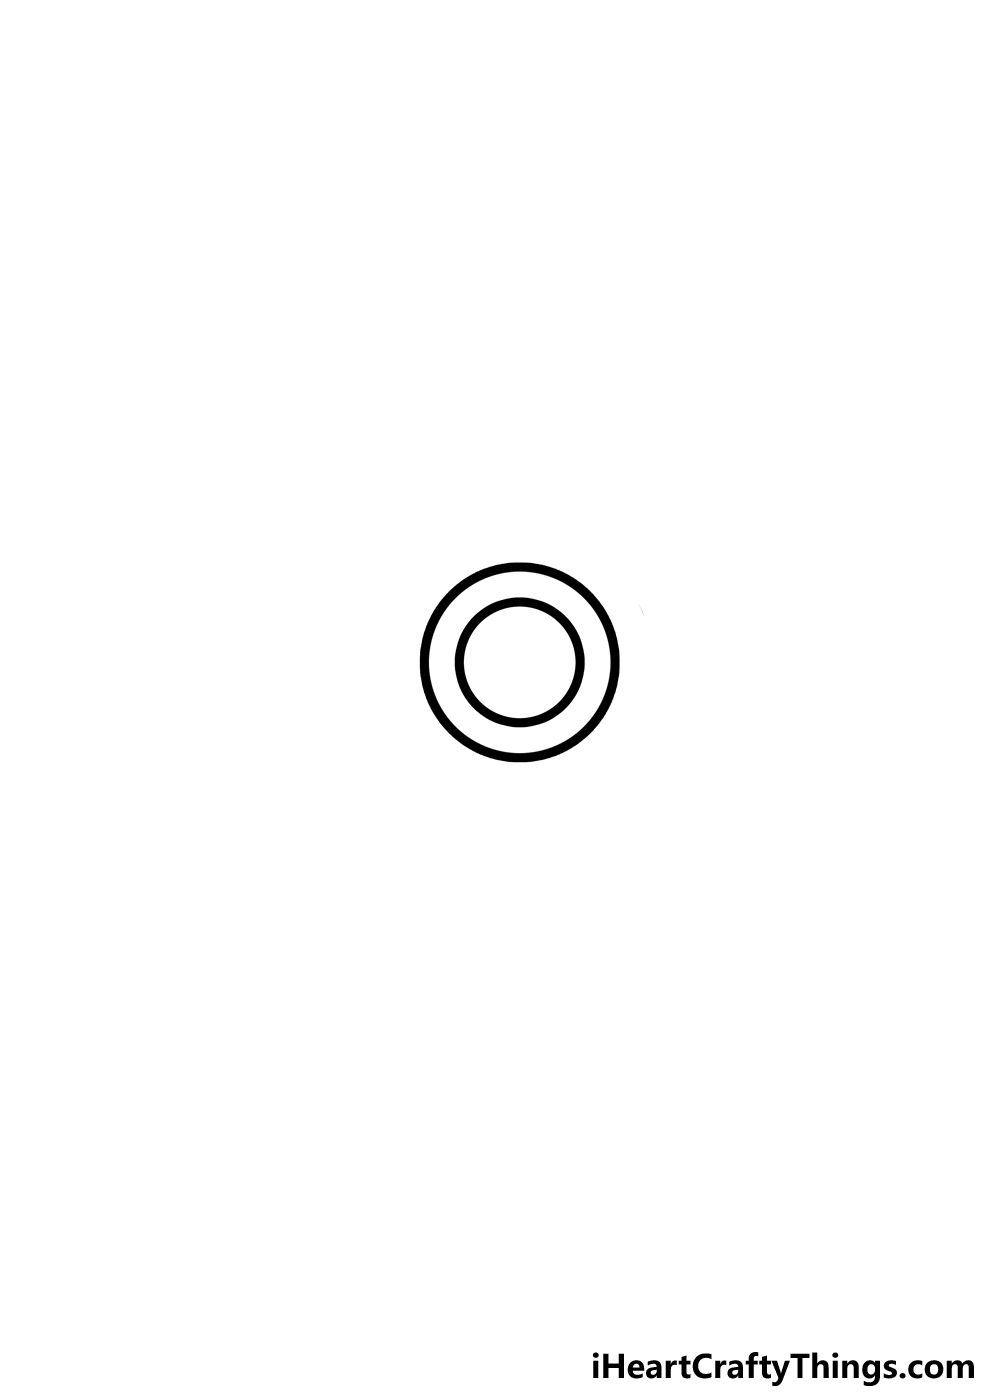
Thats because we will be adding another circle to the design, bringing the total to three.
Thats why we would recommend using the same caution for this circle that we did for the last one.
That meansusing your drawing method to create a circlethat is equally spaced between the second circle.
Once again, you could always draw a pencil version of this next circle to prepare.
Before you head on, you could add some more circles to the design.

For example, you could draw some smaller ones in the center of these ones.
Or, you could add some more around this latest one.
Its up to you, and you might customize this design in any way you wish!

The tricky part of drawing these petals is that they should all be the same size.
This would be another step where drawing with a pencil first would be highly recommended.
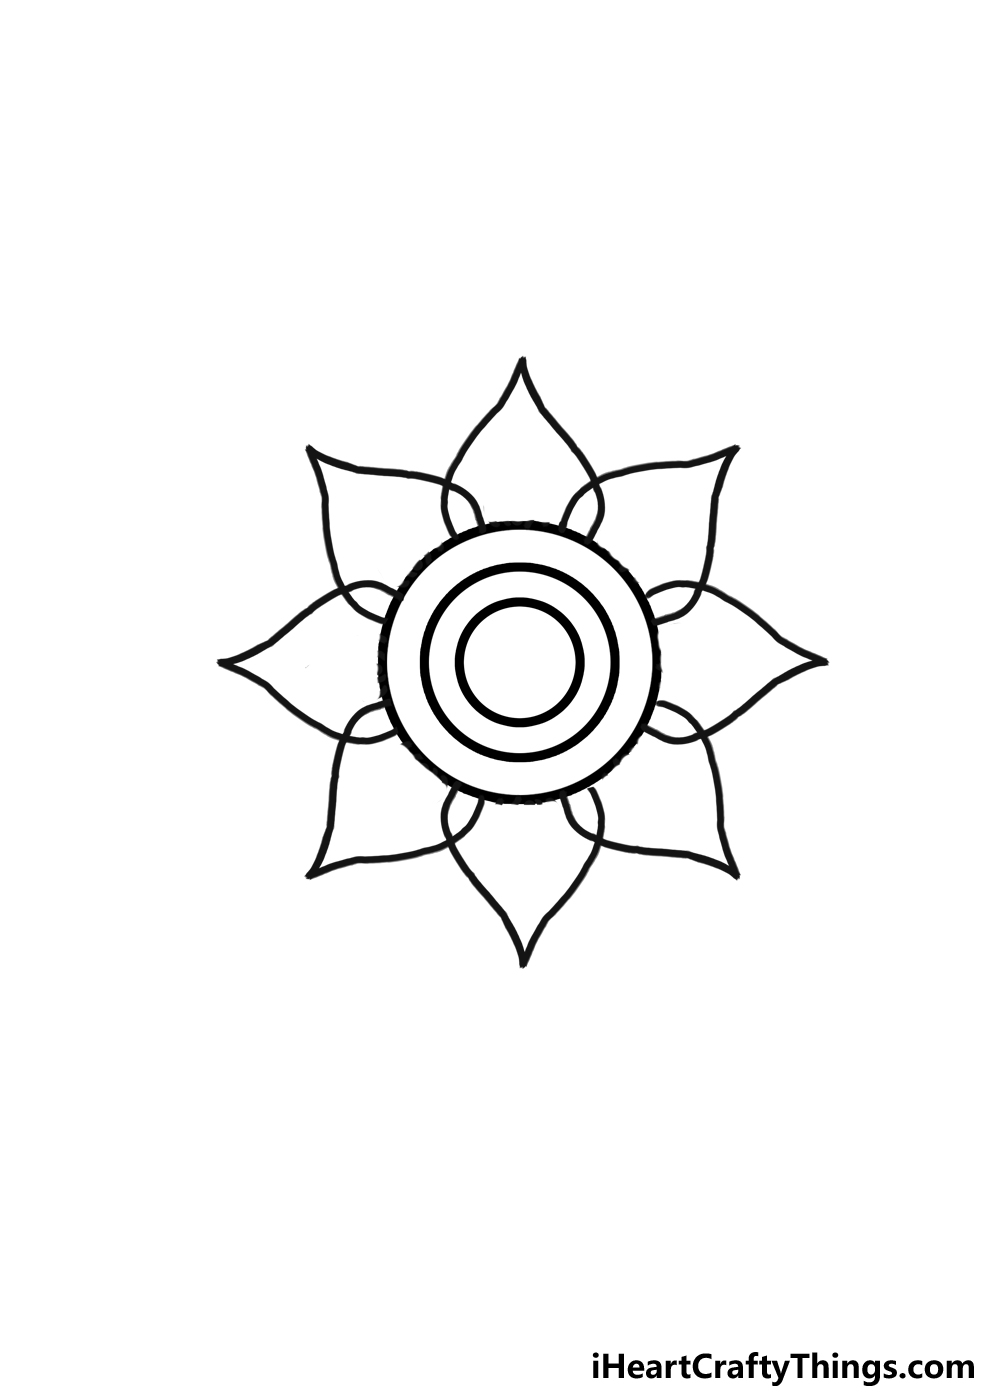
Lets practice by drawingthe very top shape of the simple mandala.

The sides are rounded and curved, and they culminate in a pointy tip.
Then, we will draw a series of these petals all along the circle.
As you will see in our example, each one will overlap on the sides, only slightly.

If you space it properly, there should be eight of these petals surrounding the circles.
Of course, you could always change it so that there is a different amount if you prefer!
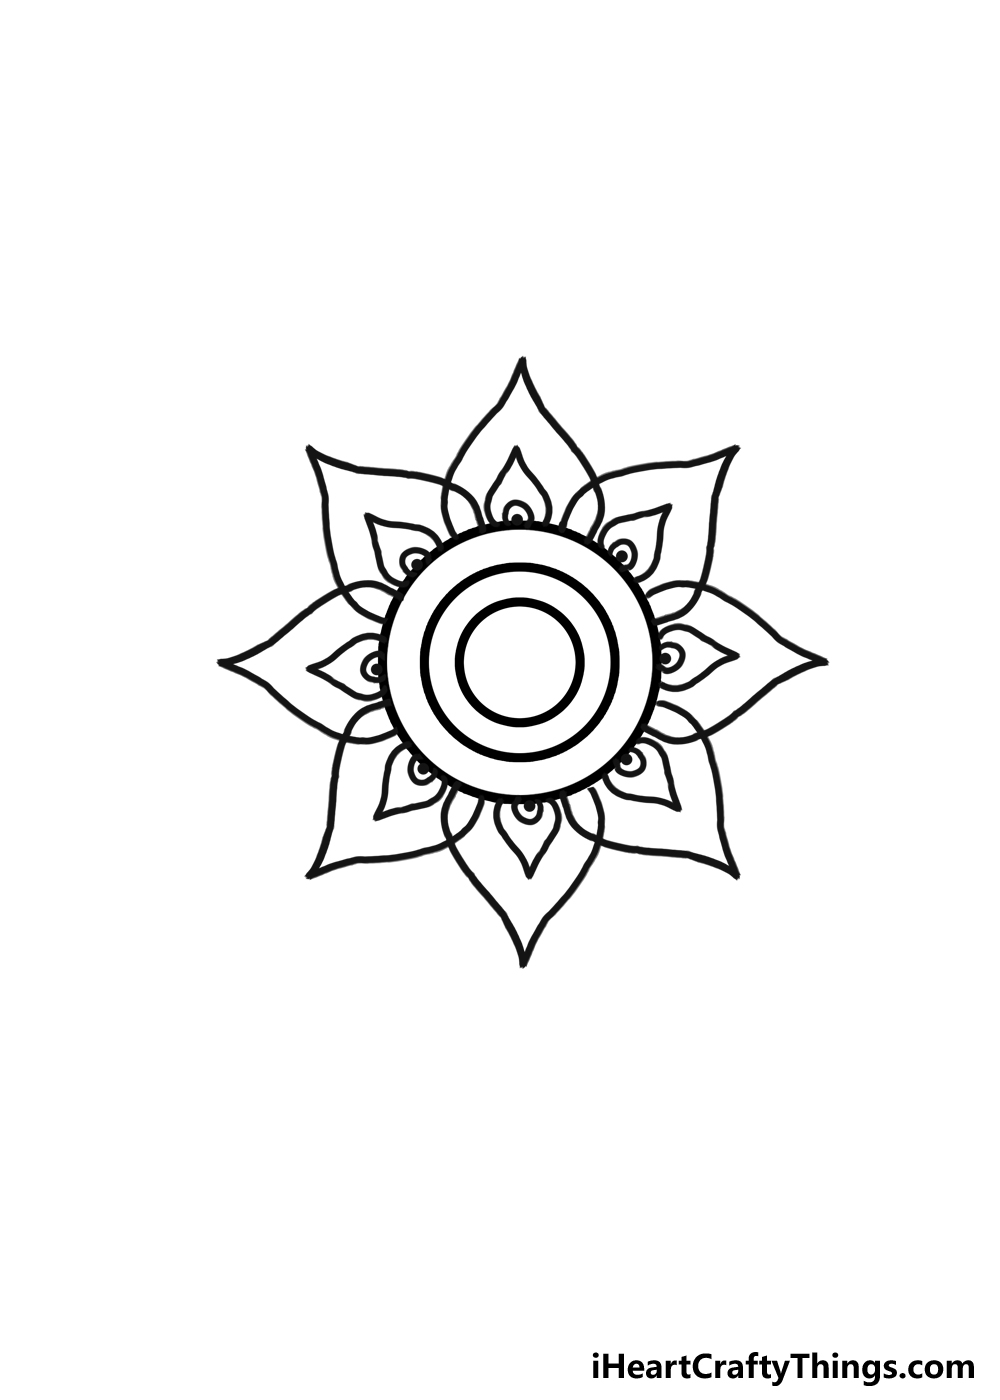
It might not seem that way, as we will essentially be drawing more of these small petals.

This time, each one will be even smaller and placed inside one of the larger ones.
This means you wont have to worry about spacing them out or making them consistent sizes.
With these drawn, you will be done with the design and ready for some color!

You could add some more circles, petal shapes or maybe some sharper shapes poking off.
There are so many ways to put your own spin on this drawing!
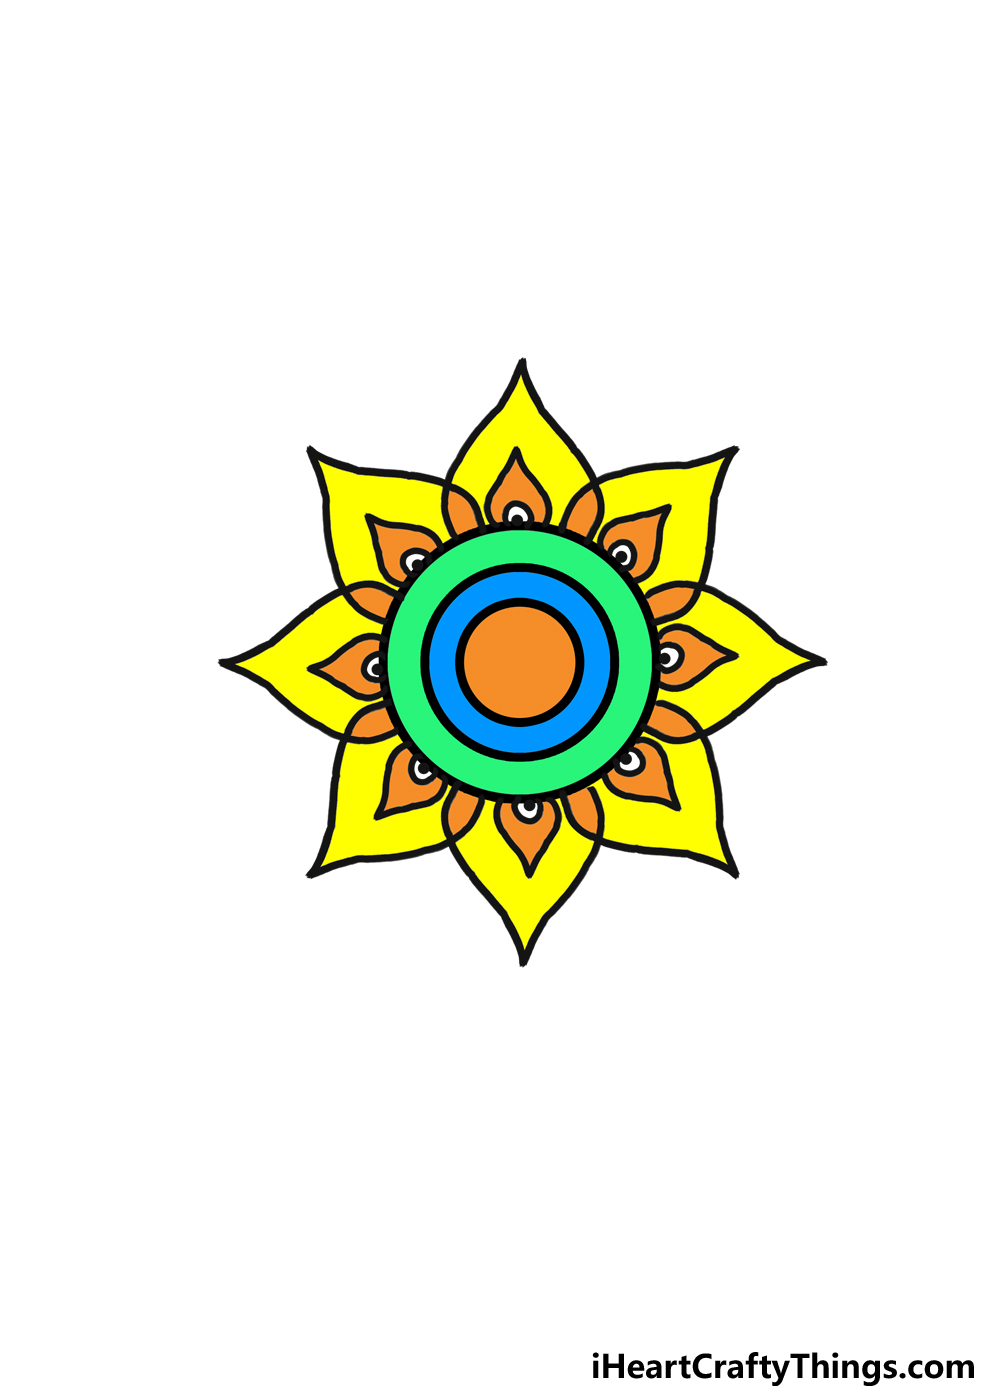
Now, at the final step you get to relax with some coloring fun!
The colors we show in our reference image are more of a suggestion than anything.
Thats something you’ve got the option to do forthis simple mandala you have created!
Then, we brought it back to the warm color scheme with some orange for the center.
When coloring, you’re free to also think about the art mediums you use.
These could include colored pens, markers or colored pencils.
Your Simple Mandala Drawing is Complete!
You have everything you need, and you’re free to use all sorts of shapes and lines.
When designing new ones, just venture to remember to make everything as symmetrical and interconnected as possible.
you’ve got the option to also just keep building off of this one and make some variations.
More From:How to draw
Printable Bubble Letters A Complete Guide!
