Shoe Drawing in Just 6 Easy Steps!
Shoes are something that were all familiar with.
Even though you see shoes all the time, it may be harder than you think.
While it may be tricky, it can be made so much easier when you know what to do!
Thats exactly what were aiming to cover in this guide.
By the end of these six steps, you will be able to create your very own show drawing.
How to Draw A Shoe Lets Get Started!
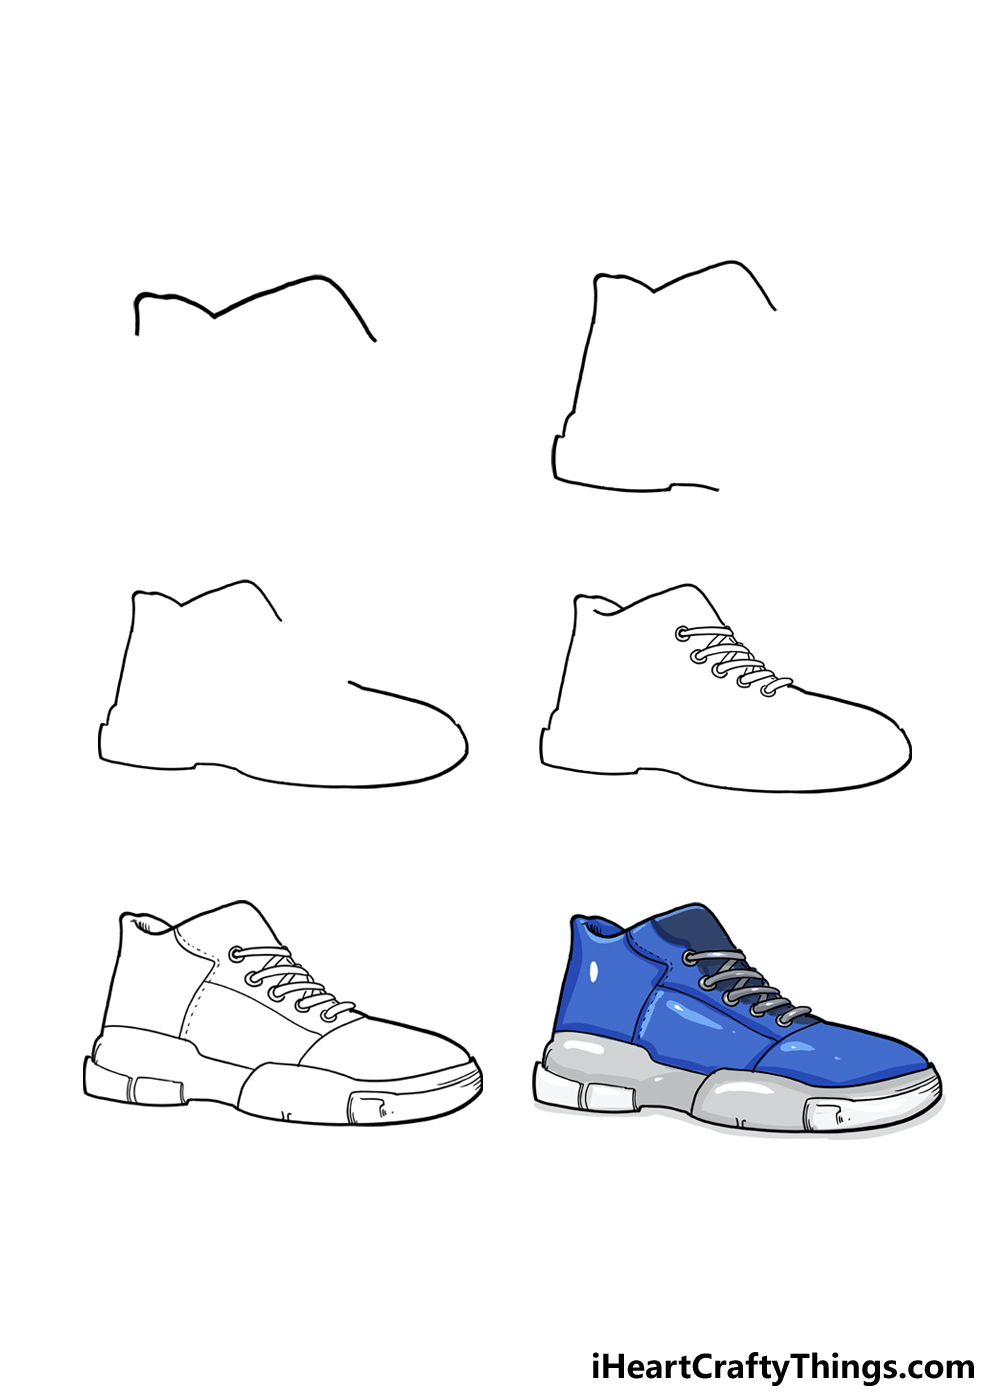
First, lets begin with a pencil outline for the shoe.
you’re free to use the later reference images to help you as you draw this planning shape.
For now, we will keep it simple and draw one small portion of the shoe.
Specifically, we will be drawing the opening of the shoe that your foot would go into.
This line will look a bit like a capital letter M that has been stretched out a lot.
This may seem simple, but there are some small curves and details that we need to add.
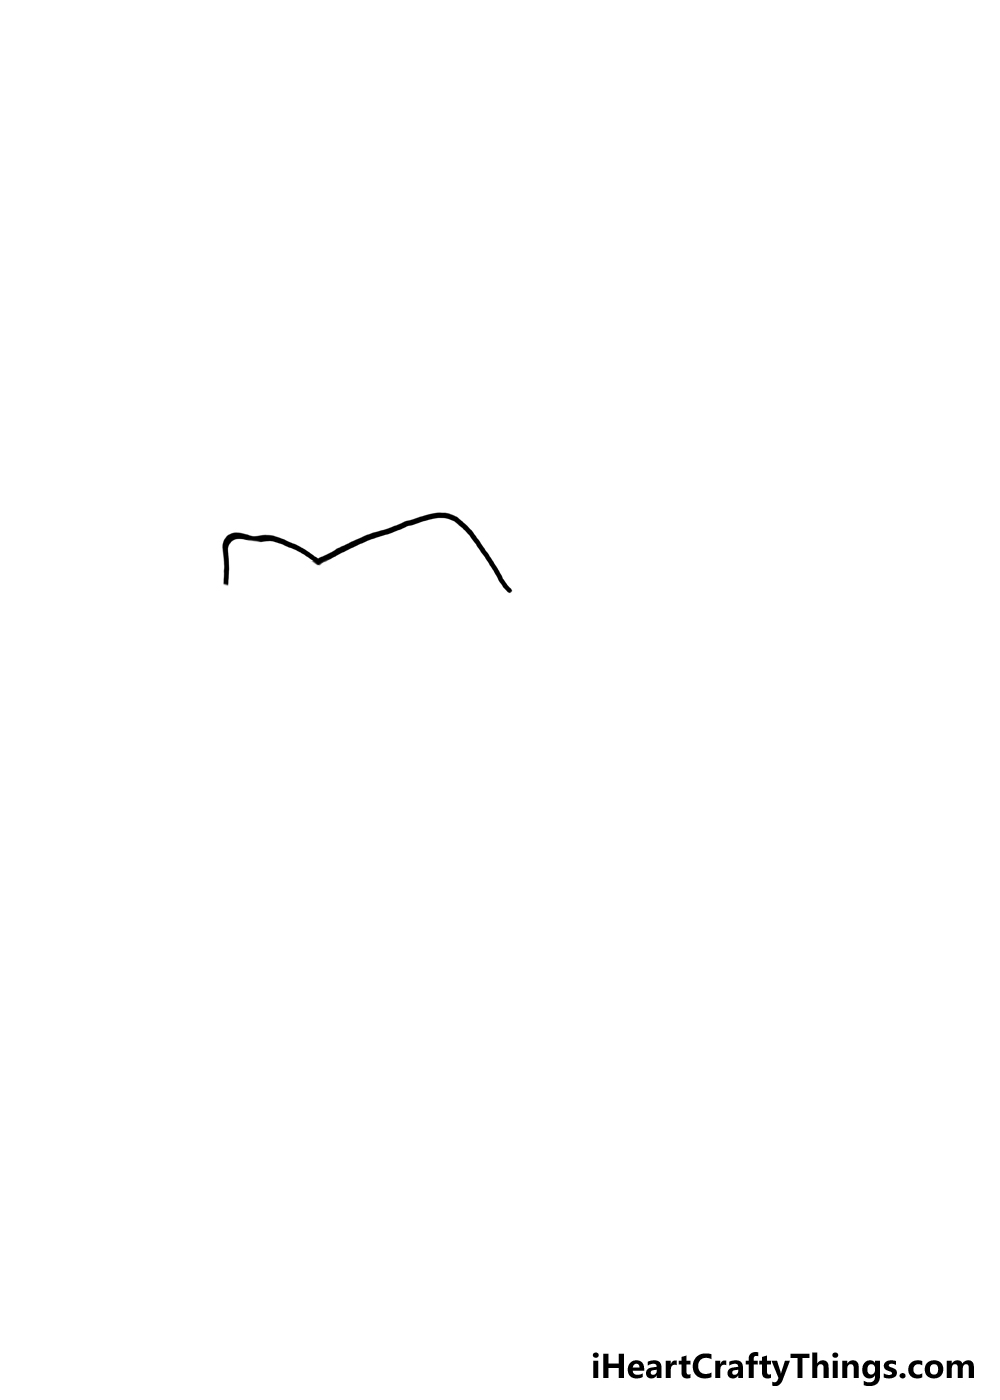
With that out of the way, lets draw this next portion of the shoe.
We will extend this section down from the opening that you drew in the previous step.
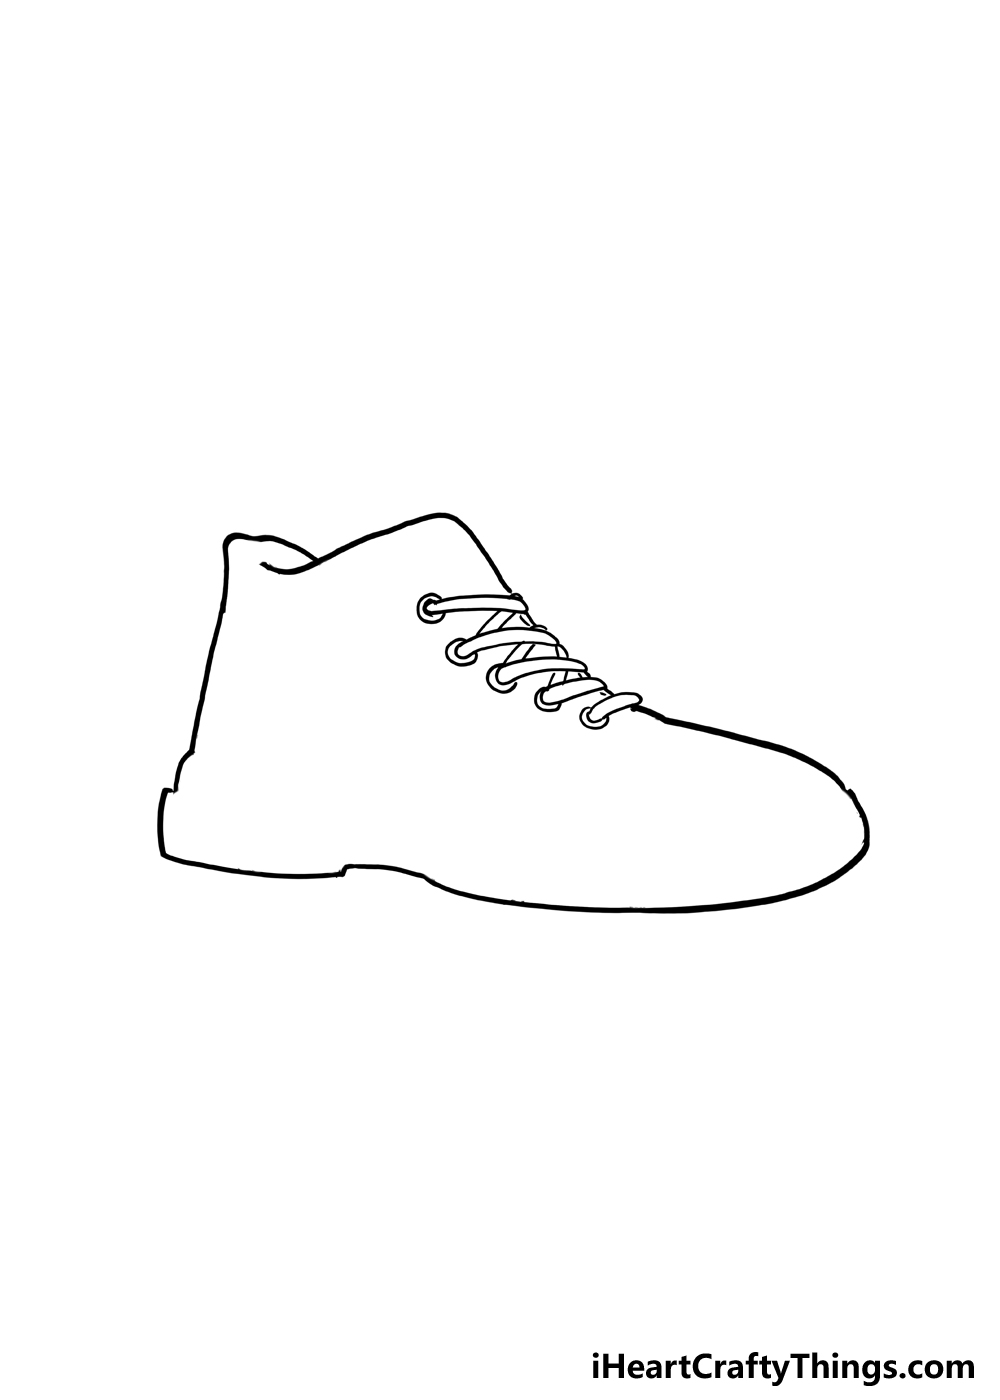
There will be a very slight curve to it, but it should be barely noticeable.
This will connect directly to the base of the shoe.
Speaking of this base, we will draw the first portion of that now as well.
The base will be rather thick, and it has a squared shape to it.
Extend a vertical line down, and then move it suddenly to the right.
And then, we will be finished with step 2, and now we can move to step 3.
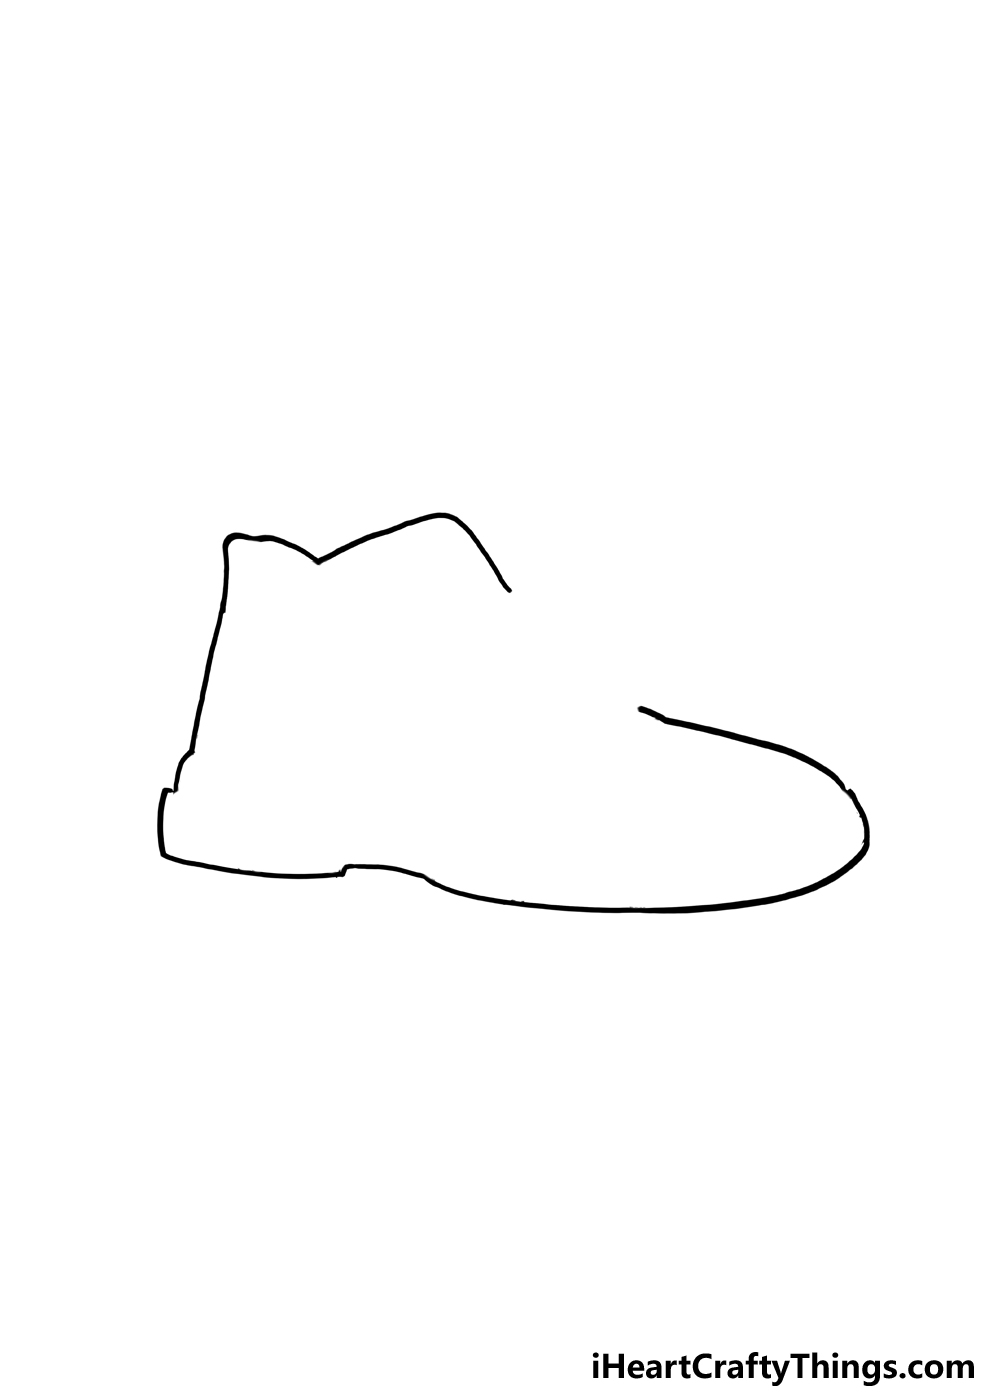
Thats where the laces section will go later, but that will come later on in the guide.
First, we will draw the rest of the base of the shoe.
If you make the curve too sharp, then you may make the shoes shape look a bit off.

Simply extend this line out to the right in a smooth, gradual curve.
When you get to the front of the shoe, we will then curl it upwards.
This upward curve will be short before it starts curving more sharply to the left and up.

Thats when you will stop, leaving a mid-sized gap where the laces will go.
Now that we have added this portion, you will see the shoe starting to take shape nicely!
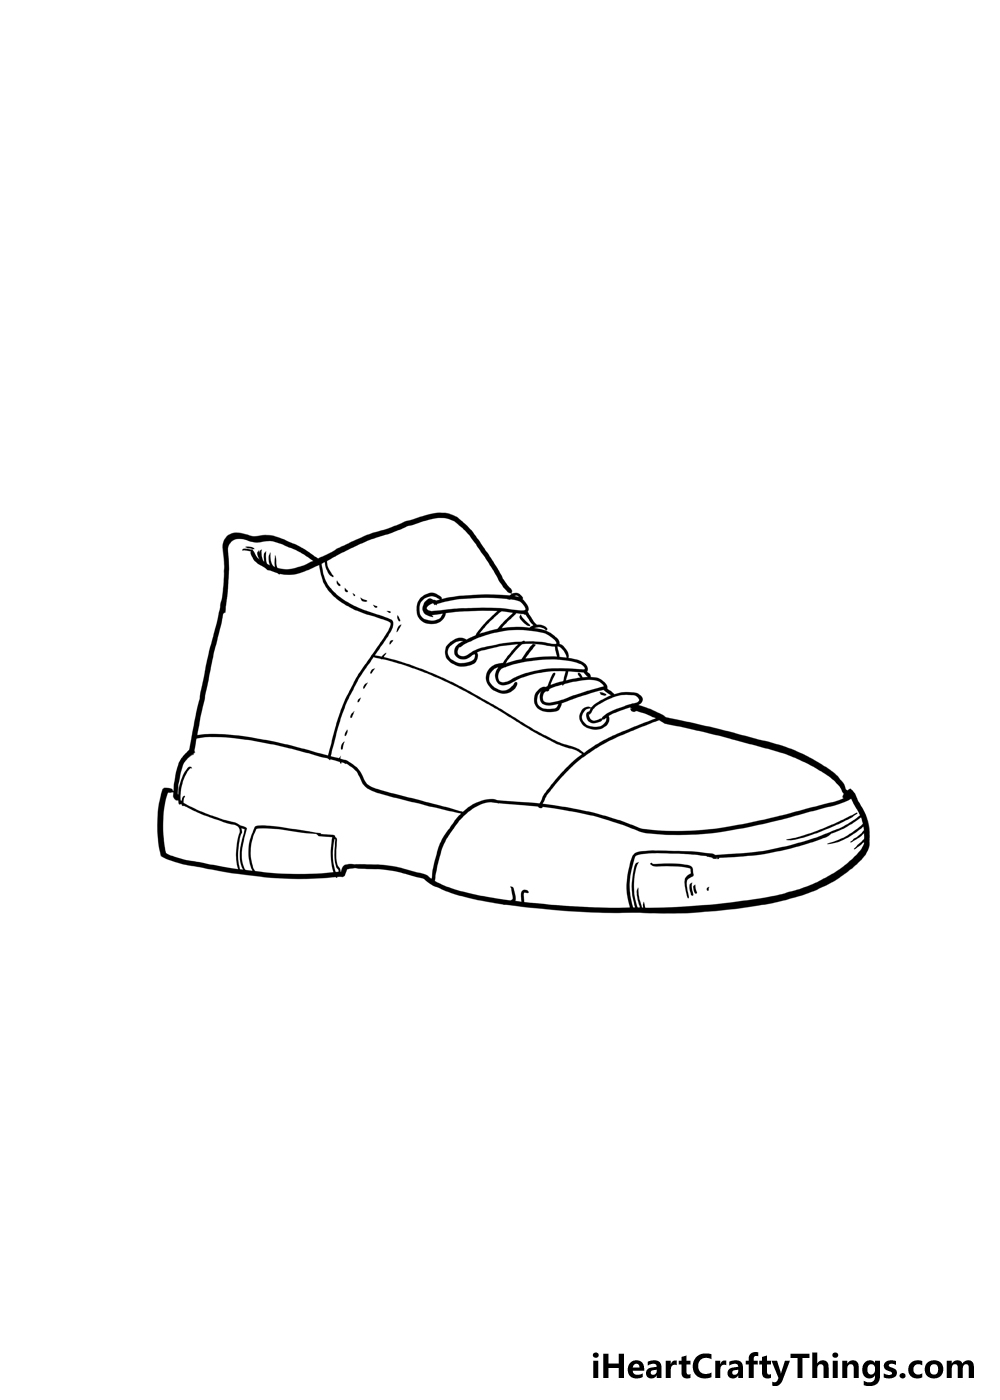
So without further delay, lets head to step 4.

Thats becausewe will be drawingthe laces crossing over one another, as shown in the reference image.
This may look intimidating, as its rather fiddly, but it doesnt have to be so difficult.
Or rather, draw some rough circles that will show you where these will go.

Then, look at the reference image carefully and start drawing some curved lines for each one.
We will also draw a small section inside this front section of the base.
Finally, we will finish off by adding various curved lines on the fabric of the shoe.

These will be there to show the patches that this shoe is made from.
Then, you could draw your own extra ideas and details.
These could be used to make this shoe look more like a favorite shoe of your own.

This could be some weathering details or maybe a logo or badge that you have on your favorite shoes.
What else would you like to add to the image?
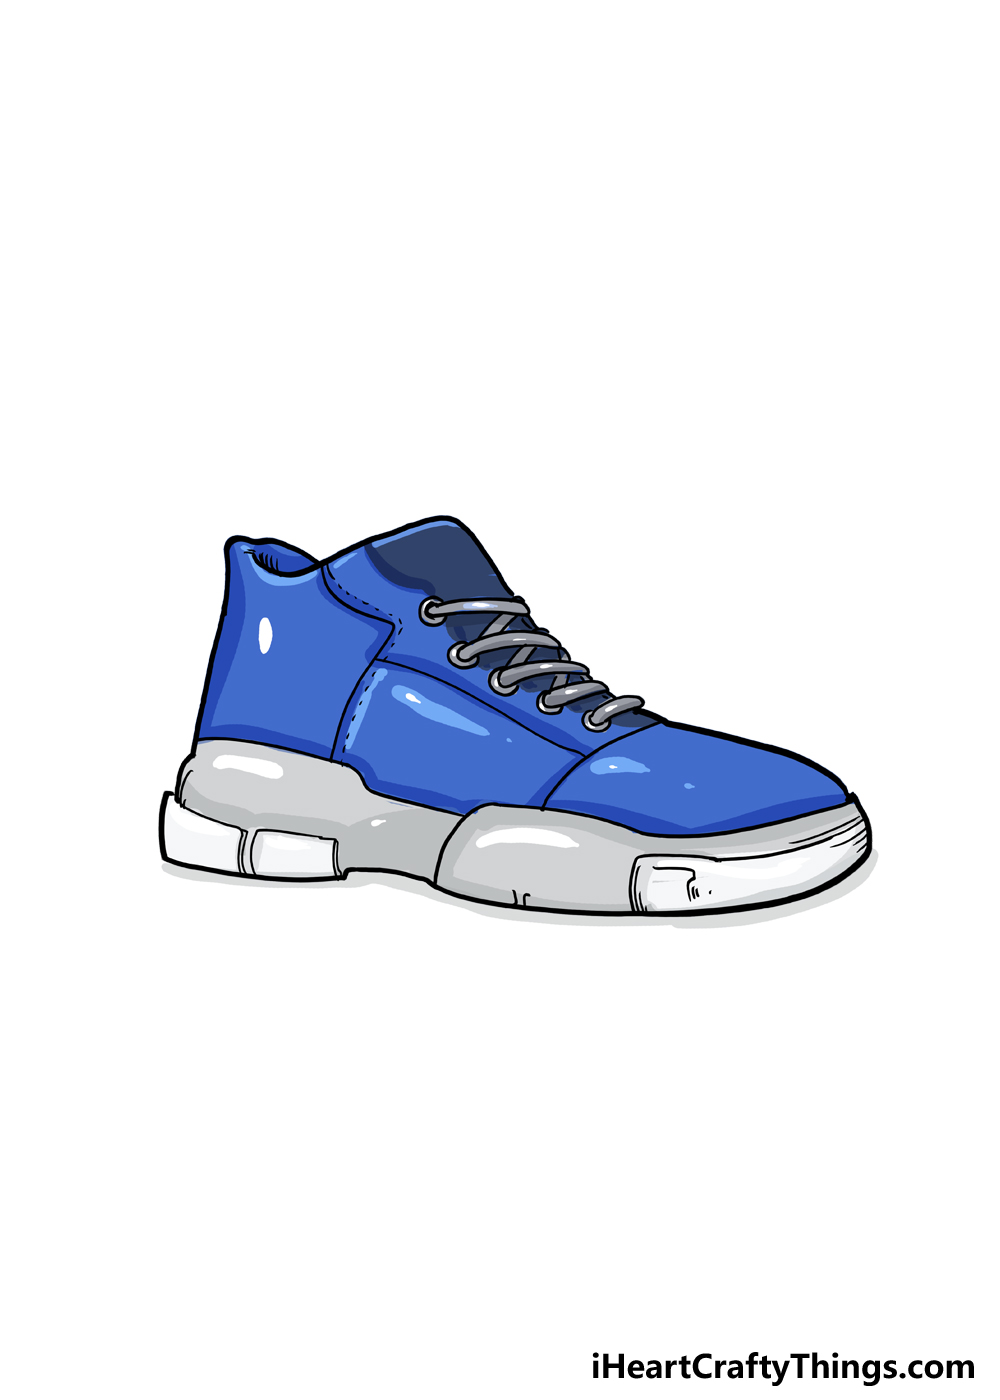
In our reference image, you will see one of many ways that you could color this shoe.

We used a blue and white color scheme to give this shoe a nice classic look.
You could go for warm reds or maybe some light yellow for a sunnier look.
These are just a few ideas, but you should certainly use any colors that you want.
For softer colors, you could use watercolors or colored pencils.
Now its up to you!
How will you finish off this drawing of a shoe with your own color choices?
We cant wait to see how you choose to color in this awesome artwork.
Your Shoe Drawing is Complete!
That brings us to the end of this guide on how to draw a shoe!
There are so many ways that you’re able to get really creative with it!
We would love to see how this drawing and any variations turn out.
you’re free to show off your picture by sharing it on our Facebook and Pinterest pages.
More From:How to draw
Printable Bubble Letters A Complete Guide!
