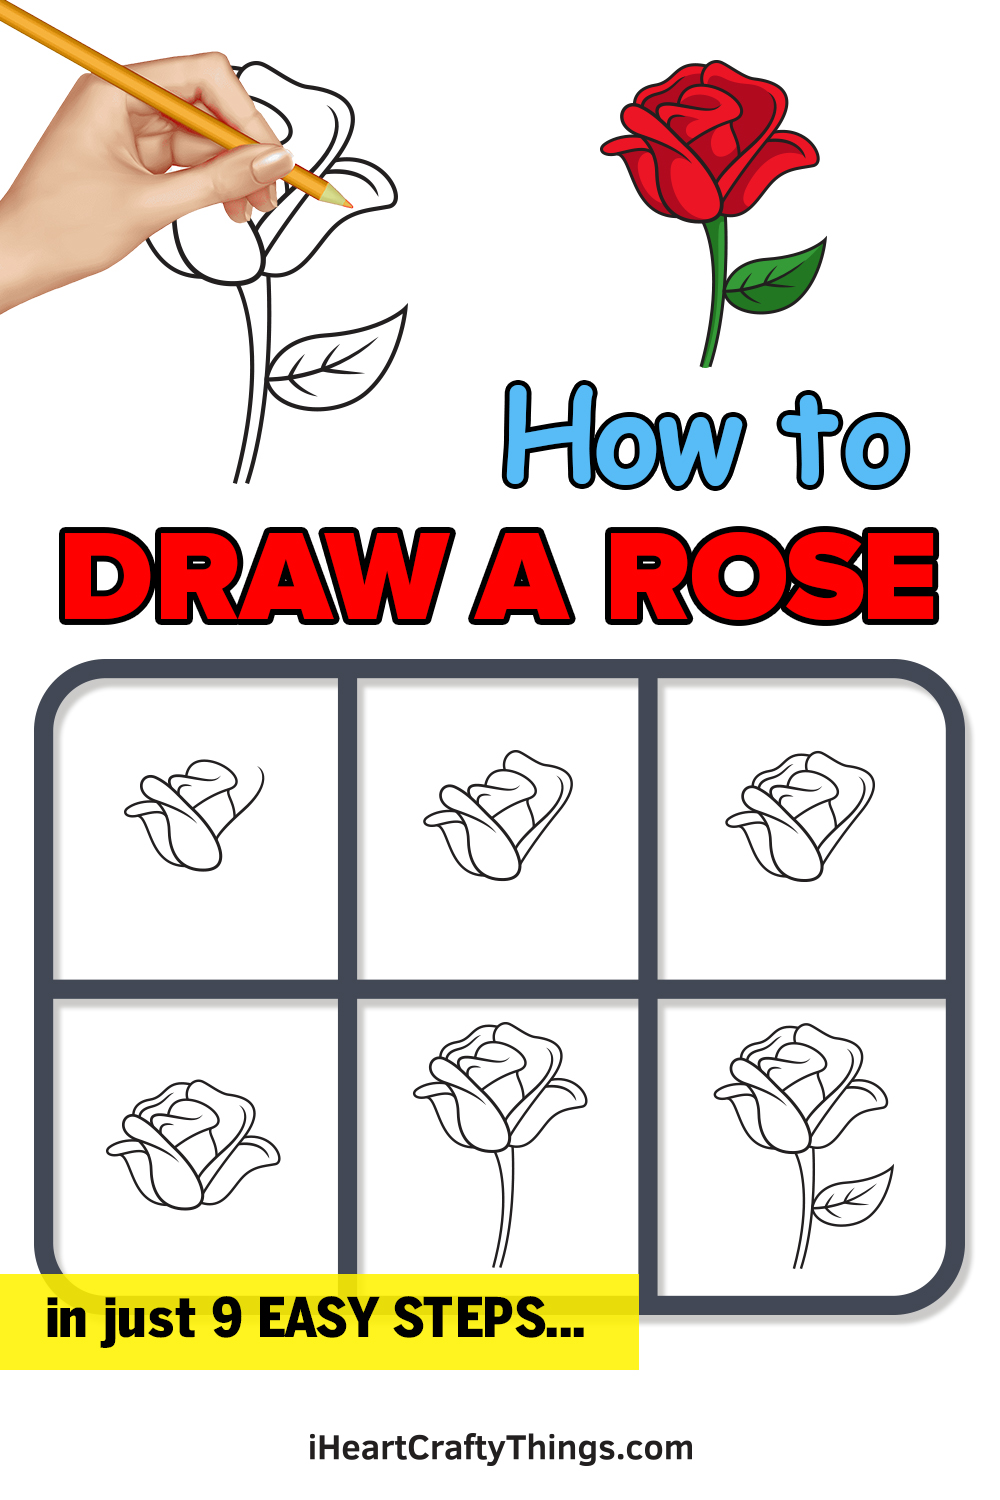
Complete Rose drawing in just 9 easy steps!
Learning how to draw a rose is a great skill for any artist to have!
This easy-to-follow step-by-step guide I have for you will make you a rose drawing pro in no time.
So get out your drawing tools and prepare to create a beautiful design!
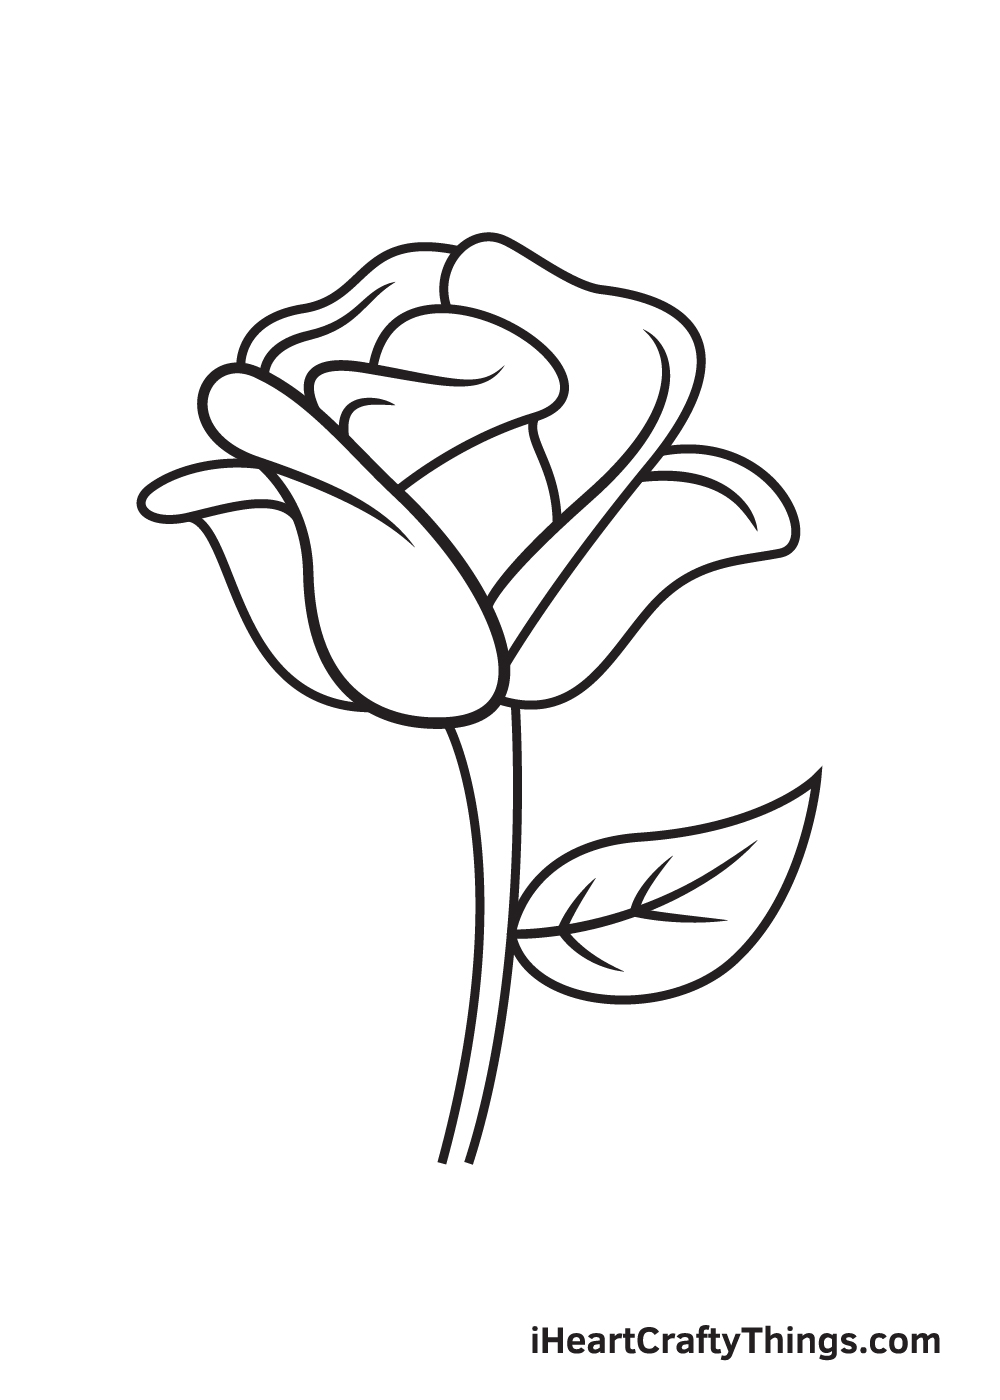
This forms the leftmost and the biggest visible petal of the rose.
This time, create a smaller petal figure behind the first petal we drew previously.

Dont worry if the petals dont look identical!
The petals dont necessarily have to be uniform.
As a matter of fact, the more uneven the petals are, the more realistic they look!

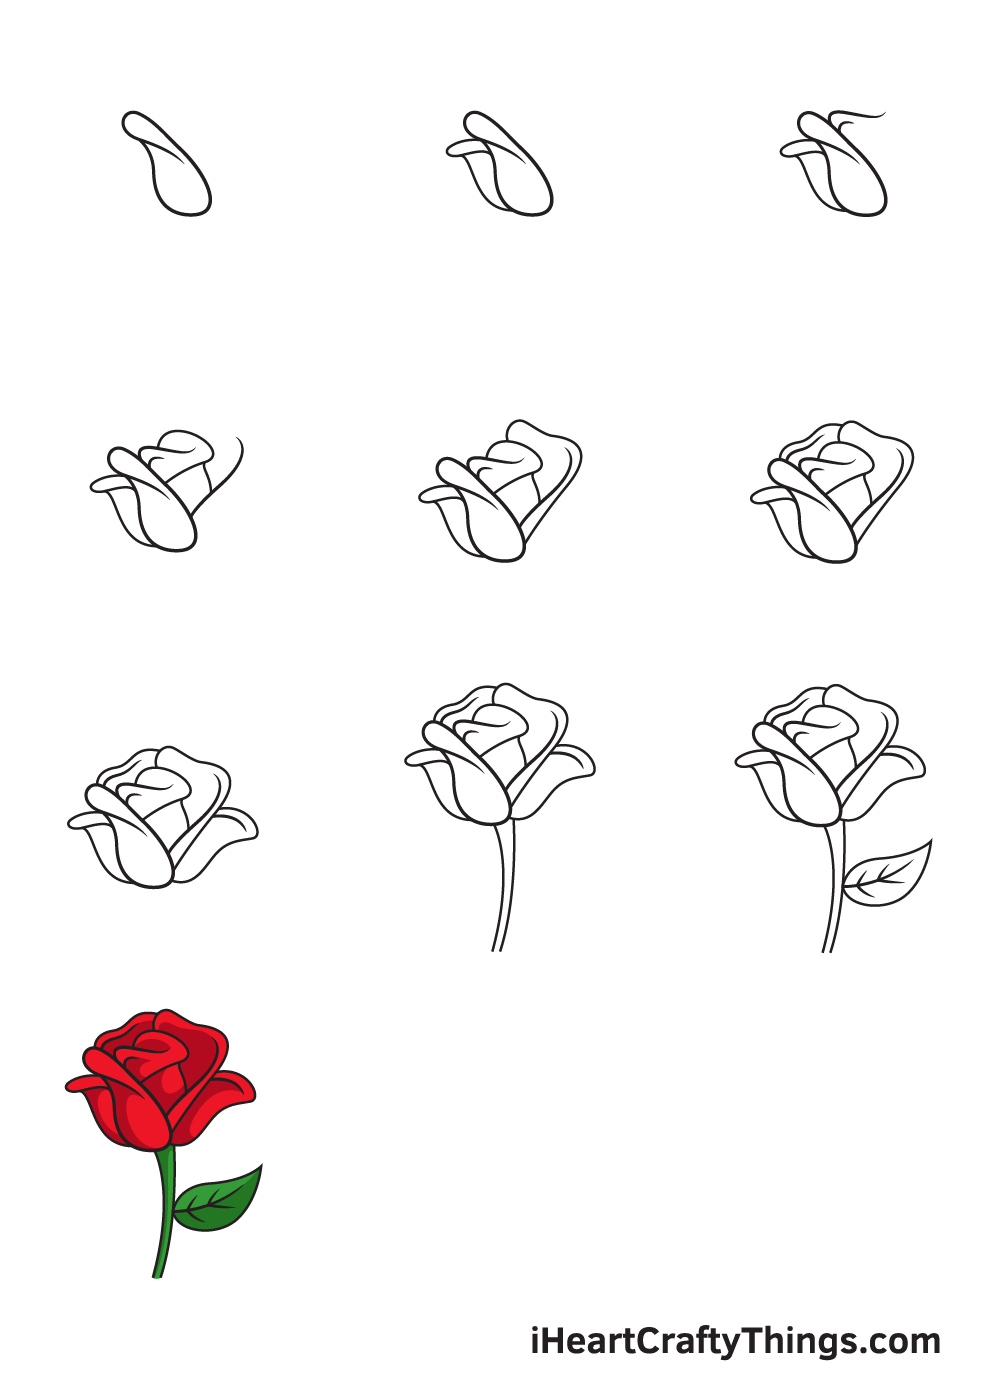
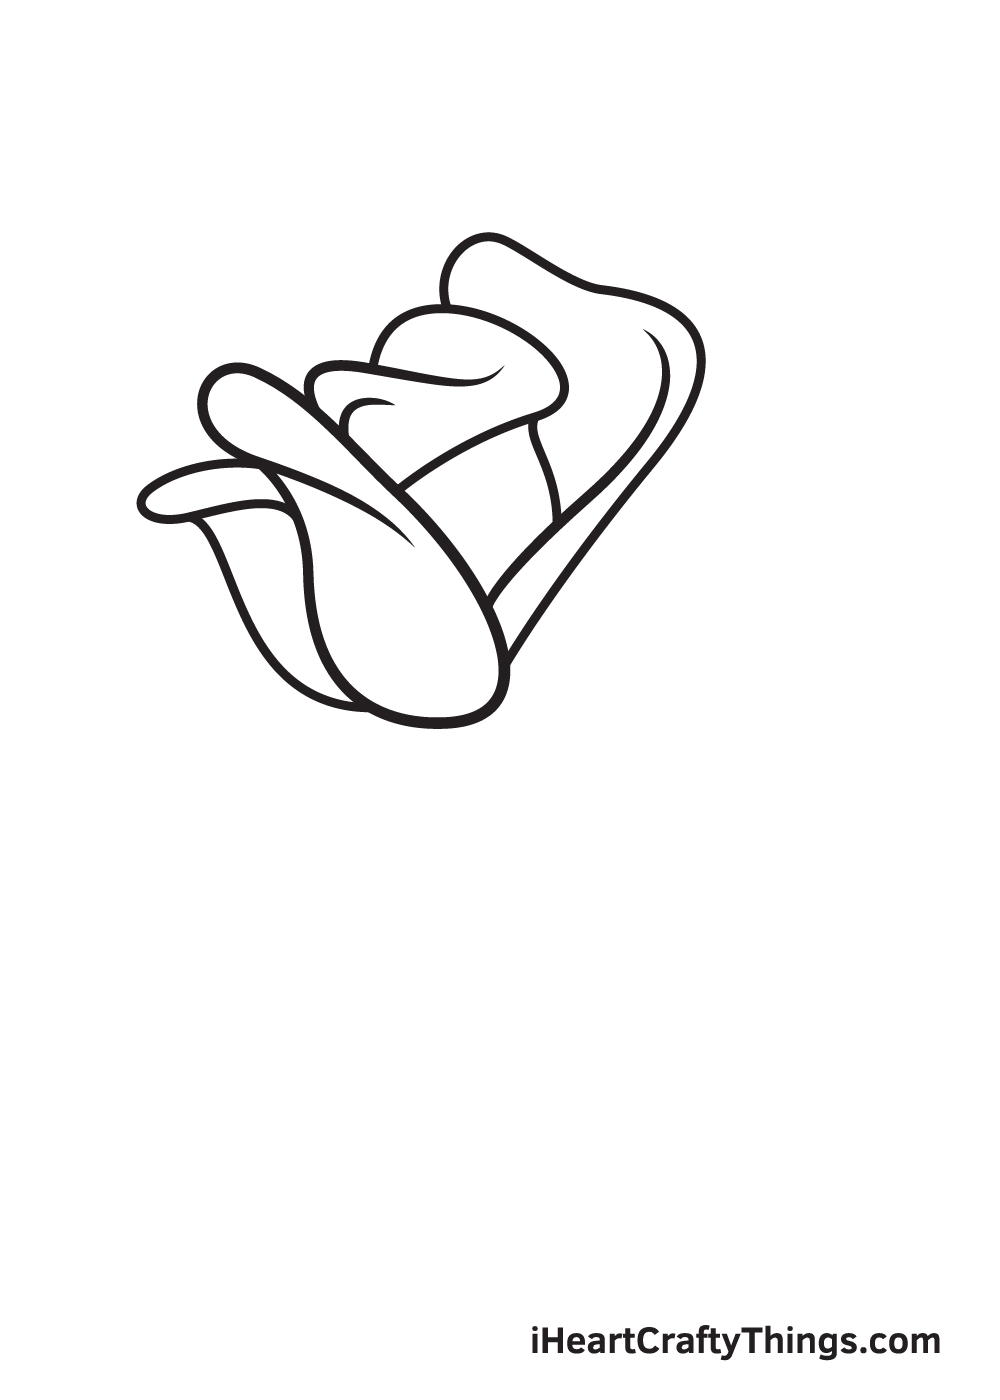
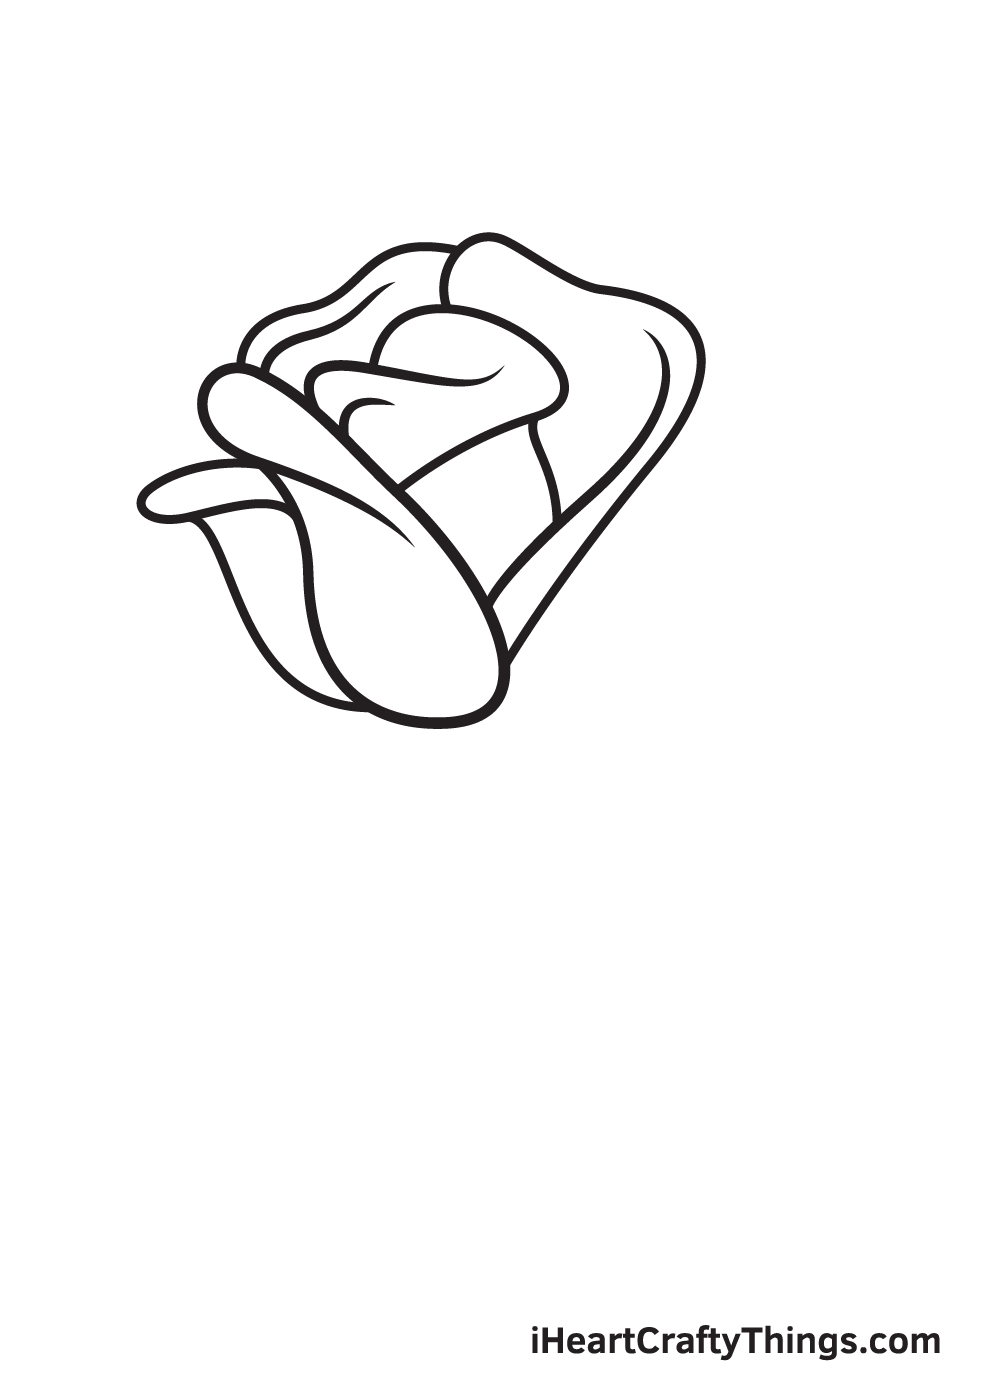
Draw curved figuresto represent this, as shown in the illustration.
Draw curved lines to complete the inner petal and part of the outer petal.
Draw curved lines to represent this, just like the one shown in the illustration.

But since this petal is located at the back, only its top part would be visible.
To create this petal, simply draw a curved line forming the top edges of the petal.
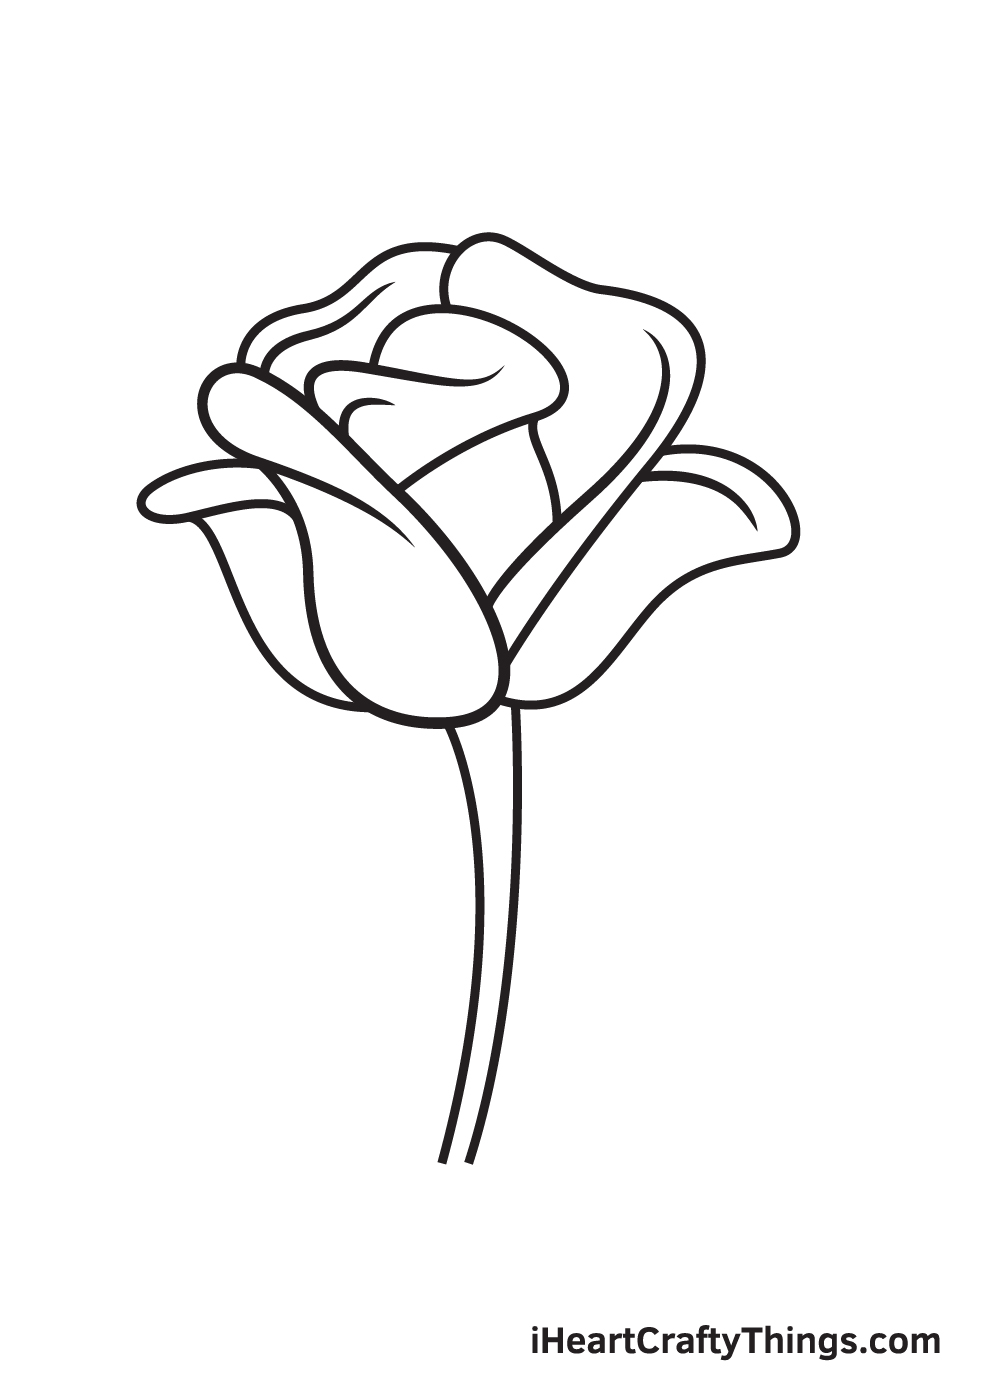
In this step, we will be adding the stem of the rose.

Simply draw two parallel curved lines right underneath the rose.
This forms the shape of a single leaf.
Afterwards, draw a slightly curved line across the length of the leaf.
This creates the middle line of the pattern on the leaf.
Then, draw multiple diagonal lines connected to the middle line to finalize the distinct patterns inside the leaf.
There you have ityou have successfully drawn a rose!
Now, its finally time to put some color on your beautiful rose!
you might opt to color the rose using its original colors or use an entirely different color.
Either way, were sure the colors will turn out beautifully!

How you will color the rose is entirely up to you!
Have fun playing with colors and watch as the rose ultimately comes to life!
But how will you add these colors?
When we think of roses, we think of rich and vibrant colors.
Therefore, if you agree then you may want to use equally rich and vibrant mediums.
Acrylic paints would produce some rich and bright colors, for example.
Or, you could use some pastels for thicker colors.
These can be hard to use at first, so maybe practice a bit before committing to this medium.
The vibrant look we are describing is not the only way to portray it, however.

There is beauty in subtlety as well, so you could make the colors more subdued.
Colored pencils could work for this purpose as well, and there are many more.
Which of your favorite mediums will you use to bring this rose drawing to life?
3 More tips to make your rose drawing easy!
Make your drawing of this beloved flower even easier with these fun and easy tips!
Do you have a style in mind that you could use when changing this design?
For instance, the details on a rose are a lot less complex when the flower is closed up.
Another option would be to draw the rose from a top view.
In fact, using pictures of real roses is generally a great idea!

One great idea would be to add some more flowers that you love.
For an added benefit, you will also have a beautiful bouquet to show off!
Your Rose Drawing is Complete!

Hopefully, you had a fun drawing activity with this step-by-step rose drawing tutorial.
Which flower would you like to draw next time?
Now that youve successfully drawn a rose, you should feel proud of yourself for finishing a masterpiece!

ensure to take a photo of your artwork and share it on our Facebook page and on Pinterest.
Dont be shywere sure it looks awesome!
Were excited to see your stunning rose drawing.

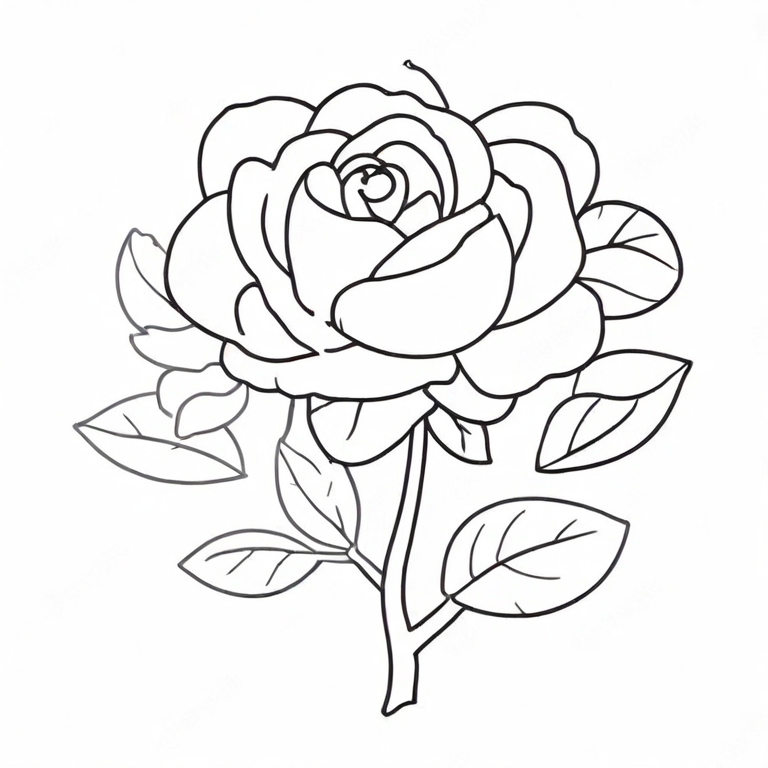
Here Is A Cute Rose Drawing To Inspire You!
However, their beauty can also make them a bit difficult to draw.
There are so many petals and layers that it can get challenging.

However, our artist Freddy has drawn this example of a cute rose drawing for kids to help you.
When you look closely at this rose, you will see that its not as hard as it seems.
give a shot to pay attention to the lines and how they interact with one another.

Your cute rose sketch will be just as amazing as Freddys as long as you try your best!
More From:How to draw
Printable Bubble Letters A Complete Guide!
