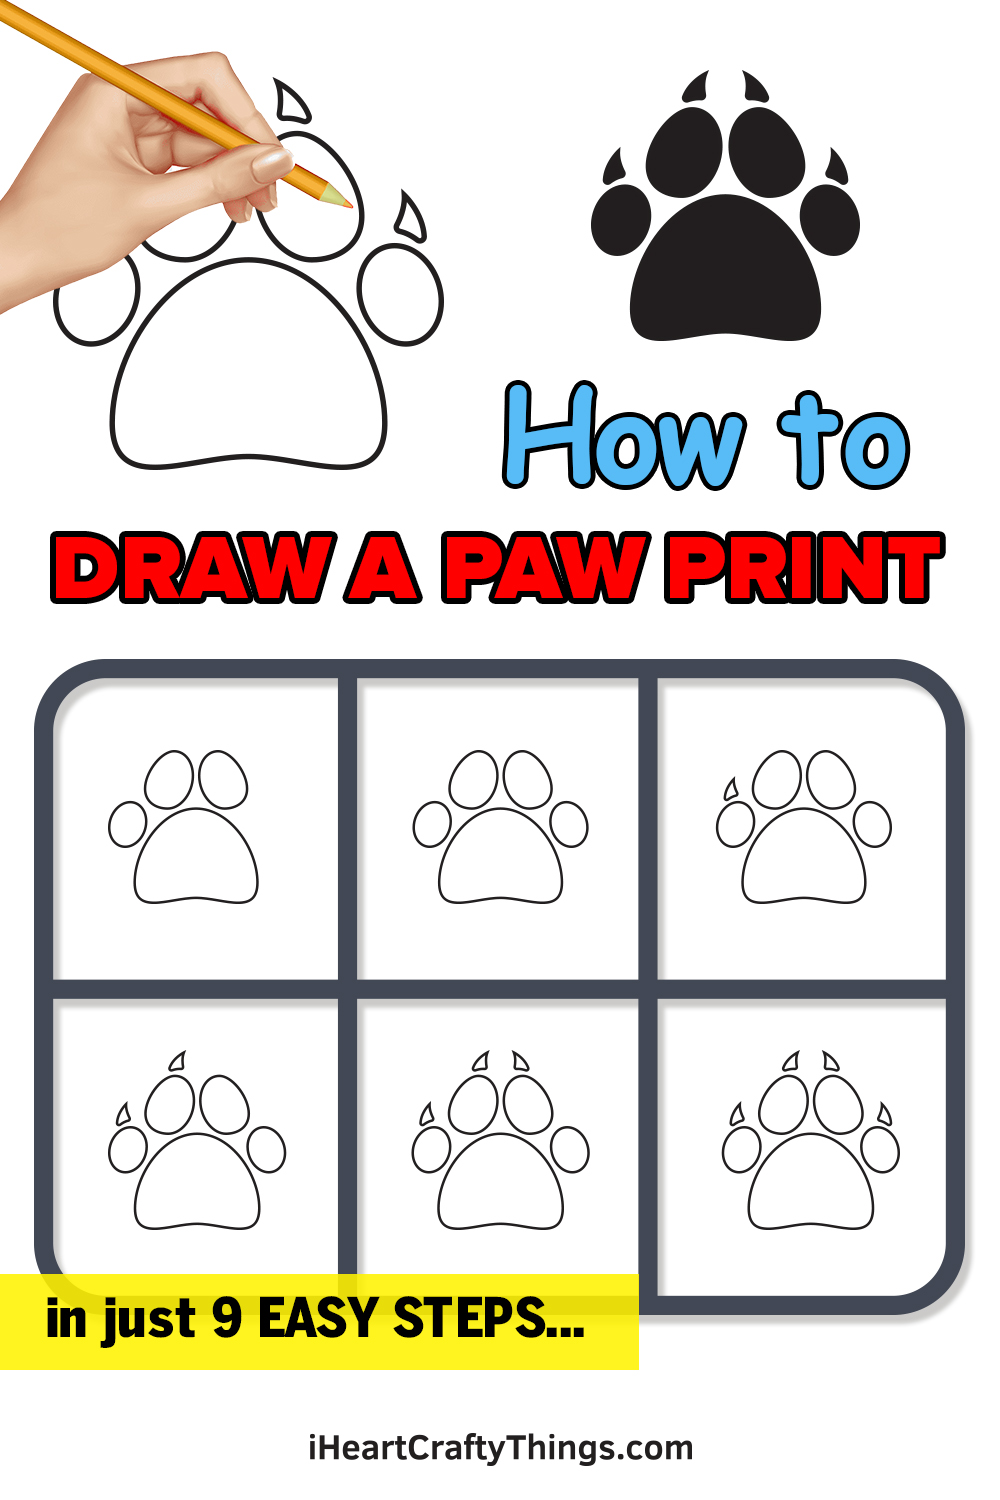
Complete paw print drawing in just 9 easy steps!
If you have a pet then you will have certainly seen some of these prints.
after you grab mastered the design, there is a lot you might do to take it even further.
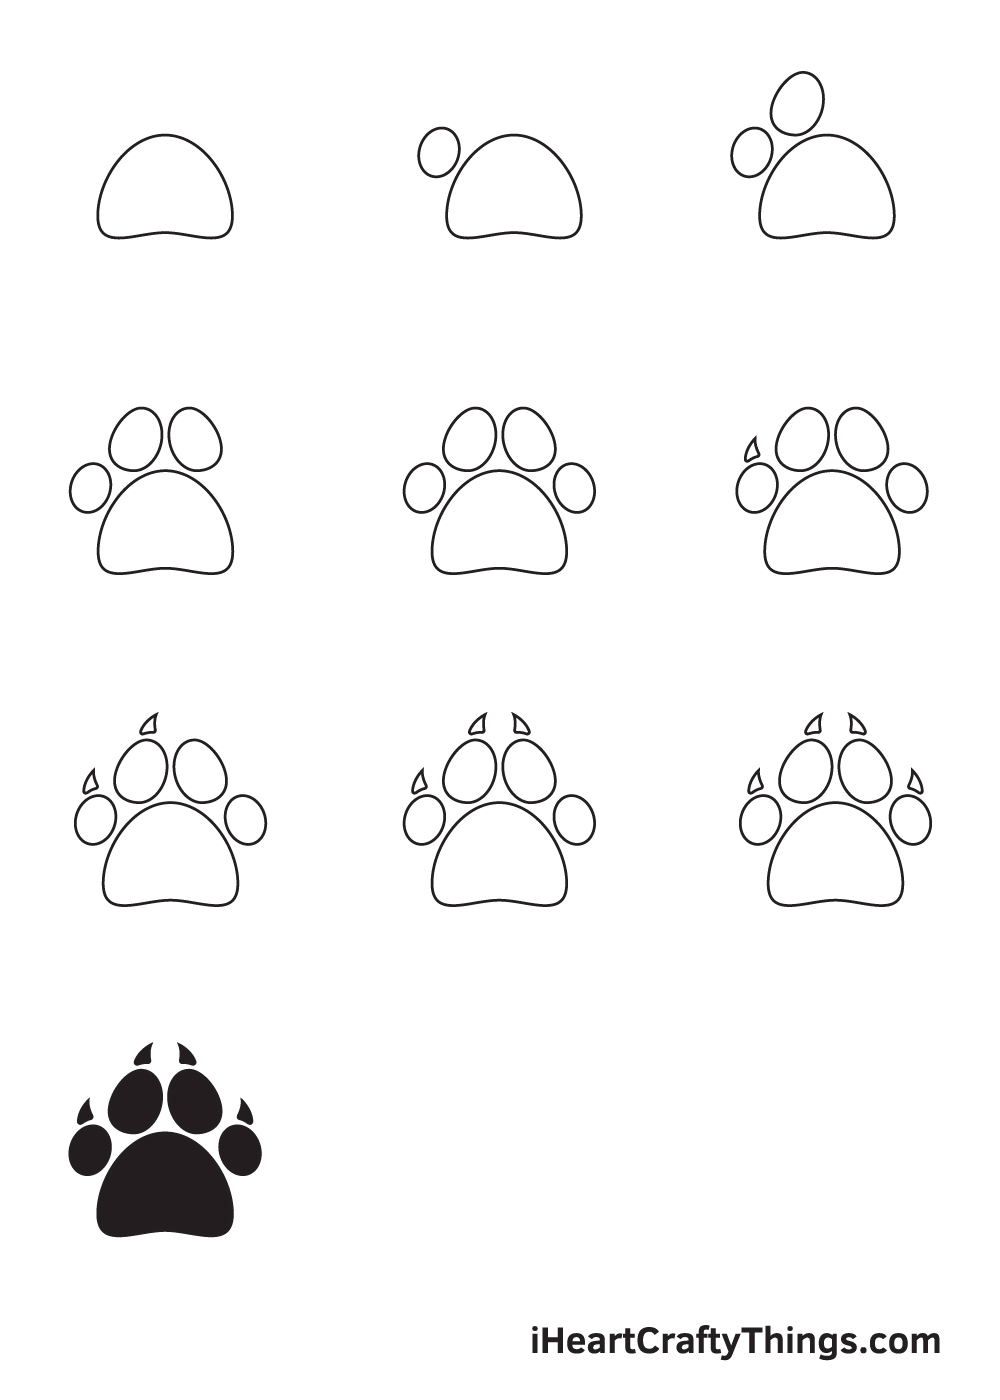
It all starts with this guide, so lets begin!
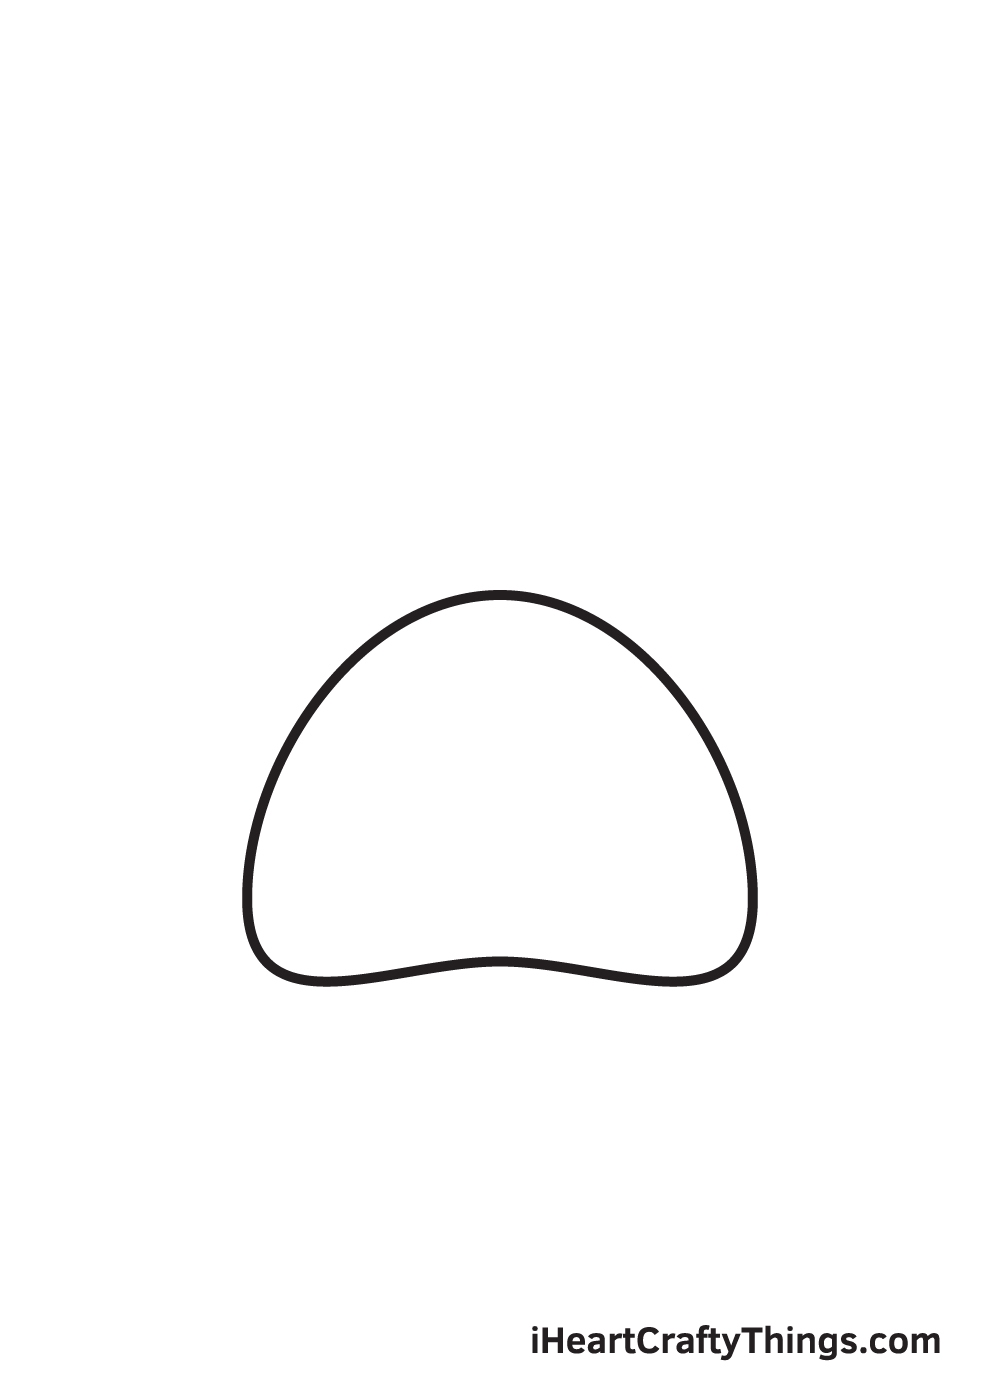
Step 1
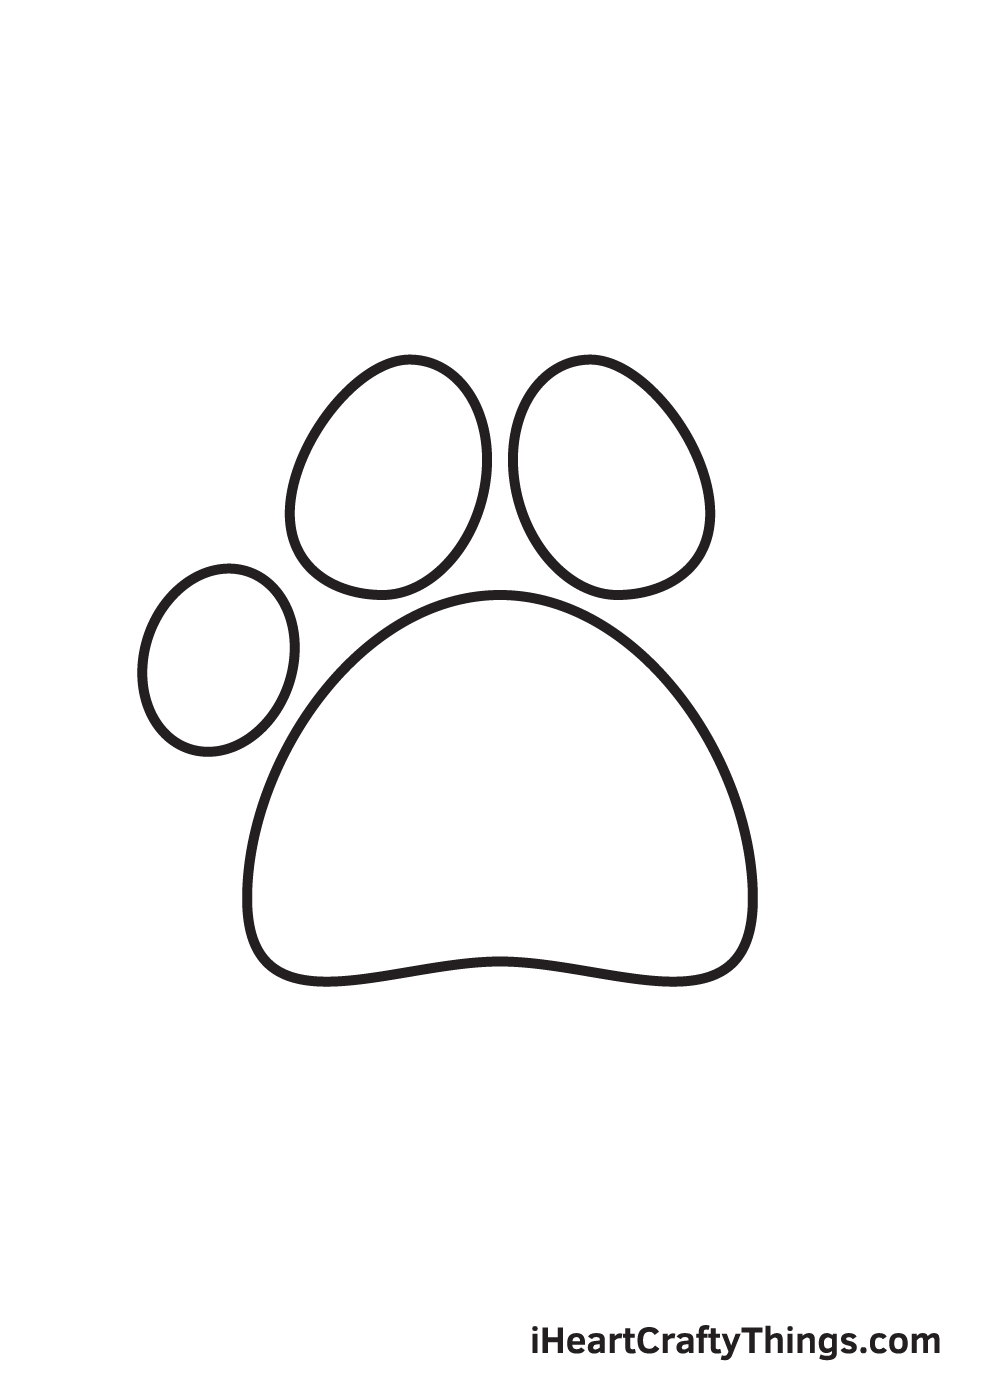
Start by drawing a downward curved line on the bottom portion of your paper.
This forms the metacarpal pad, which is the largest pad in the paw print.
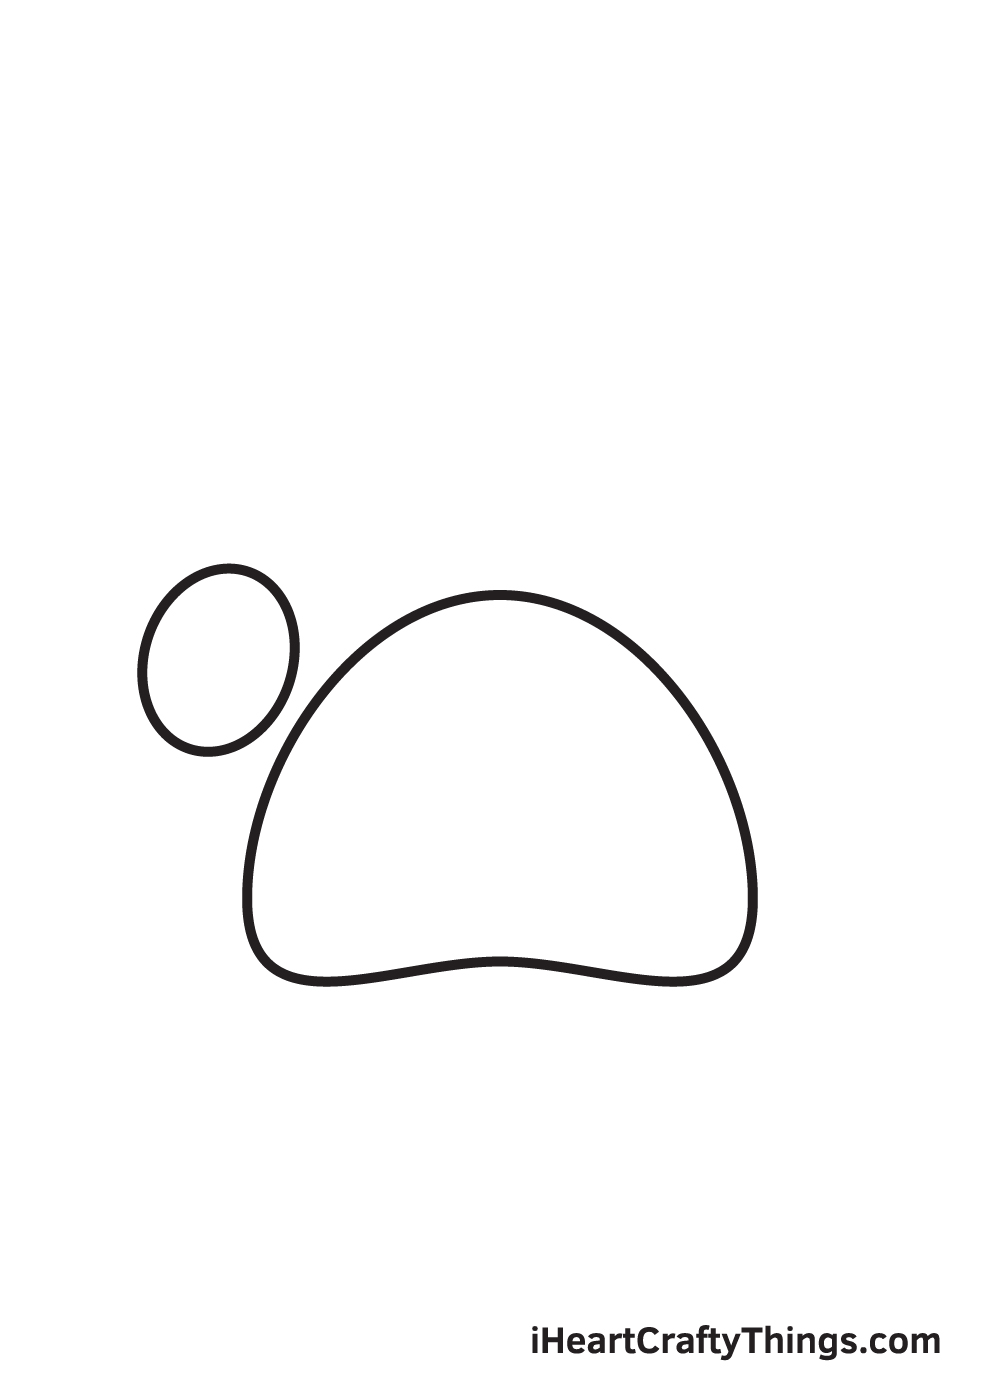
This forms the first digital pad of the paw print, which is located on the leftmost side.
Take note: the digital pad shouldnt be directly touching the metacarpal pad.
There should be a slight gap in between the two, similar to the illustration above.
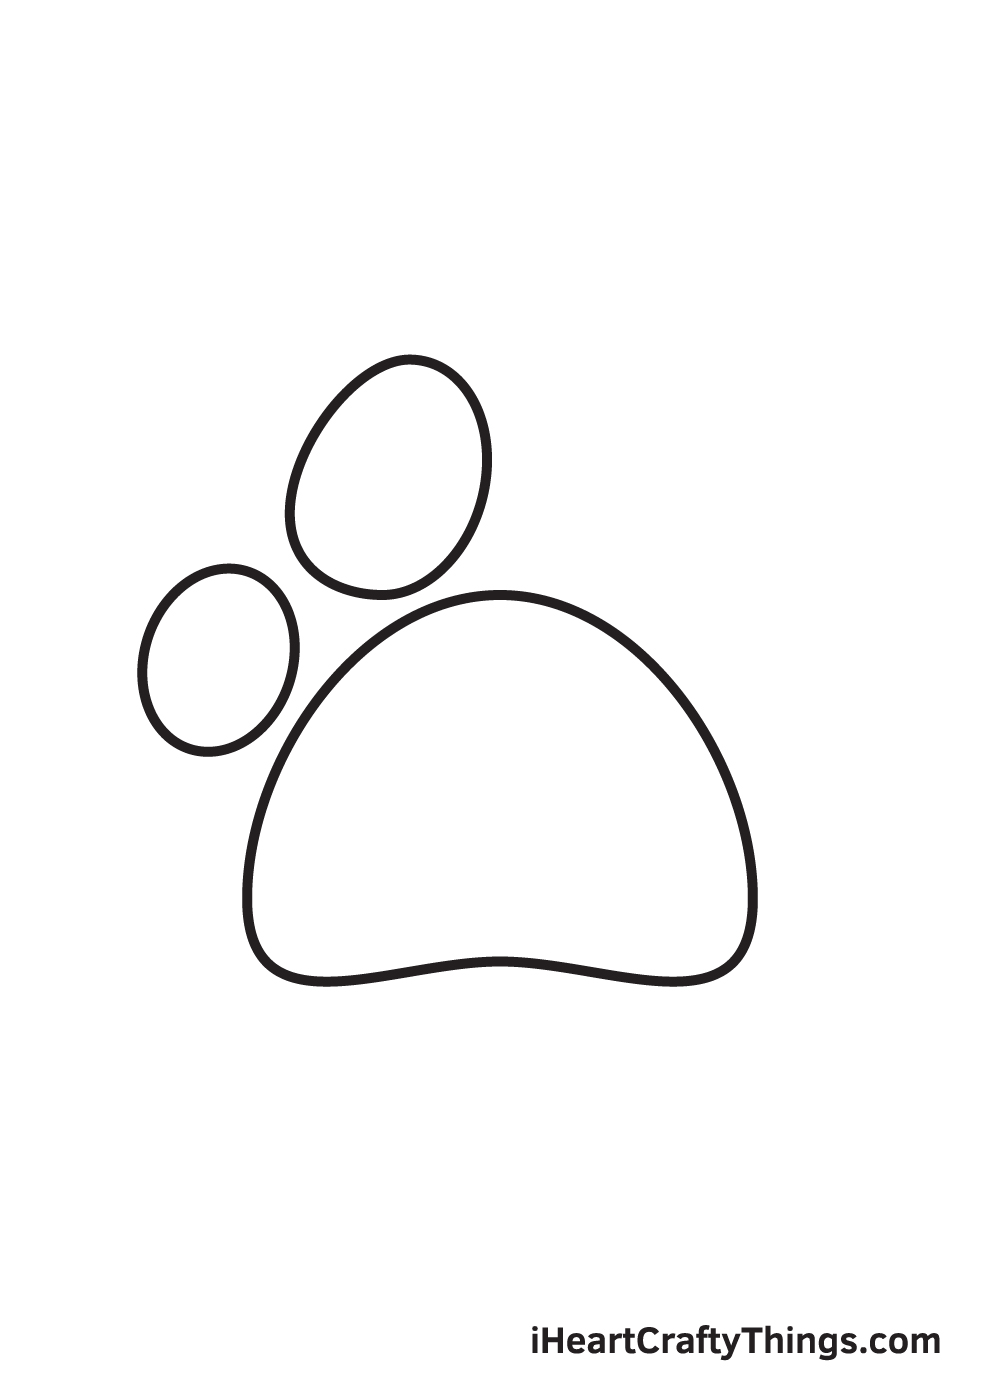
Dont worry if the shapes of the digital pads arent perfect!
They dont necessarily have to be.
As a matter of fact, the more uneven they are, the more realistic they look!
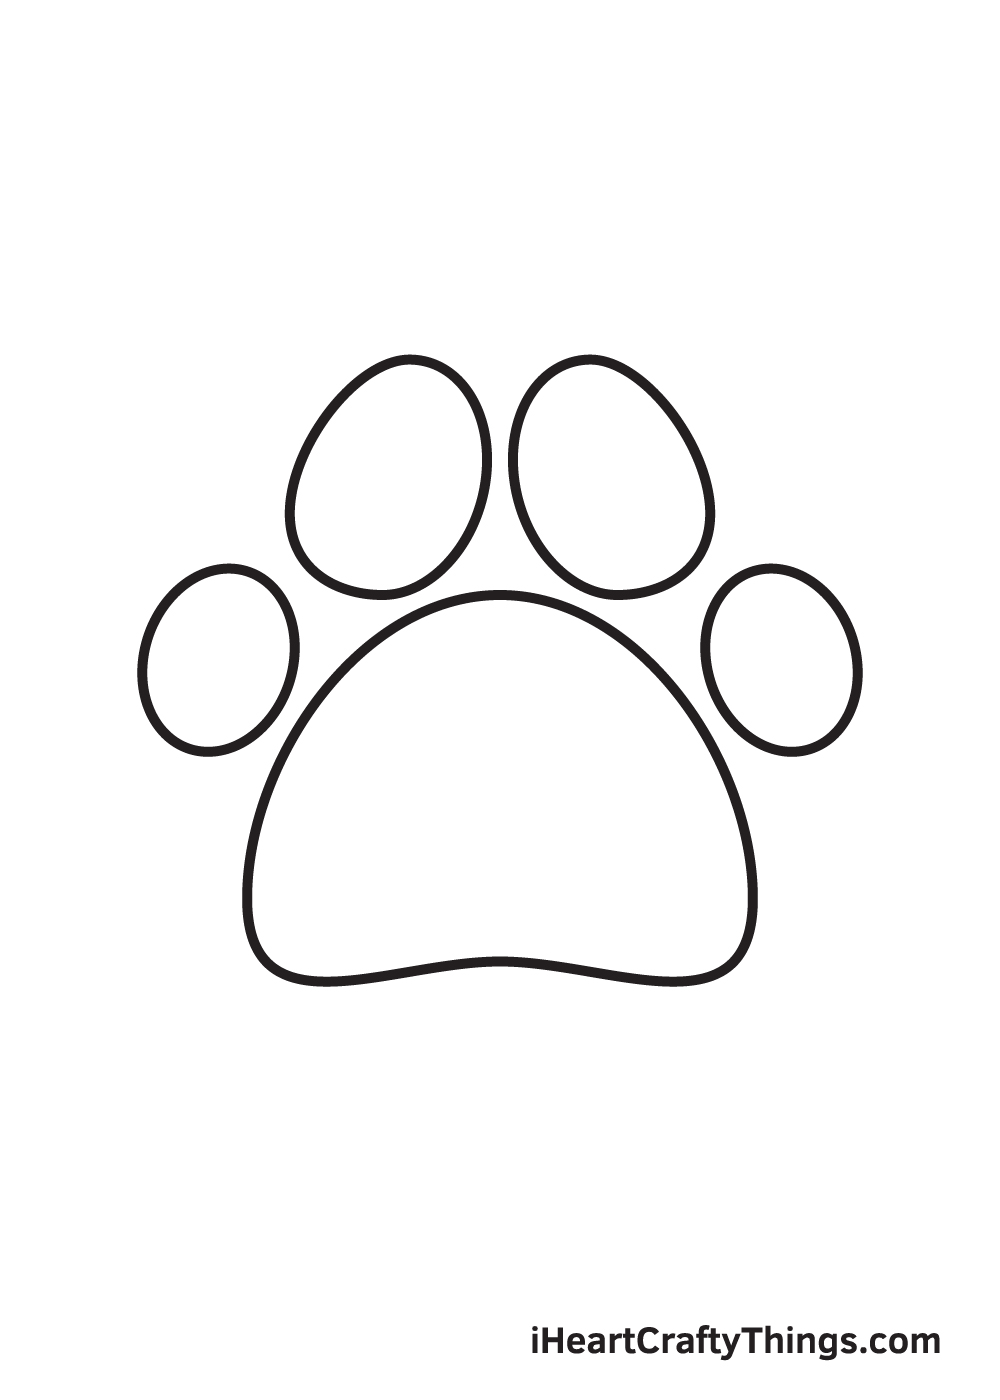
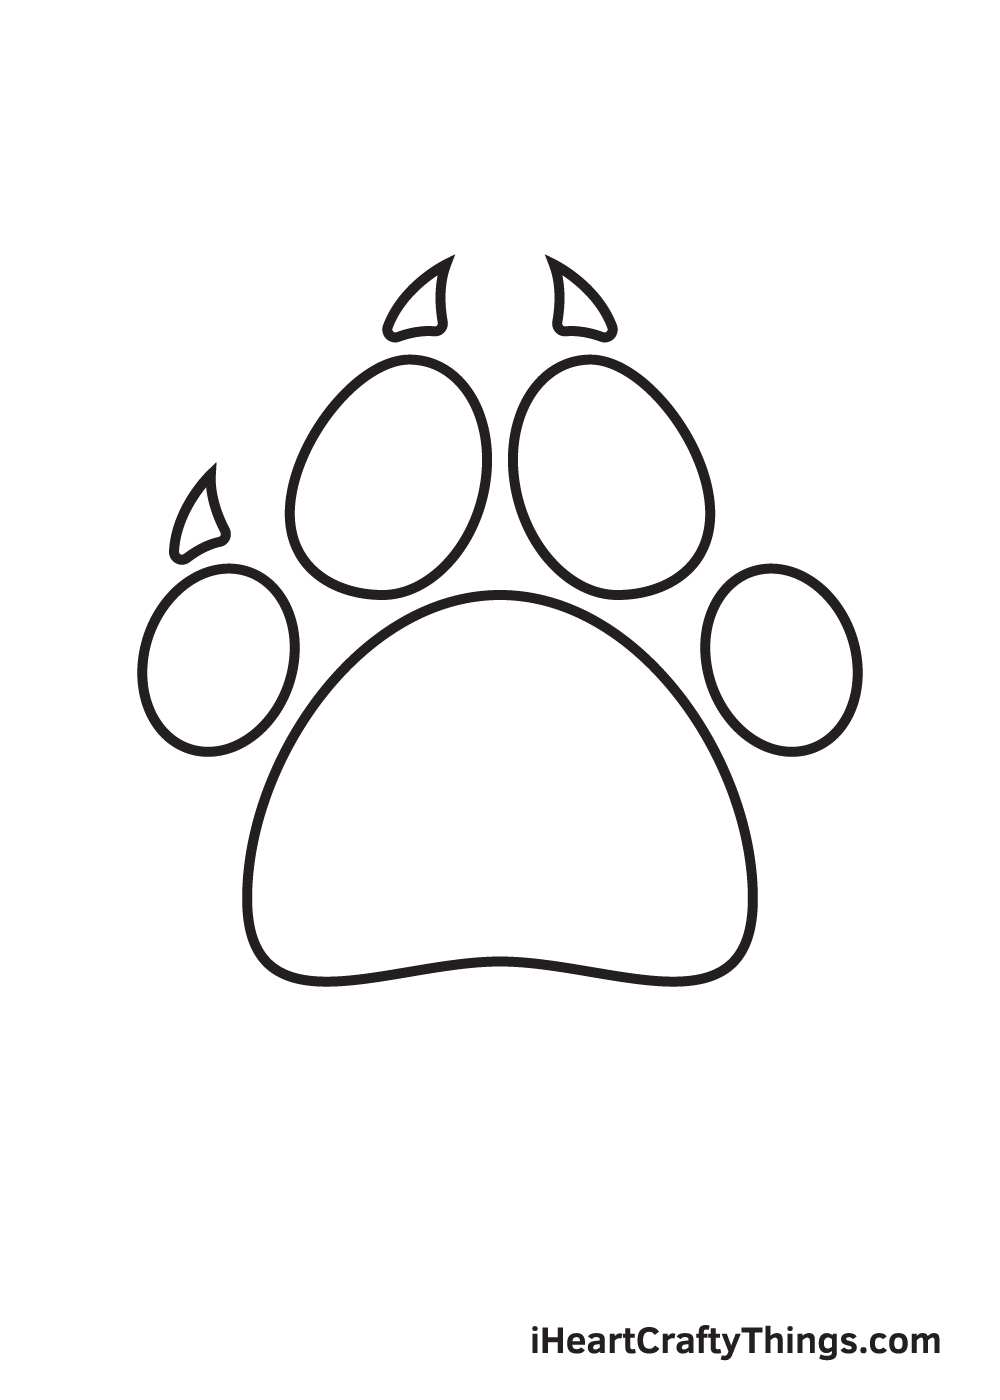
At this point, you should now have three digital pads, and only one more is missing.
This forms the fourthand the lastdigital pad of the paw print situated on the rightmost side.
After finishing this step, all four digital pads of the paw print should now be complete.
Were almost donekeep going!
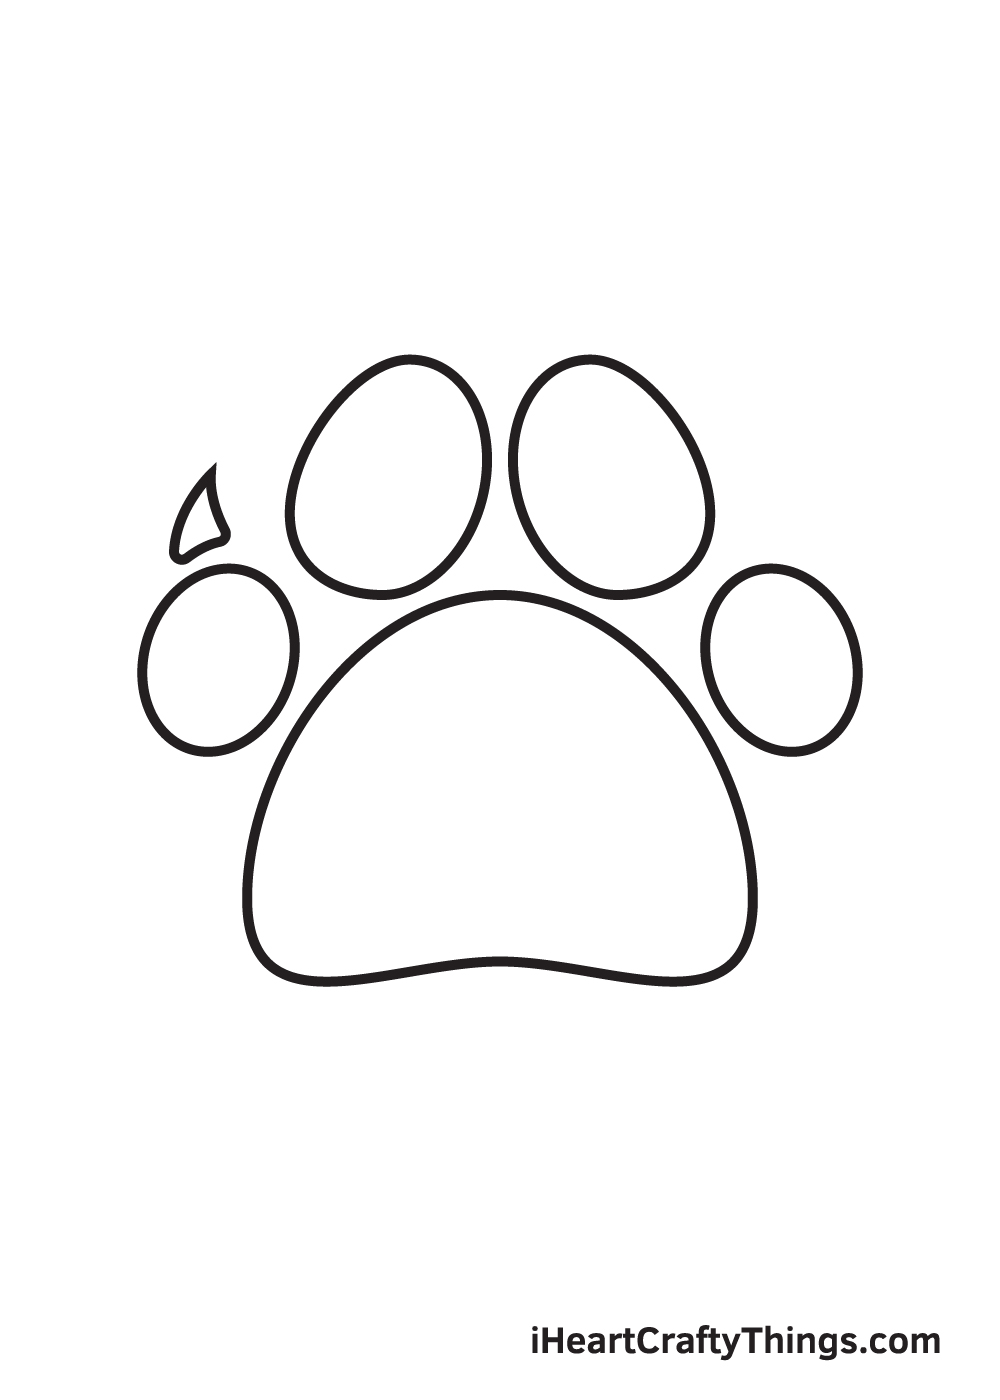
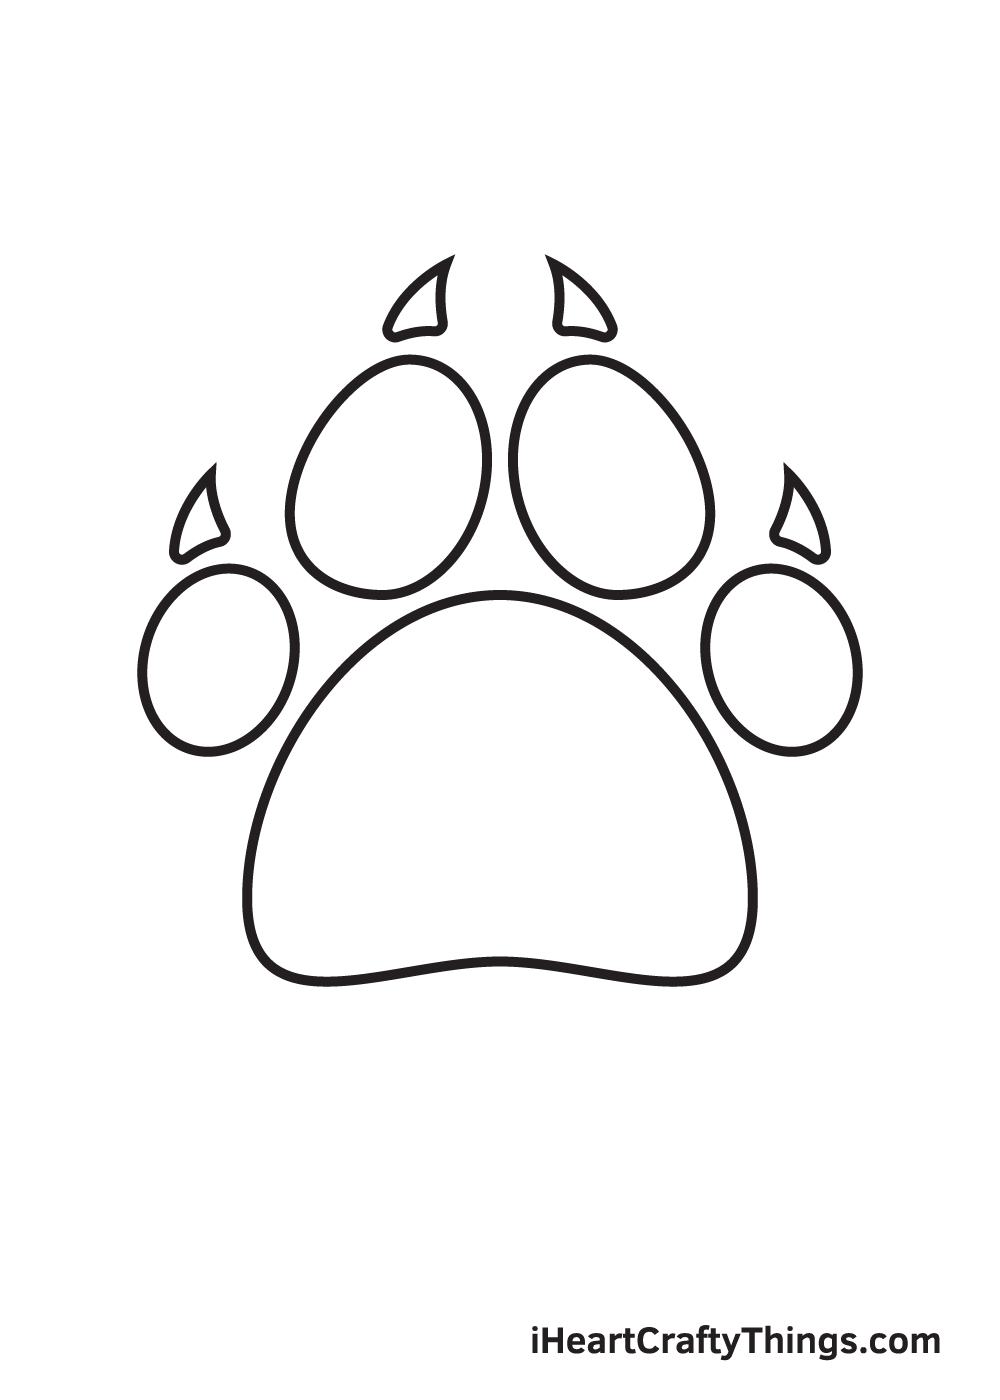
This forms its sharp, pointed clawone of the paw prints most distinct features!
check that that the digital pad and its claw arent touching.
There should be a small gap in between the two, as shown in the illustration above.
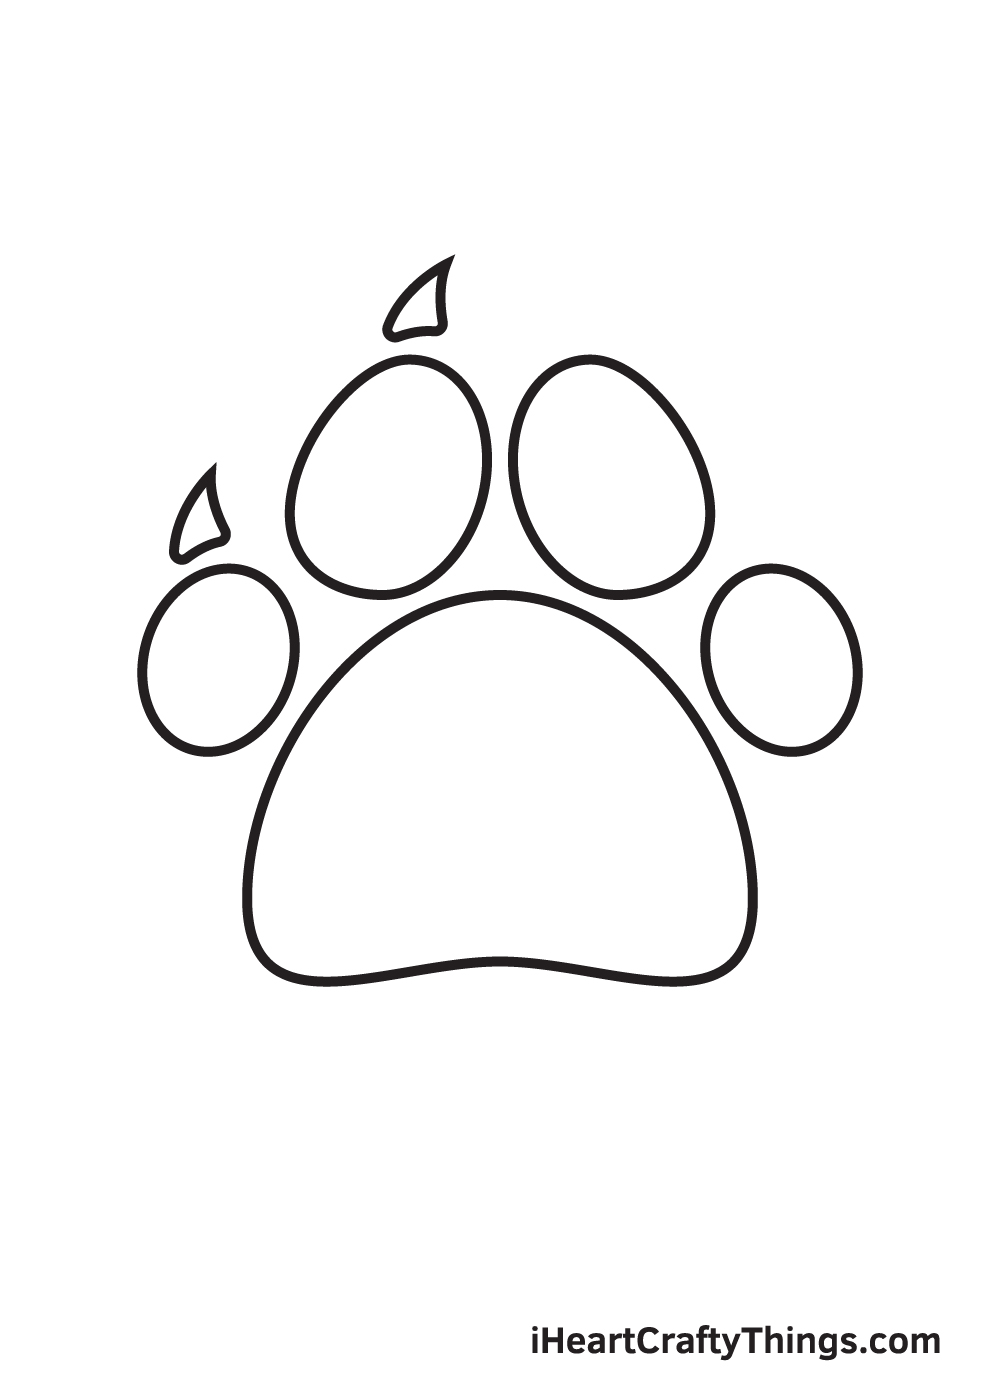
This forms the claw of the second digital pad in the paw print.
Look at those sharp, pointed claws, you definitely wouldnt want to mess with it, would you?
At this point, all four digital pads of the paw print should now have claws.
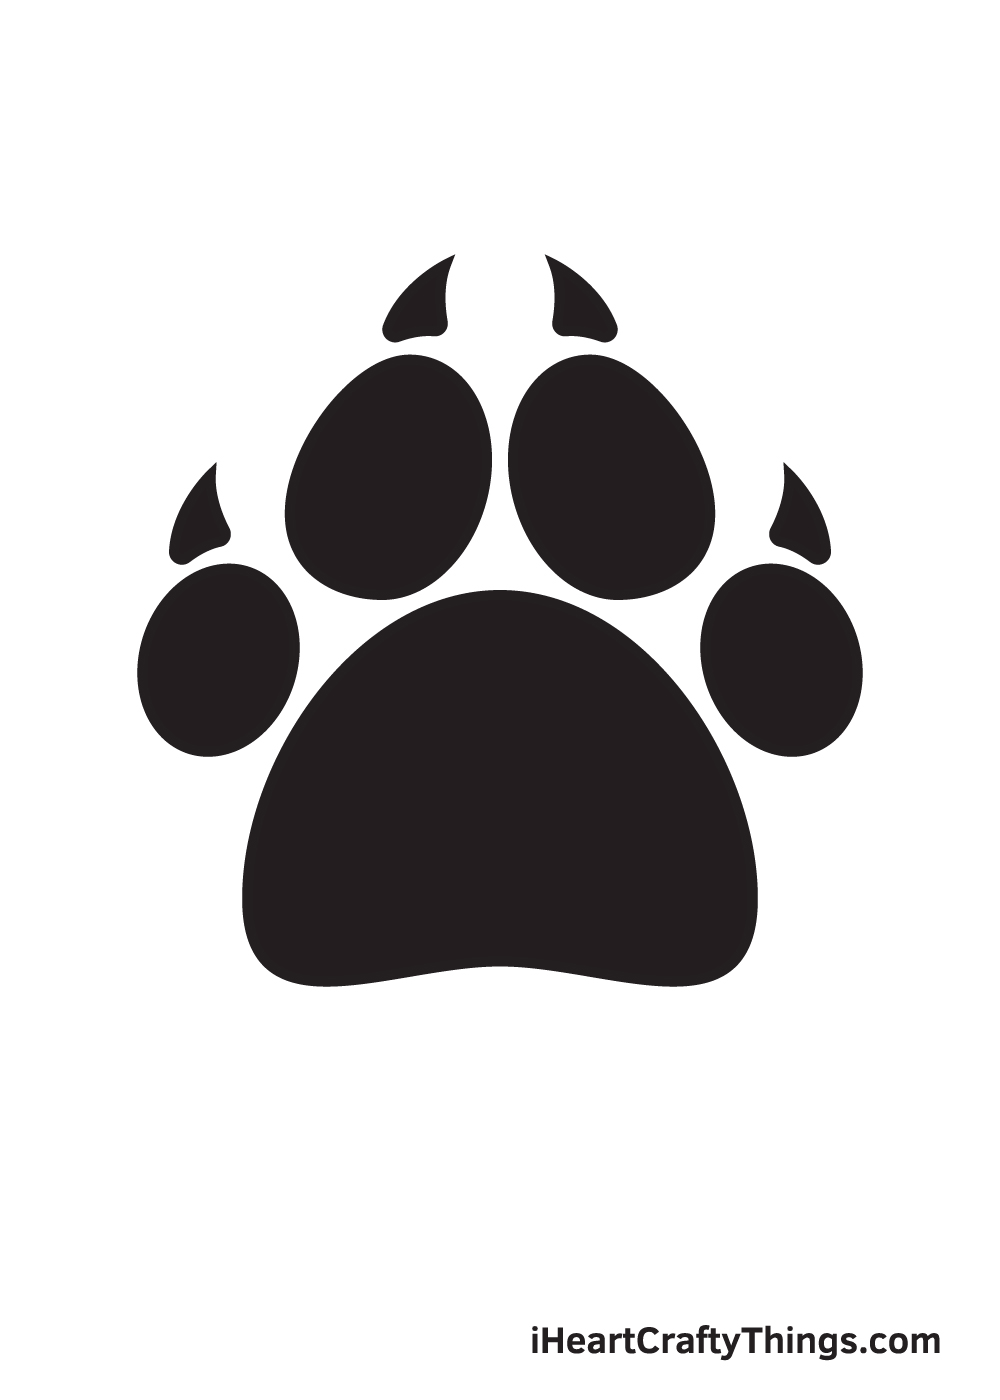
This completes your paw print drawing.
Now, all its missing is a splash of colors to make it colorful!
There you have ityou have successfully drawn a paw print.
That means, its finally time for the most exciting part, which is coloring the paw print!
We colored the entire paw print with black to make it as realistic as possible!
it’s possible for you to even use more than one color to create a multi-colored paw print.
How fun is that?!
Have fun playing with colors!
Were sure the colors will turn out beautifully!
With all of the steps of this guide complete, you have a basic shape of a paw print.
What other additions could you make to this paw print sketch?
One example would be to draw some mud details around the print.
You could either look up some pictures of muddy prints or find some mud in real life.
Thats one approach you might take, but you could also go for a more stylistic approach instead.
You could do this by drawing all sorts of patterns and shapes onto the paw print.
The last tip we will go over to make this drawing even better will involve colors.
Your Paw Print Drawing is Complete!

We hope you enjoy this step-by-step paw print drawing tutorial.
Check out our catalog to explore drawing tutorials of various animals that may look best with a paw print!
Dont forget to take a photo of your artwork and share it on our Facebook page and Pinterest.

Were excited to see your incredible paw print drawing!
More From:How to draw
Printable Bubble Letters A Complete Guide!


