Moon Drawing in just 6 Easy Steps!
Learning how to draw a moon is simpler than ever before with this step-by-step guide for kids!
Youll learn everything there is to know about making your own beautiful lunar drawing in no time.
This guide is perfect for anyone who has wanted to capture the beauty of the moon.
Ive made this design nice and simple so that anyone can take the steps and complete the drawing.
Once youve finished it, you could make it more complex if you want to take it further.
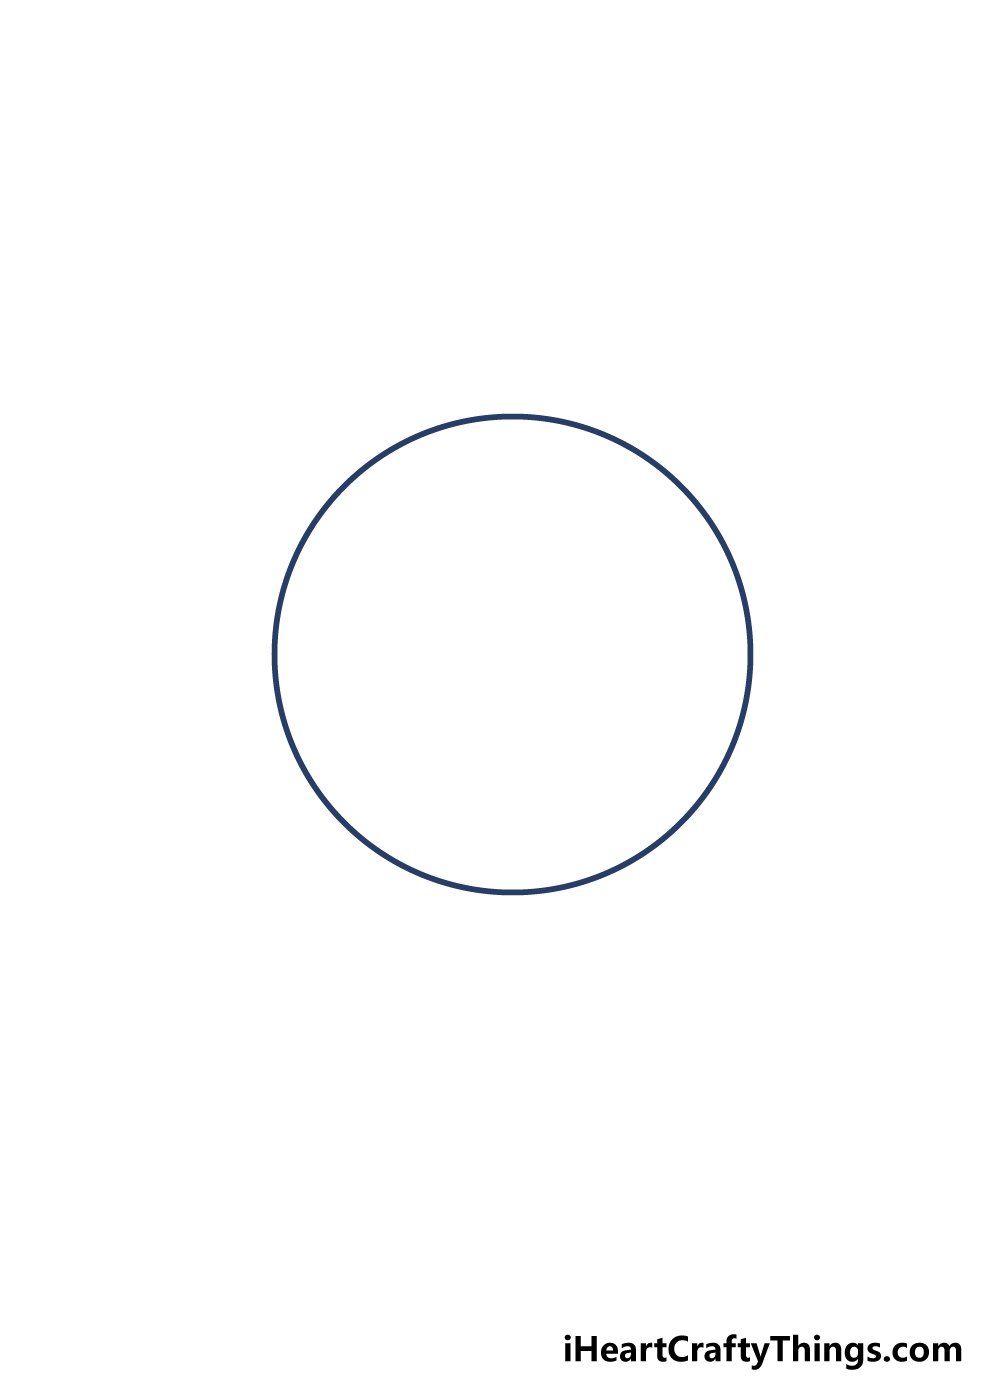
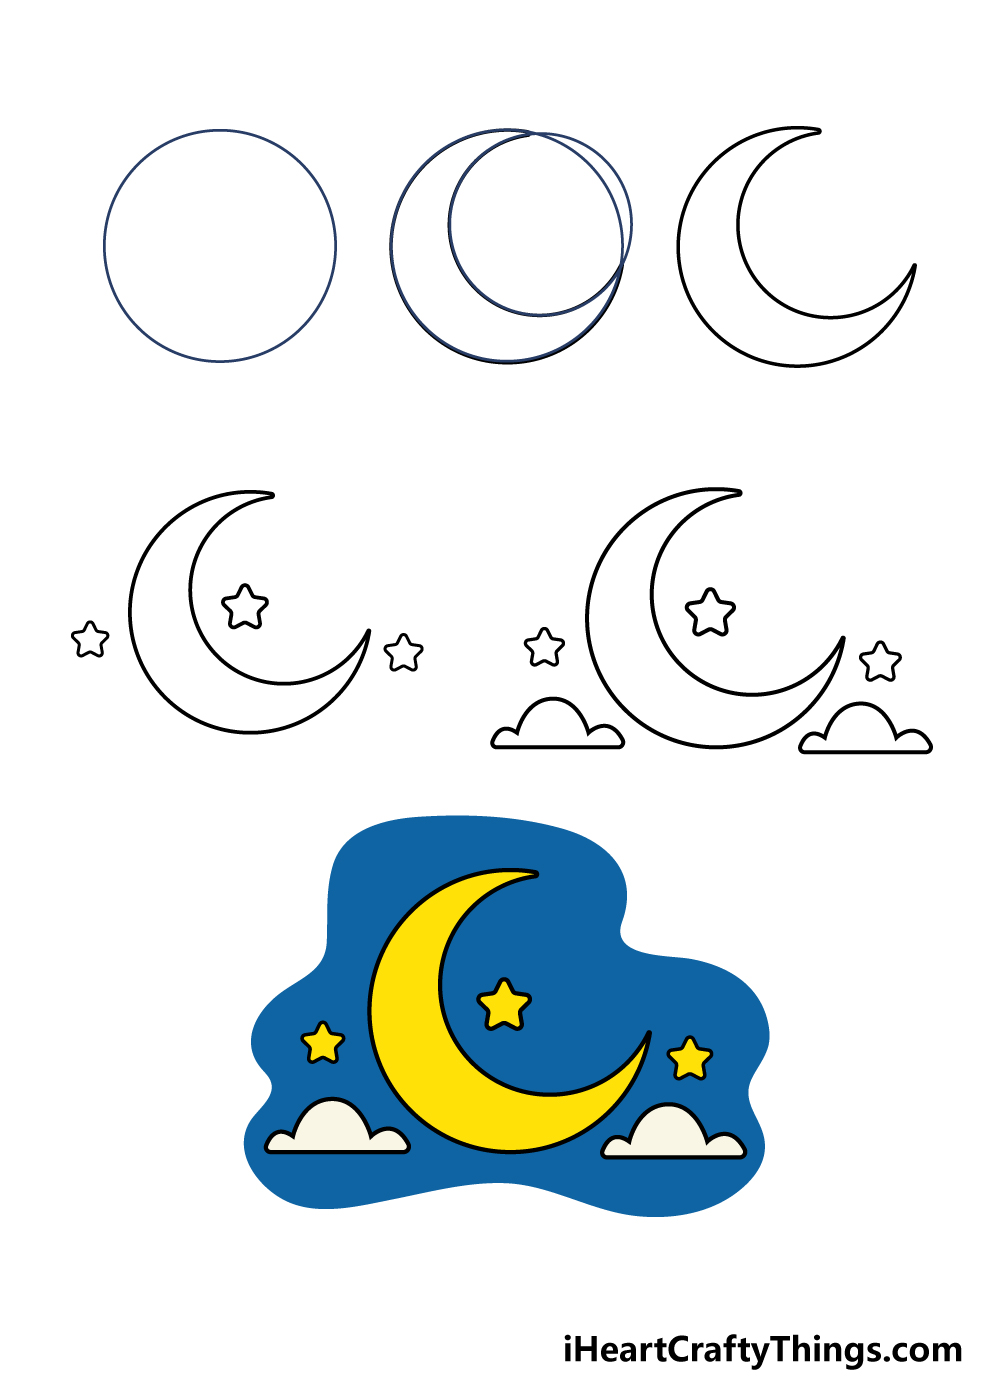
A drawing compass is the best tool to use if you have one.
These tools have a sharp point that you could use to rotate around to draw a perfect circle easily.
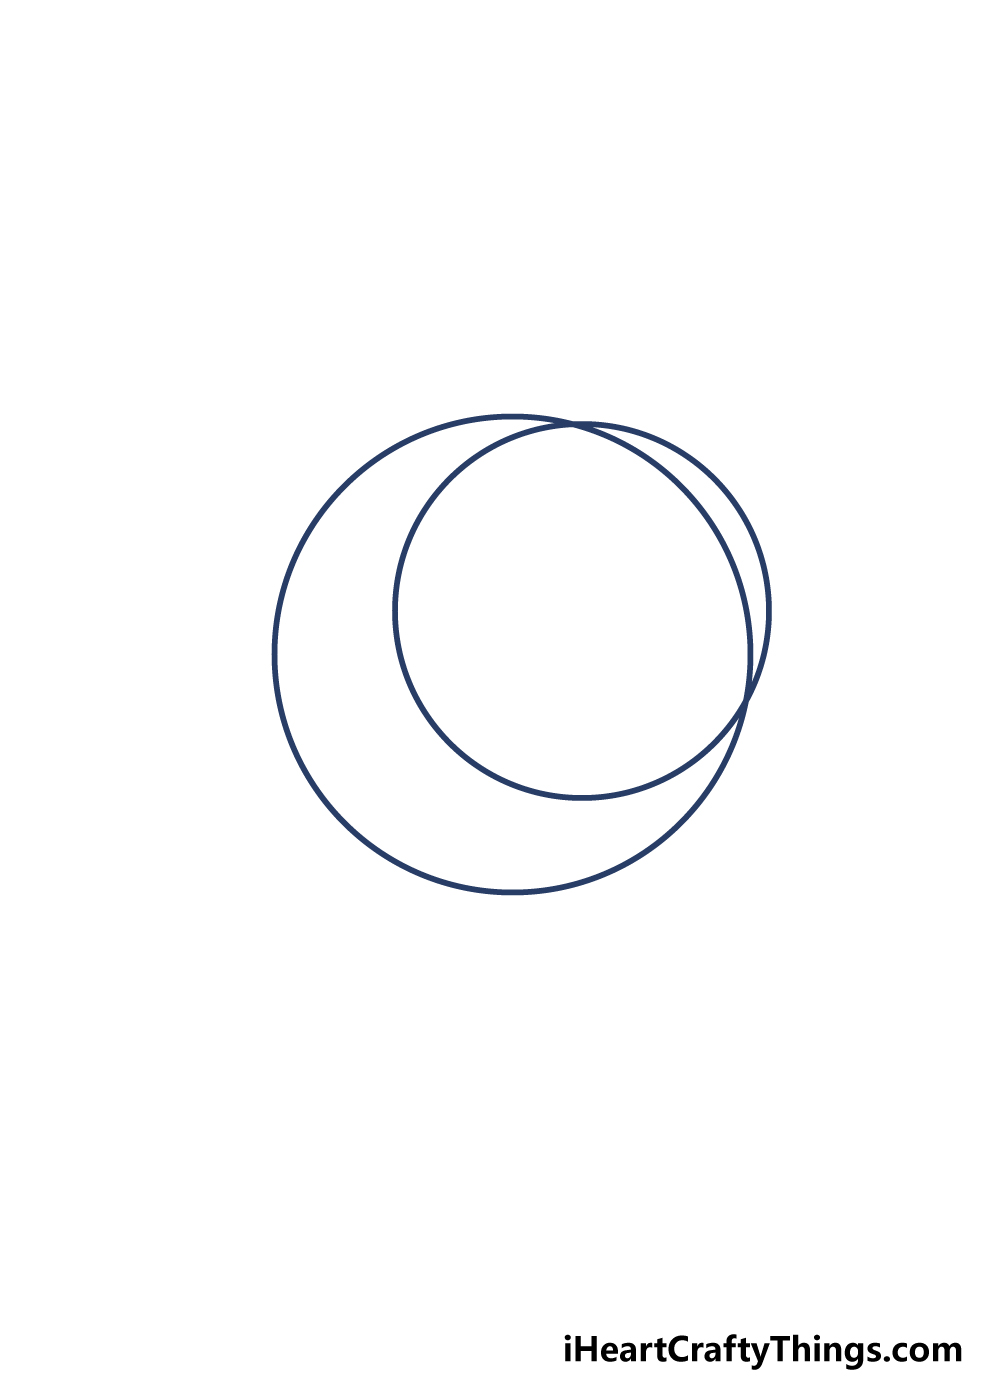
Once youve drawn in pen, be sure to let the ink dry fully before starting to erase!
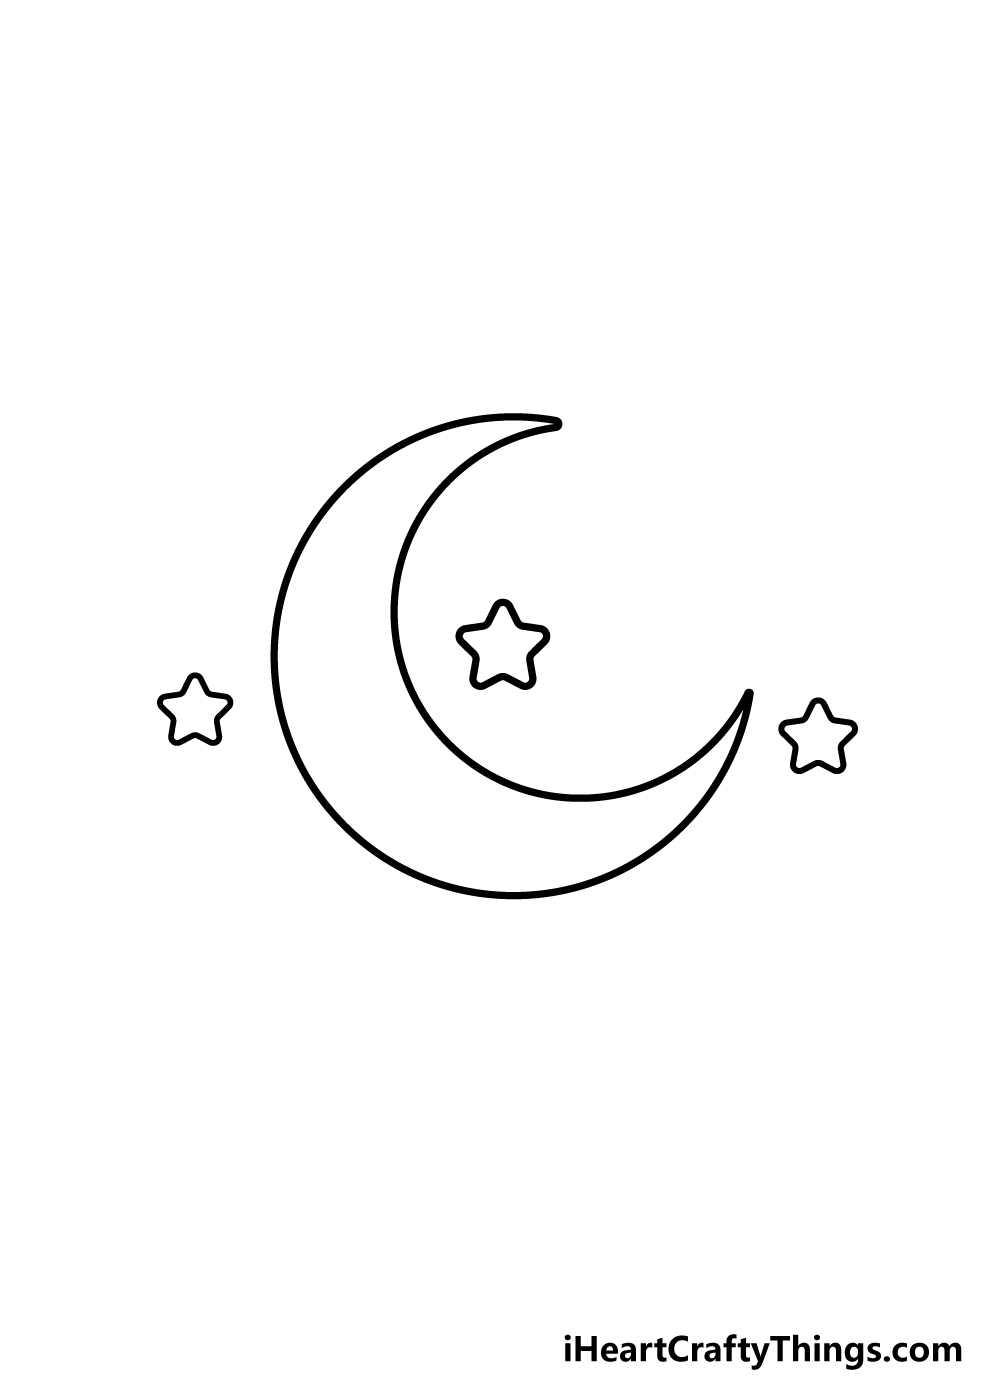
We shall be drawing in some little stars in this step.
There are no wrong answers here and you should do any details that you love!
What fun touches and details do you think you will use to finish up your moon drawing?
you might completely let your creativity flow and use any of your favorite colors!
You could use acrylic paints if you want some thick, bright and intense colors.
For this moon sketch, there are loads of interesting details that you could add.
Can you think of some other details you could add?
This moon drawing is looking pretty serene at the moment, but you could also create a spookier feeling.
Maybe there could be a scary castle in the background or a witch flying past the moon!

Your moon Drawing is Complete!
That brings us to the end of our step-by-step guide on how to draw a moon!
Thats just one way you could personalize this drawing, though.

Well be very interested to see what you all come up with!
Be sure to keep checking our site to see to it you never miss out!
We cant wait to see your amazing drawings.

More From:How to draw
Printable Bubble Letters A Complete Guide!


