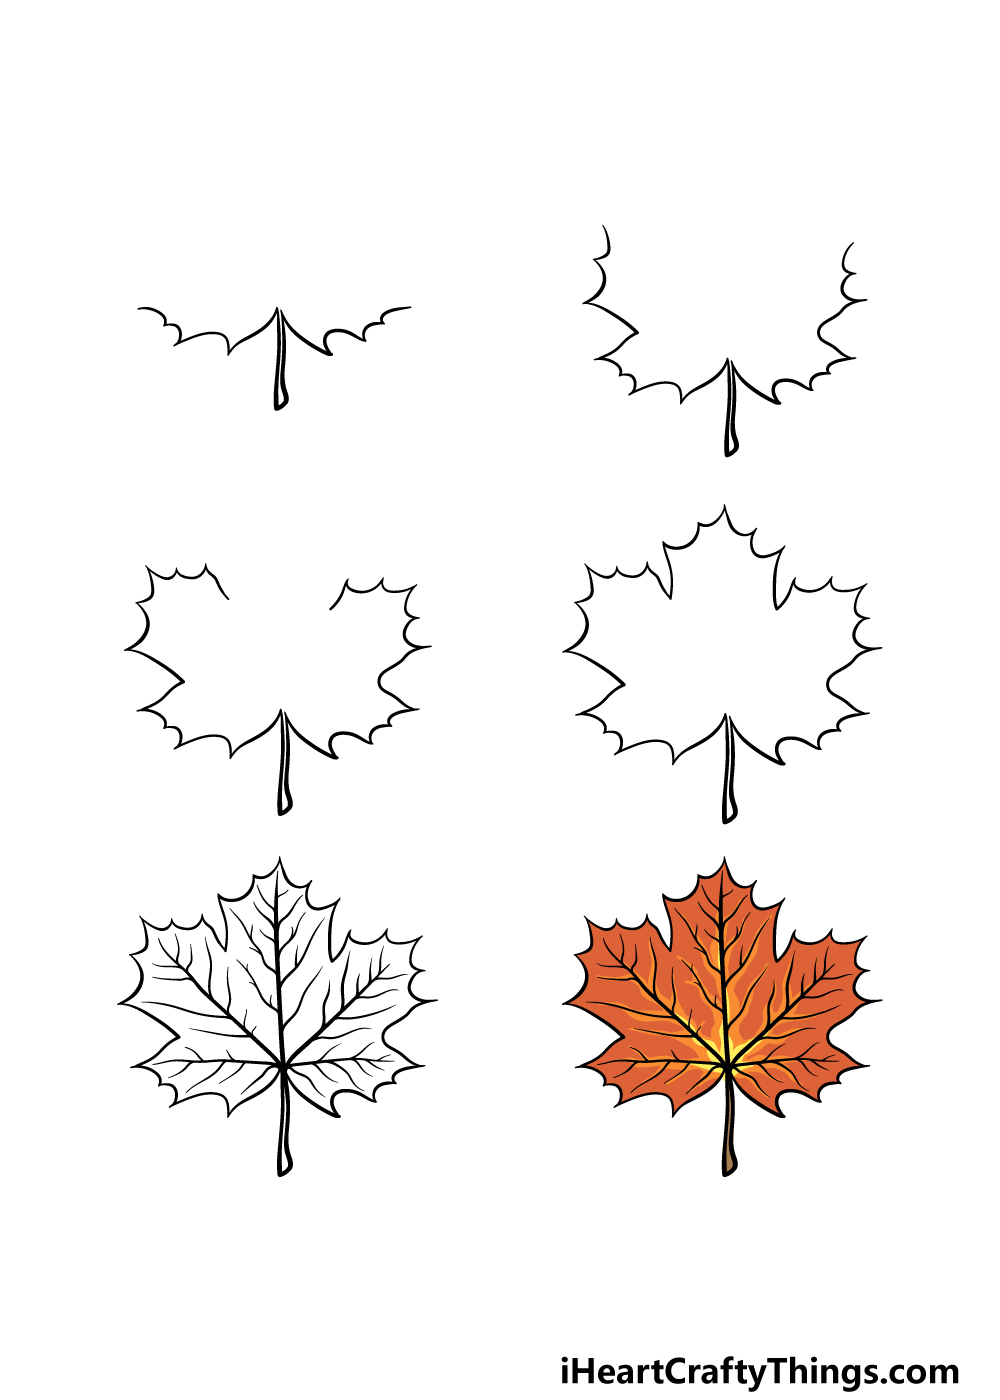
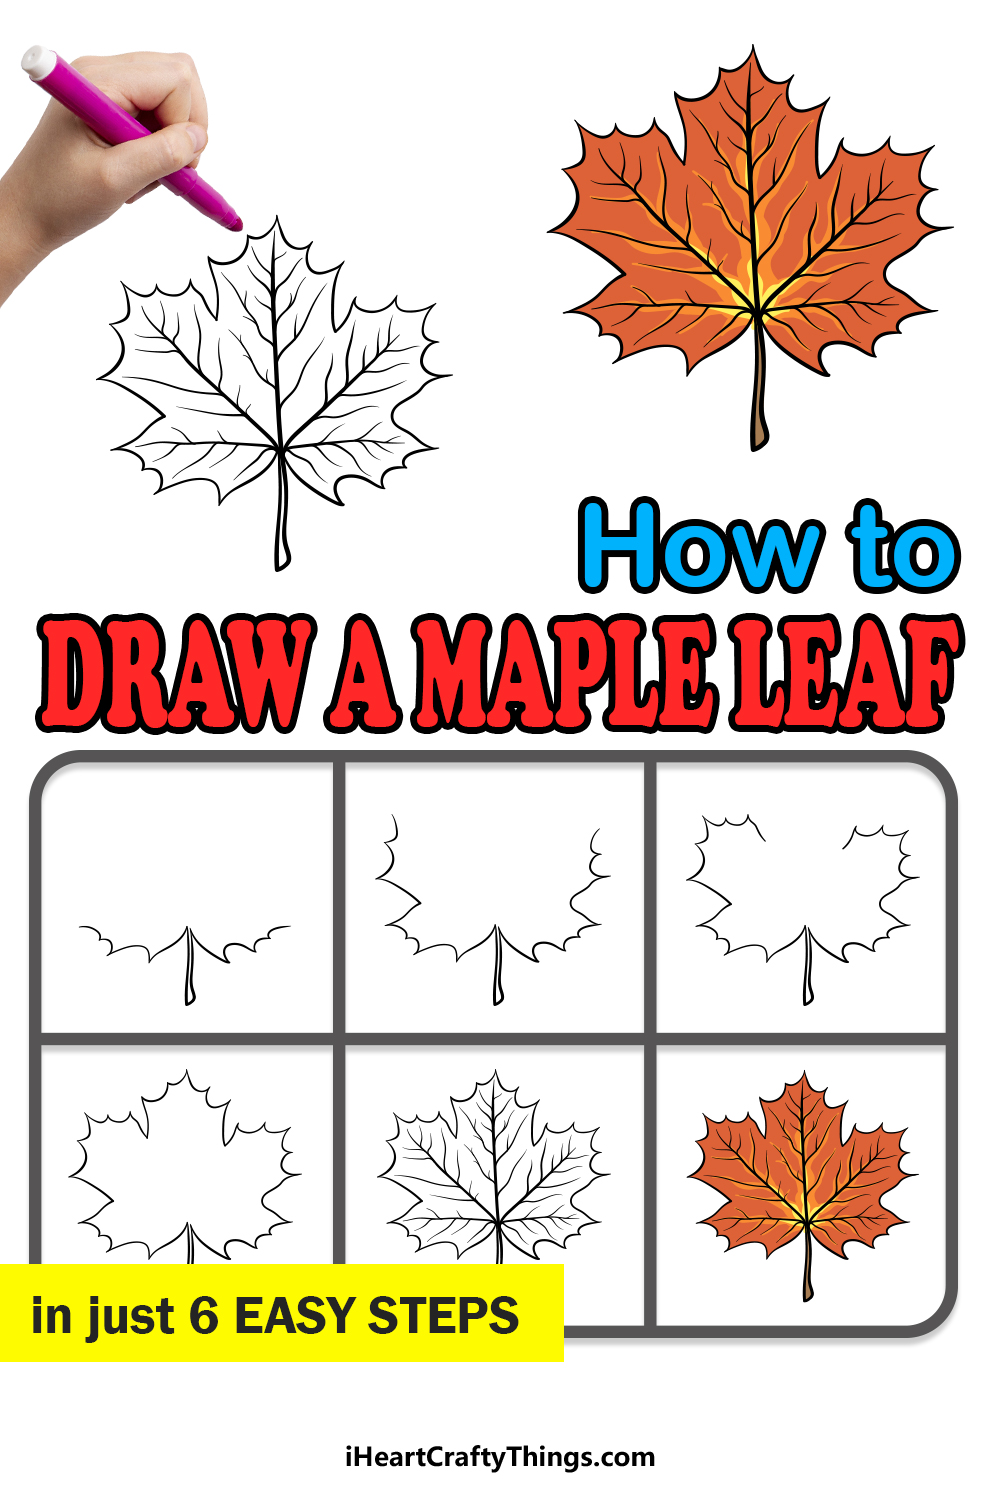
Maple Leaf Drawing in just 6 Easy Steps!
There are many different leaves in nature, and some are more recognizable than others.
How to Draw A Maple Leaf Lets get Started!
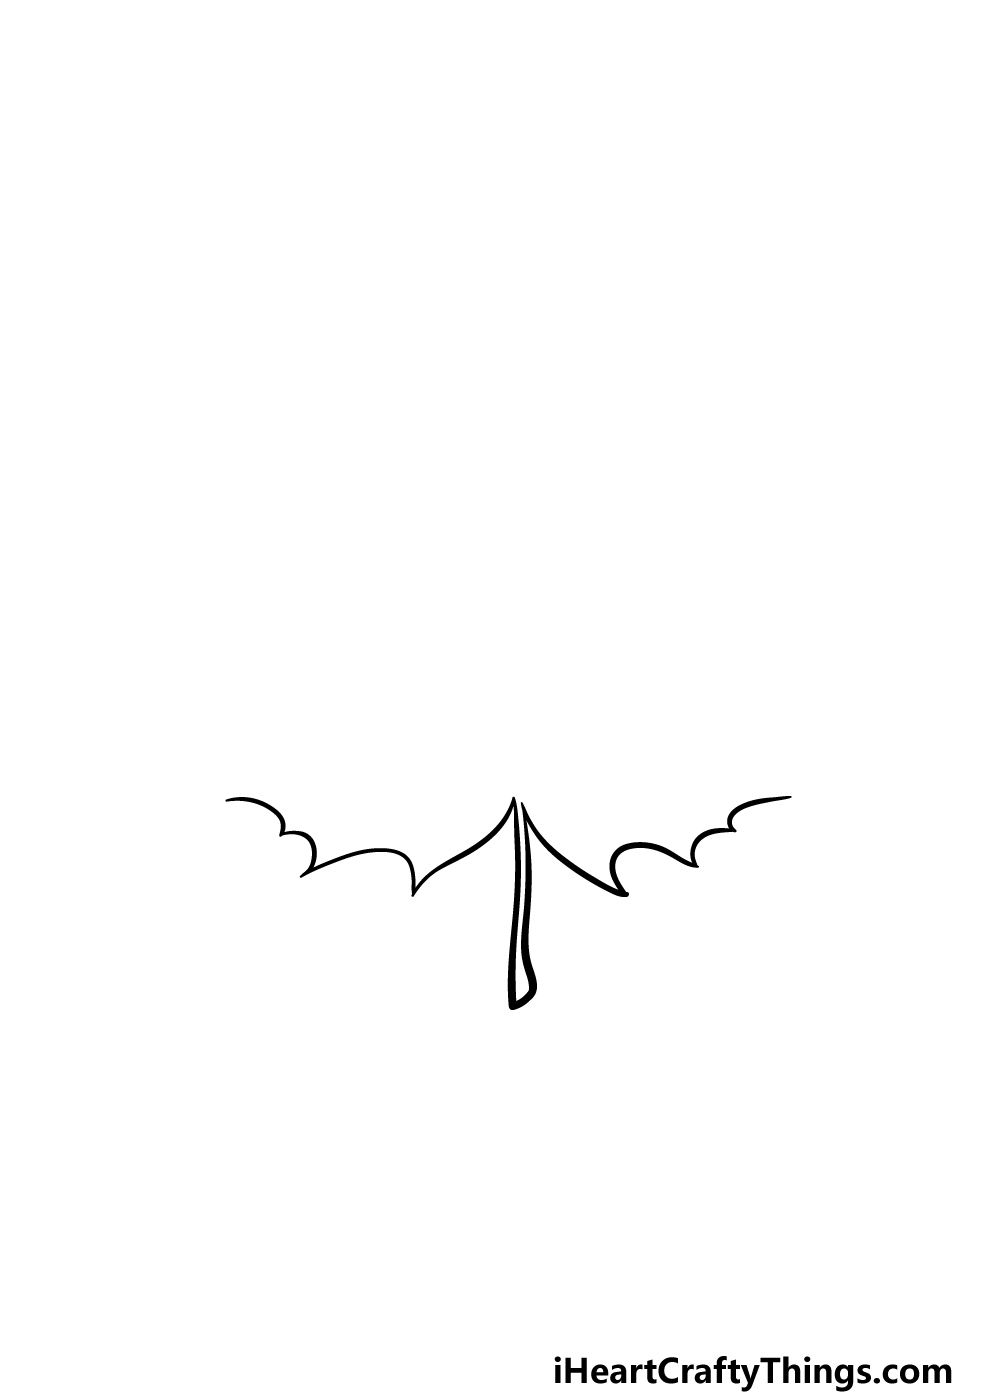
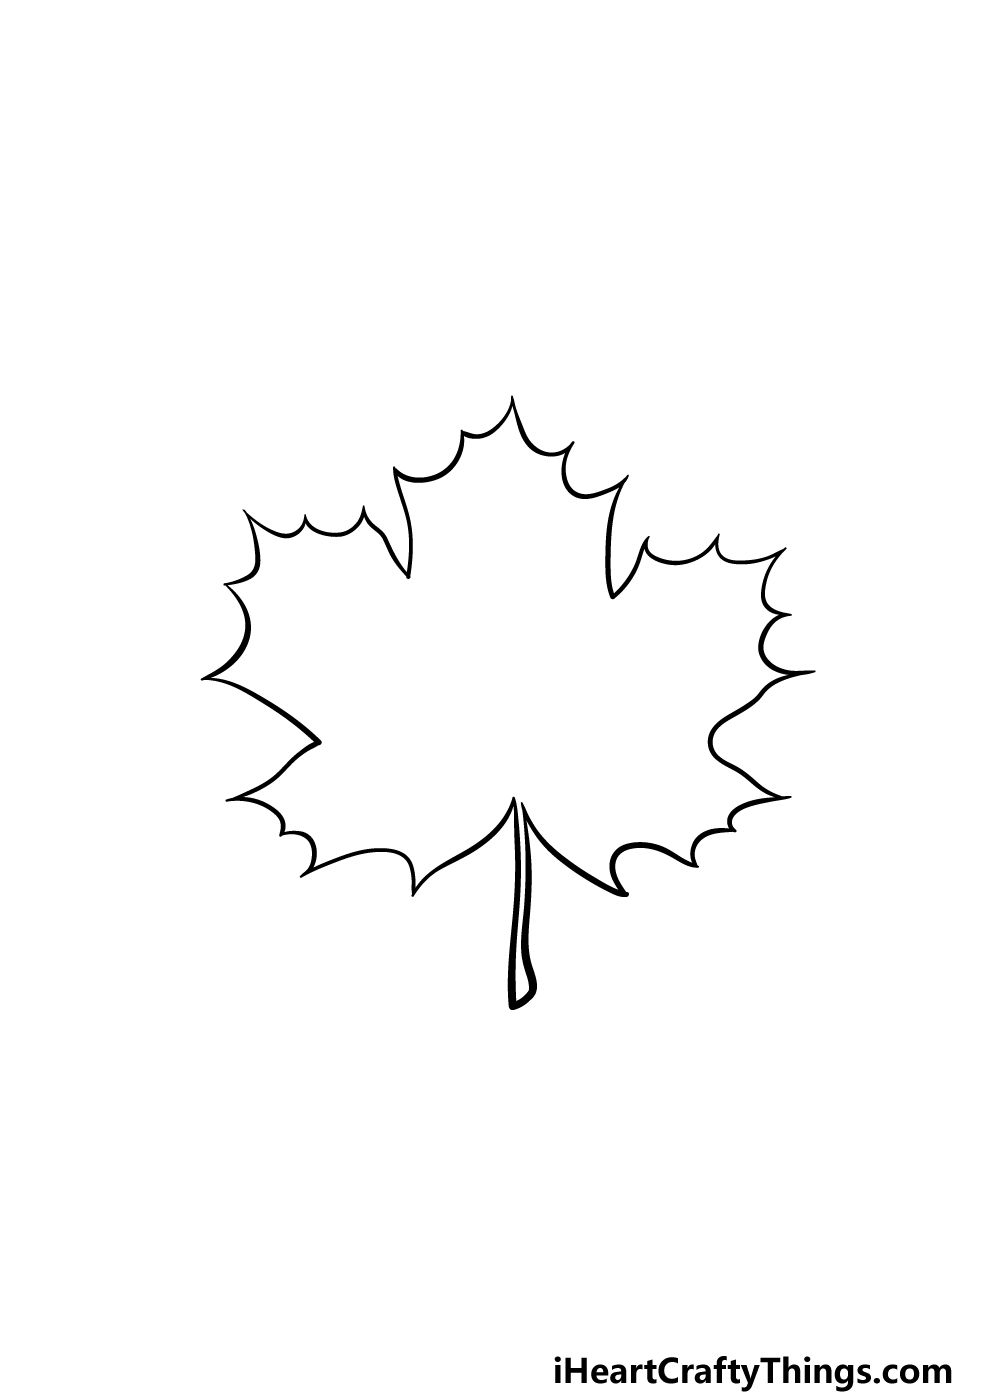
First, we will focus on the base of the leafs outline.
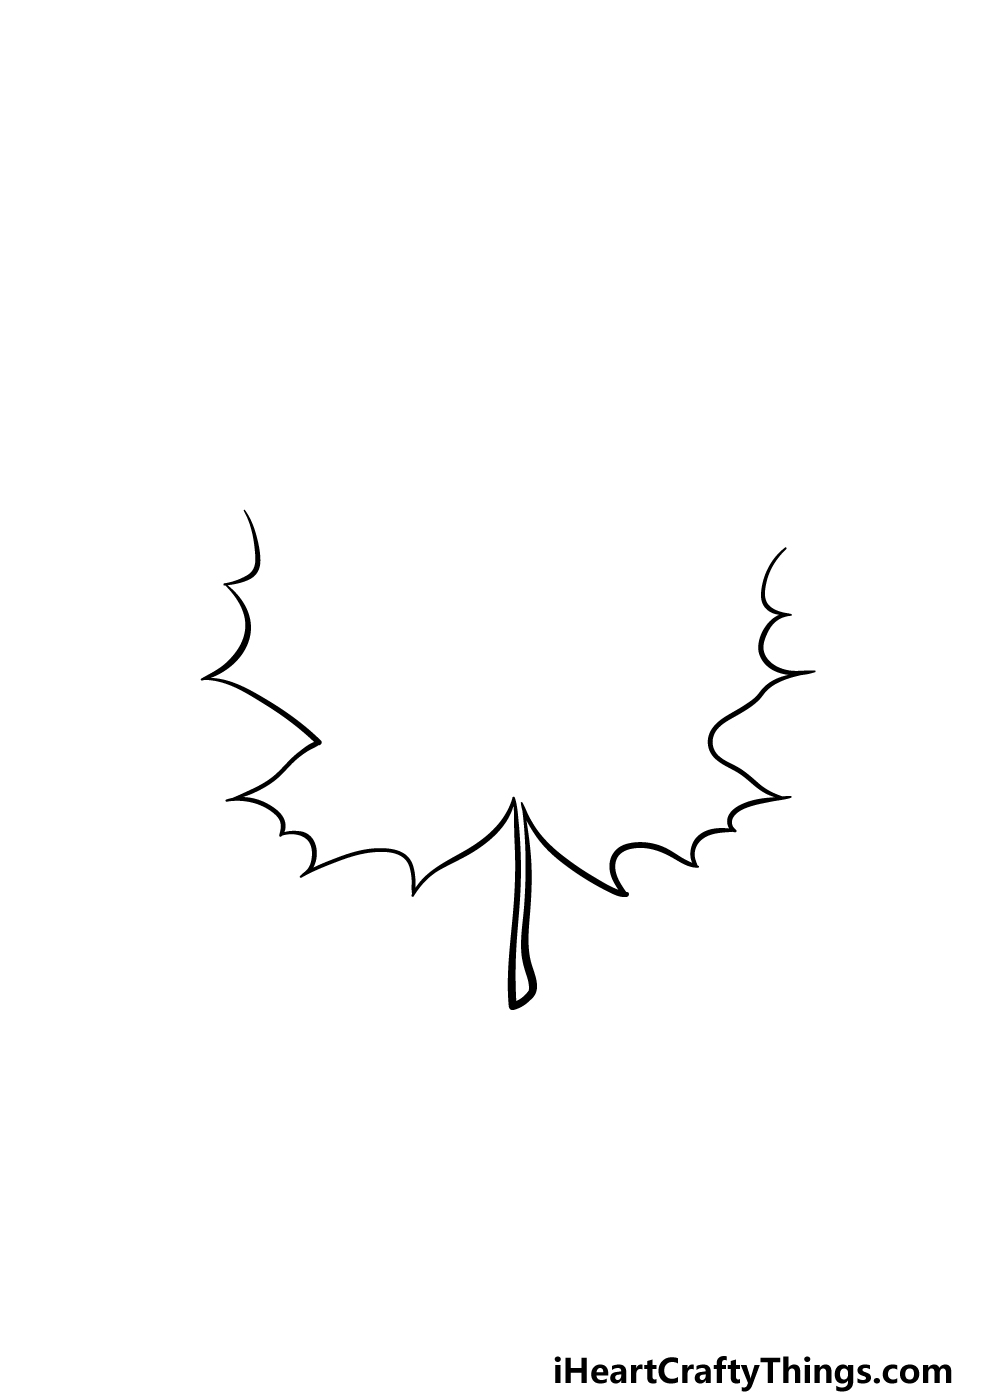
We will continue to draw the outline in the following steps, so lets proceed!
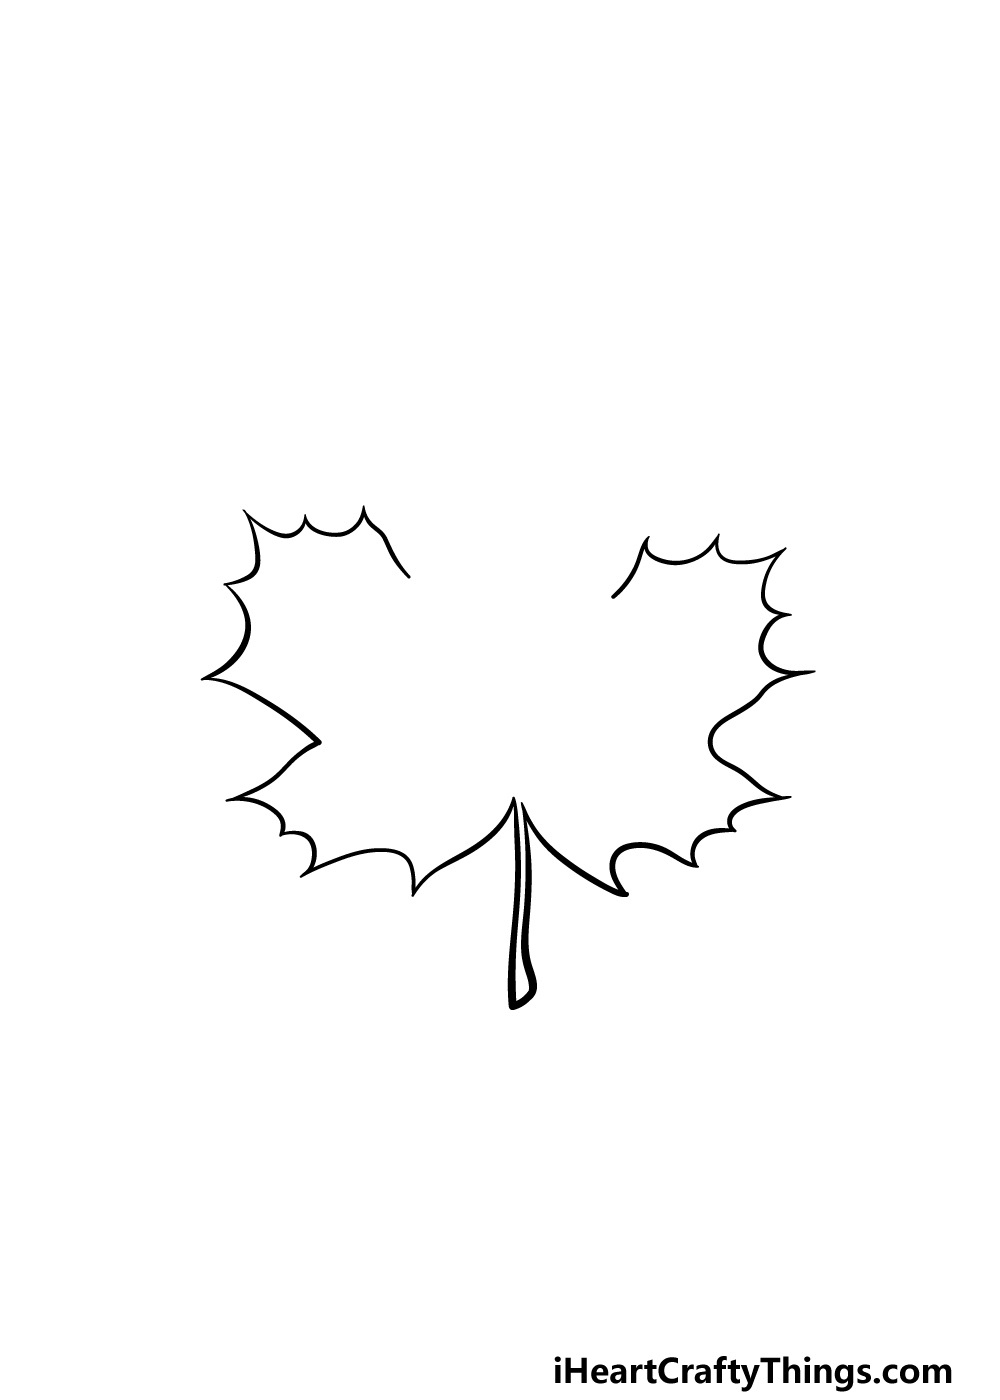
With that, you have finished the outline of the leaf!
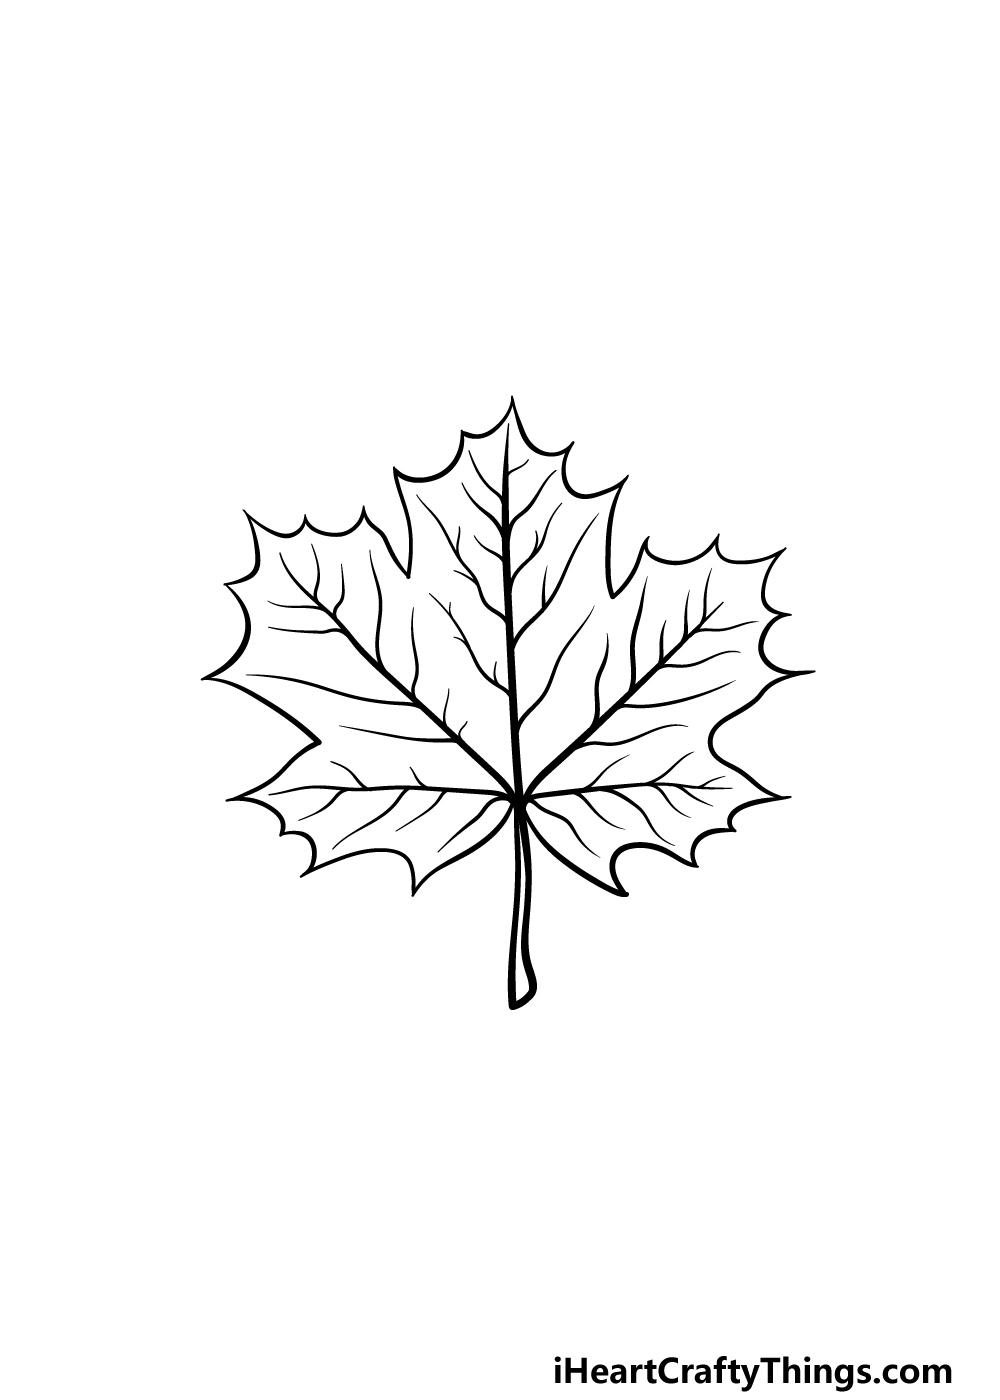
We will focus on adding those details in this step of ourguide on how to drawa maple leaf.
This leaf is very veiny, and these are what we will be focusing on in this fifth step.
you’re able to start by drawing some thick lines extending into every tip of the leaf.
you’re able to also vary these lines as you wish for create a variation of your own.
Then, you will have finished all of the details in this guide!
You dont have to finish here, however.
How will you finish off this leaf before the final step?
In our reference image, we went with some reds and oranges for that classic maple leaf look.
This is just one way that you could go about it, however.
You could change up the colors to incorporate some green or other shades of red for a few suggestions.
Perhaps you could go for a brown color scheme to make it look like a Fall leaf.
You could even crush up some real Fall leaves and glue them onto your picture for a textured effect.
This drawing of a maple leaf shows it in some beautiful orange and yellow colors.
This gives it an Autumn feeling, but there are some other colors that you could use instead.
For example, you could use some greens instead, as this would make it look healthier.
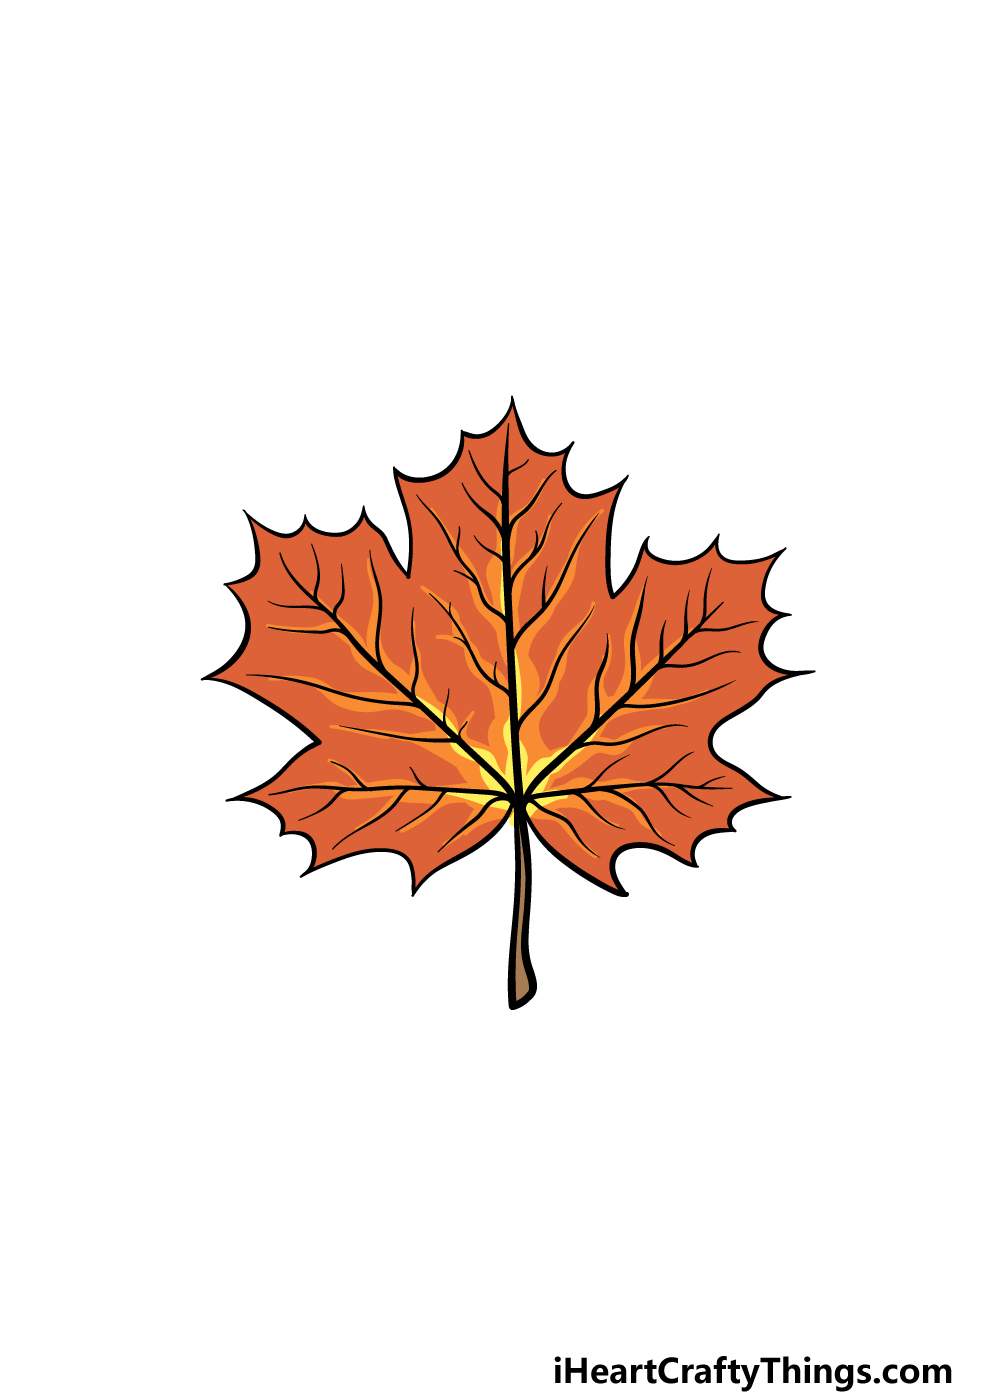
Alternatively, using some browns would create more of a Winter feeling to the image.
If you look closely at any leaf, you will often see small signs of life.
These could be some details that you add to this particular maple leaf!
Maybe it would be fun to add several different kinds of bugs and insects hanging out on this leaf!
What are some little creatures you would like to add?
One way of doing this would be to show the maple leaf lying on the ground.

That way, you could add some dirt textures beneath it and maybe have some other leaves.
you’ve got the option to actually use nature to make your maple leaf sketch even better!
Or, start by laying a thin layer of glue over the maple leaf.

Then, venture to find some dry, crunchy leaves and break them into small bits.
Sprinkle them on the glue to create some real texture!
Your Maple Leaf Drawing is Complete!

Our goal was to break it down into simpler steps to make it easy to draw despite this.
Then, be sure to check out our website for more awesome drawing guides!
We have many coming out soon, so youll want to visit often.

More From:How to draw
Printable Bubble Letters A Complete Guide!


