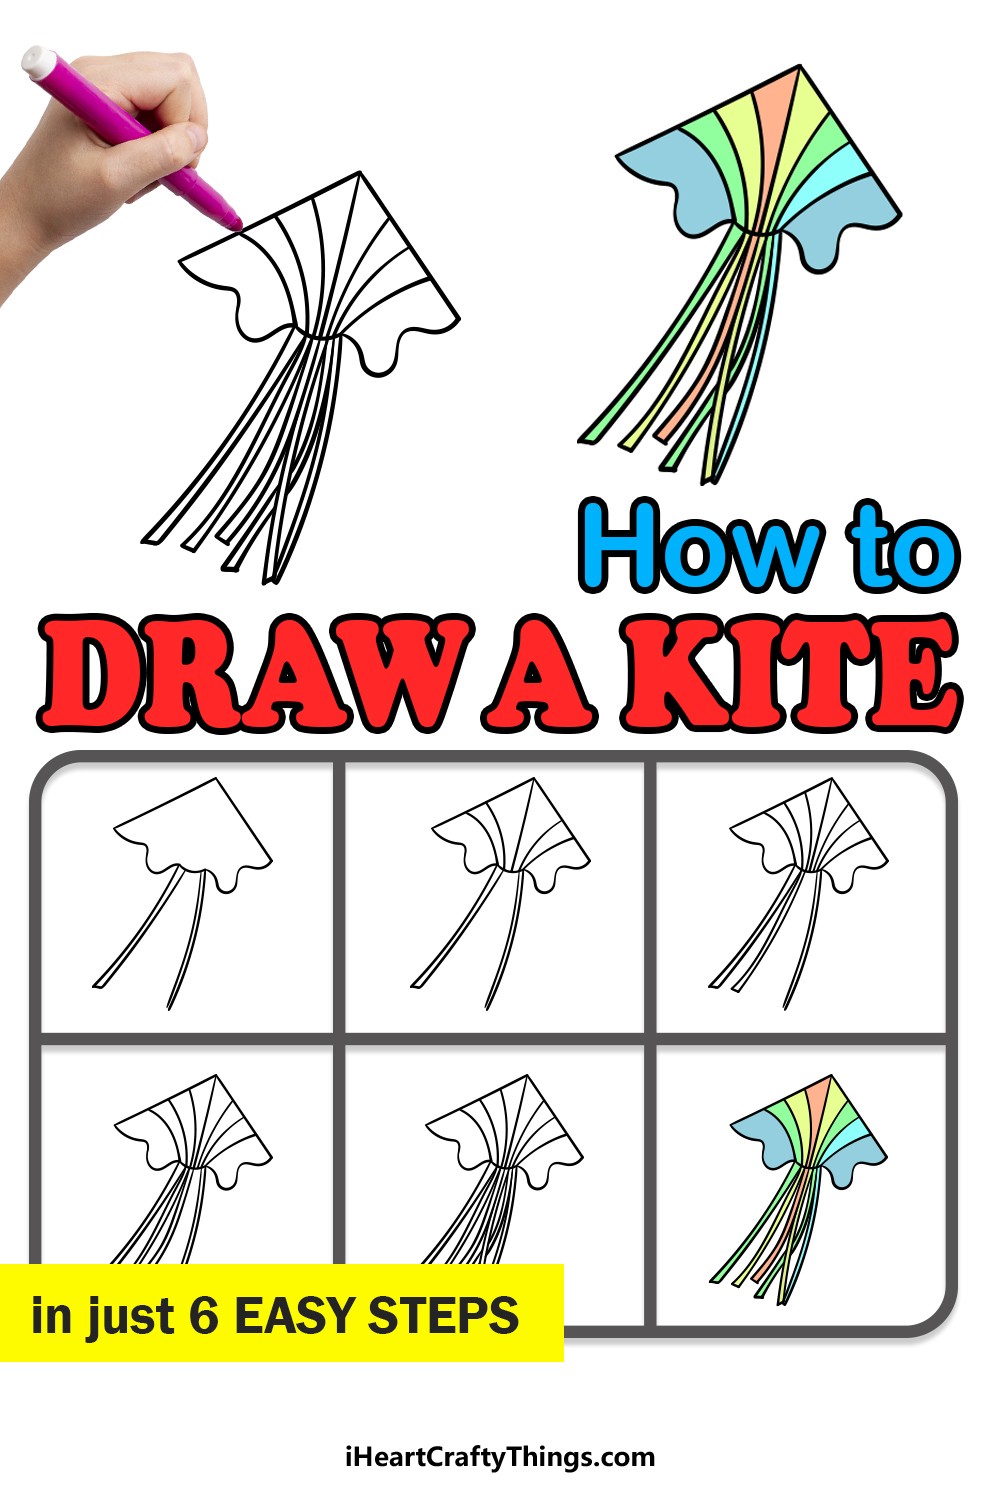
Kite drawing in just 6 Easy Steps!
A windy day can often put a damper on many outdoor plans that one may have.
By the end of the tutorial in front of you, you will be able to do just that!
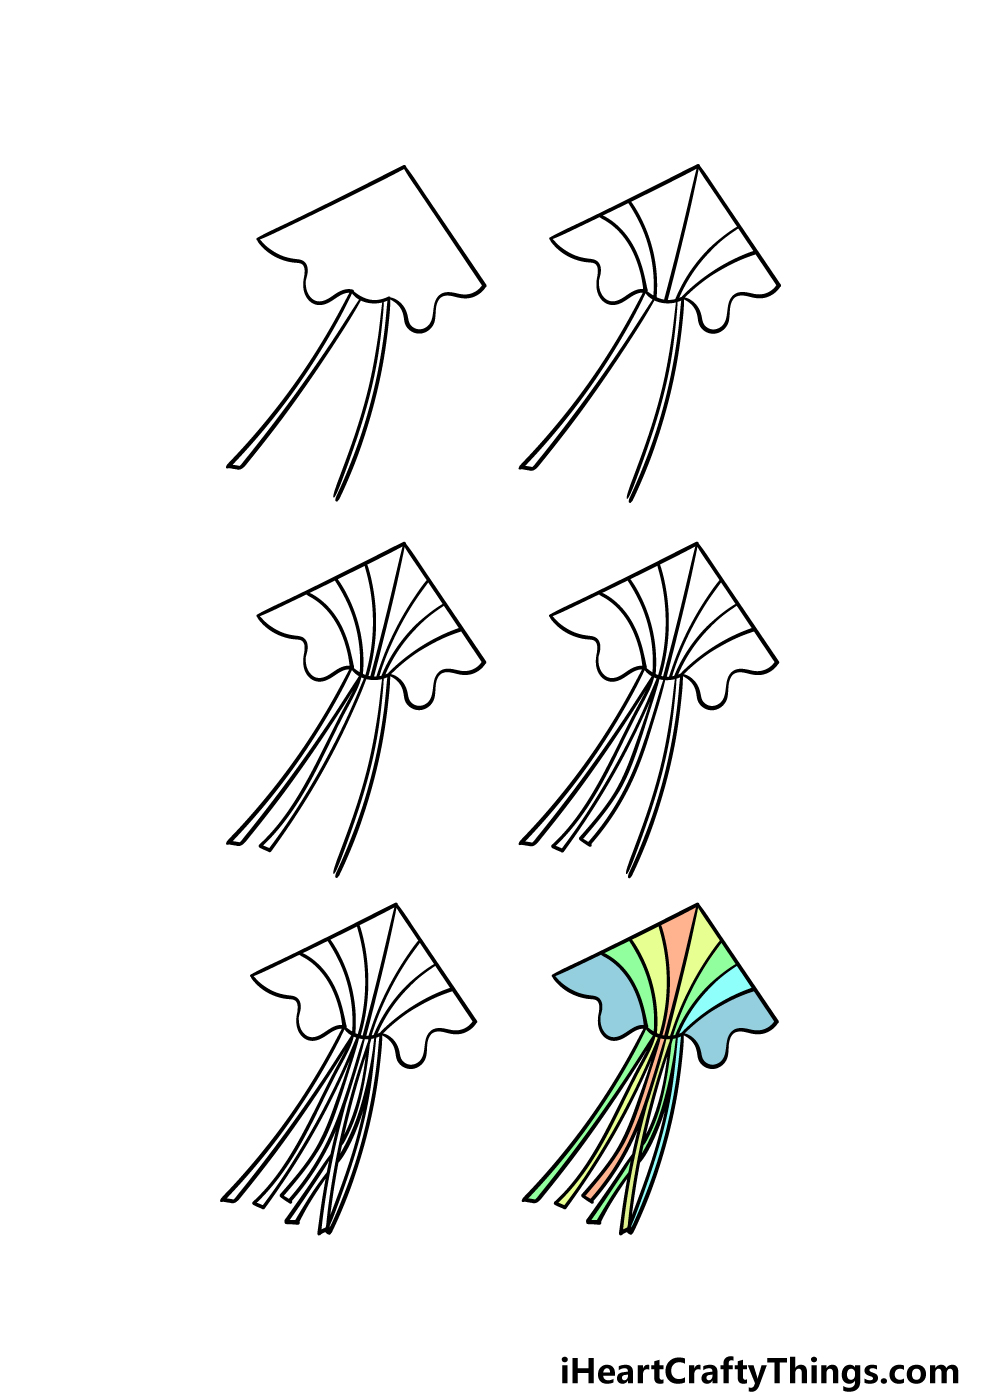
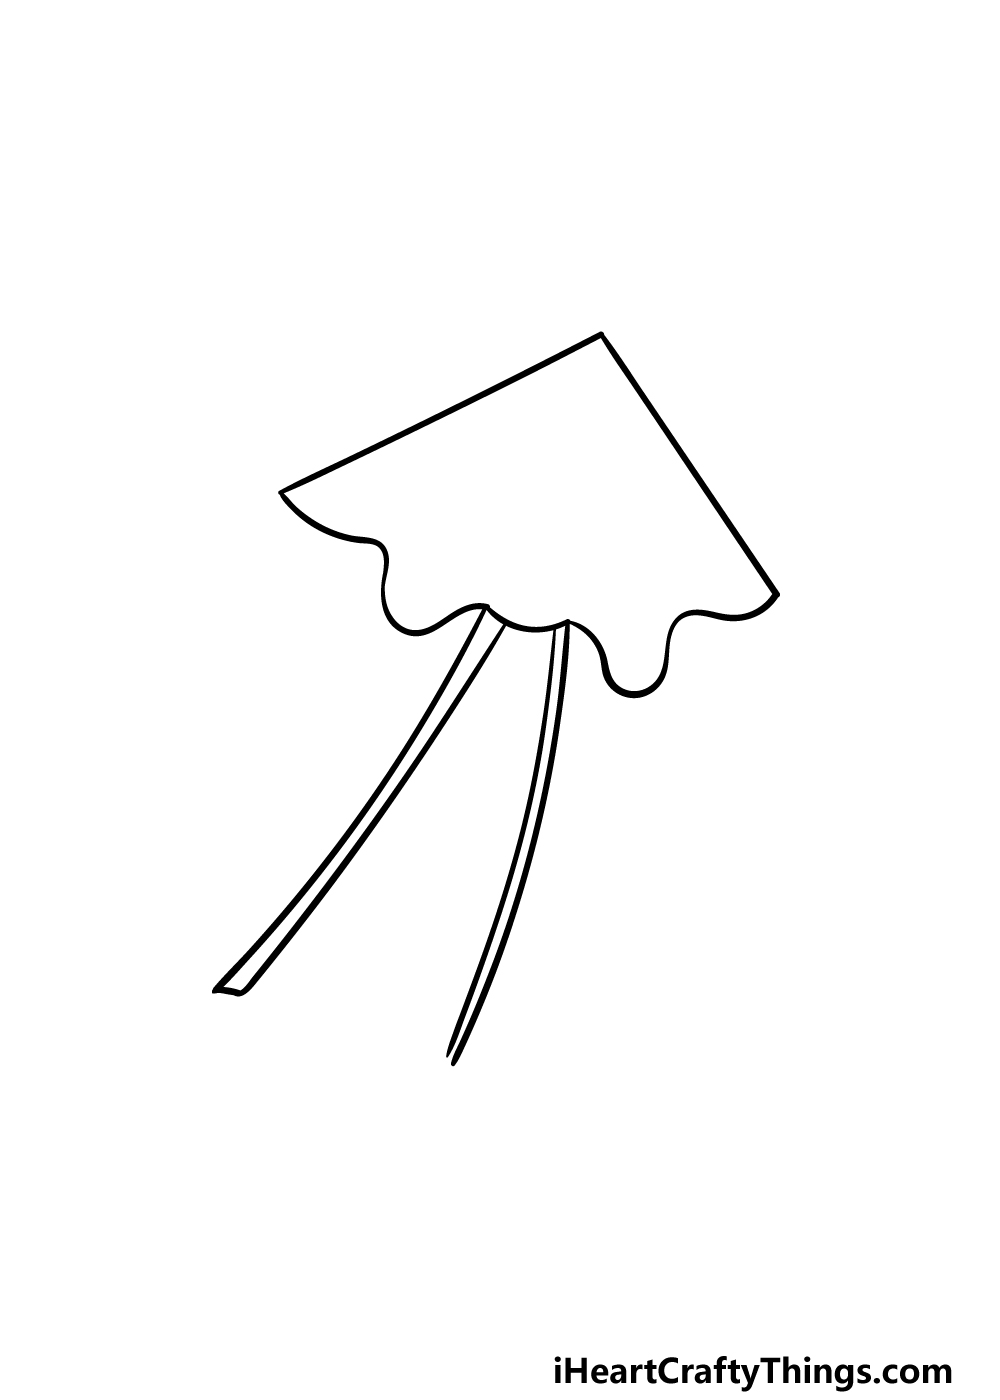
How to Draw A Kite Lets Get Started!
Then, we will be using some curved and wavy lines for the base of the kite.
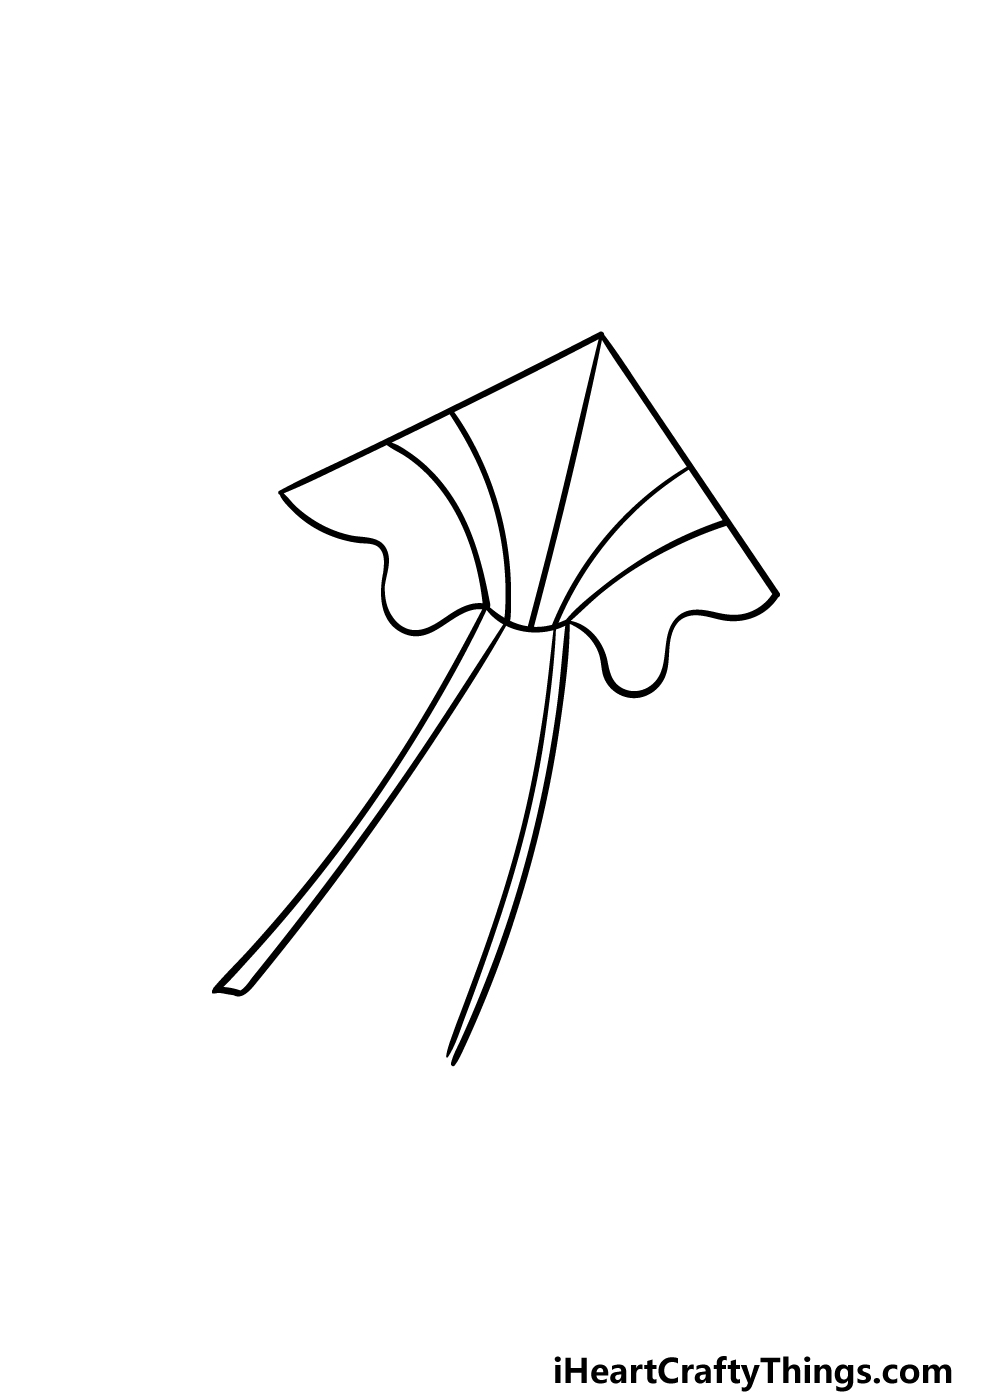
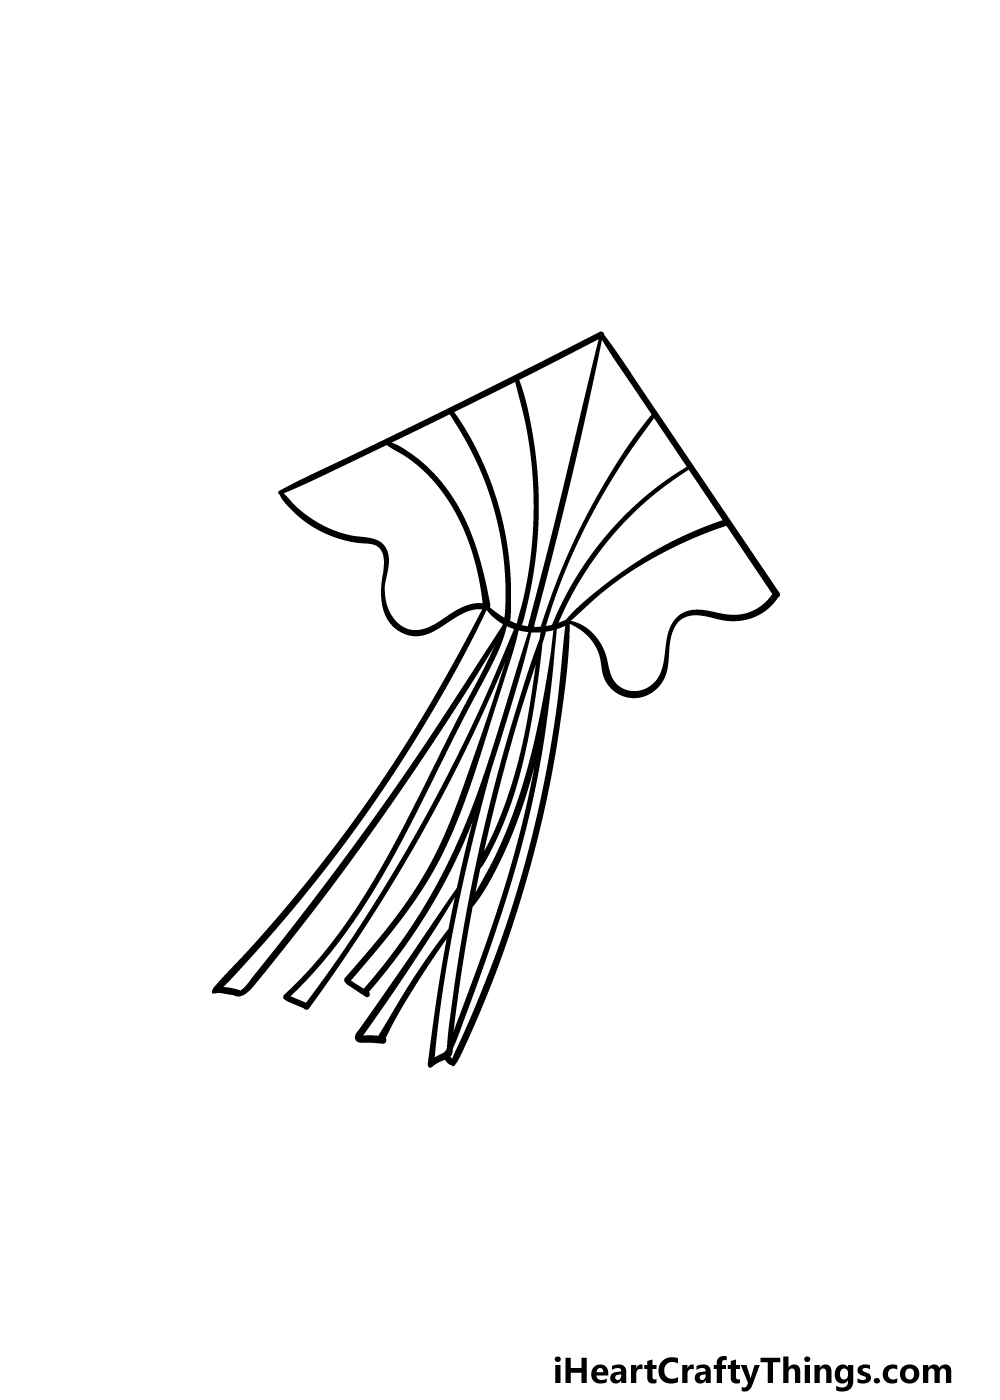
Then it will be on to step 2!
With these curved lines, it will create an almost rainbow-like effect for the kite.
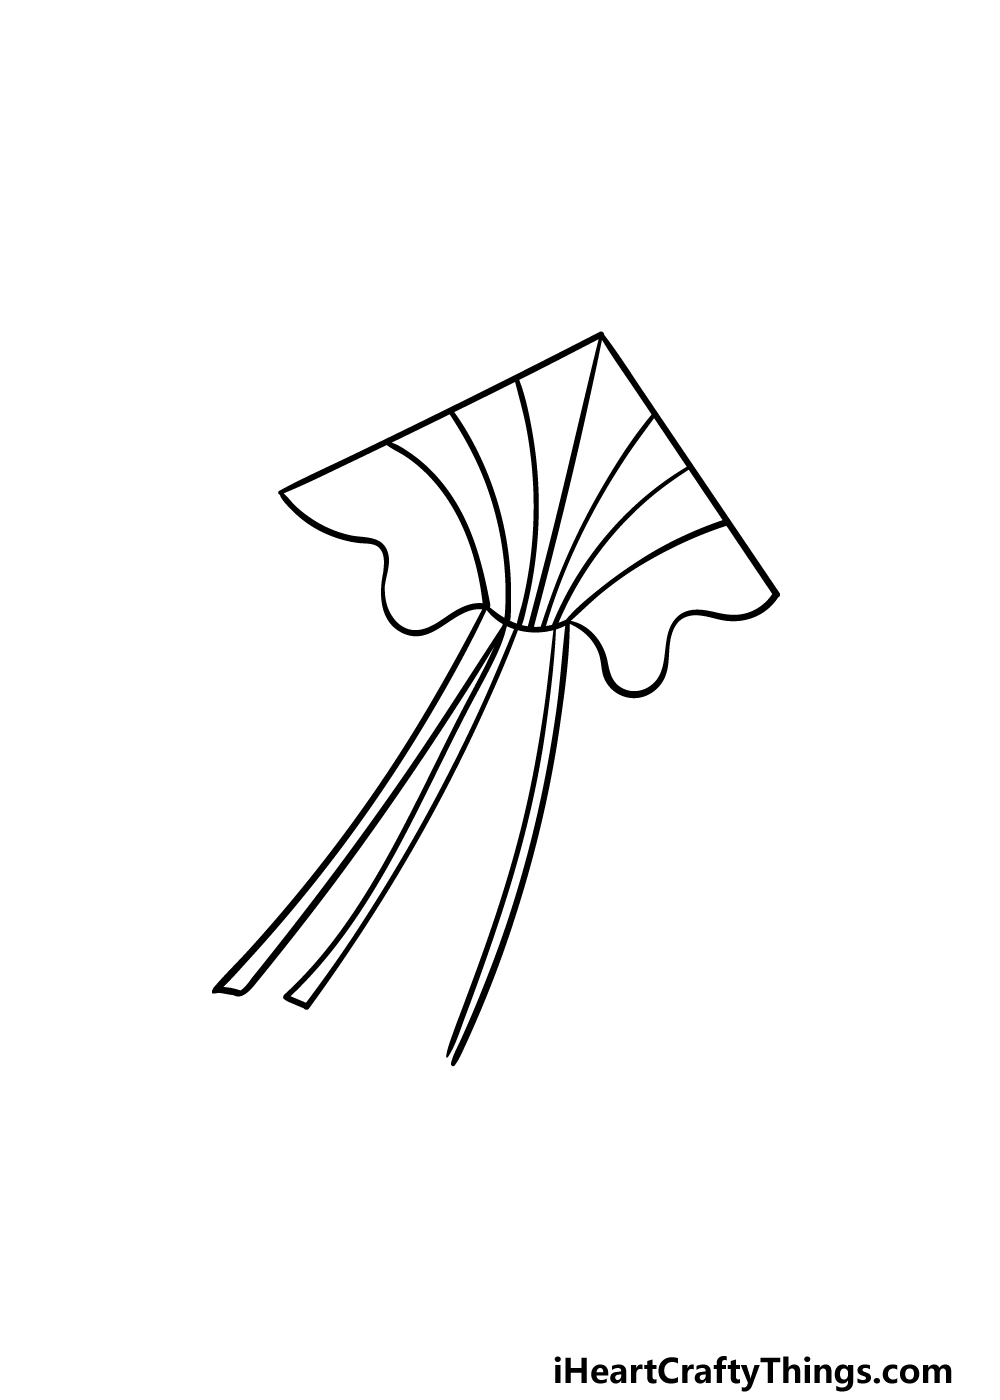
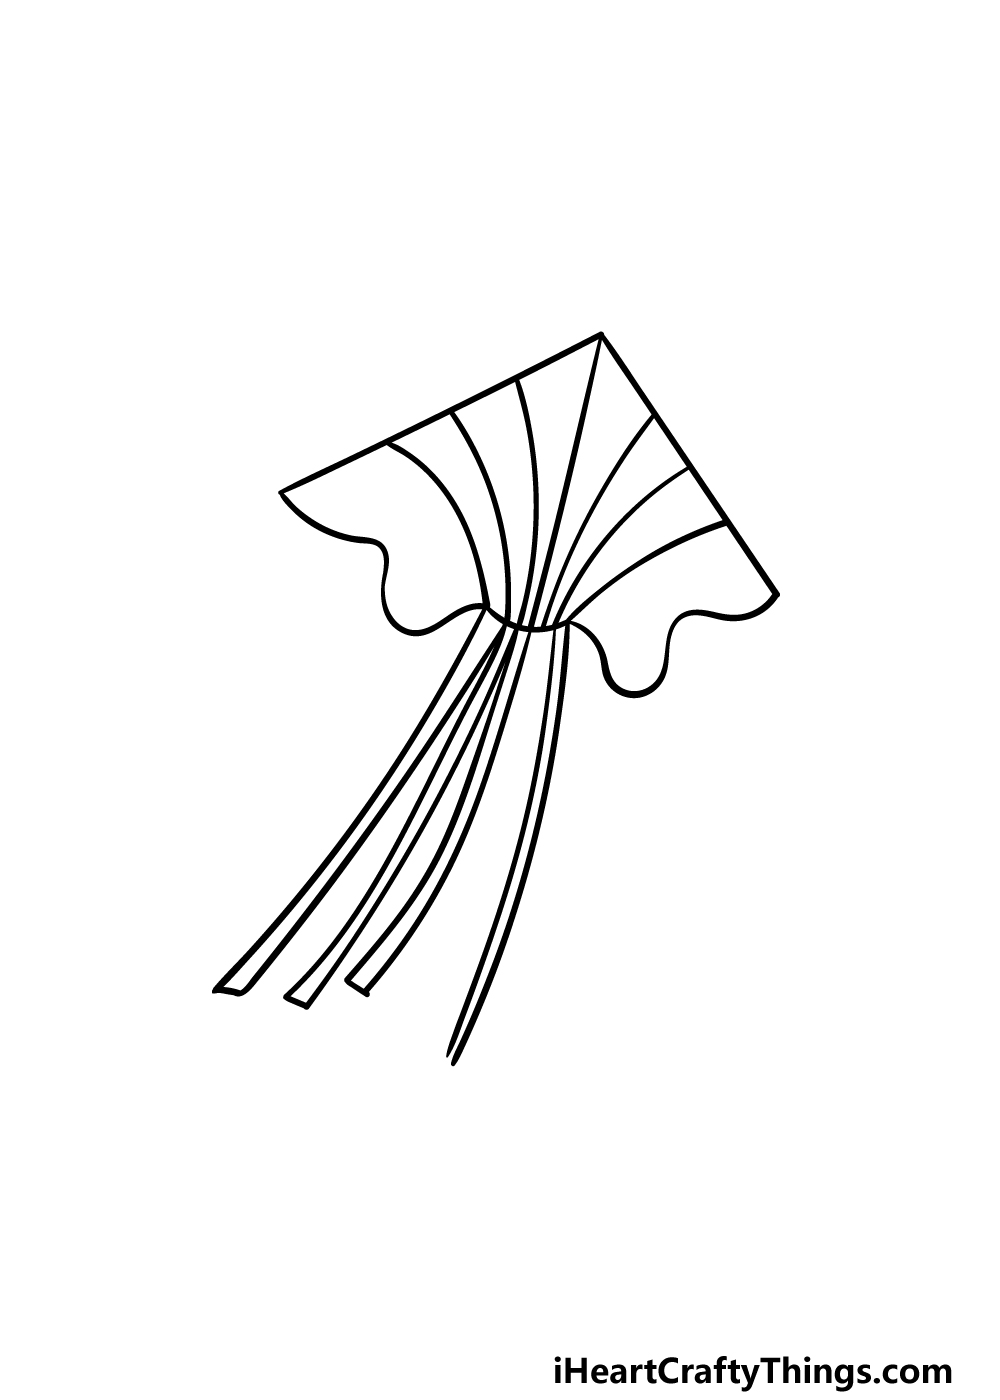
This fourth step of the guide should be another simple one for you to do!
The main aspect that we shall be focusing on will be to finish off the tail of the kite.
There are many ways that you could go about doing this!
One idea would be to draw your own pattern or picture design onto the body of the kite.
How will you complete this drawing?
We know that it will look amazing, and we cant wait to see what you come up with!
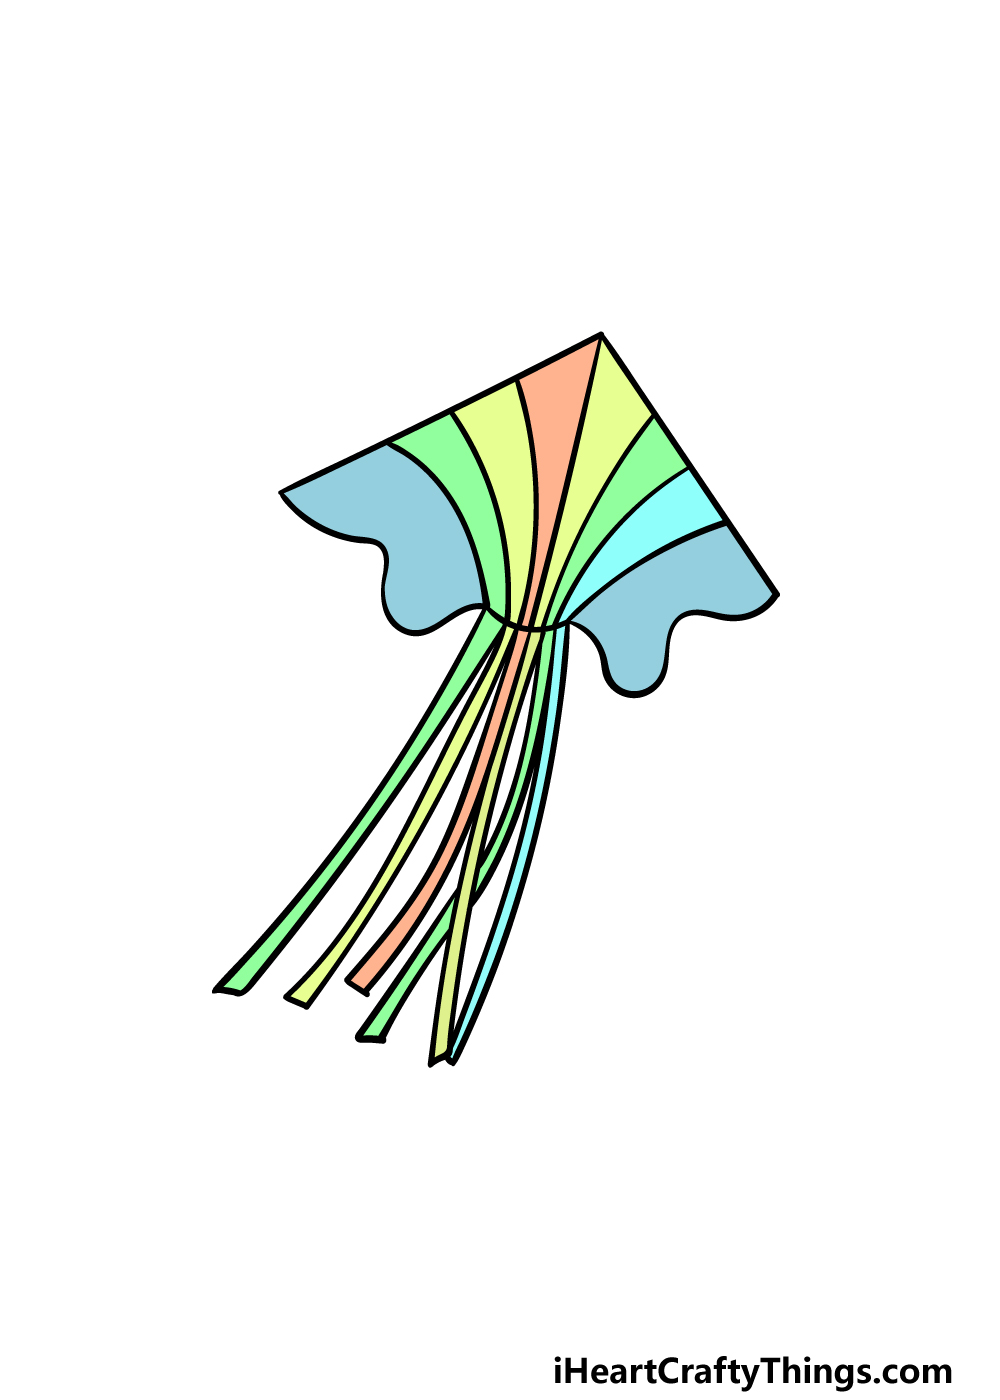
This drawing of a kite that we created in this guide has a really cool and interesting shape.
While it looks great, there are many other kite shapes that you could also depict!
Kites are often diamond-shaped, and many can even be shaped like famous fictional characters.
Can you think of some cool shapes and designs you could use?
Even in real life, its always even better when you see lots of kites in the sky.
This person could be drawn in a simple cartoon style if that is what youre comfortable with.
This would be a great way to personalize your picture!
Finally, you could show where the kite is being flown by adding a background to your kite sketch.
Kites can be flown in many places, so you could go for all kinds of configs.
Maybe the kite is being flown at a beach with waves and ships in the background.
Or, you could show it being flown in a field with some trees and houses.
Your Kite Drawing is Complete!
You could even create an entirely unique kite design of your own.
We will be very curious to see how it turns out!

We upload new ones often, so keep checking in to never miss out.
More From:How to draw
Printable Bubble Letters A Complete Guide!


