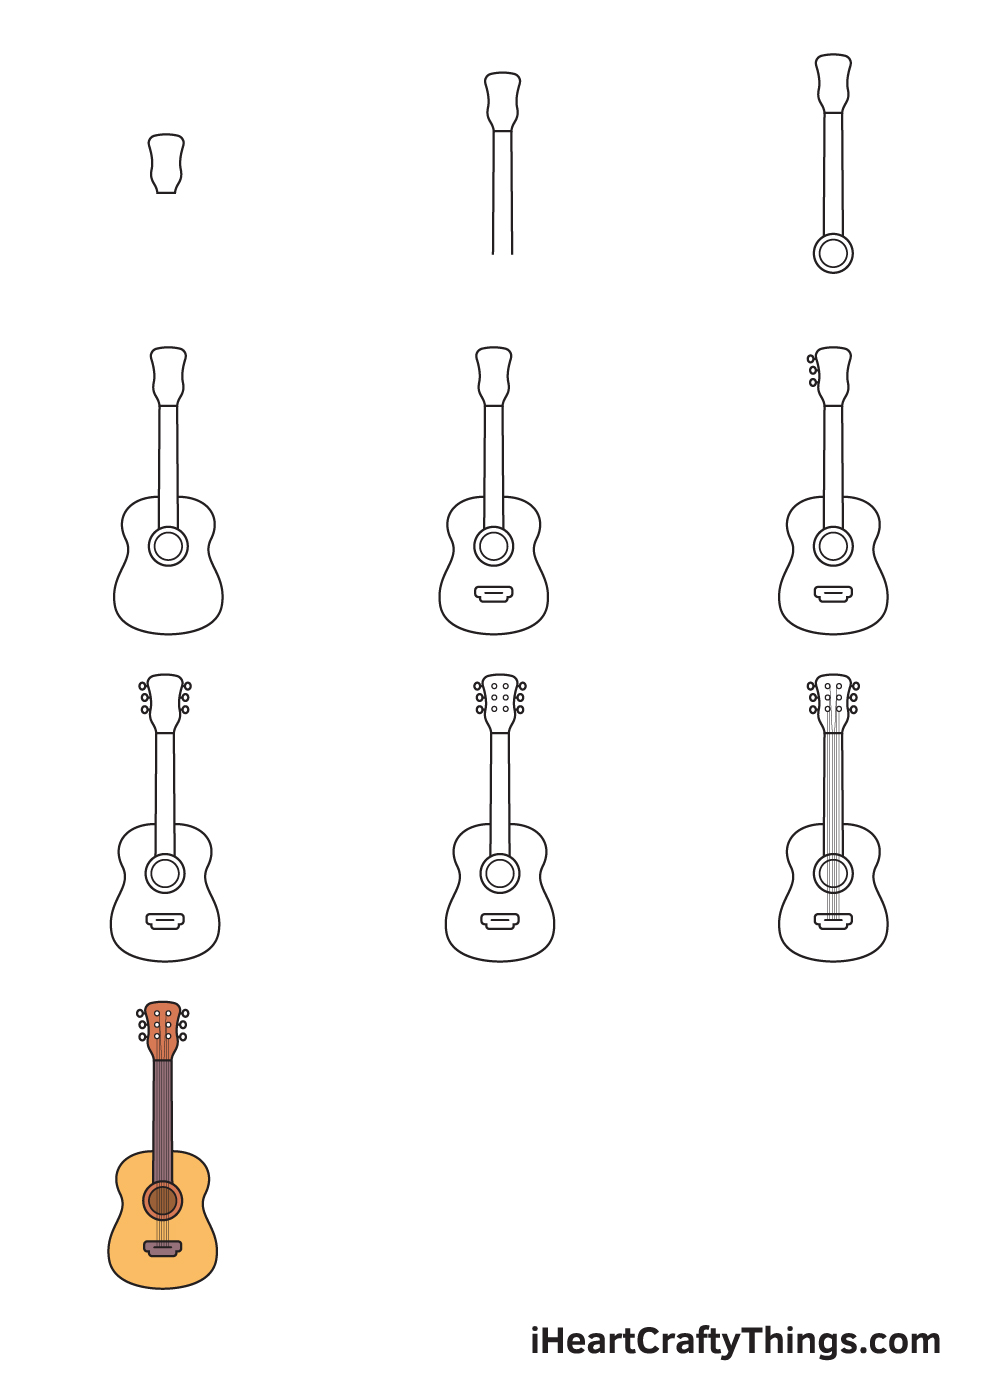
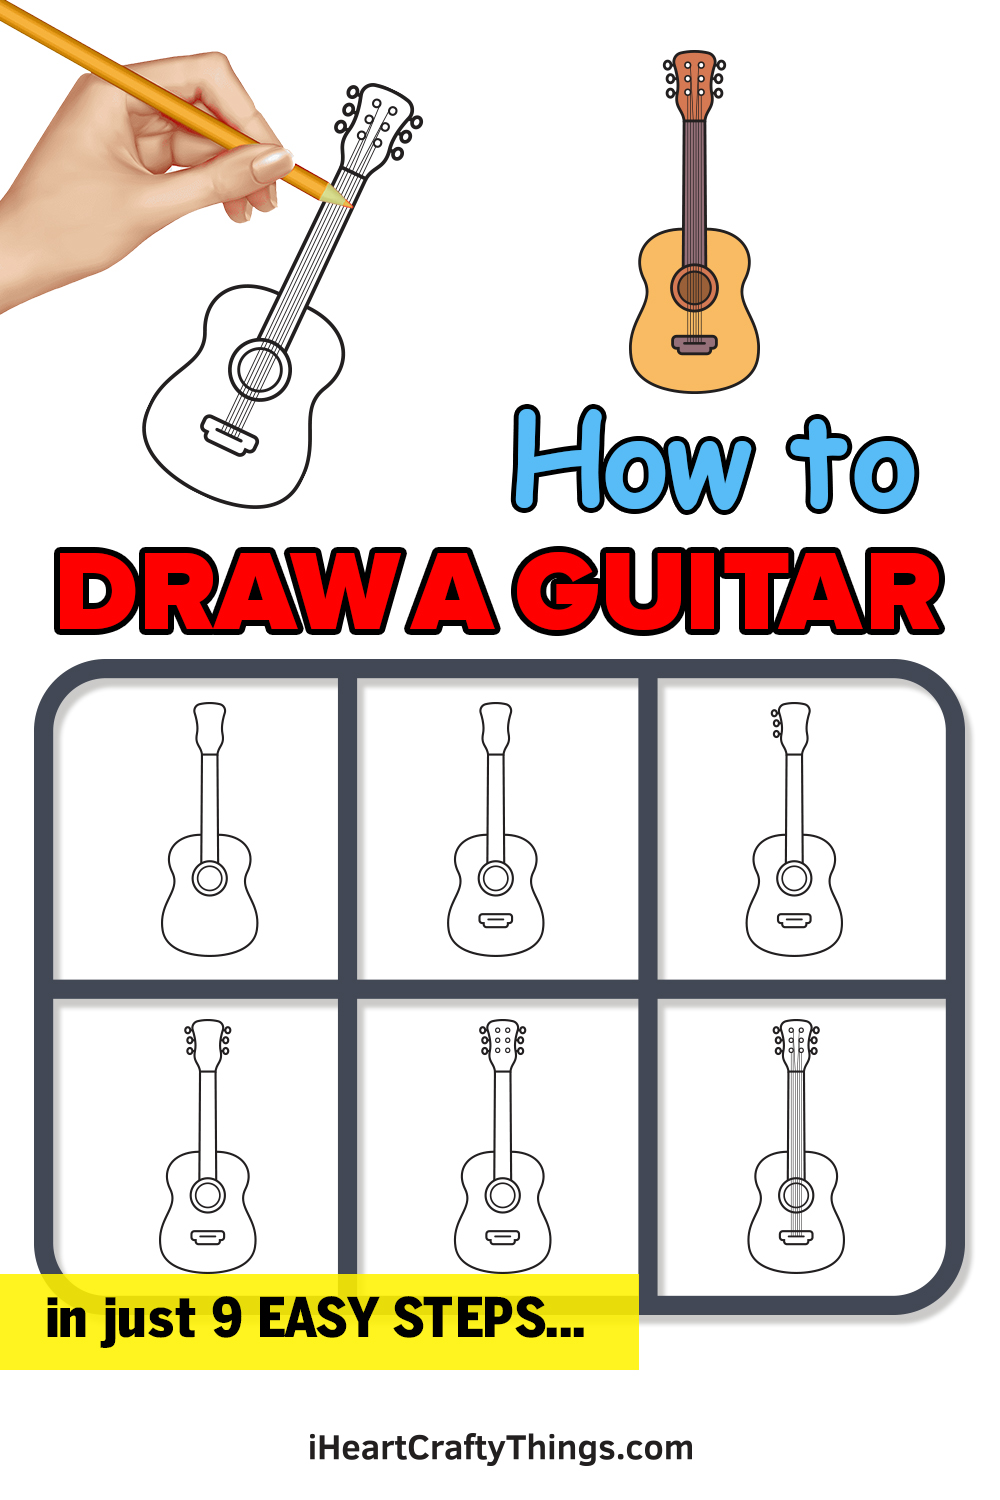
Complete guitar drawing in just 9 easy steps!
A guitar is a stringed musical instrument that can be played by plucking or strumming the strings with fingers.
It features a fretted fingerboard, incurved sides, and six or twelve strings.
In this tutorial, we will be drawing an acoustic guitar.
We have curated a step-by-step tutorial onhow to drawa guitar summarized in 9 easy and simple steps.
With this guide, drawing a guitar is made easier.

Each step is accompanied with comprehensible illustrations that serve as your visual guide as you follow the instructions.
All you need is a pen and paper and youre all set to get started!
Whats more, you’re able to add your own style and improvise in every step.
Feel free to mix and match colors to customize your artwork and make it unique.
Let your imagination wander and unleash your creativity.
Have fun and use your artistic skills!
Easy Guitar Drawing Video Tutorial for Kids
How to Draw a Guitar Lets get started!
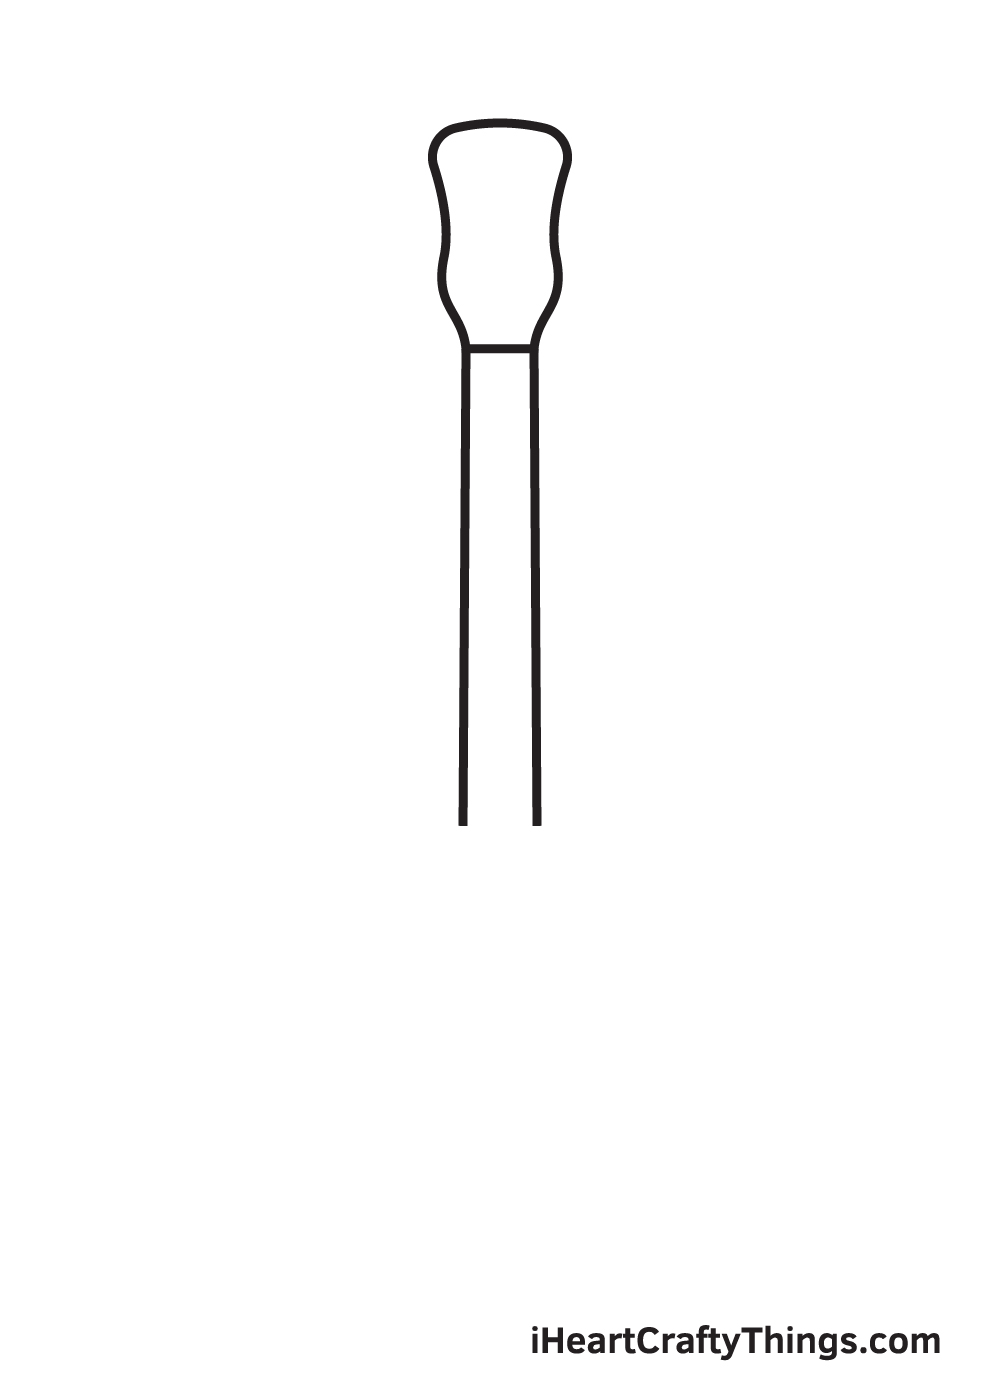
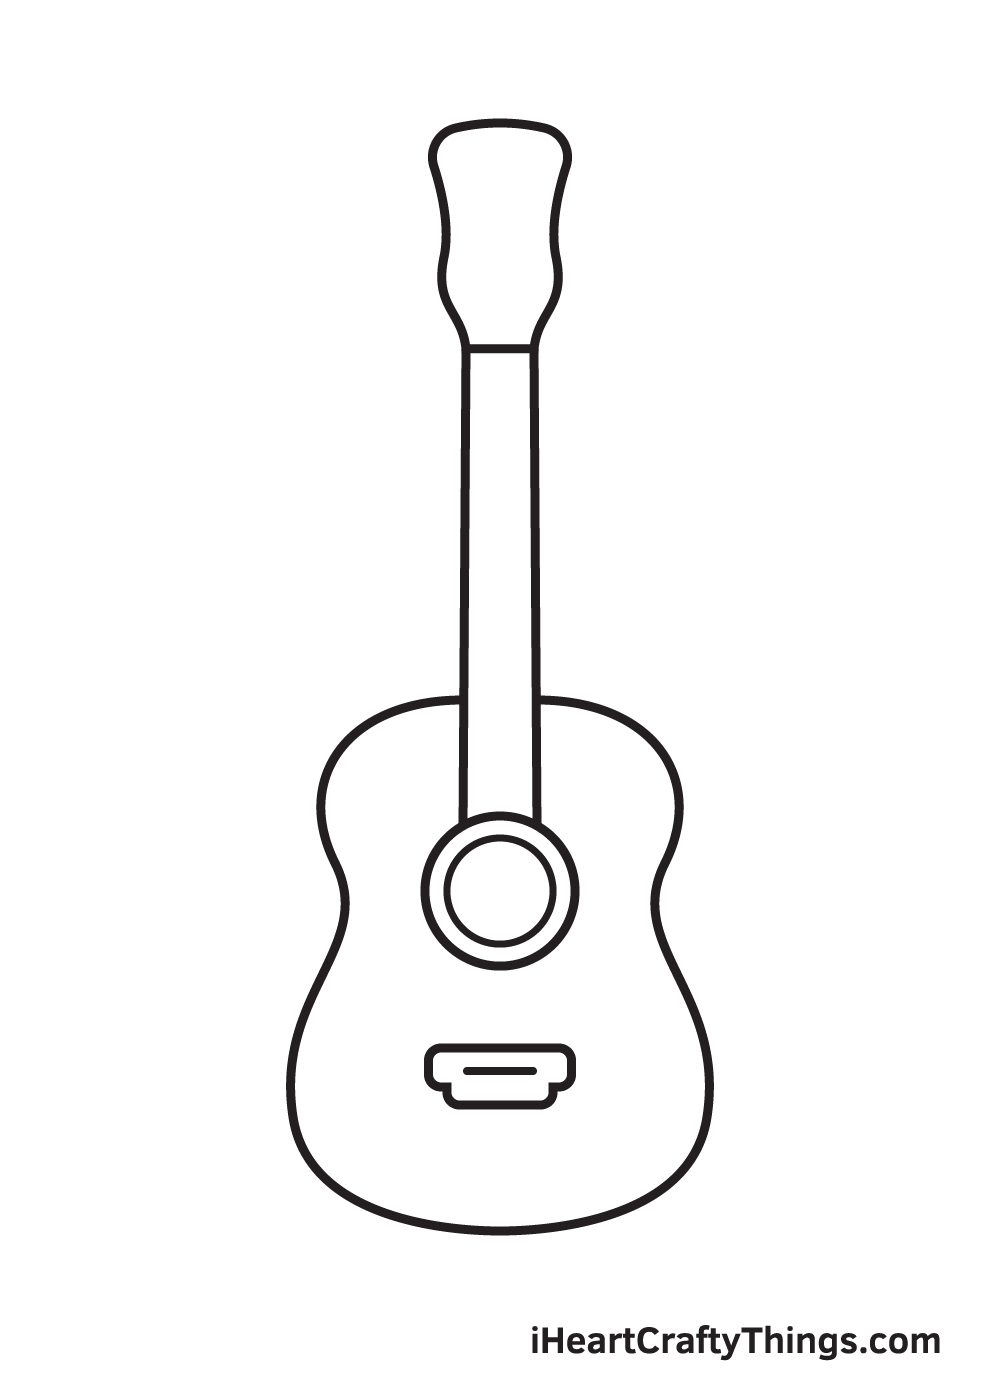
It is the topmost part of a guitar where tuning pegs are located.
The vertical line above the horizontal line is where you should draw the outline.
The line should be directly connected to the bottom of the headstock, as seen in the illustration.
There should also be a gap between the lines because thats where the stringswill be drawnin the following steps.
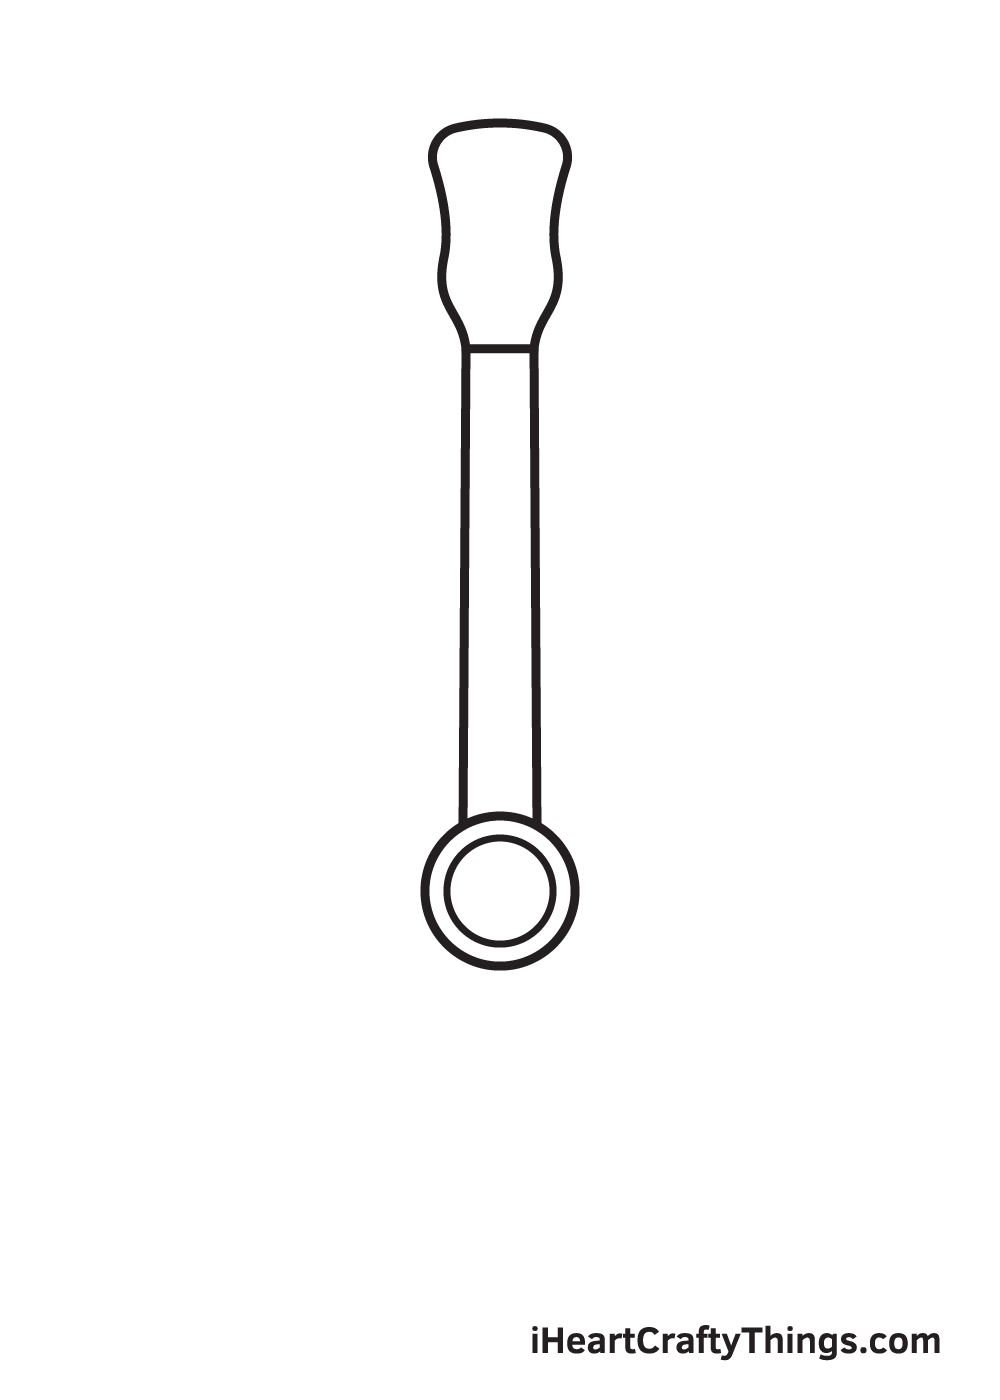
Then, within the circle, draw another circle following the outline of the outer circle.
If you cant freehand a perfect circle, dont worry and feel free to use a compass!
It is a drawing tool that enables you to draw a perfect circle easily and effortlessly.
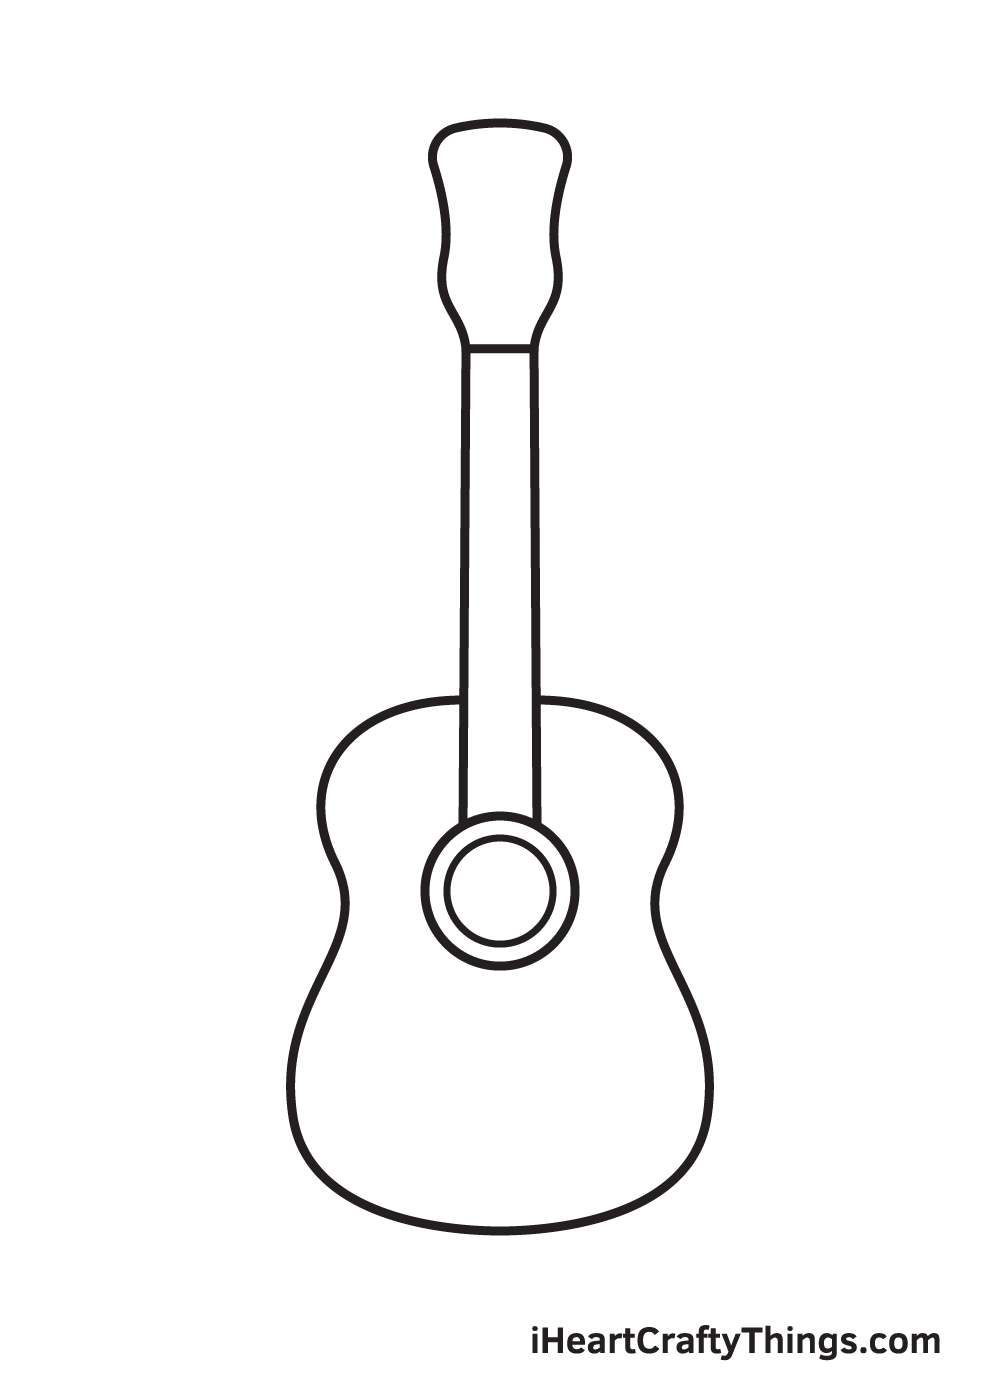
Draw the body of the guitar starting from the neck all the way further down past the sound hole.

The bridge should be positioned in the middle in between the sound hole and the edge of the body.
There should be a slight gap between the pegs and the headstock.
Afterwards, connect the tuning pegs to the headstock by drawing short horizontal lines in between.

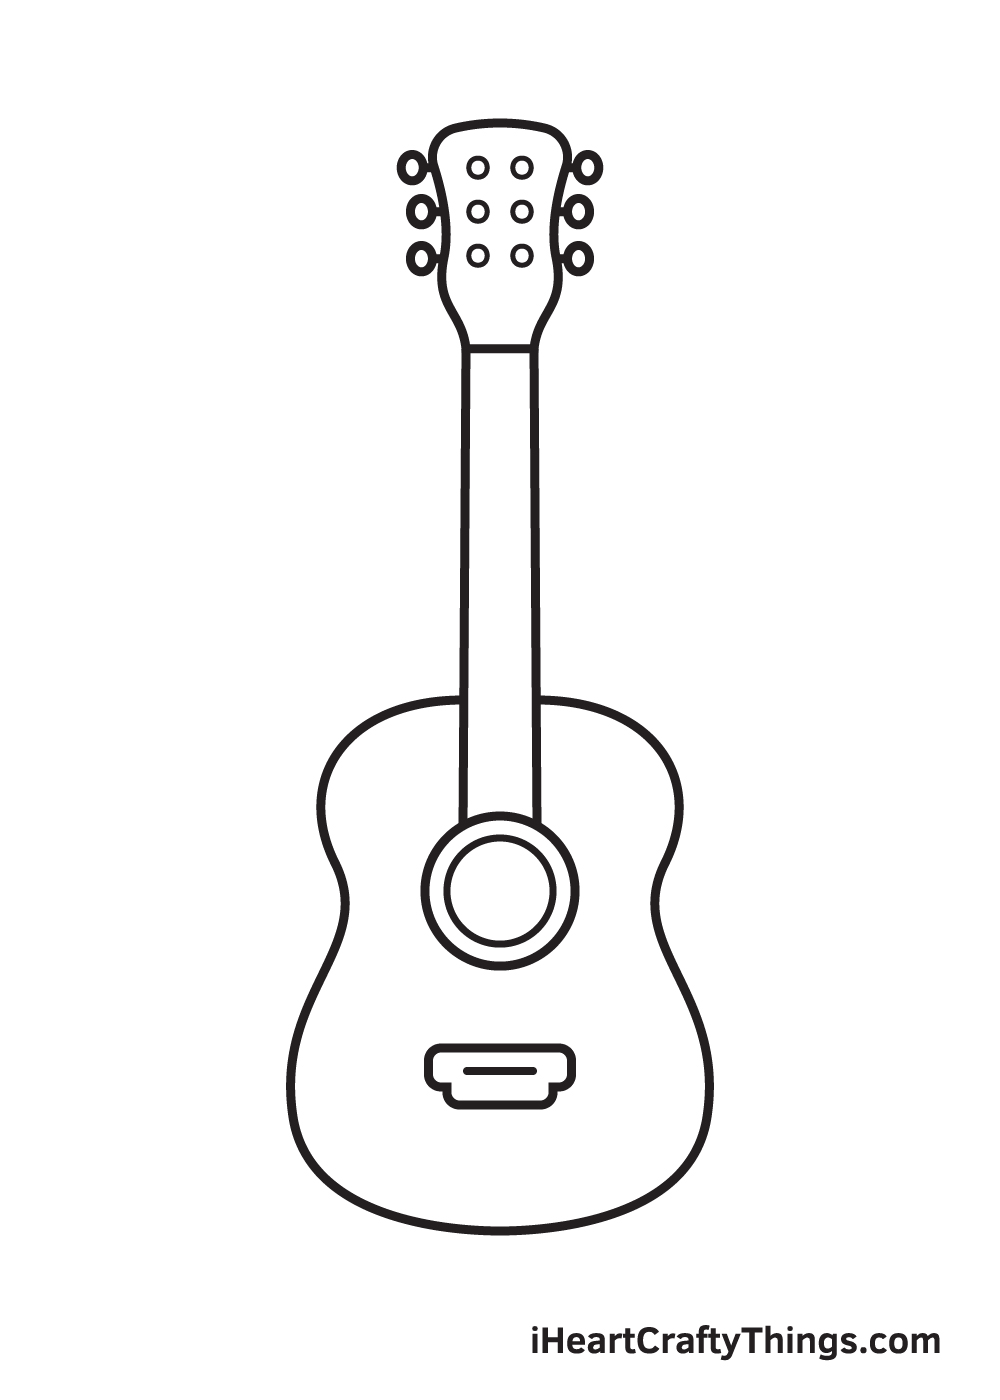
Step 8 Add the String Posts on the Headstock
Draw six small circles within the headstock.
Each of the circles must be aligned with each of the tuning pegs.
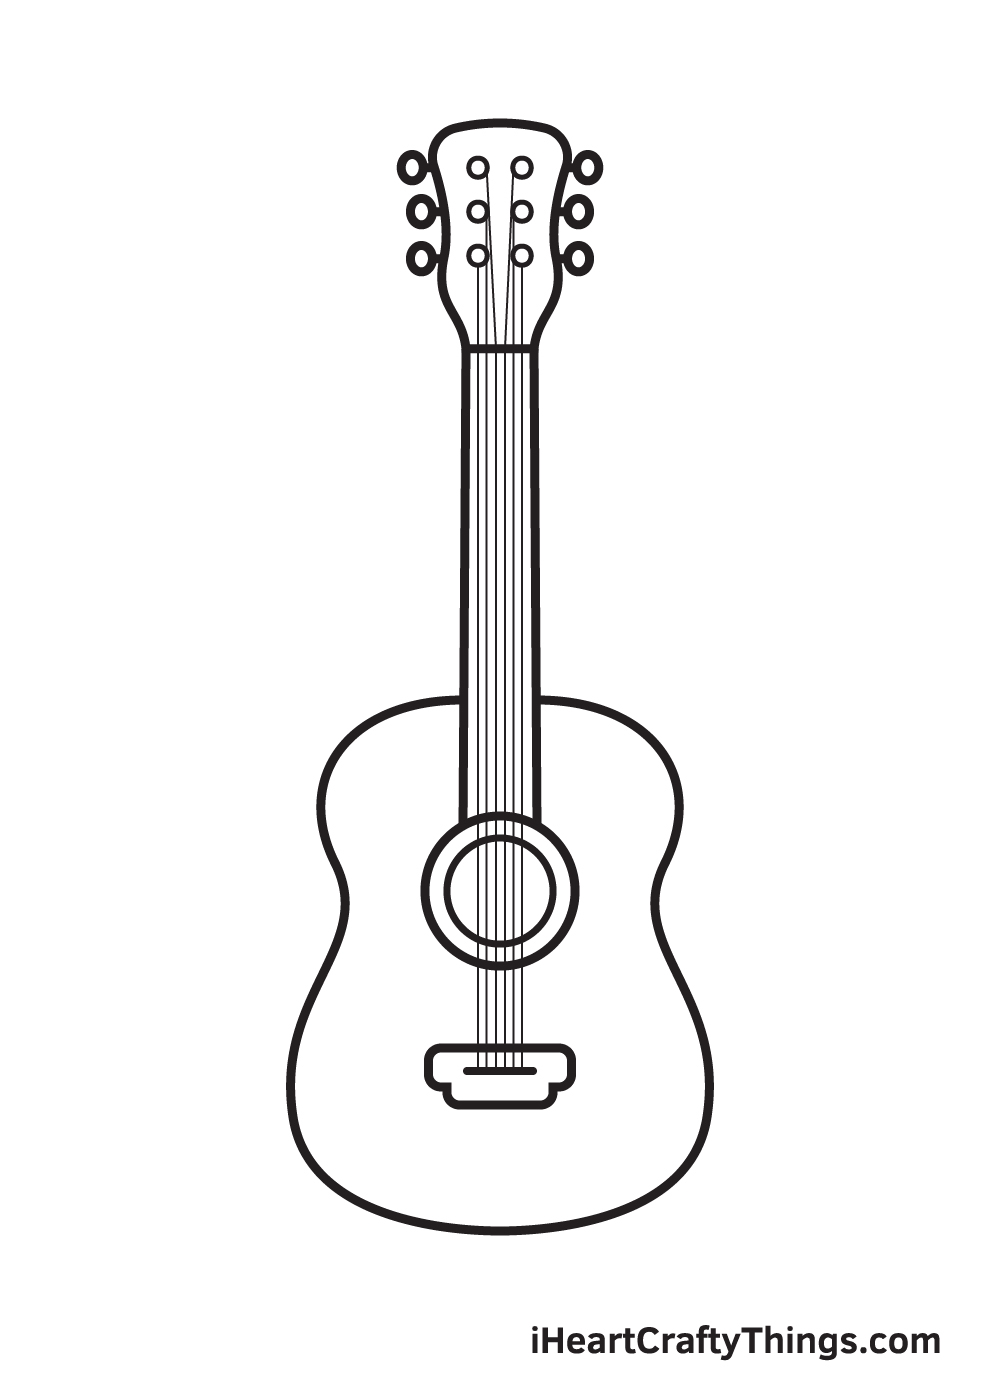
Each string must be attached to each string post in the headstock.
Here, it’s possible for you to see the guitar is nearly finished!
The only thing its missing is a dash of multiple colors to complete your artwork!
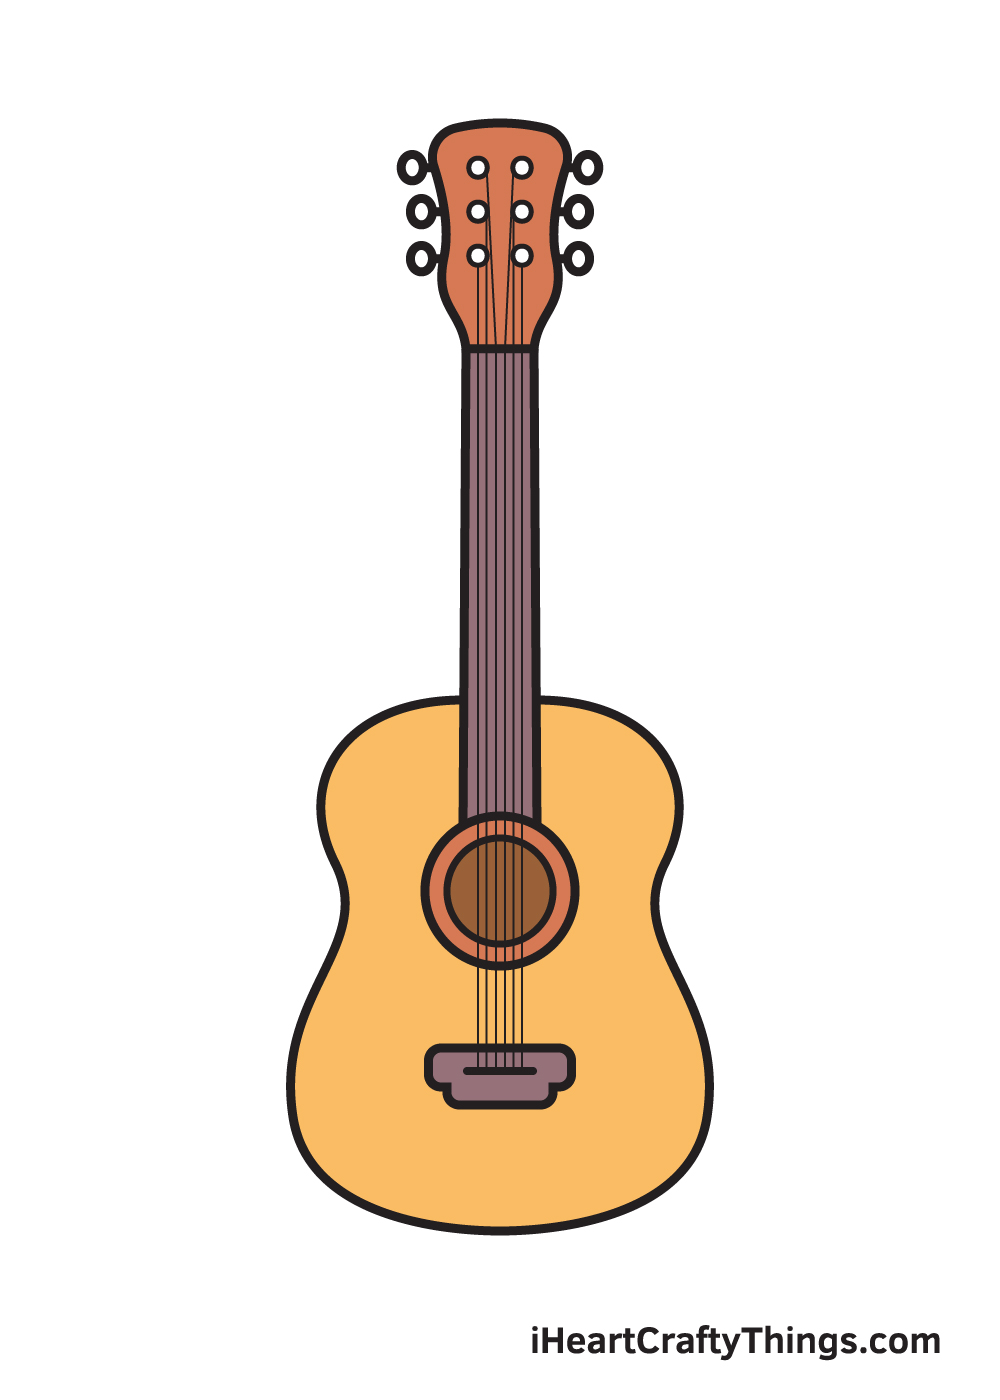
Finally, here is the most exciting partfilling in the colors for your awesome drawing!
It exists in nearly every color, with black, brown, and cream being the most common.
So, if you have a favorite color, its likely that there is a guitar with that color.
3 More tips to make your guitar drawing easy!
Find tips to make this drawing as easy as a song right here!
Guitars are simple and incredibly complex in structure at the same time.
To make it easier, we would recommend using a real guitar as a model.
If youre lucky to have one in your home, you might use it to make it much easier.
If you dont have one handy, you’ve got the option to use pictures online.
If you use a real-life model then you could also draw the guitar from different angles if you like.
Another way to make this guitar sketch a bit easier is by simplifying some of the details.
For example, guitars have different numbers of strings depending on their variation.
Most have six strings, but some have four or even twelve.

You may be surprised how much easier this small detail can make this drawing!
Your Guitar Drawing is Complete!
We hope you enjoy this step-by-step tutorial on how to draw a guitar.

All you need is a pen and paper and youre all set to start drawing!
We are excited to see what you will draw next.
Were sure it will be just as amazing as this one!

Once youve finished your masterpiece, were certain you must be feeling very proud of yourselfas you should be!
Completing this guitar drawing is definitely fulfilling.
confirm to show off your work of art and share it on our Facebook page and on Pinterest.

Were sure it looks amazing!
We cant wait to see your colorful guitar drawing!
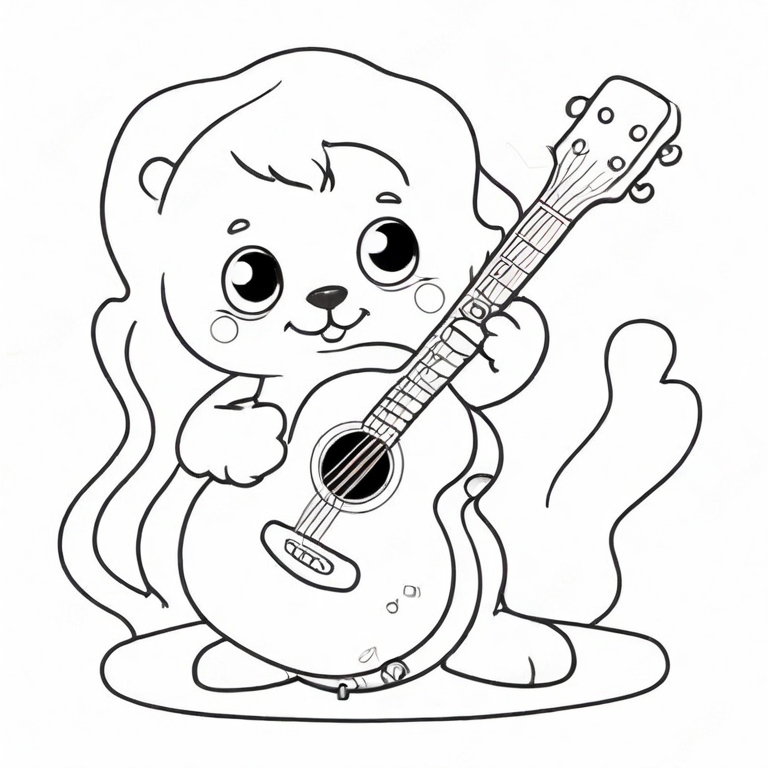
Here Is A Cartoon Guitar DrawingTo Inspire You!

At least, it can seem that way at first until you know how to do it.
Our artist Amanda created this example to give you some inspiration.
More From:How to draw
Printable Bubble Letters A Complete Guide!

