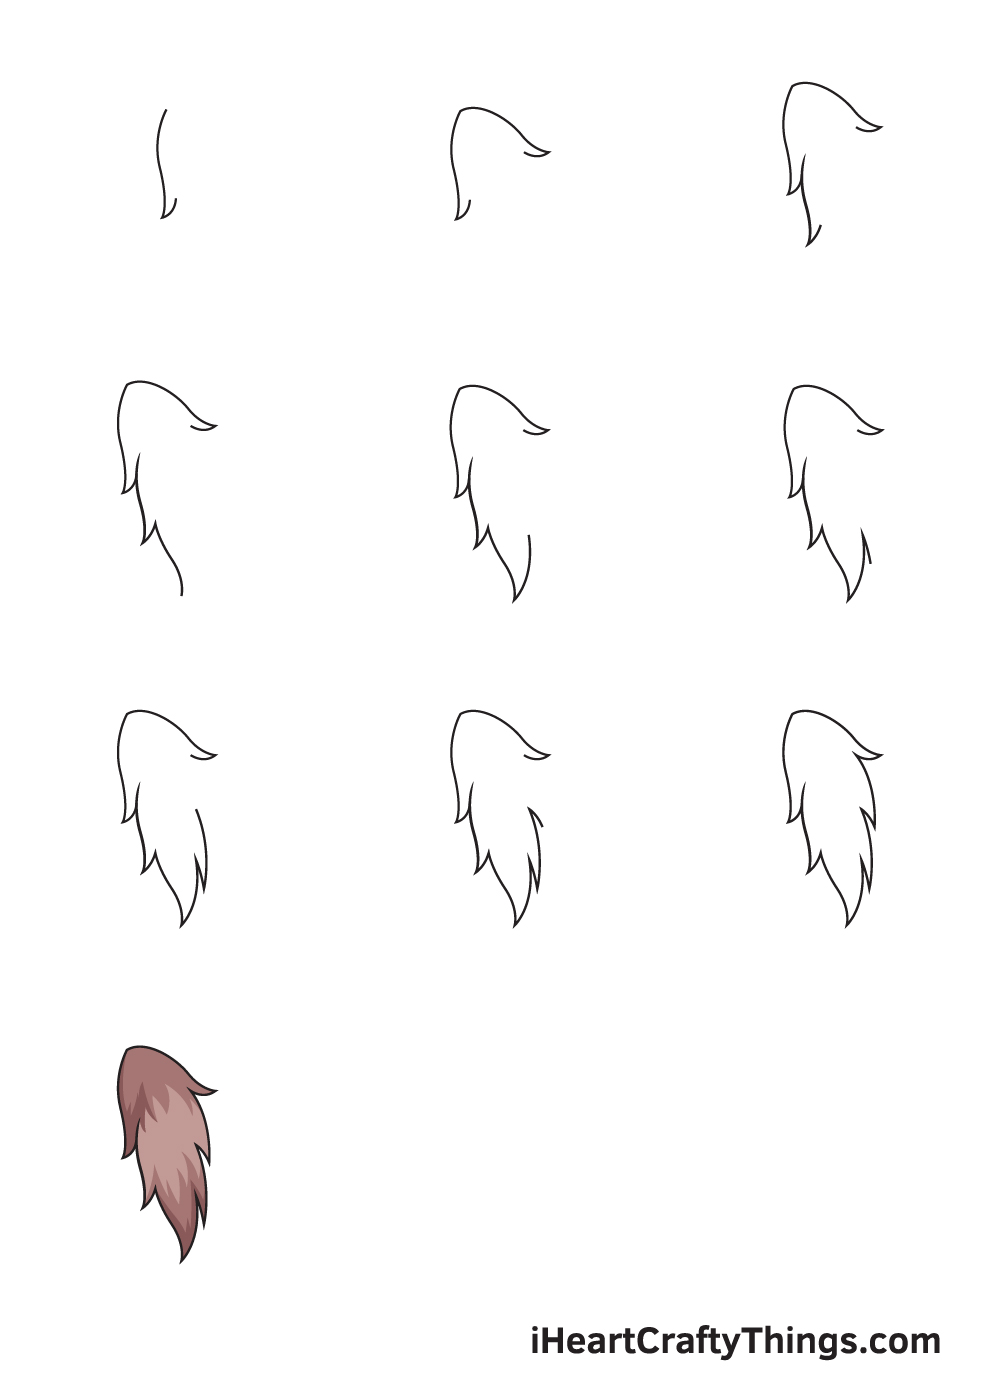
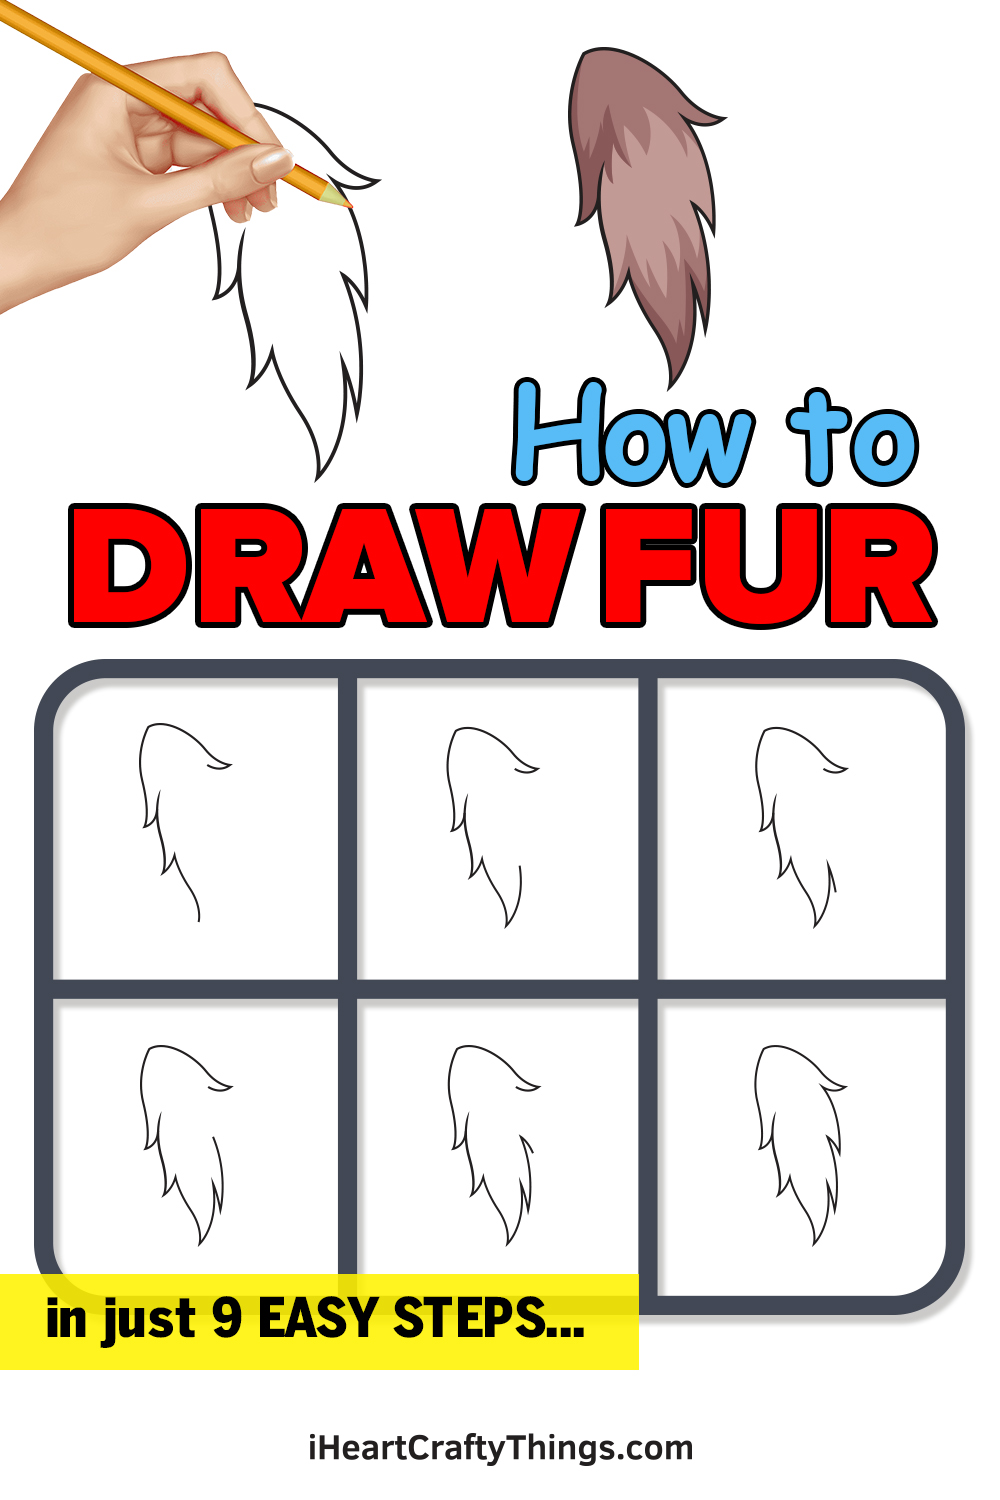
Complete fur drawing in just 9 easy steps!
It is also the primary distinctive feature of mammals.
Learning how to draw a fur is important especially if youre planning to draw a furry animal.
to make it appear realistic, you must be able to draw elaborate furs.
Fortunately, youve come to the right place.
Have fun drawing a realistic looking fur!
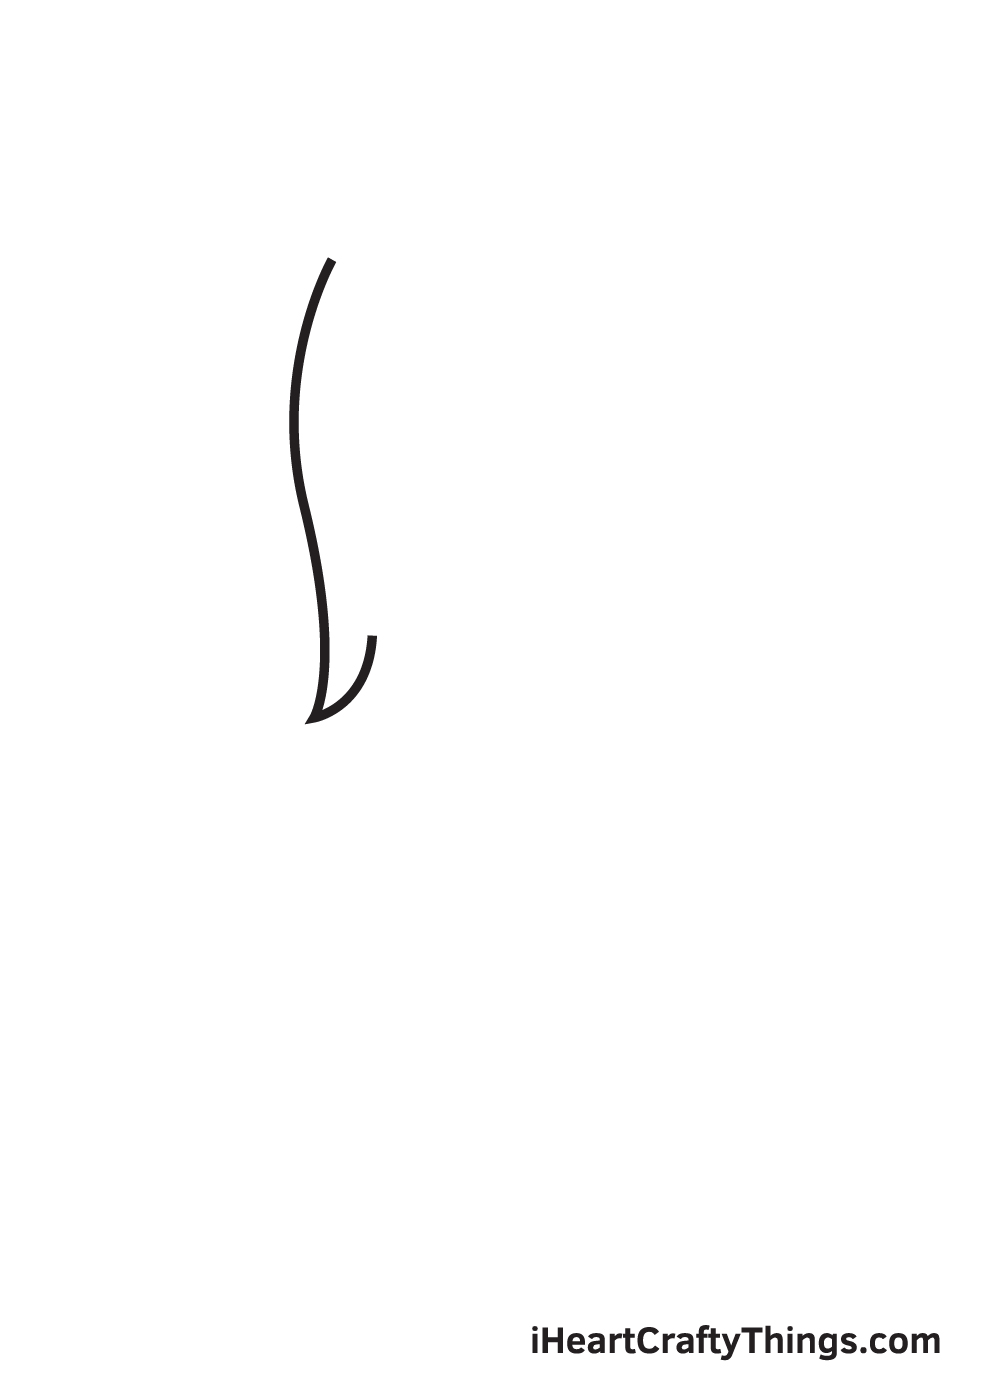
How to Draw a Fur Lets get started!
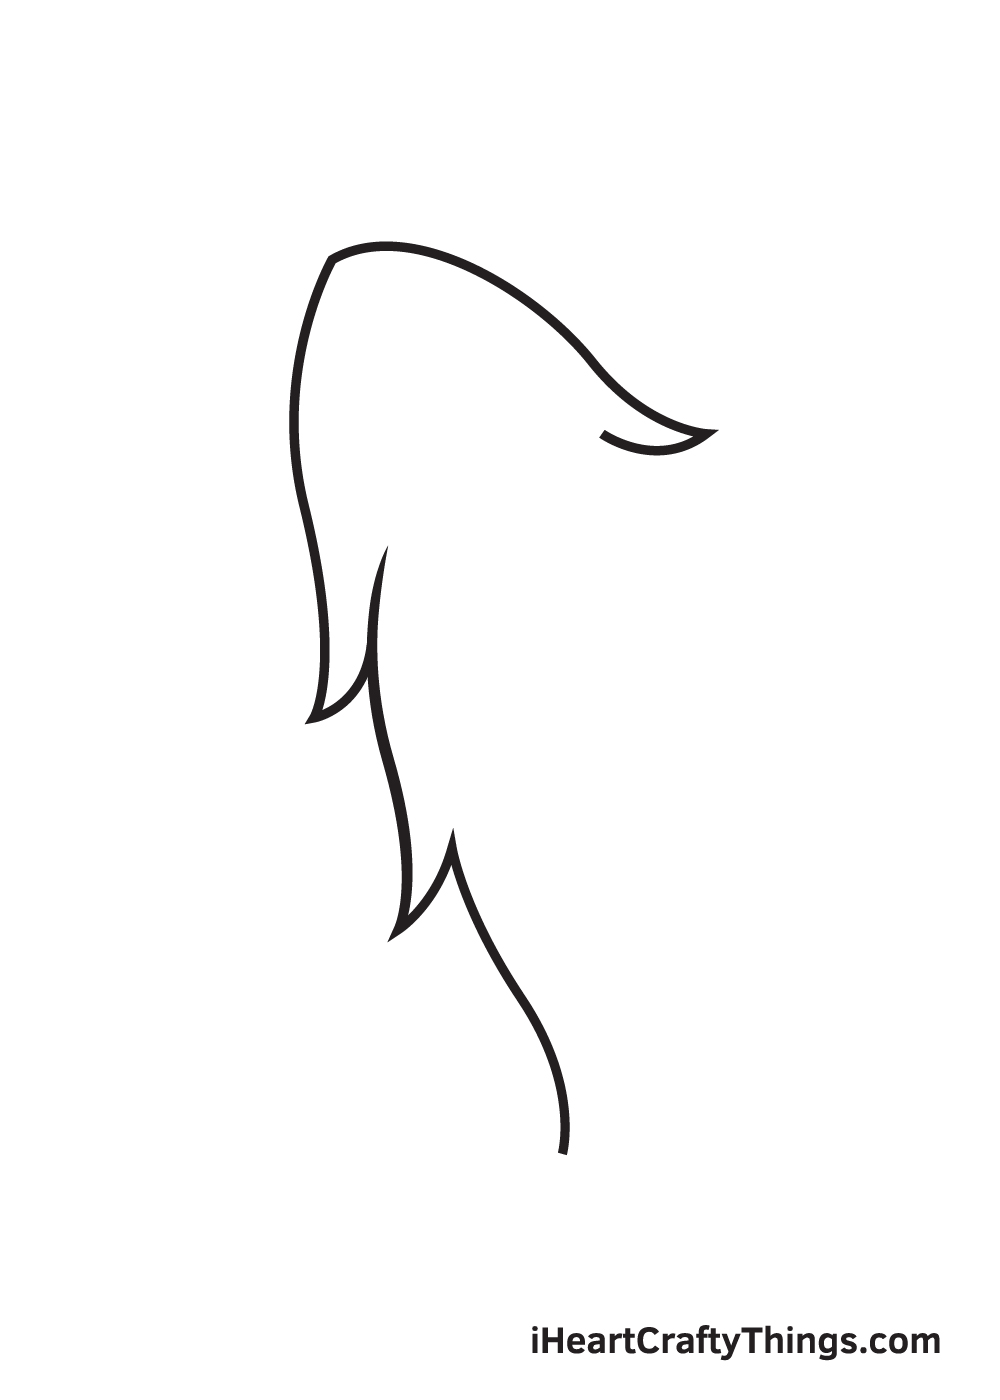
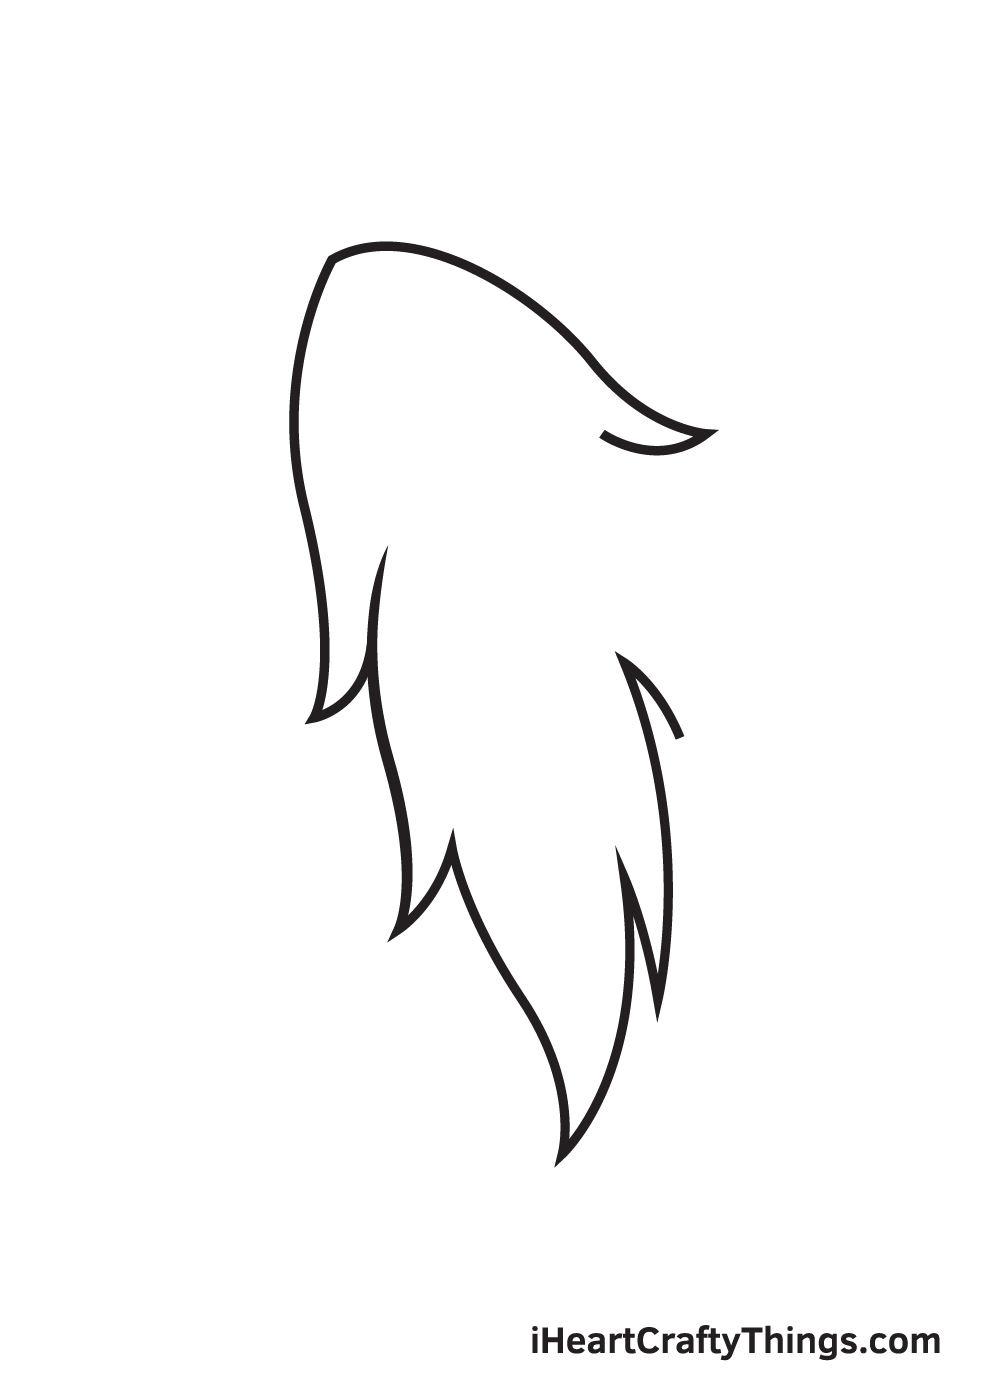
Then, draw an upward curve beginning from the bottom endpoint of the line we drew just now.
When drawn correctly, the figure should look like a pointed clump of fur.
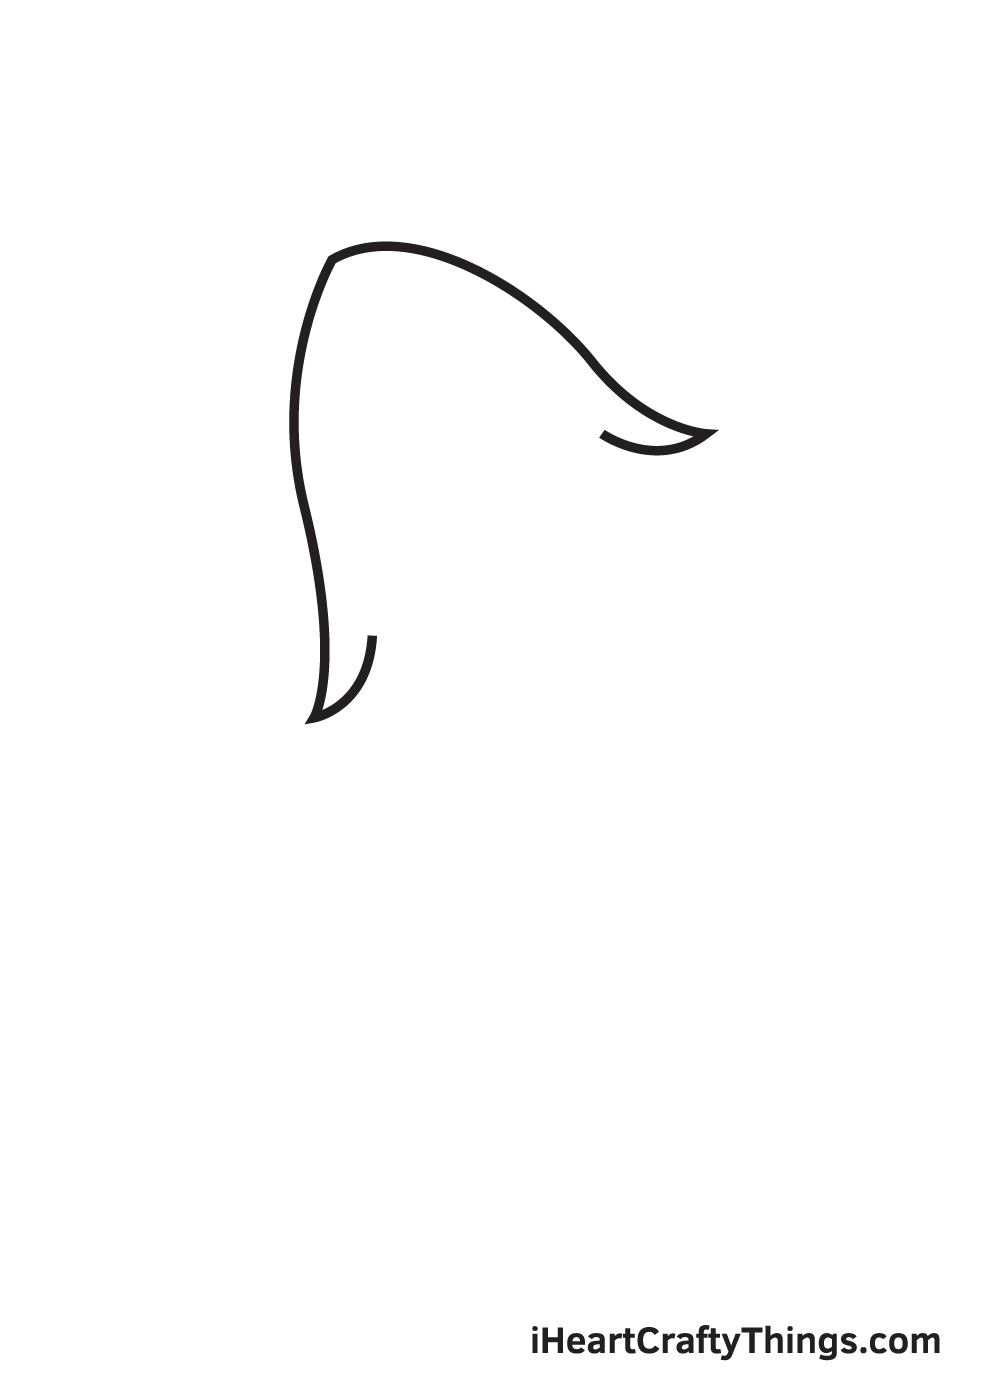
This creates the topmost layer of fur on the left side.
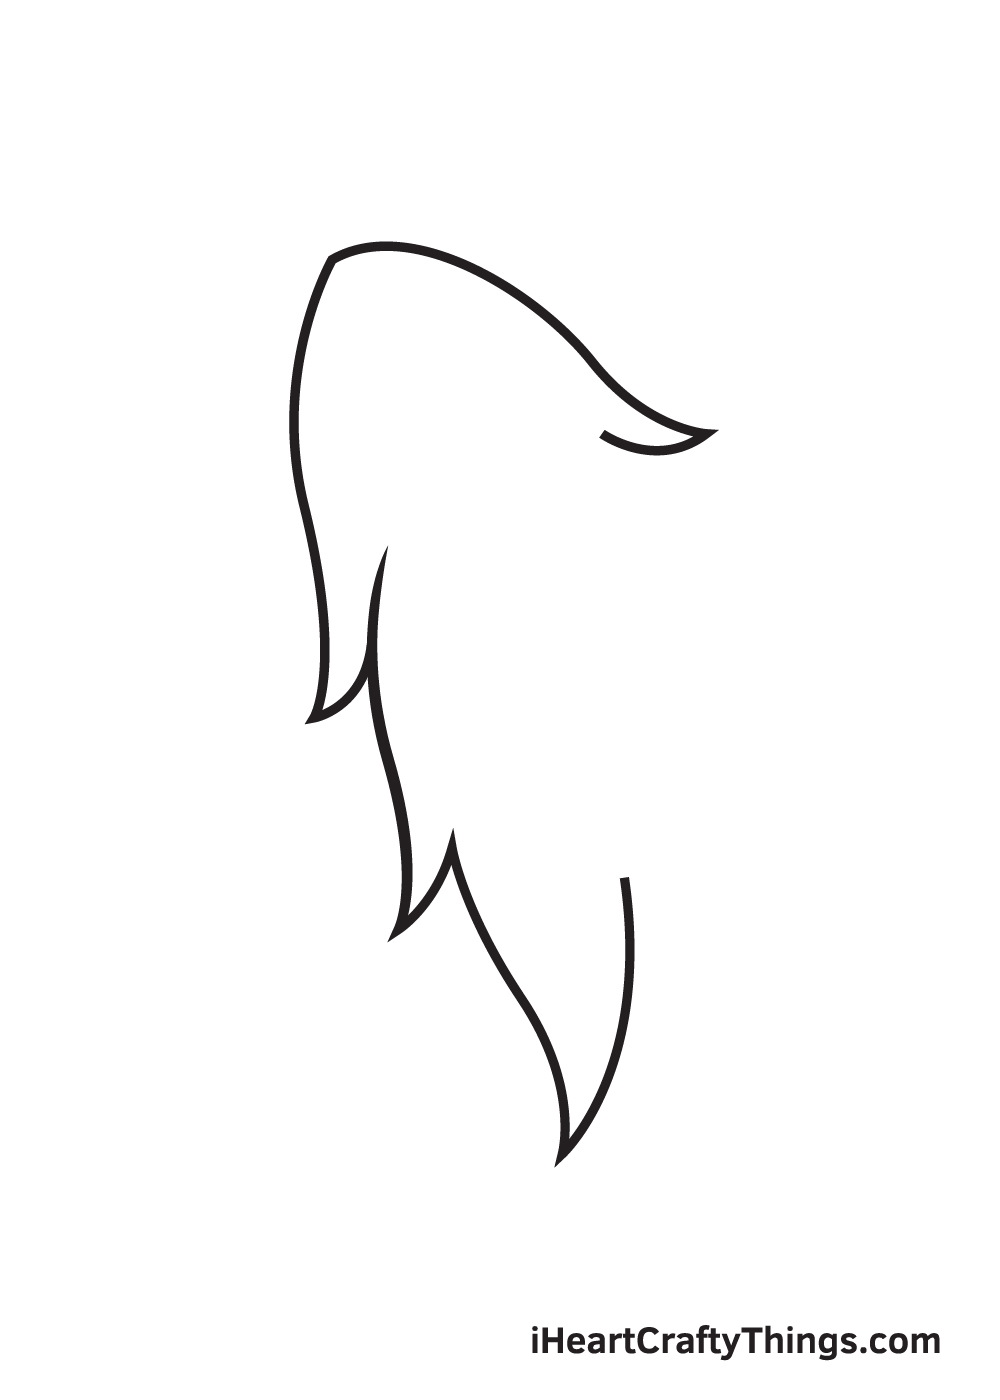
This forms a layer of fur on the right side, creating the topmost part of the fur.
As a matter of fact, the more uneven the furs are, the more realistic they look.
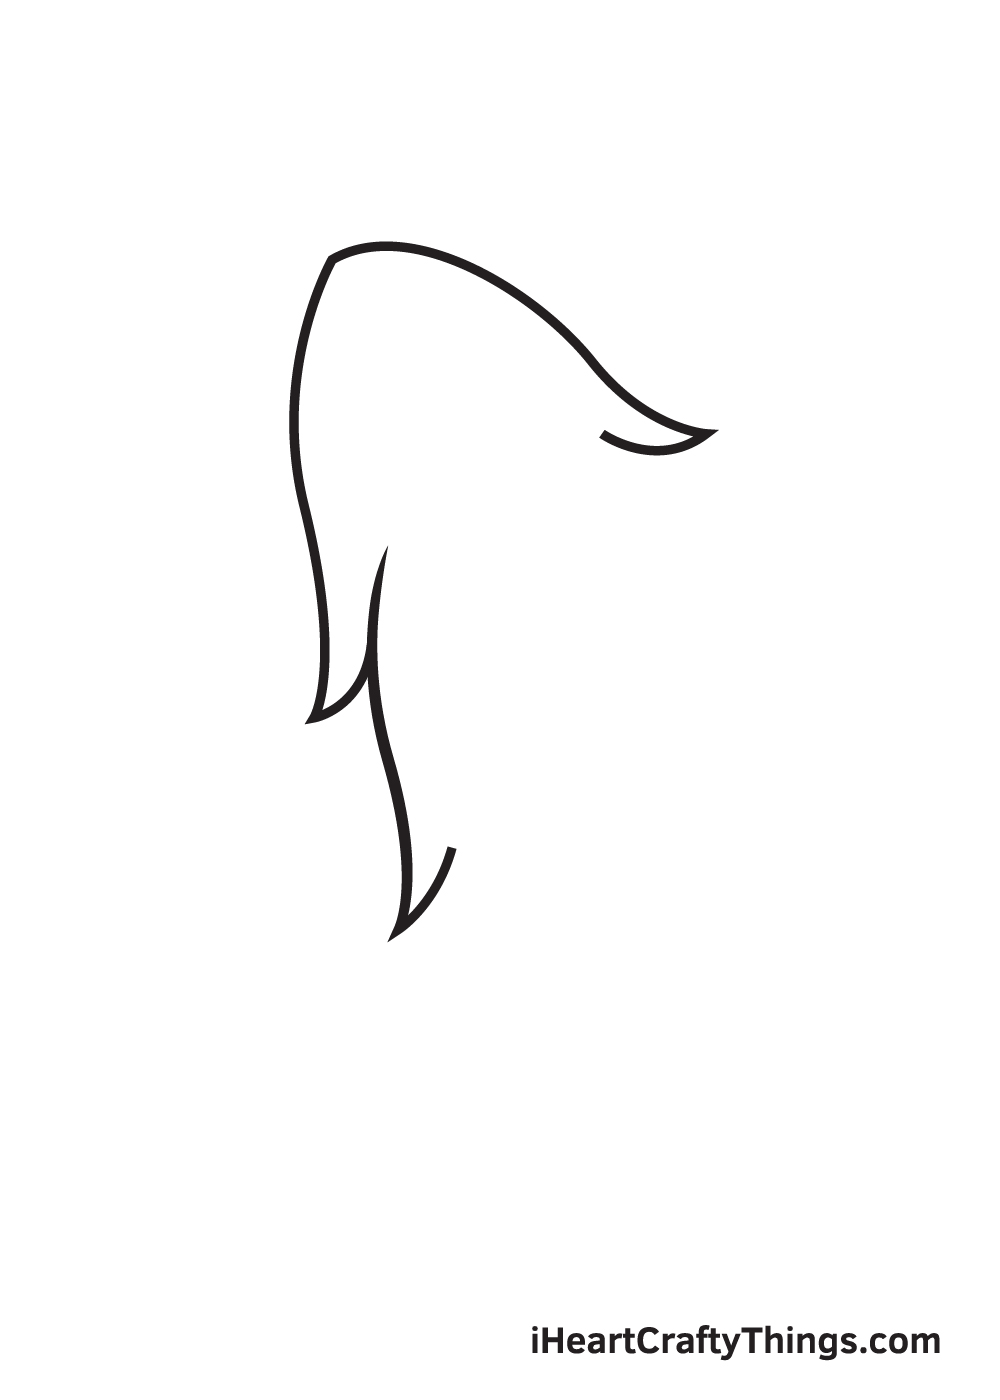
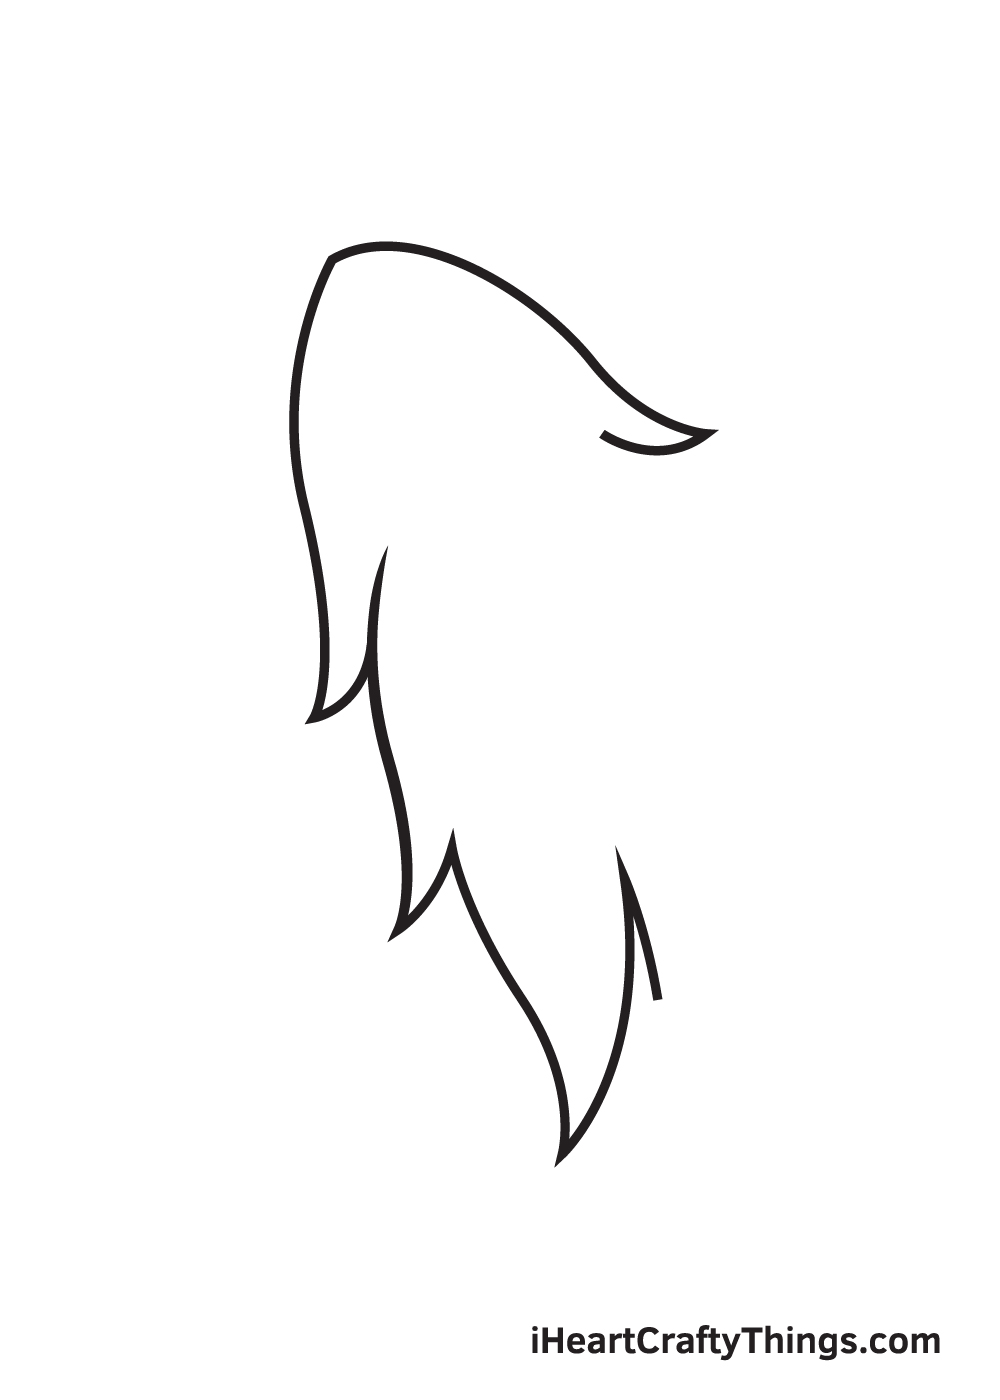
This creates the second layer of fur on the left side.
Keep in mind that the layers of fur should be directly connected to each other.
They may overlap sometimes, but thats okay.
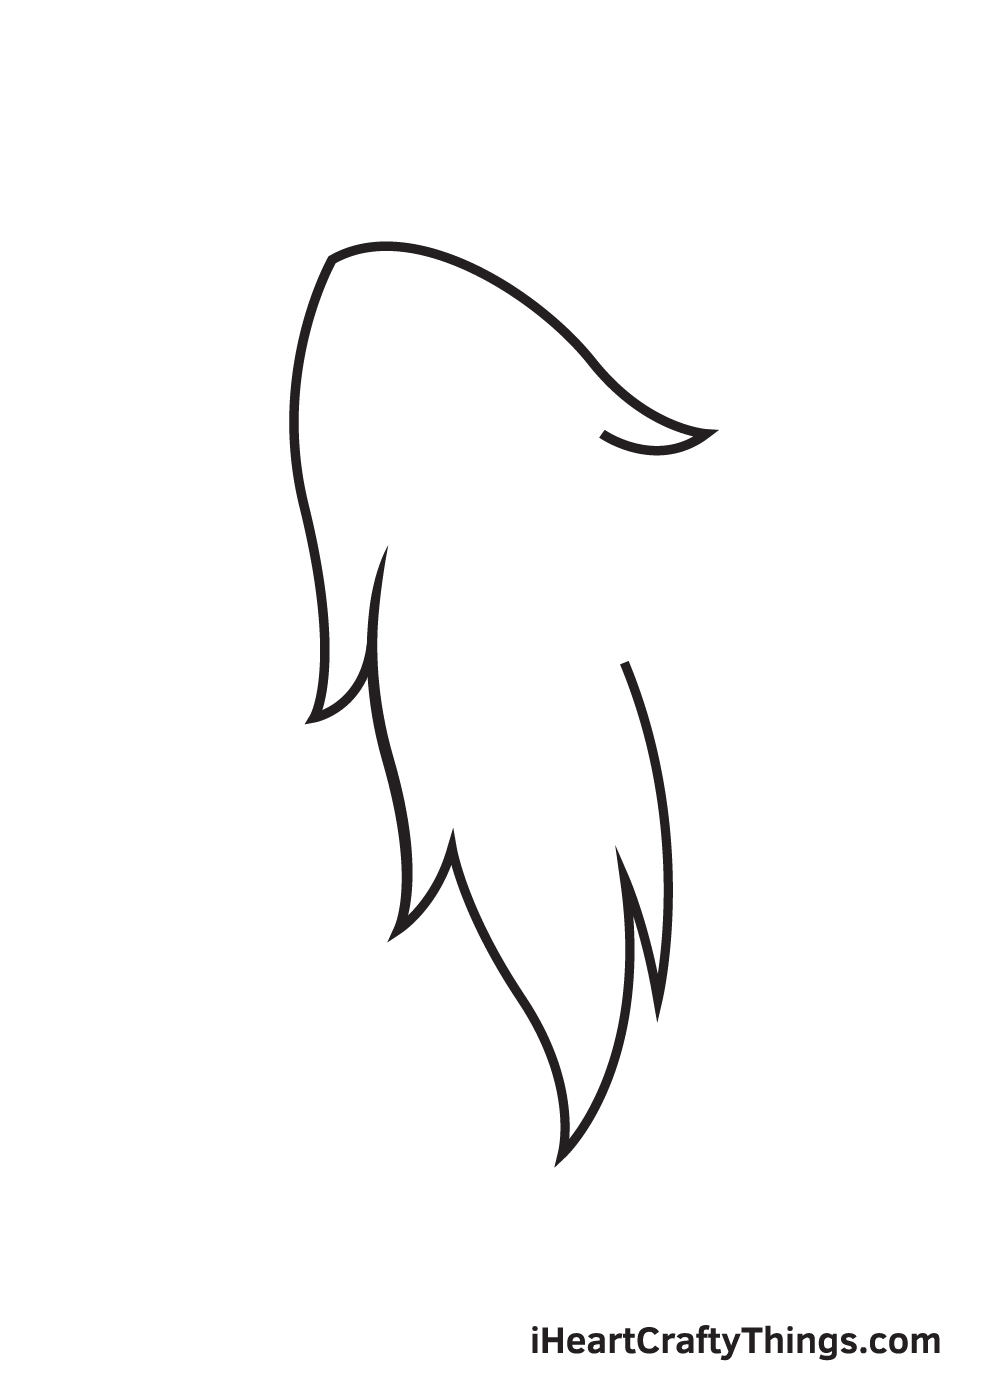
This should form a V-shaped figure, creating the final layer of fur on the left side.
At this point, the fur should now be completed halfway through as its left side is finished.
Keep in mind that this line should not be longer than the fur we drew in the previous step.
This forms the bottom layer of fur on the right side.
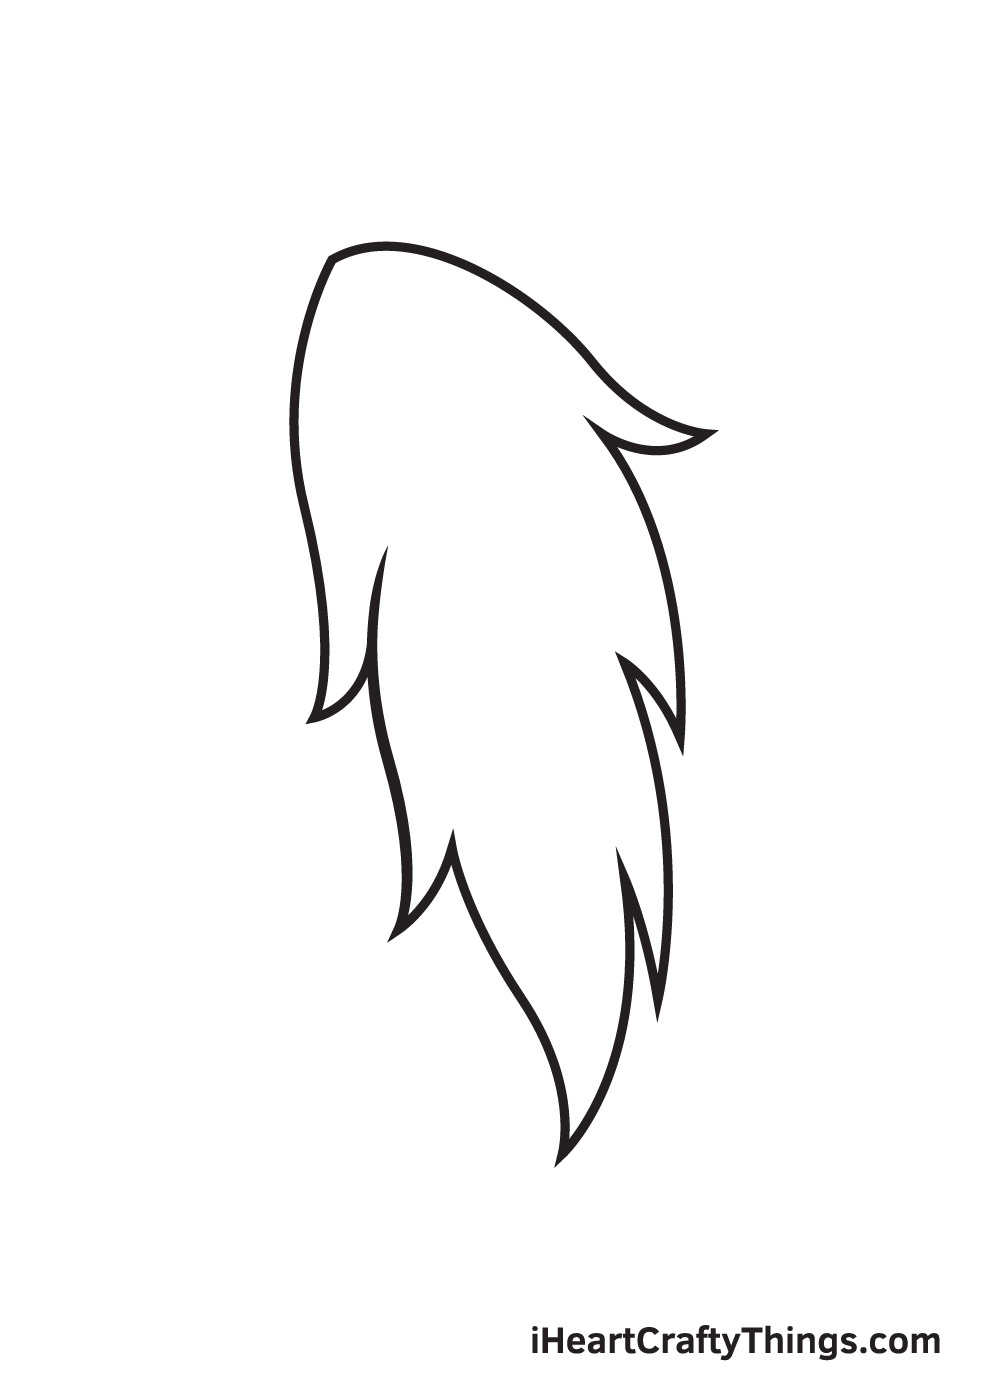
Now, well be working our way upwards to complete the structure of the fur.
This line should connect to the endpoint of the topmost fur, finally completing the form of the fur.
As you’ve got the option to see, the fur is complete at last.
Now, all its missing is a splash of colors to make it colorful!
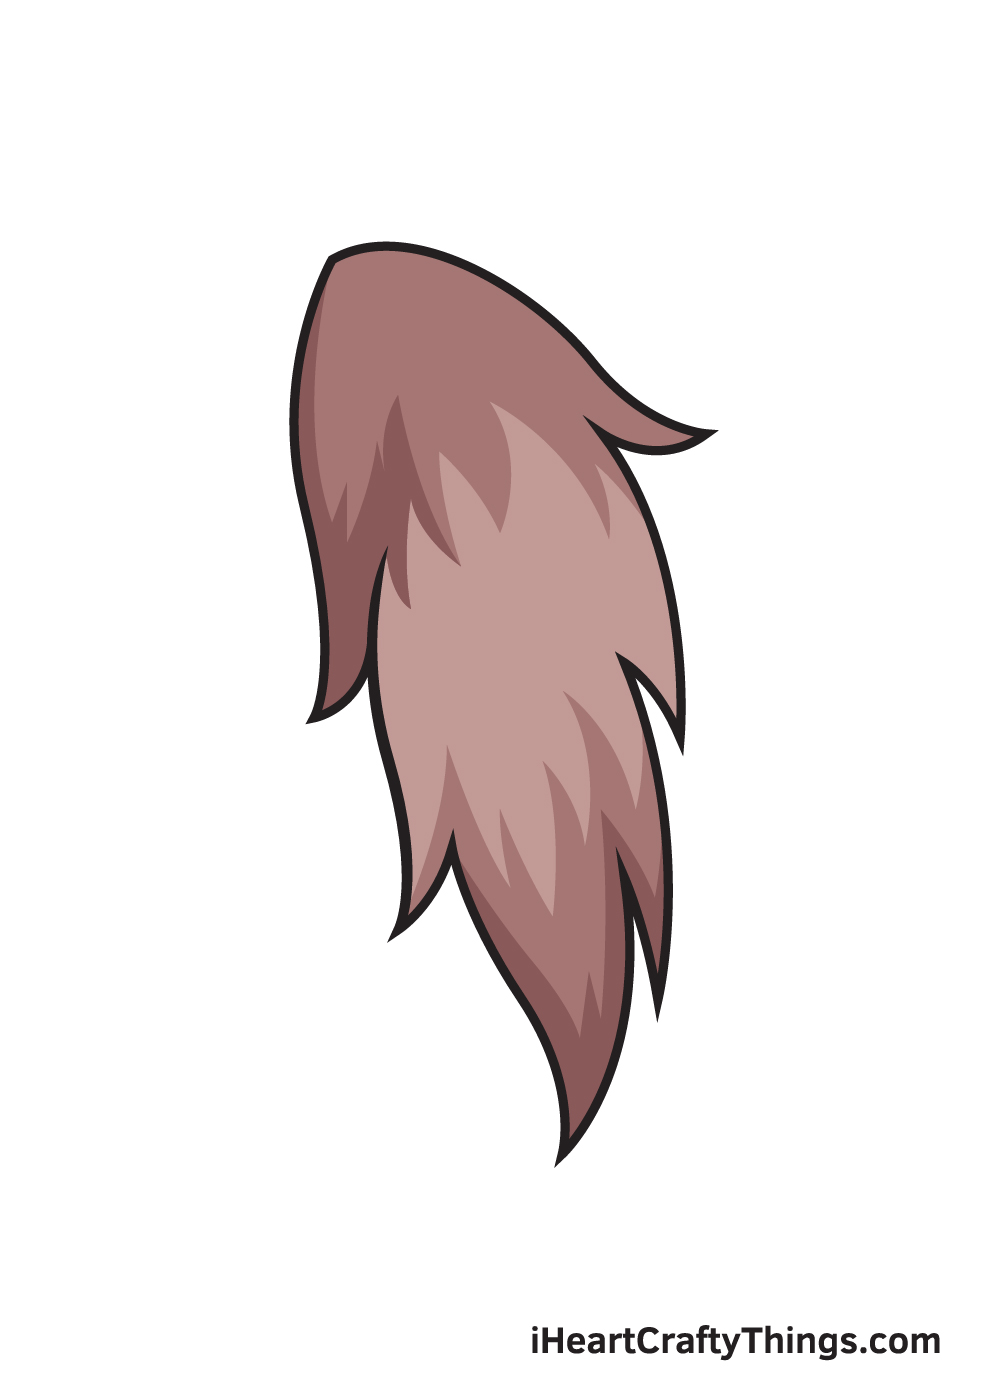
There you have ityou have successfully drawn a realistic looking fur!
Thus, you have complete freedom over which colors to use!
Feel free to use any color you like.
Have fun playing with colors and watch as the fur ultimately comes to life!
In this first tip, we would suggest adding it to an item of clothing.
For instance, you could use the fur as the tail of a raccoon hat!
These are just a few ideas, but what else could you add this fur to?
For a different angle to this drawing of fur, you could also add it to a living creature.
Or, maybe it could be a cute squirrel or even something as exotic as a red panda.
These are just some of the animals you could use!
Another angle would be to create your very own creature that could have this fluffy tail.
This would be pretty easy to do after you grab mastered this drawing!
This will also open it up to adding the tail to some larger animals or items of clothing.
Lastly, you could experiment with different crafts and art tools for make this image even more interesting.
These could include more standard art tools such as paints, colored pens or markers.
If you wanted to really make it stand out, then there are other ideas to try!

That would make the drawing fun to touch as well as look at!
Your Fur Drawing is Complete!
We hope you enjoy this step-by-step fur drawing tutorial.

We have a lot of drawing tutorials of different kinds of animals.
So, go ahead and check out our How to Draw catalog to explore exciting drawing tutorials!
What kind of animal would you like to draw?

Dont forget to show off your masterpiece once youre done drawing and coloring a fur!
Take a photo of your colored drawing and post it on our Facebook page and Pinterest.
Dont be embarrassed about your artwork, were sure it looks impressive!

Also, youve worked hard for it, so its absolutely worth sharing!
We cant wait to see your fluffy fur drawing!
More From:How to draw
Printable Bubble Letters A Complete Guide!


