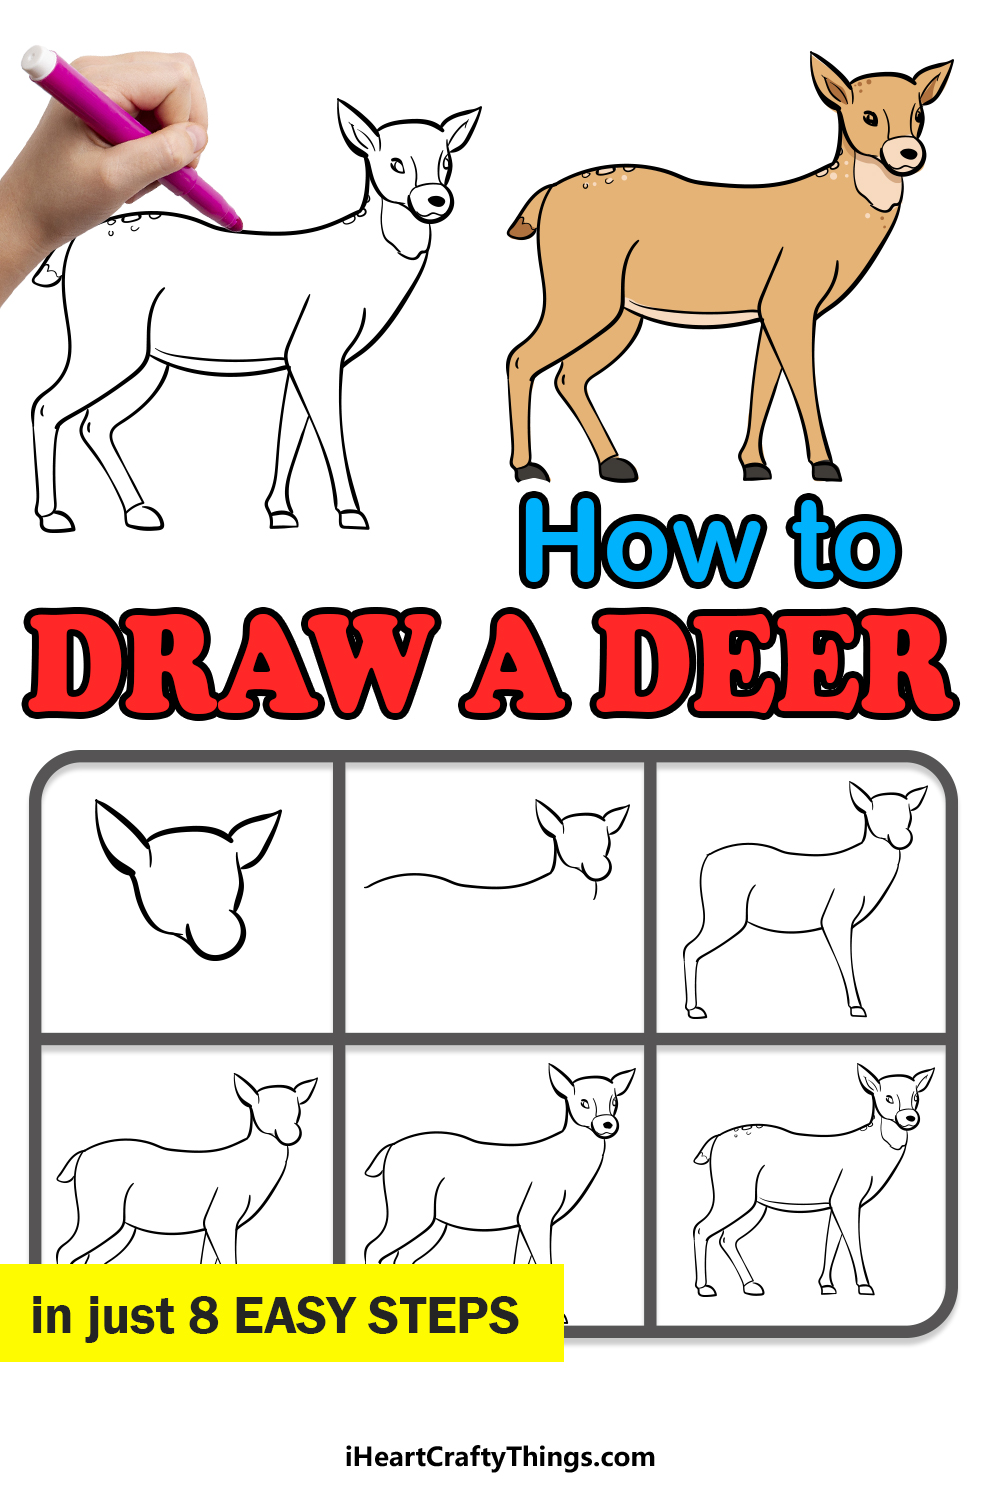
Deer Drawing in just 8 Easy Steps!
In this tutorial, well focus on drawing a cartoonish deer without antlers, perfect for kids and beginners.
With easy-to-follow steps, youll be able to create your own deer drawing quickly and with confidence.
The video below will walk you through the process, making it even easier to follow along.
Simple Deer Drawing: Step-by-Step Cartoon Tutorial
How to Draw A Deer Lets get Started!
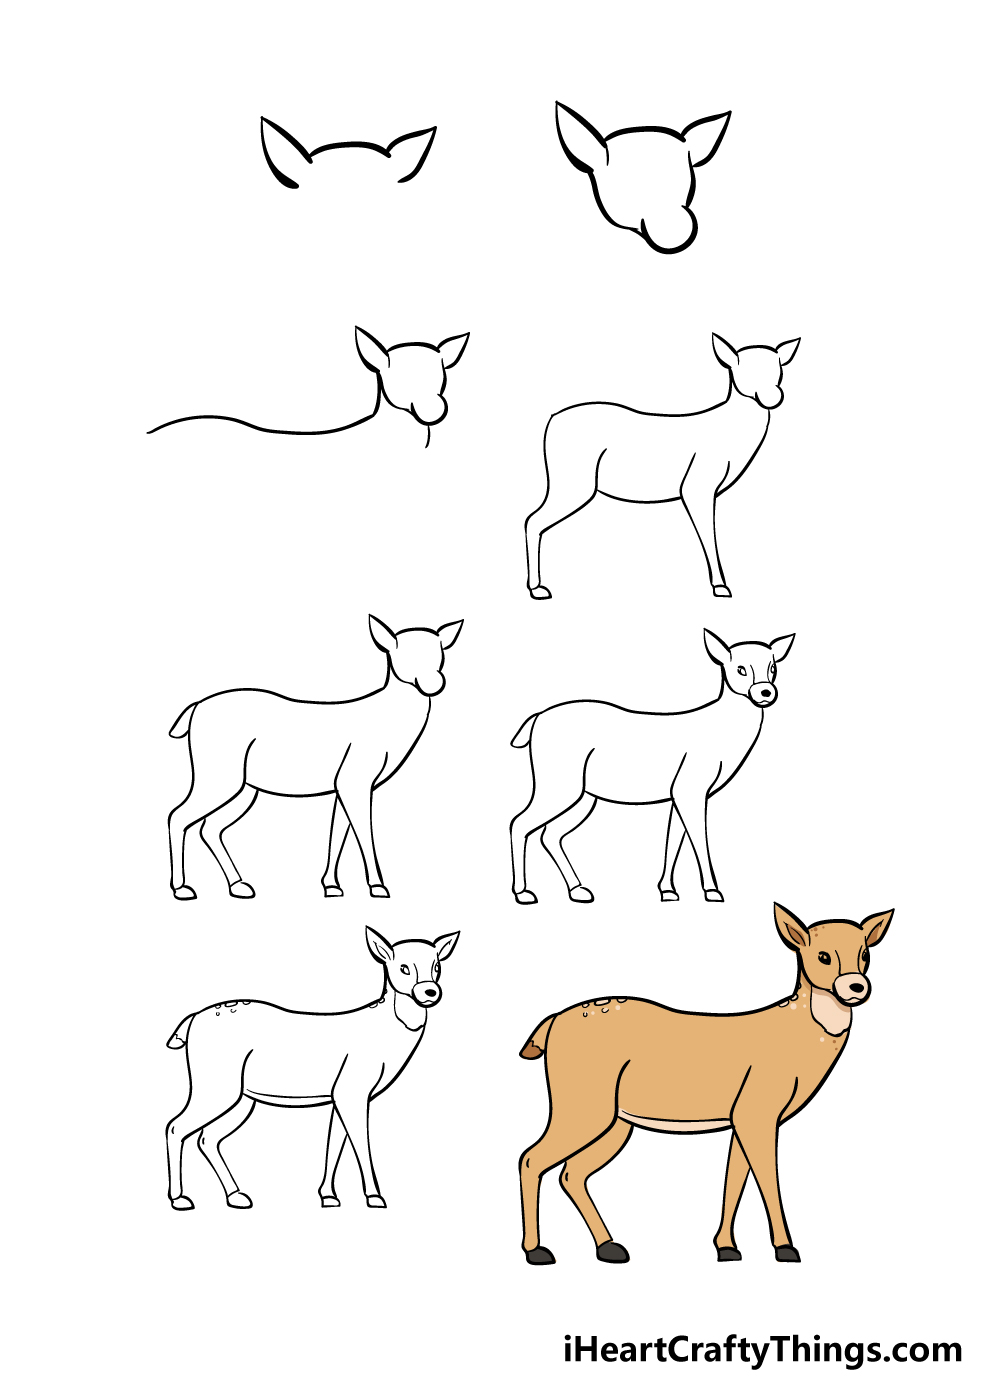
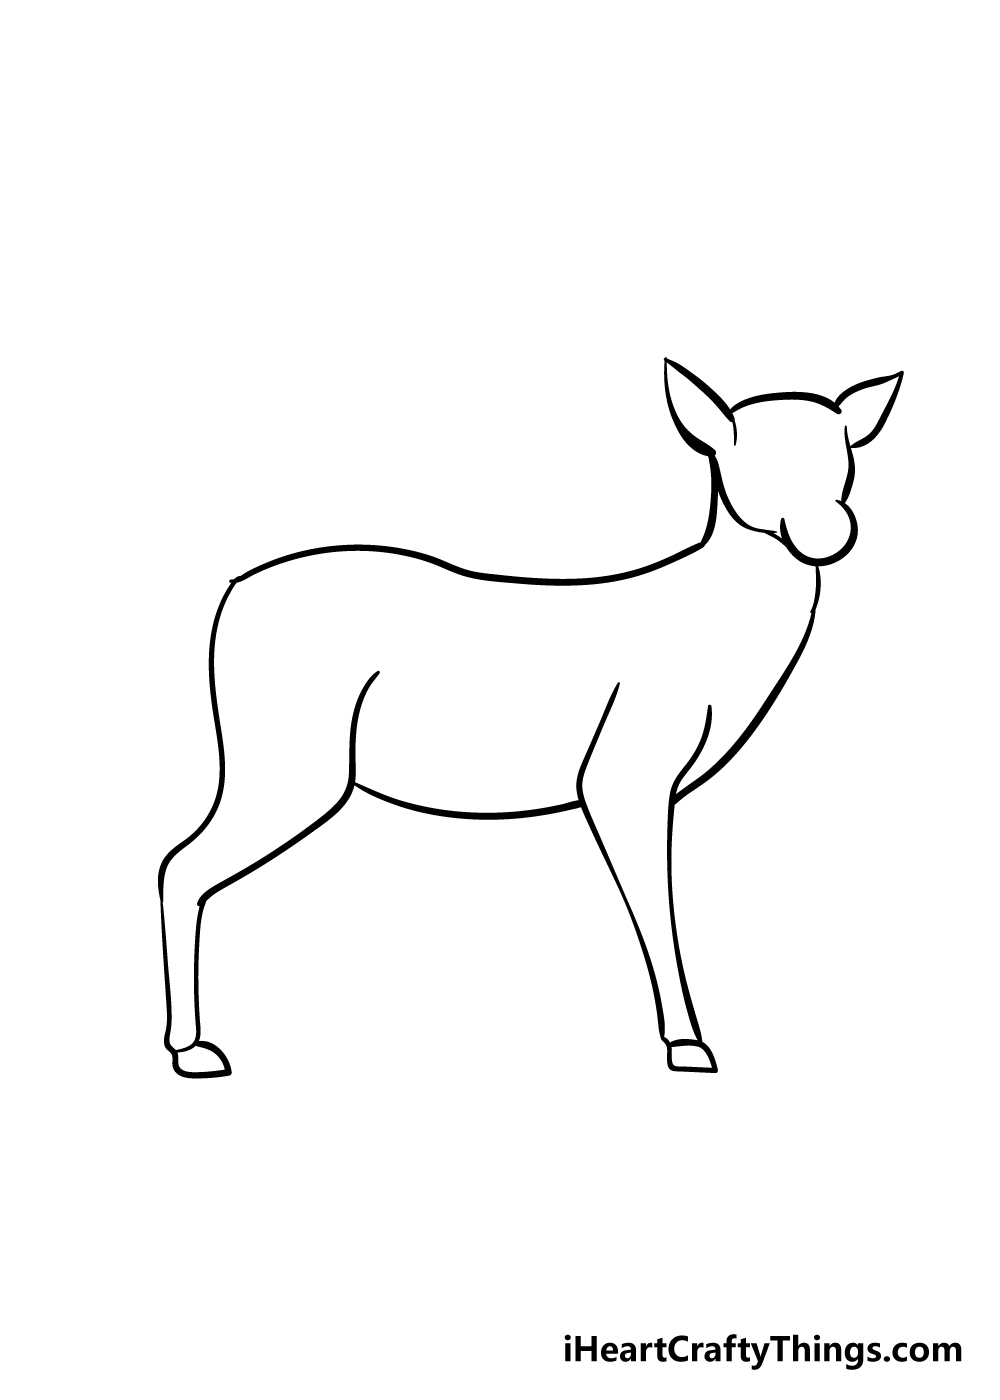
Deer have cute, pointy ears, and we shall start with them for this step.
Using a rounded line between them will form the top of the head.
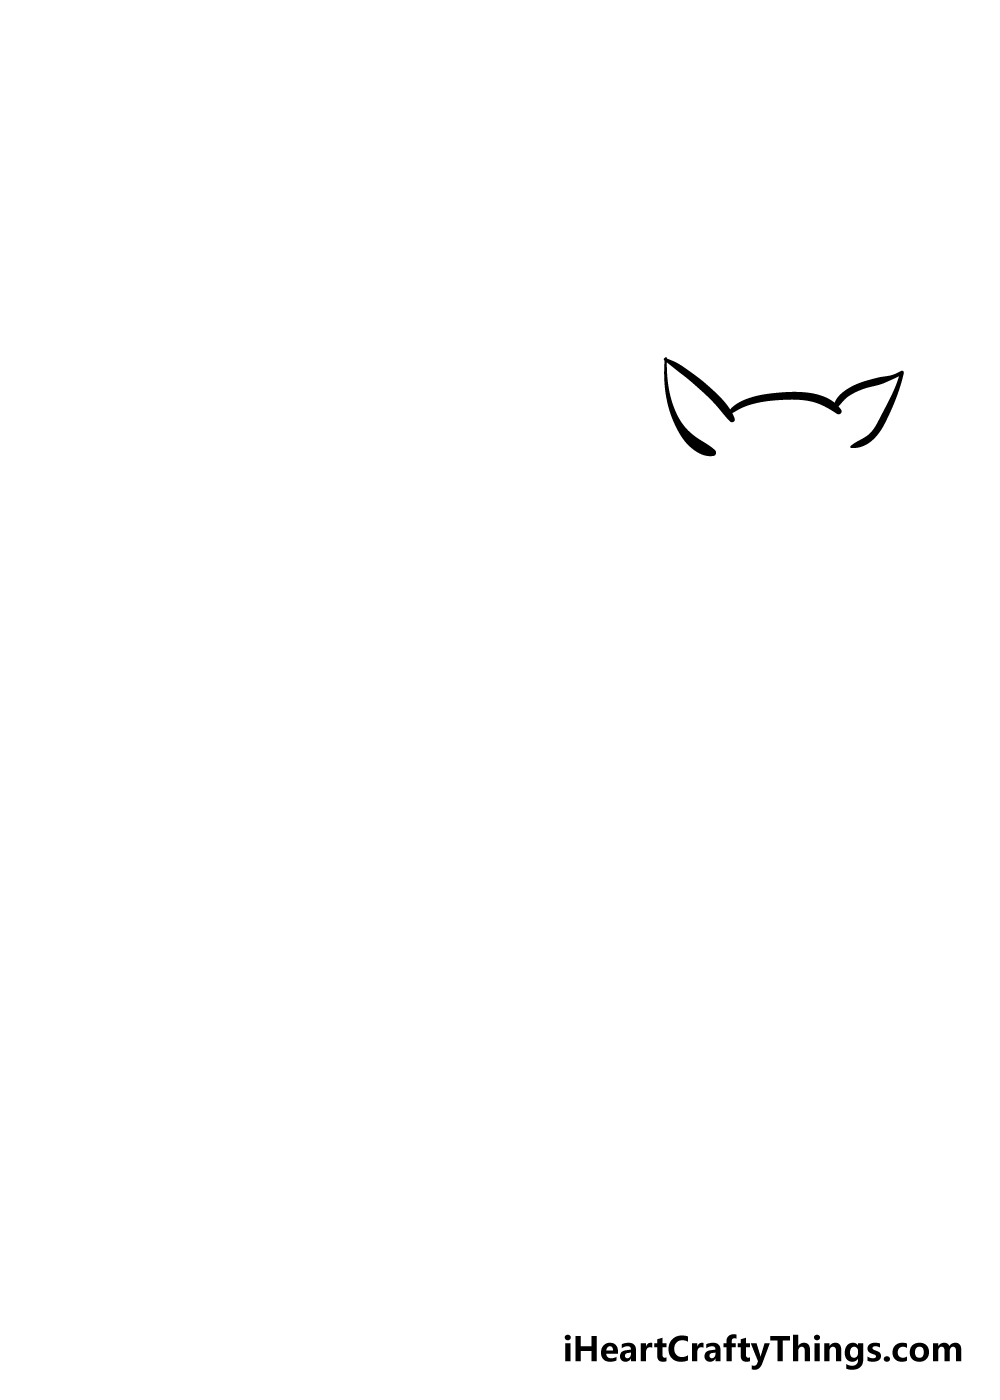
Carefully draw in some more angular shapes to form the main outline of the head.
We will be adding the muzzle of the deer into that more rounded area shortly.
For this step, we shall be adding more to the body of the deer.
The legs are thicker at the top and then get more angular as you go down.
The reference image will help you a lot with getting the shape right!
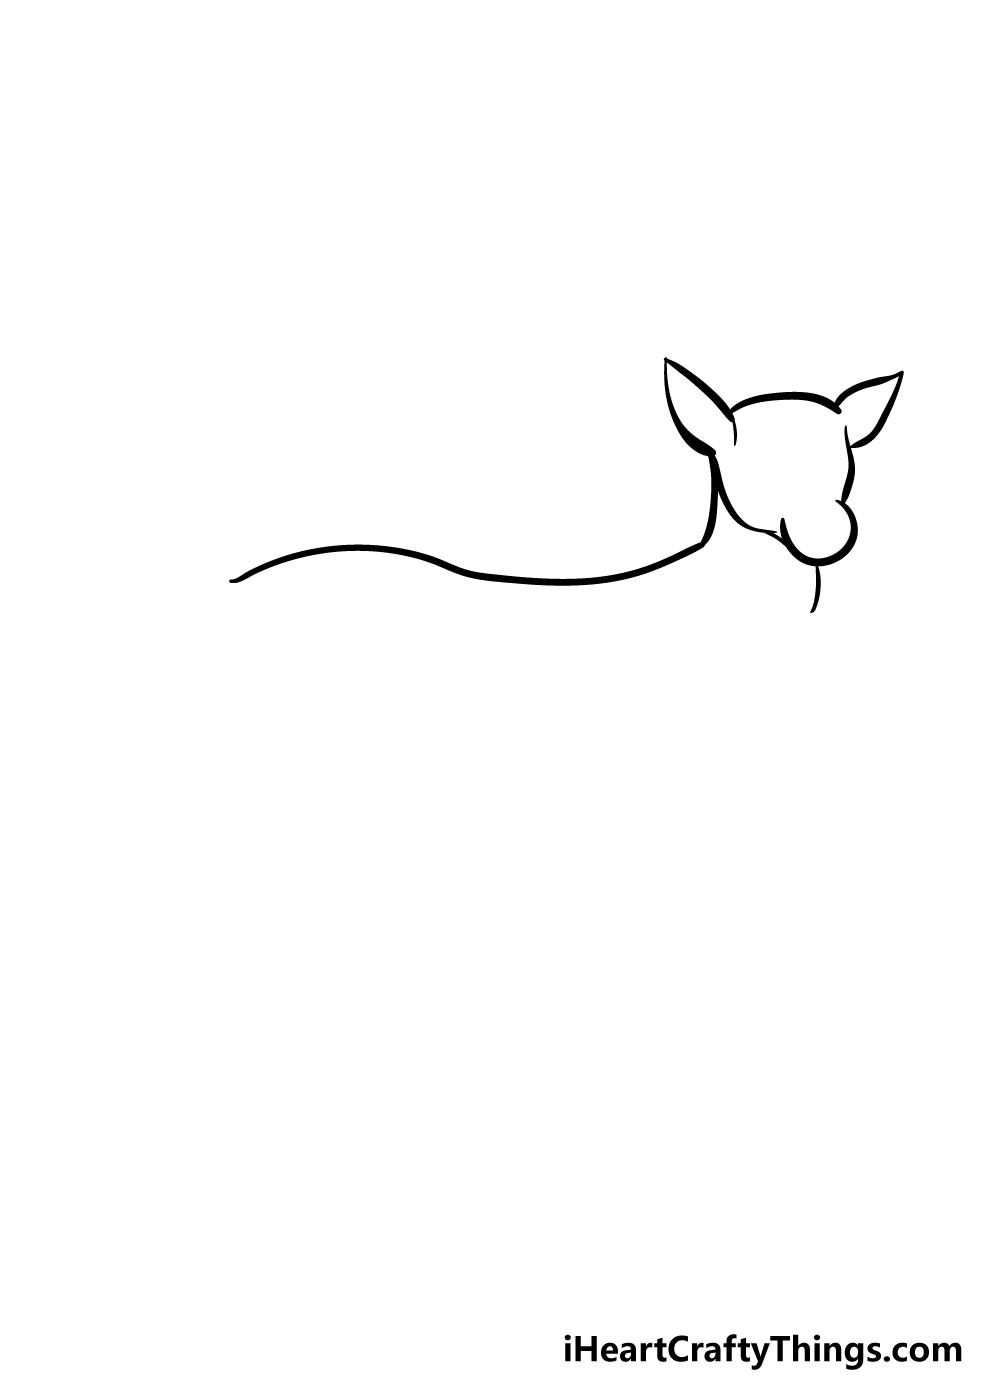
Then, use a curved line to create a small tail for your deer drawing.
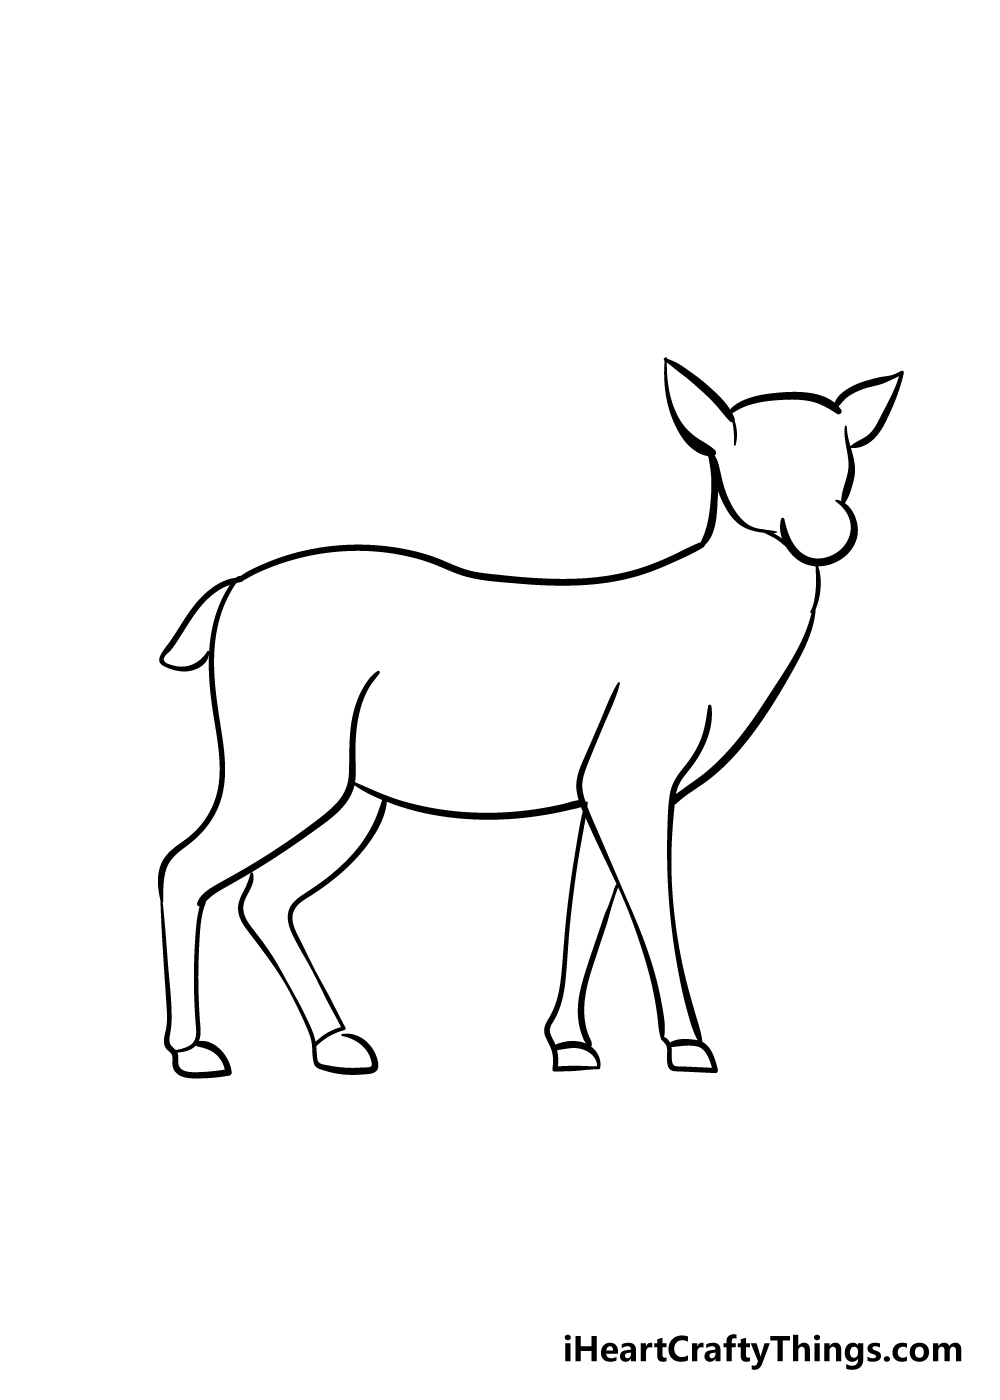
The eyes for the deer are quite small, and they sit on the sides of the face.
you might then draw in the mouth portion with a curved line under a solid, black nose.
The nose and mouth will be in the rounded area of the face that you left earlier.
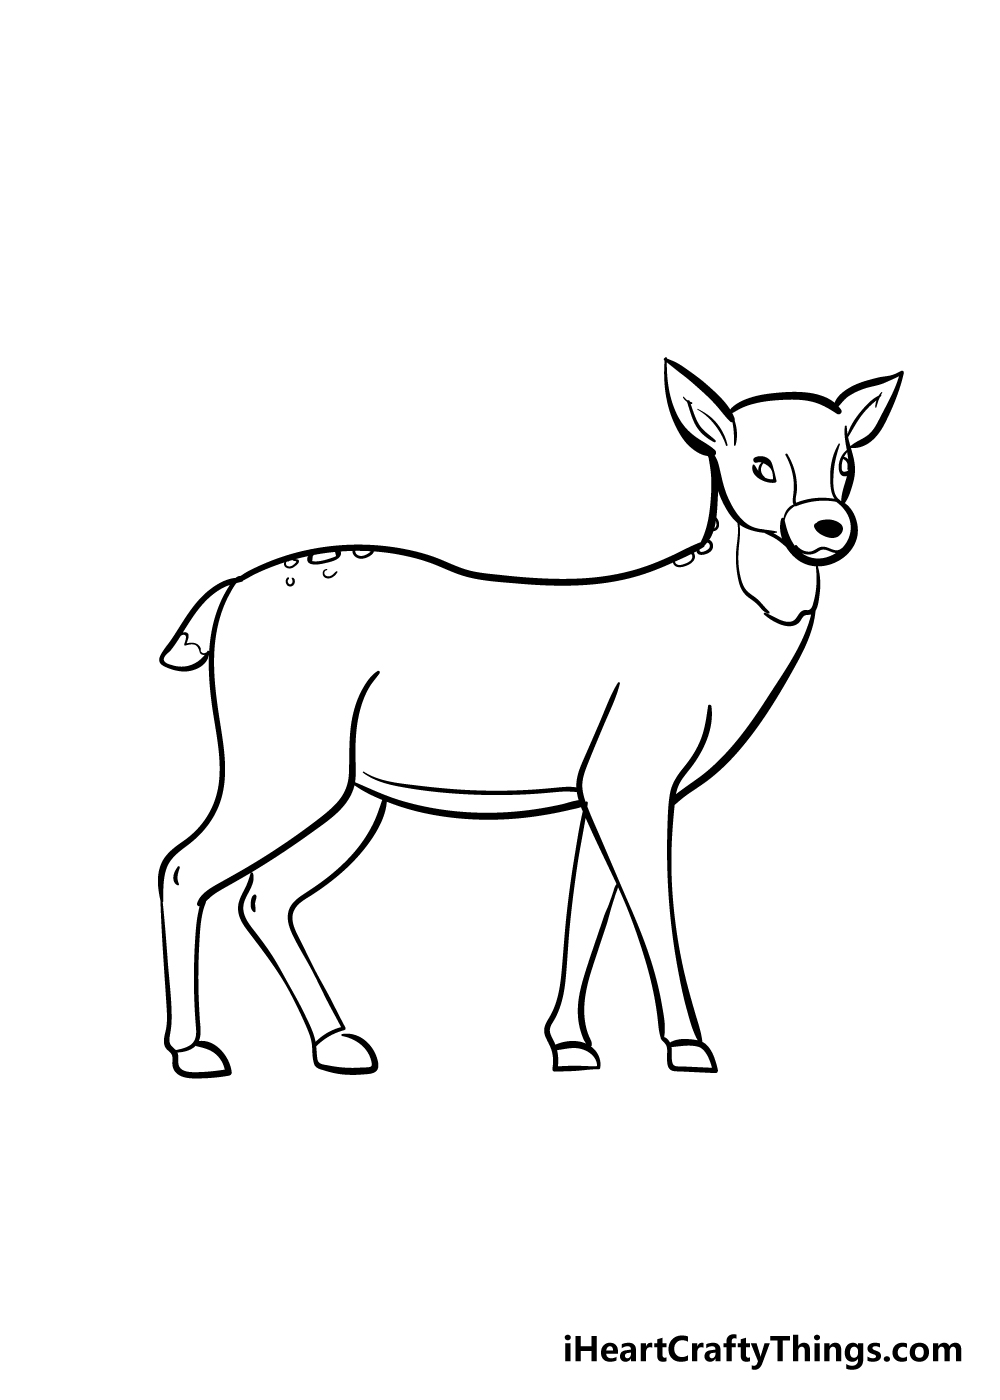
These are the details we would add, but what else do you think youll add to it?
One of the first ideas that came to mind was to give this deer some antlers.
This is clearly a female deer, but adding some antlers would give it a whole new look!
You could even draw a second deer that has antlers to create a pair.
you’re free to find pictures of antlers online that could help you as you draw.

We would also recommend drawing them lightly with a pencil before you add the final lines.
This way you might get a hang of it before you commit to the actual antlers.
It would also be adorable to add a little deer calf along with these adult deer.
This could also be drawn as a slight variation on the deer that you drew in this guide.
For example, it could have its head lower as it grazes or eats from a bush.
Now we pose the question of how you would like to personalize this drawing.
What are some details that you could add to make it more personalized?
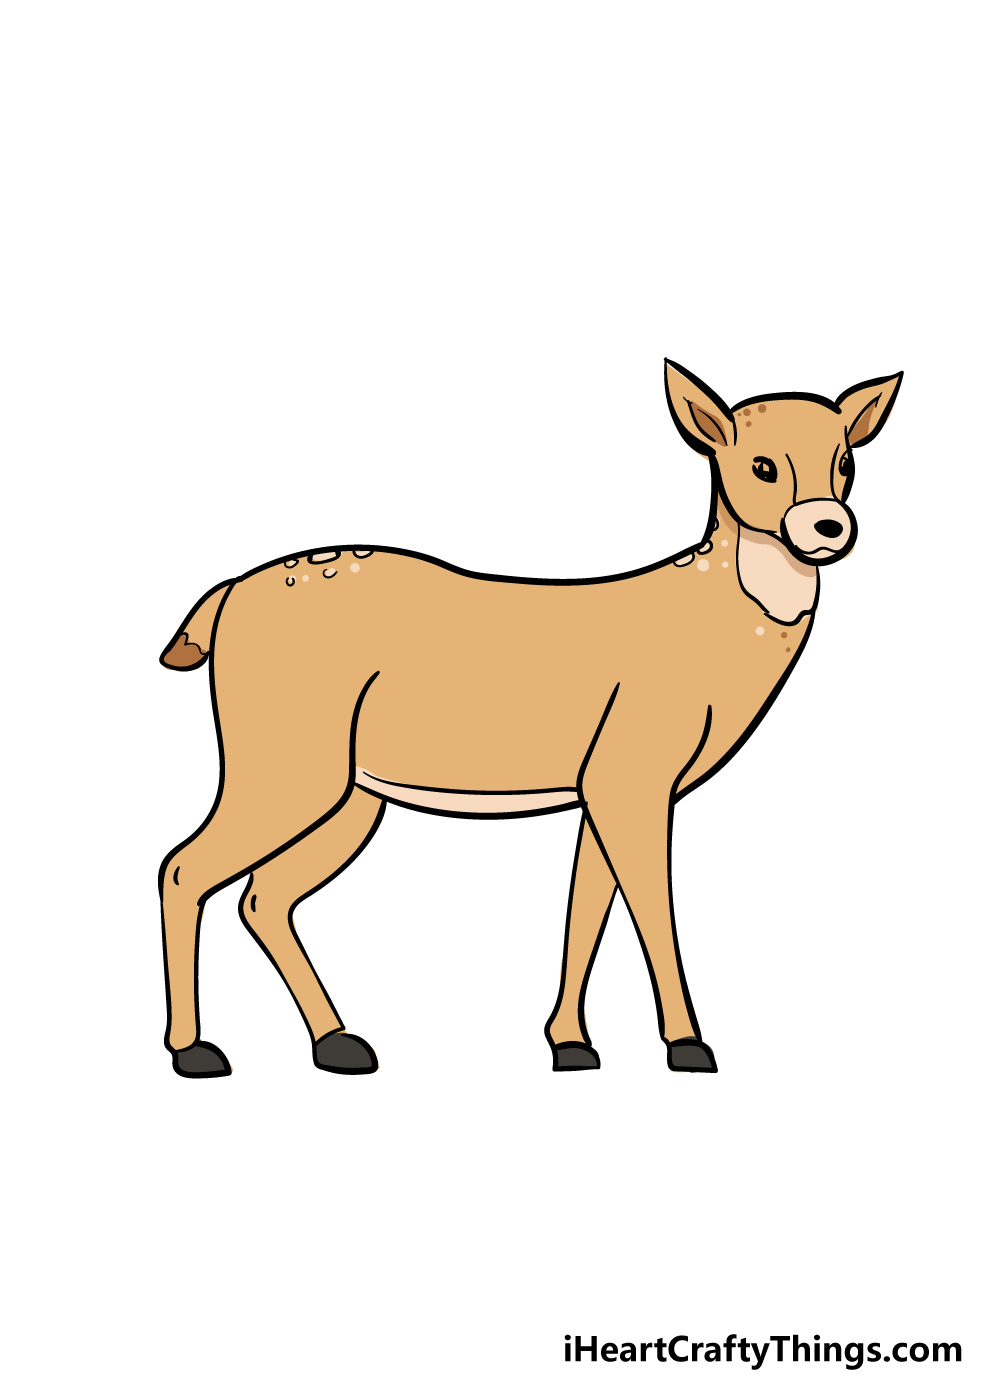
Now that youve successfully drawn a cute deer, all that remains is to color it in.
If I were coloring in this image, I would use some watercolor paints for a more muted look.
Will you draw in a background?
We cant wait to see how you finish it off!
3 More tips to make your deer drawing easy!
Make this easy-to-draw deer even easier with these 3 fun and simple tips!
That way you could use our picture and these photos together to make it so much easier.
Or, you could use these photos to draw a deer in a different pose!

If you wanted to create a male deer with antlers, then this could also help with that.
when you’ve got these shapes, then you’re able to start adding some details.
Keep adding layers of detail until youre ready to draw the final lines with your pen.

Your Deer Drawing is Complete!
You set out to learn how to draw a deer, and you succeeded!
We designed this guide to be informative but also to be a lot of fun!

Now it’s possible for you to decide on some awesome extra details!
Here Is A Cute Deer Drawing To Inspire You!
To make the drawing even more special, he also added some background details to create a scene.

Adding more characters would also be fun!
More From:How to draw
Printable Bubble Letters A Complete Guide!


