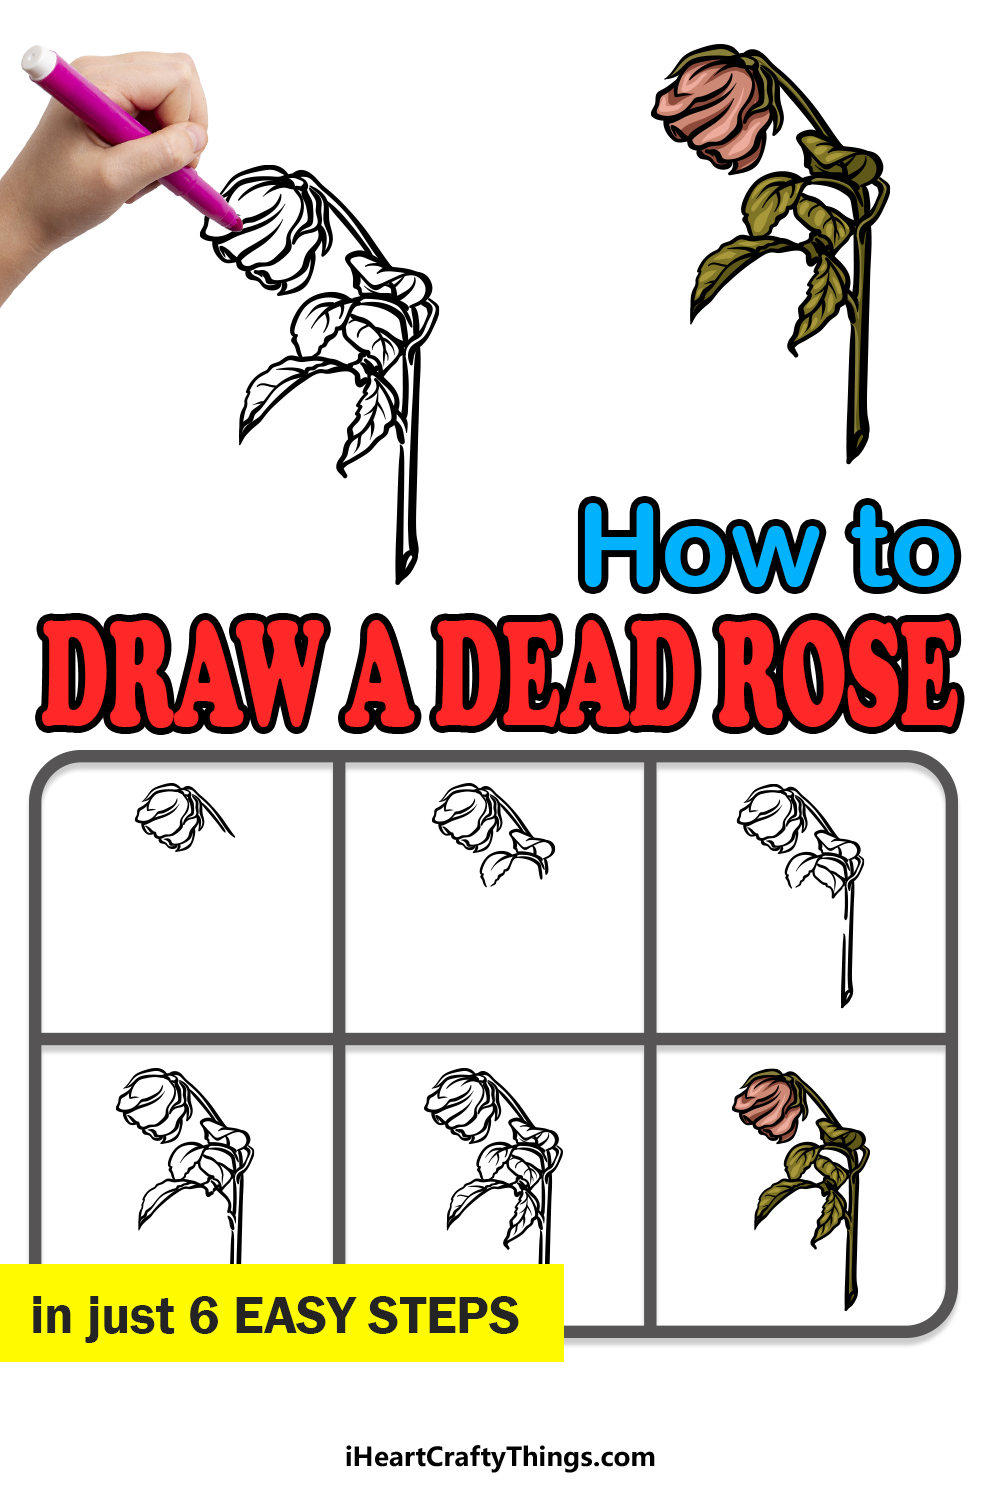
Dead Rose drawing in just 6 Easy Steps!
How to Draw A Dead Rose Lets Get Started!
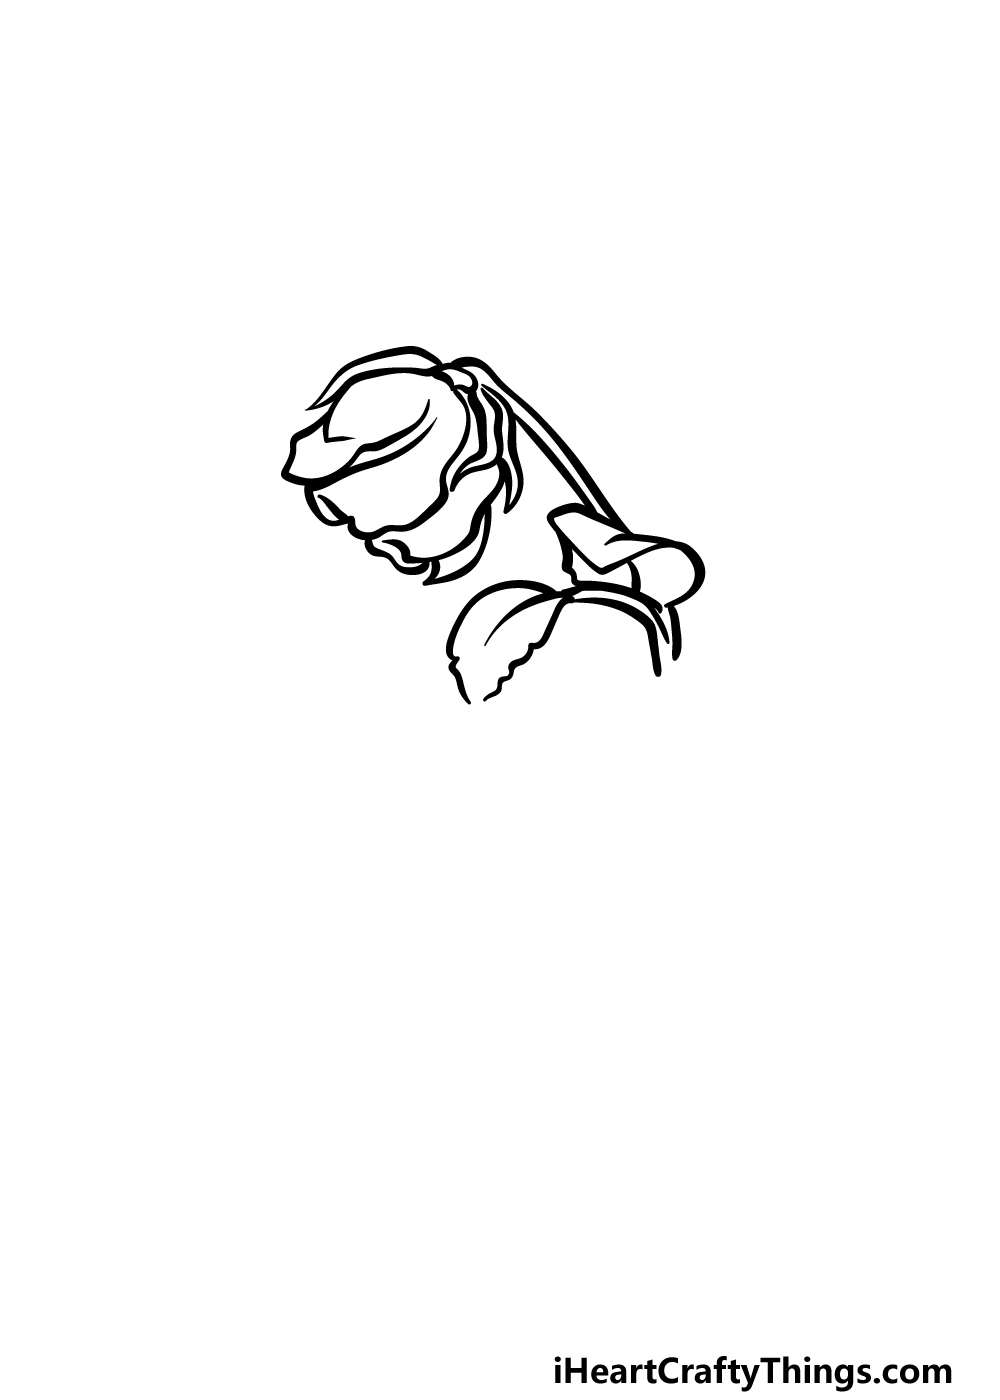
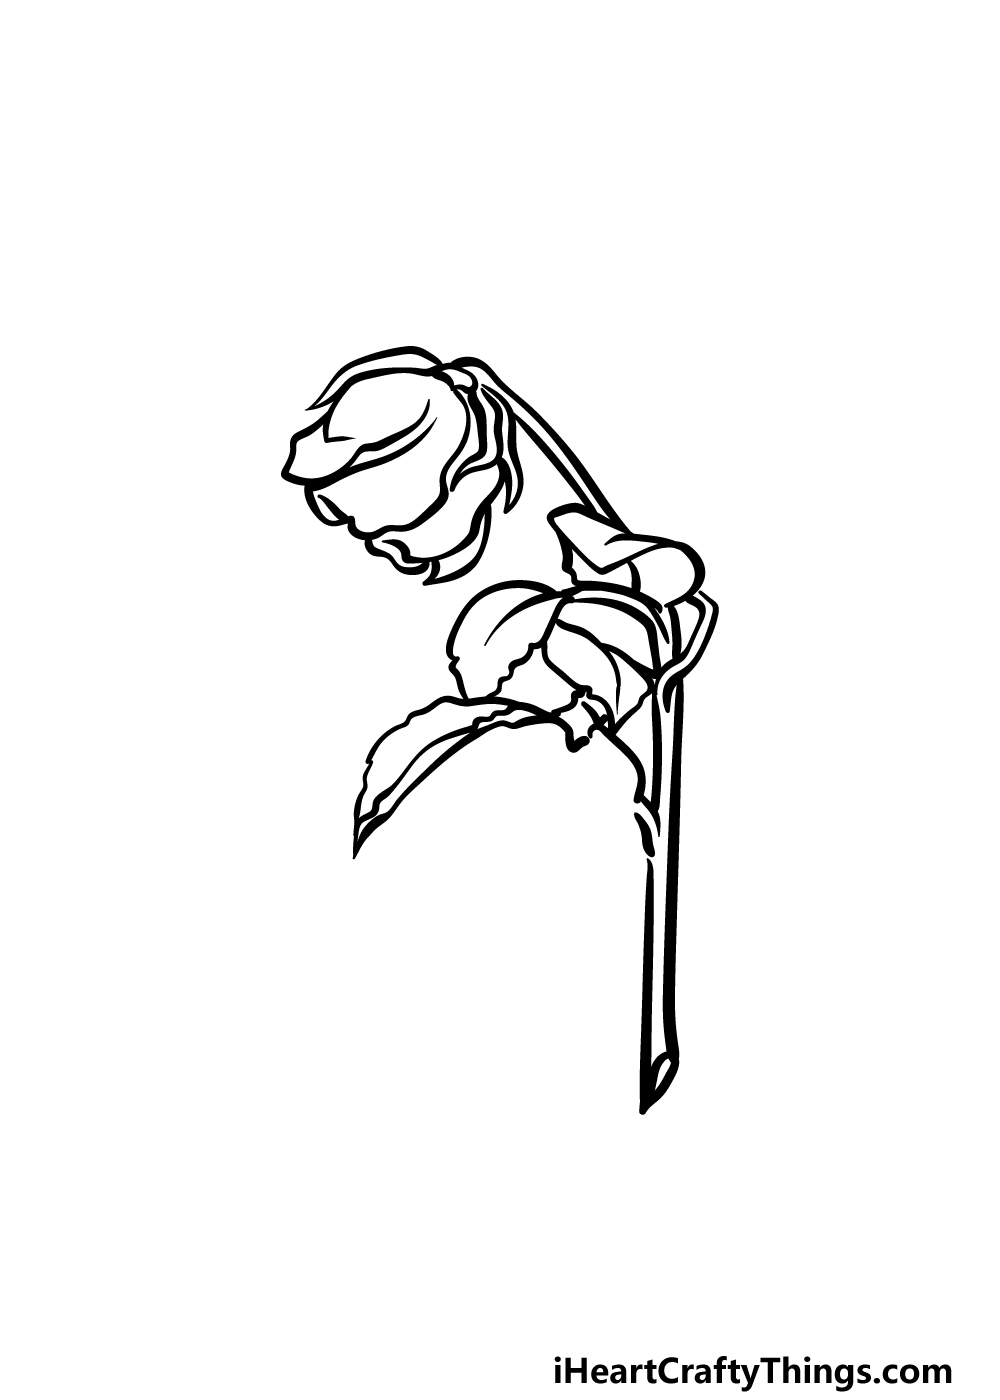
It will also be angled so that the head of the rose is drooped over and facing the floor.
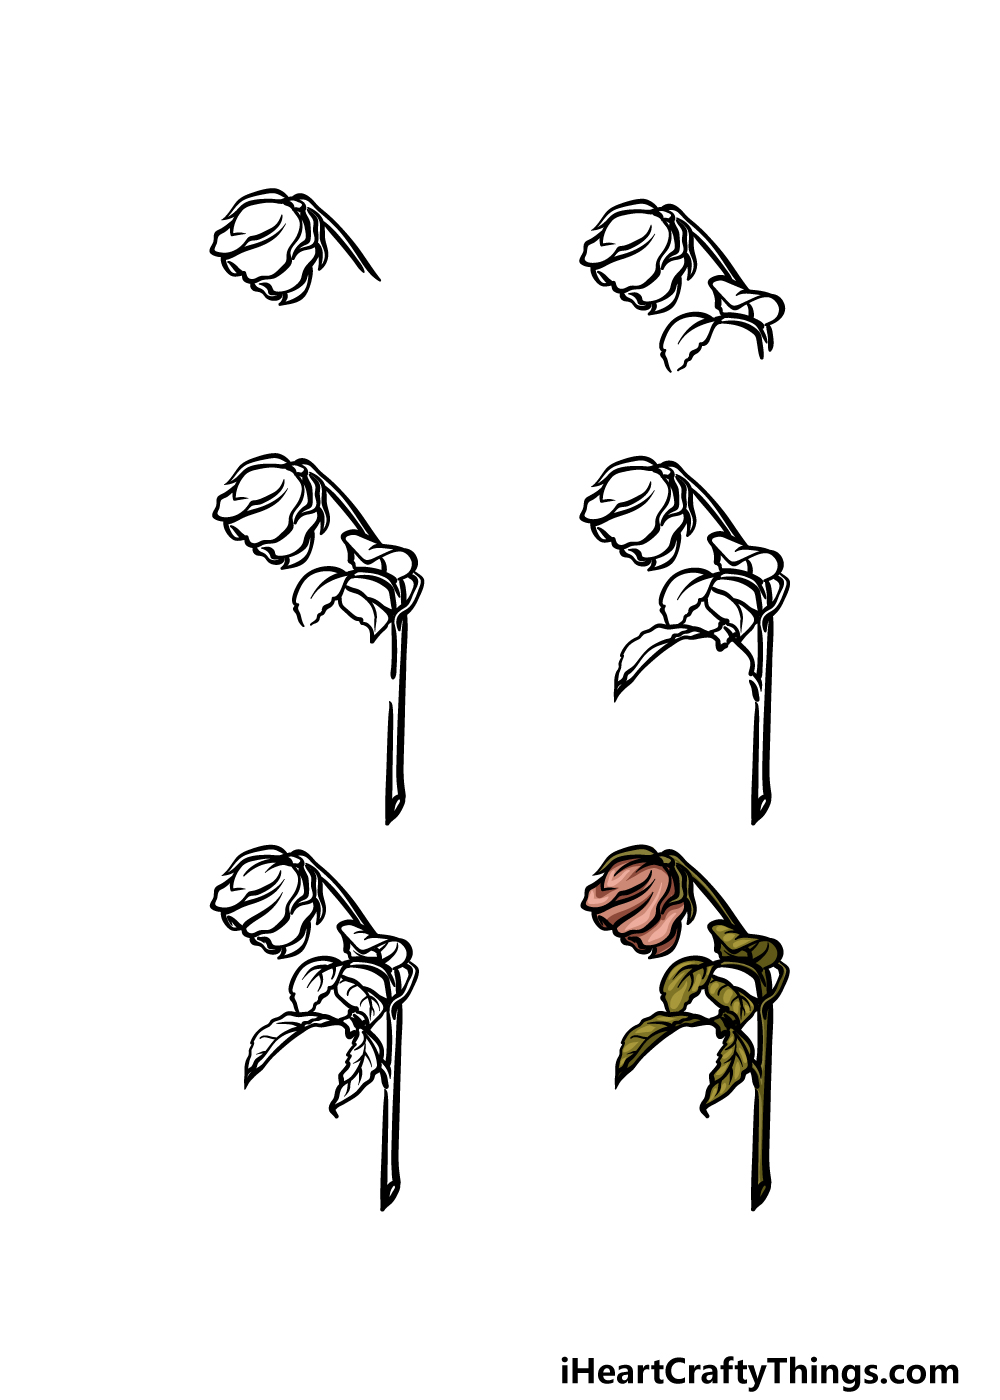
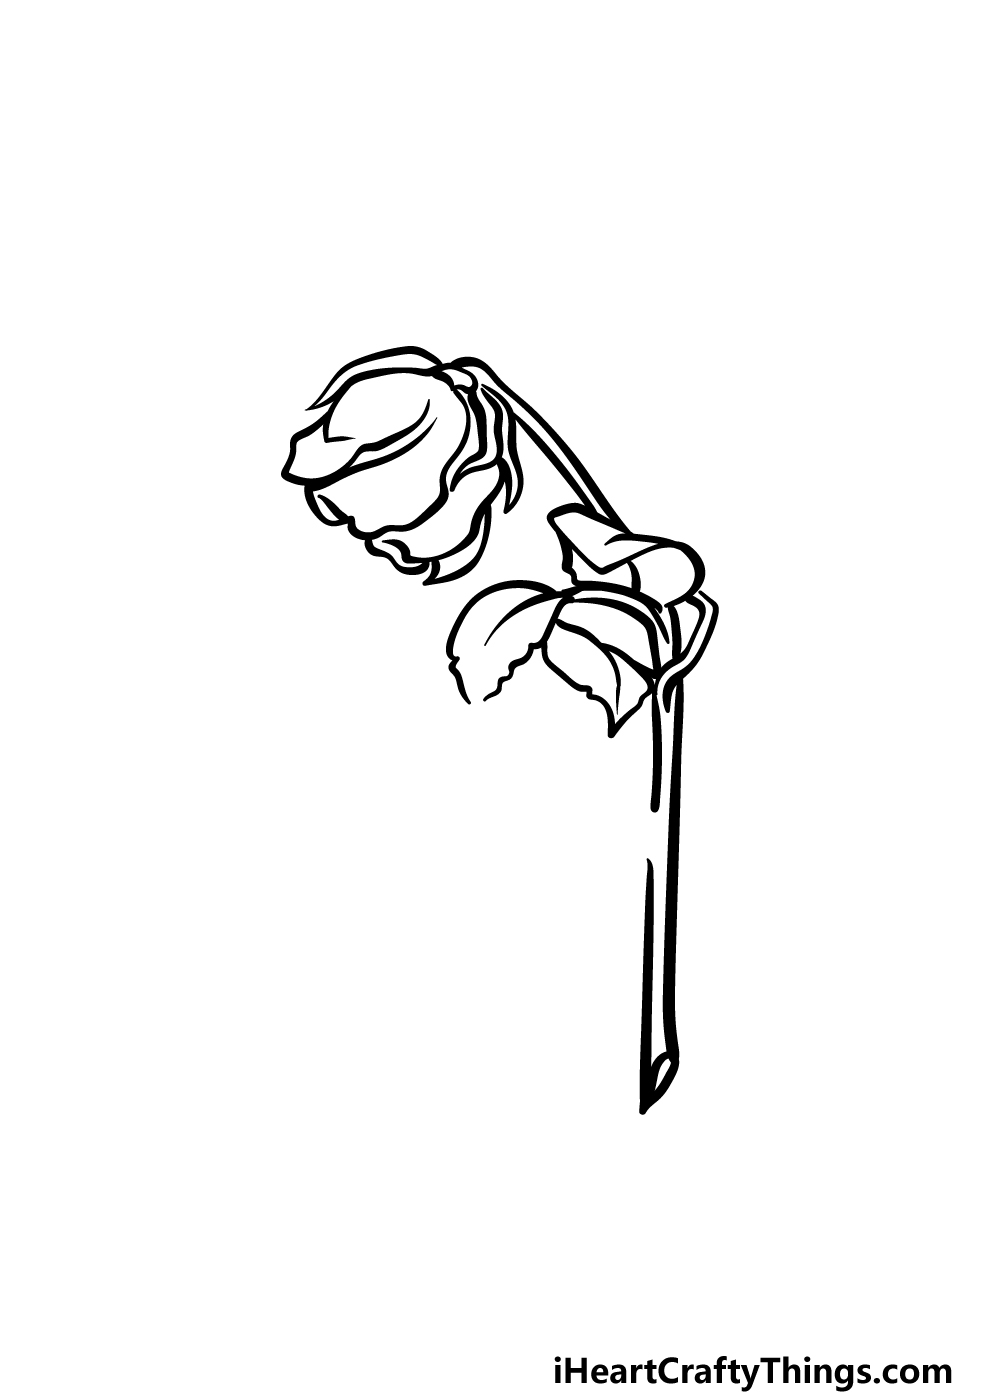
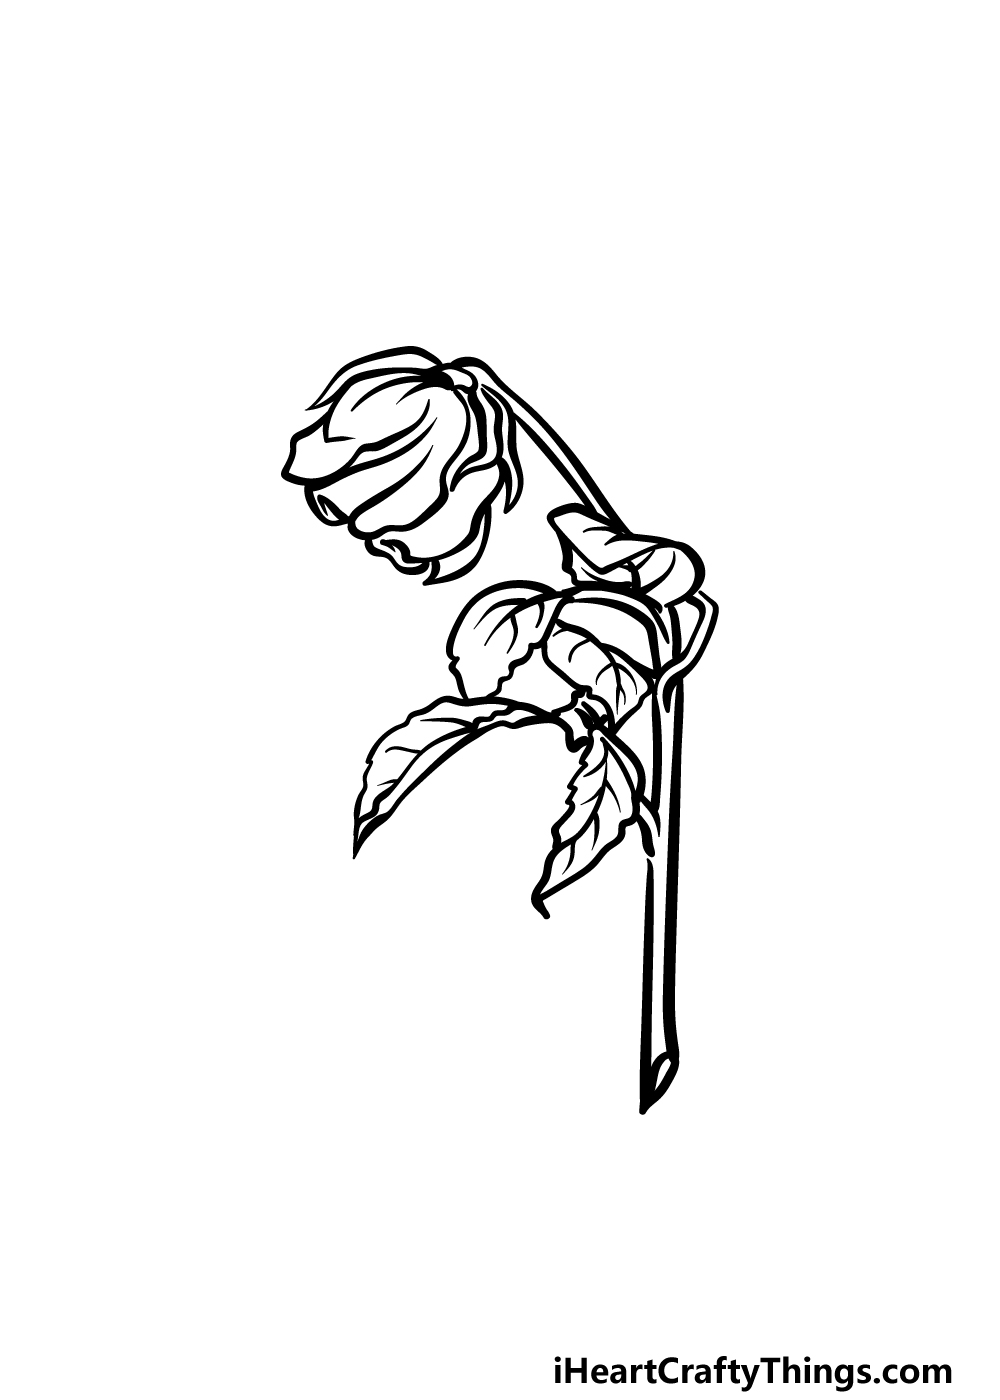
Finally, we shall start drawing the stem of the dead rose.
First, draw another thin leaf stem using some more curved lines.
Once that is drawn, we just have a few final details to add!

Then, add some more curved lines onto the head of the rose to finish off that aspect.
Once all of these details are drawn, you could also add some of your own!
Can you think of any extra touches or background details to add?
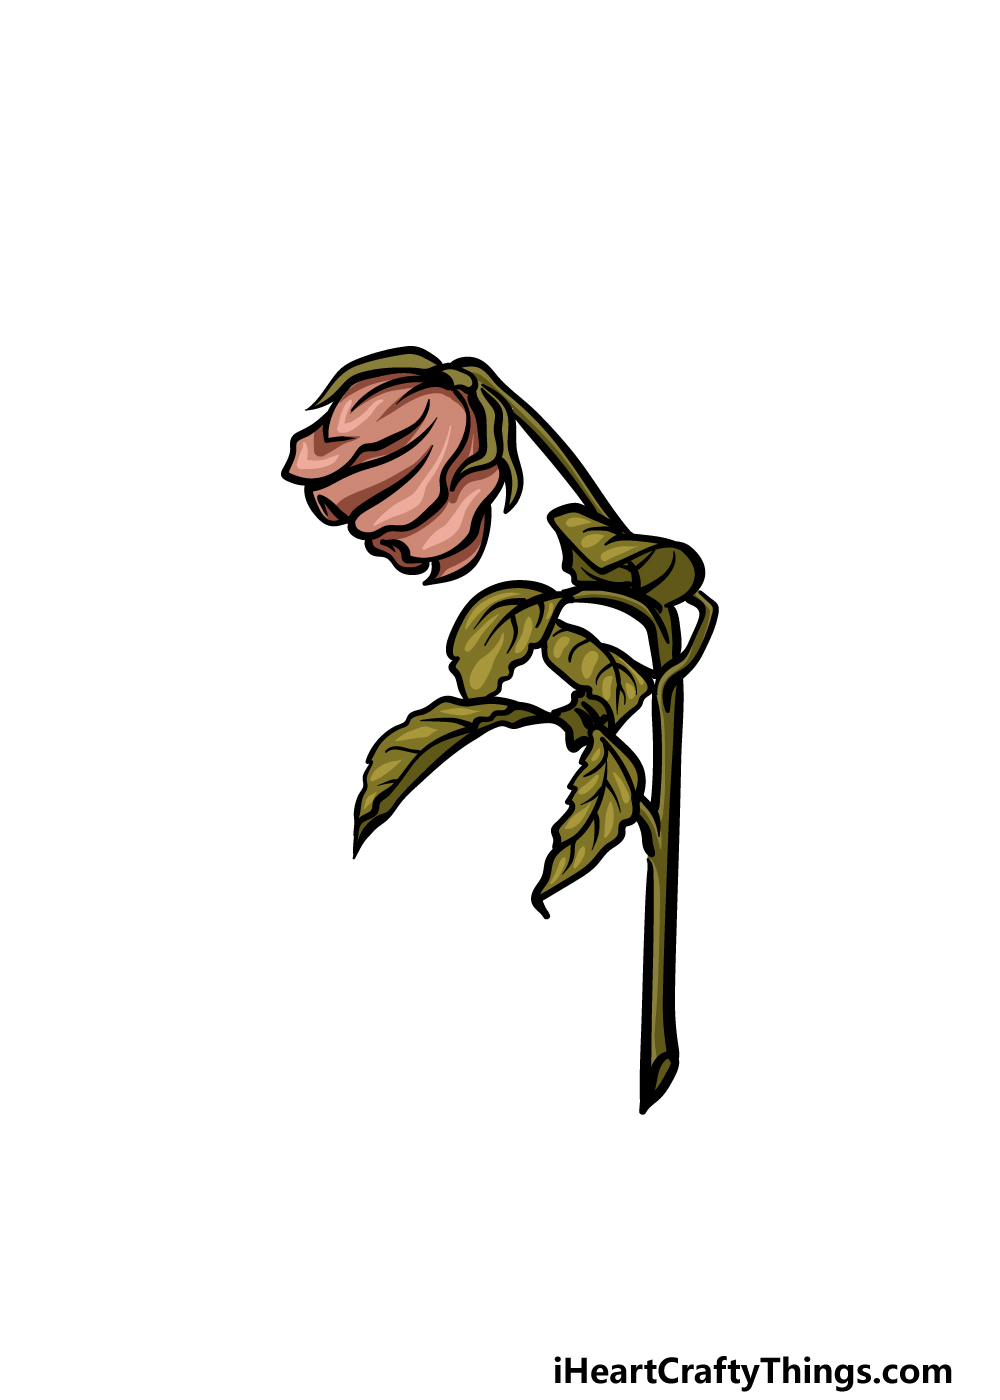
You could also change up the colors if you would like a different look for your own picture.
Choosing your art mediums is also a great way to get some color variation.
We would suggest some watercolor paints for this particular picture, but anything you use will look great!
This would be a great way to create an interesting contrast.
What are some flowers you could add to this picture?
First, pick off the dried petals from the real flowers.
Then, you could paint a thin layer of glue over the flower in your drawing.
Then, sprinkle the petals over the glue and you will have some real texture on your image.
What other creative ways could you color this drawing?
You could also draw an interesting background for your dead rose sketch to finish it off.
What other locations could you use?
Your Dead Rose Drawing is Complete!
Hopefully this was the case for you and you could concentrate on the fun of drawing!
We hope to see you there often, as more drawing guides are incoming soon.
More From:How to draw
Printable Bubble Letters A Complete Guide!