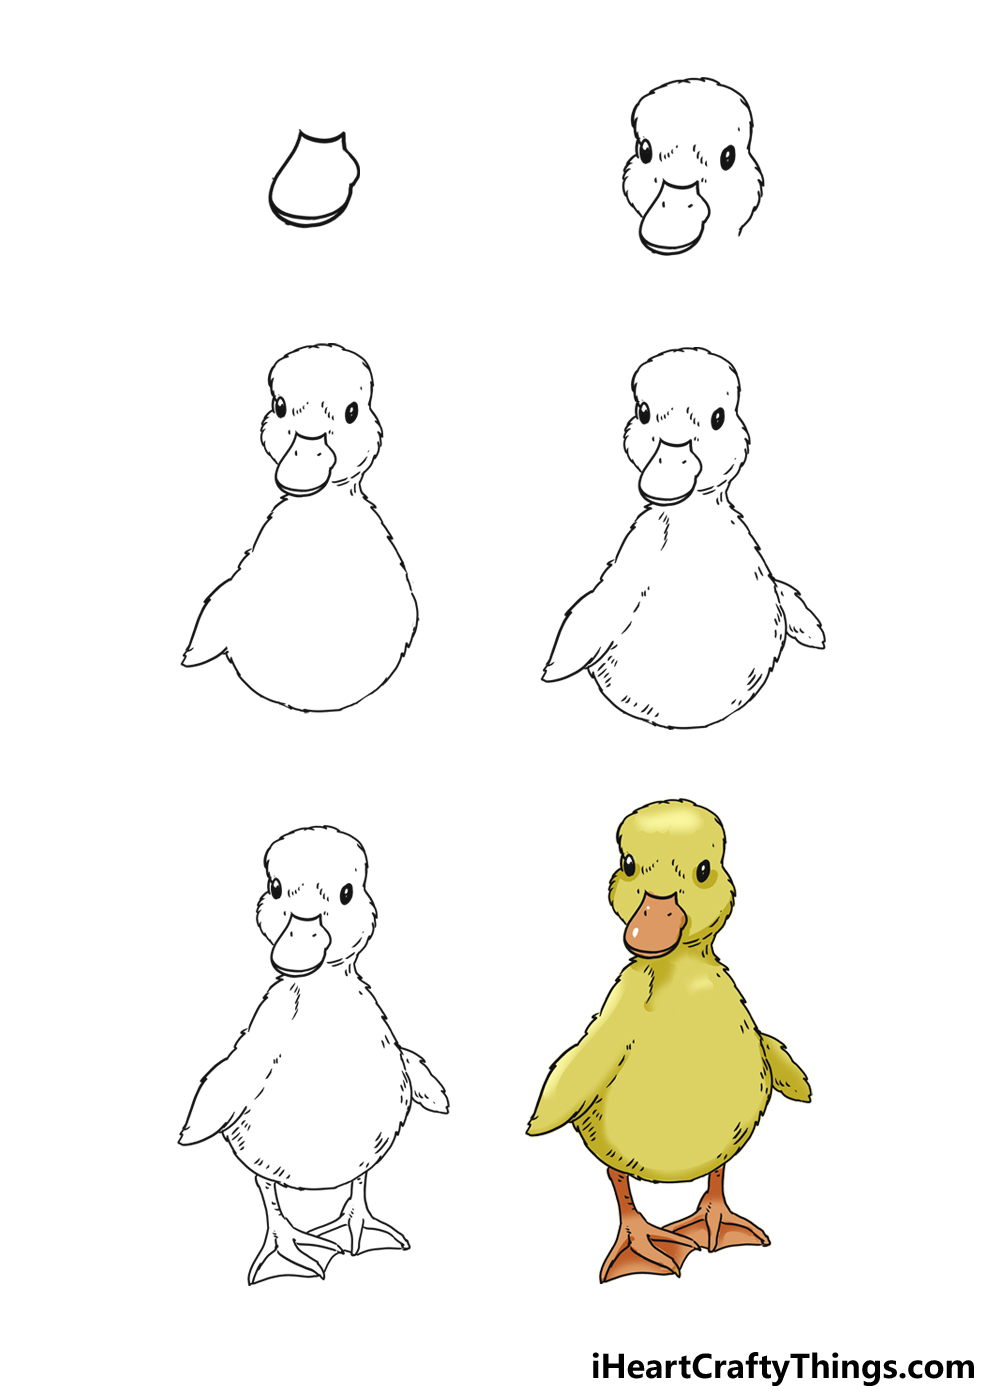
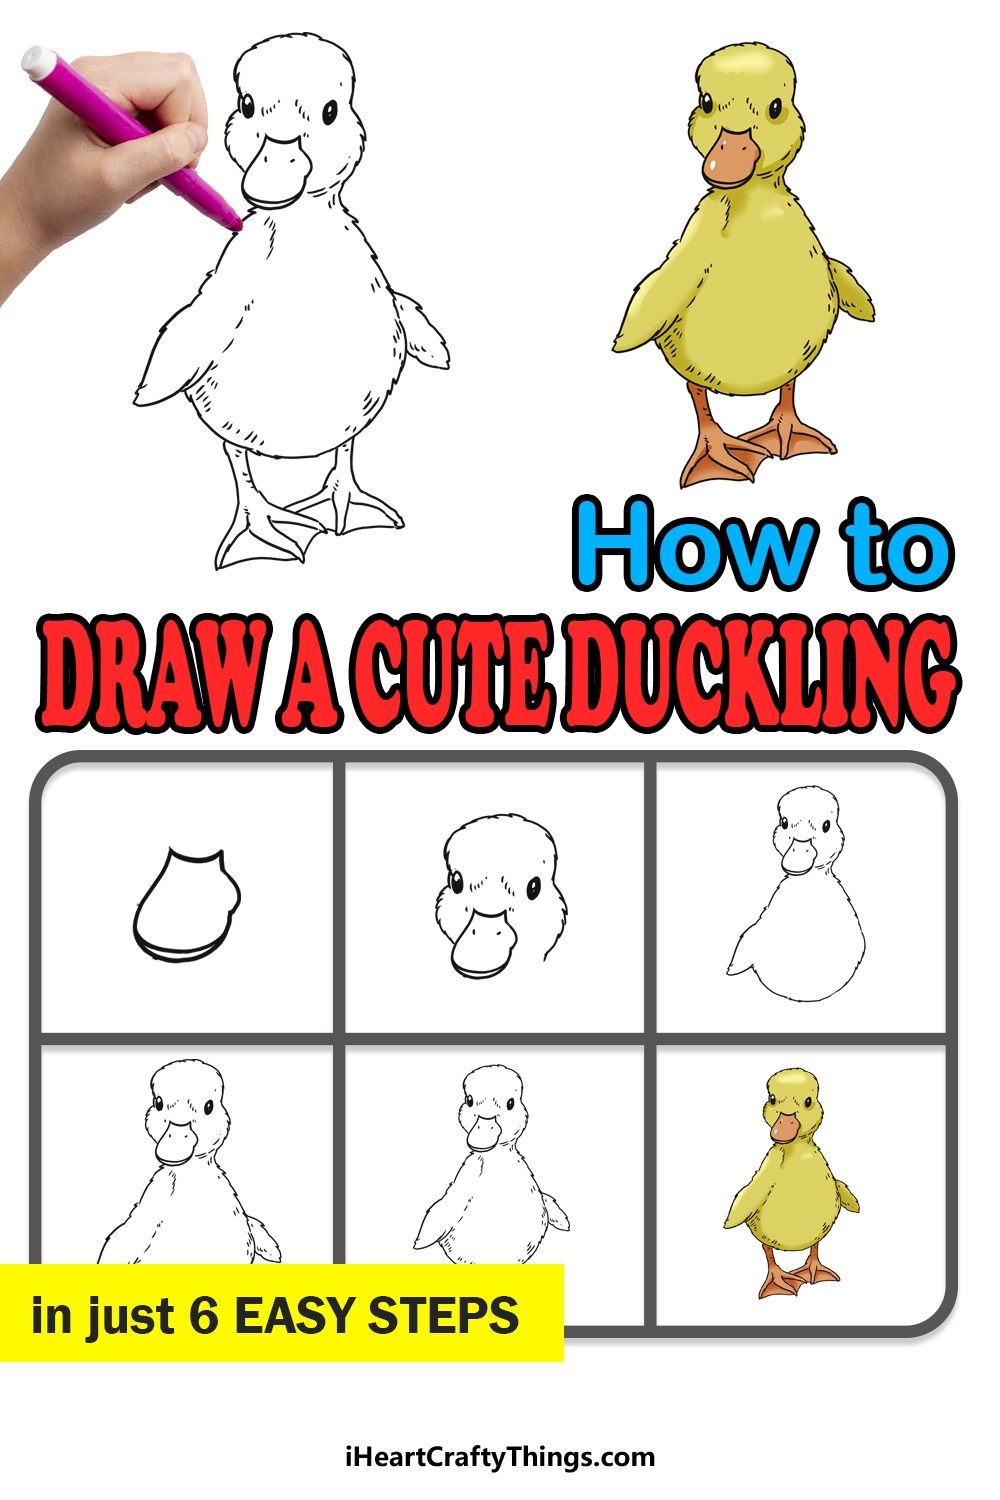
Cute Duckling Drawing in Just 6 Easy Steps!
Learning how to draw a cute duckling has never been easier thanks to this guide for kids!
Discover the easiest way to make this adorable character.
Ducklings are just too sweet.
Im not alone in this, as many people love ducklings.
Once its done, you could then add any ideas and background elements you might think of!

That is to say that a ducks beak is probably its most recognizable feature.
It seems fitting that we will begin this guide with the bill of the duck.
you could start with a slightly curved vertical line at the top of the beak.
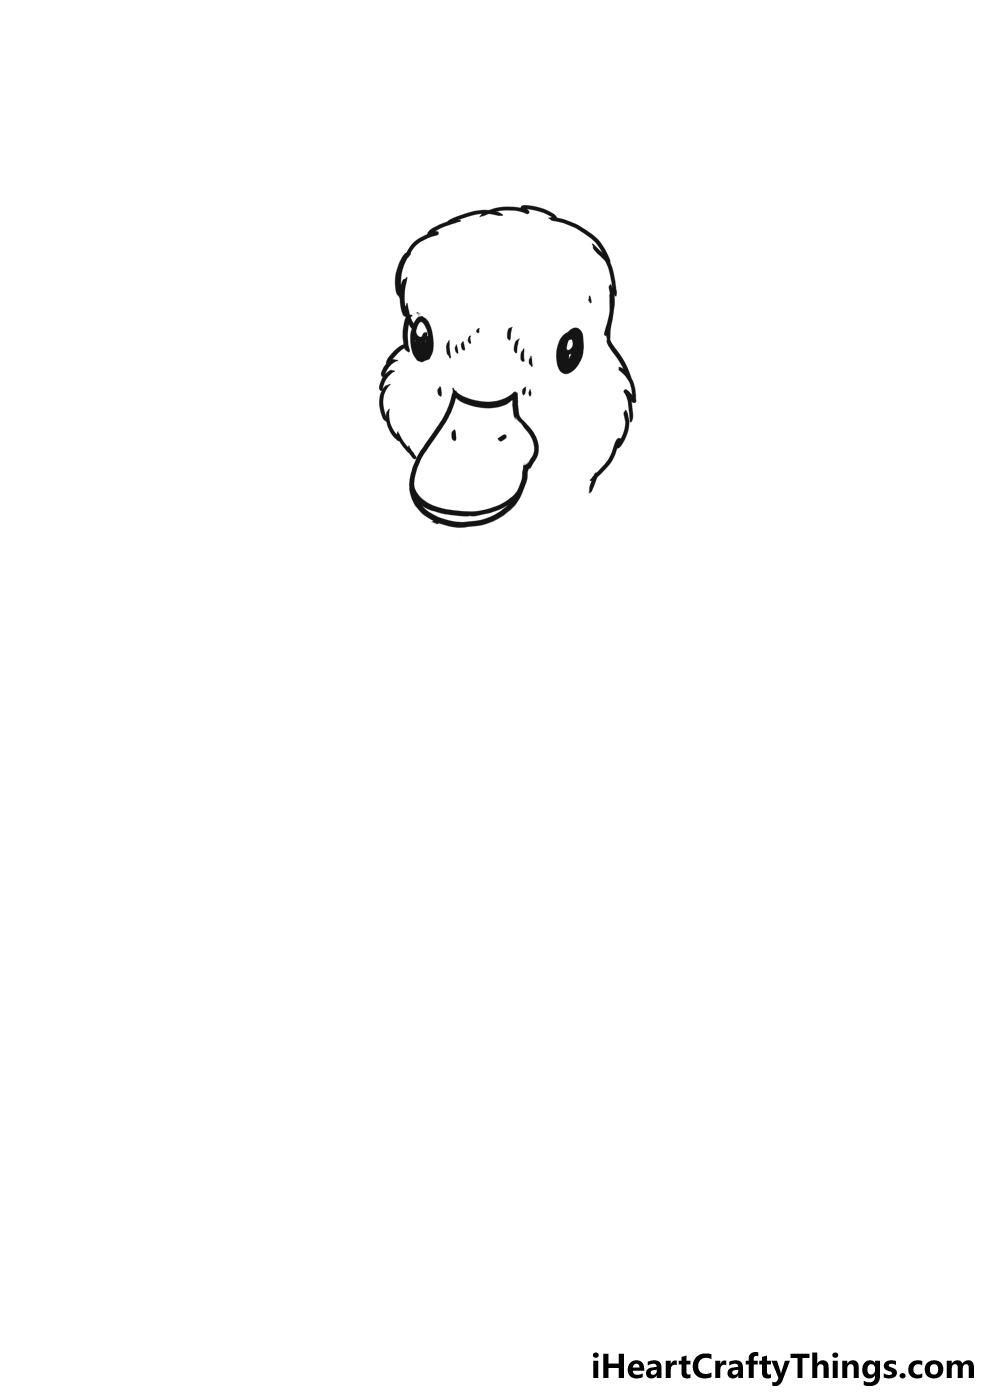
This will be where the bill connects to the face later on.
The left side of the beak is a fairly long curved line that is pretty smooth.
Finally, we will add the bottom side of the beak with a curved line at the base.
Thats all there is to it for the beak, at least for now.
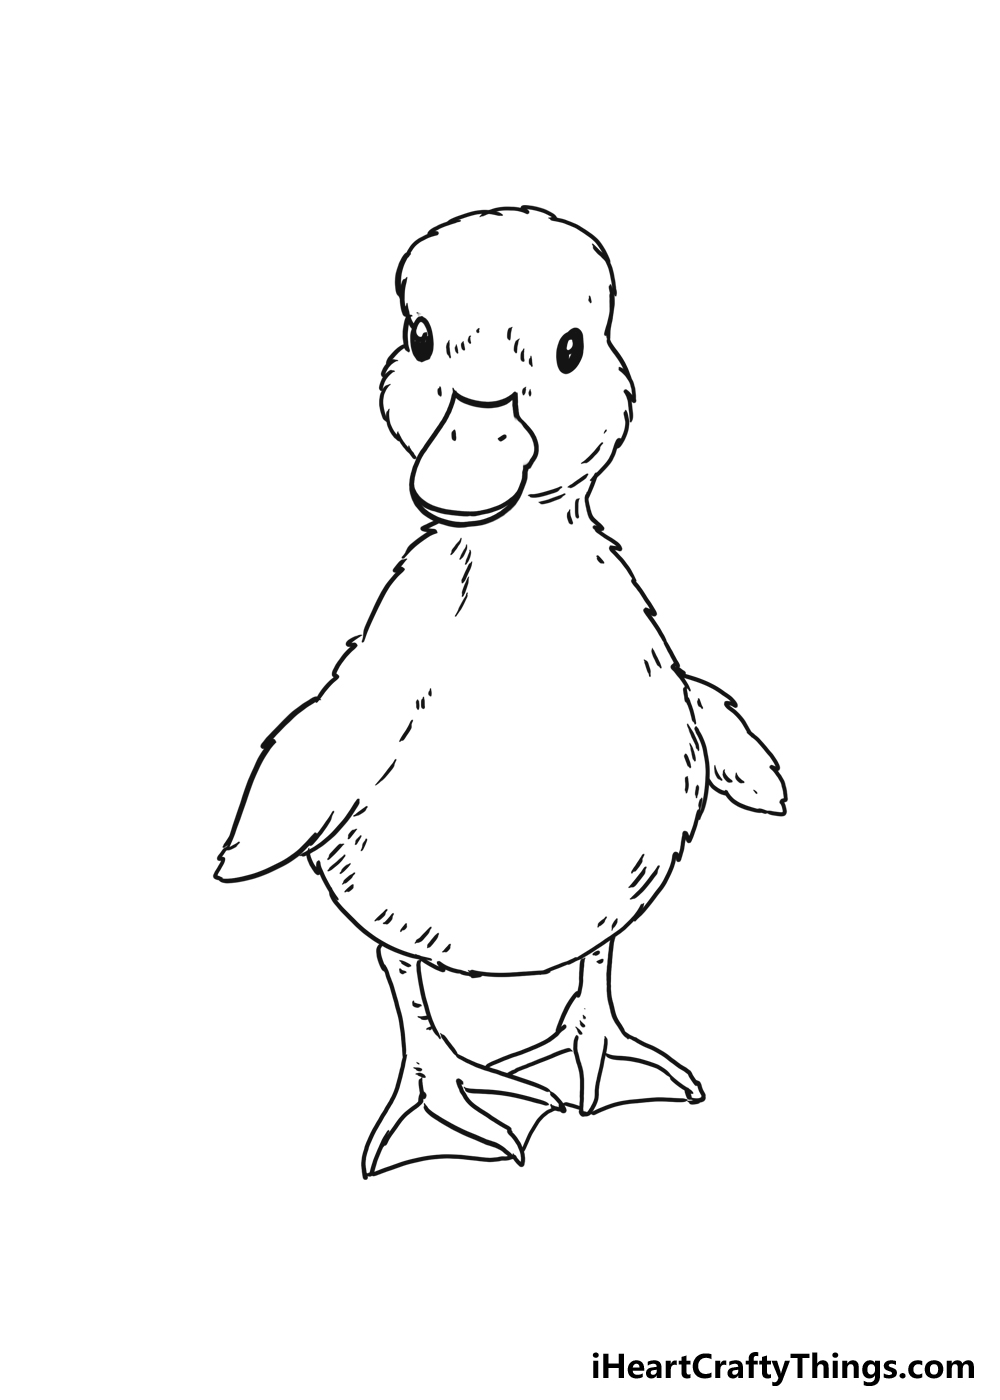
When drawing the head, we want to recreate that fluffy look that real ducklings have.
The head of the duckling is thinner at the top half and gets wider around the beak.
We will start with the eyes of the duckling.
These look quite simple, and they will go on opposite ends of the face.
To draw each eye, start with a simple oval shape.
Then, draw a smaller white spot inside each eye to show a glint in the eye.
Finally, color in the eyes with solid black except for the small white ovals.
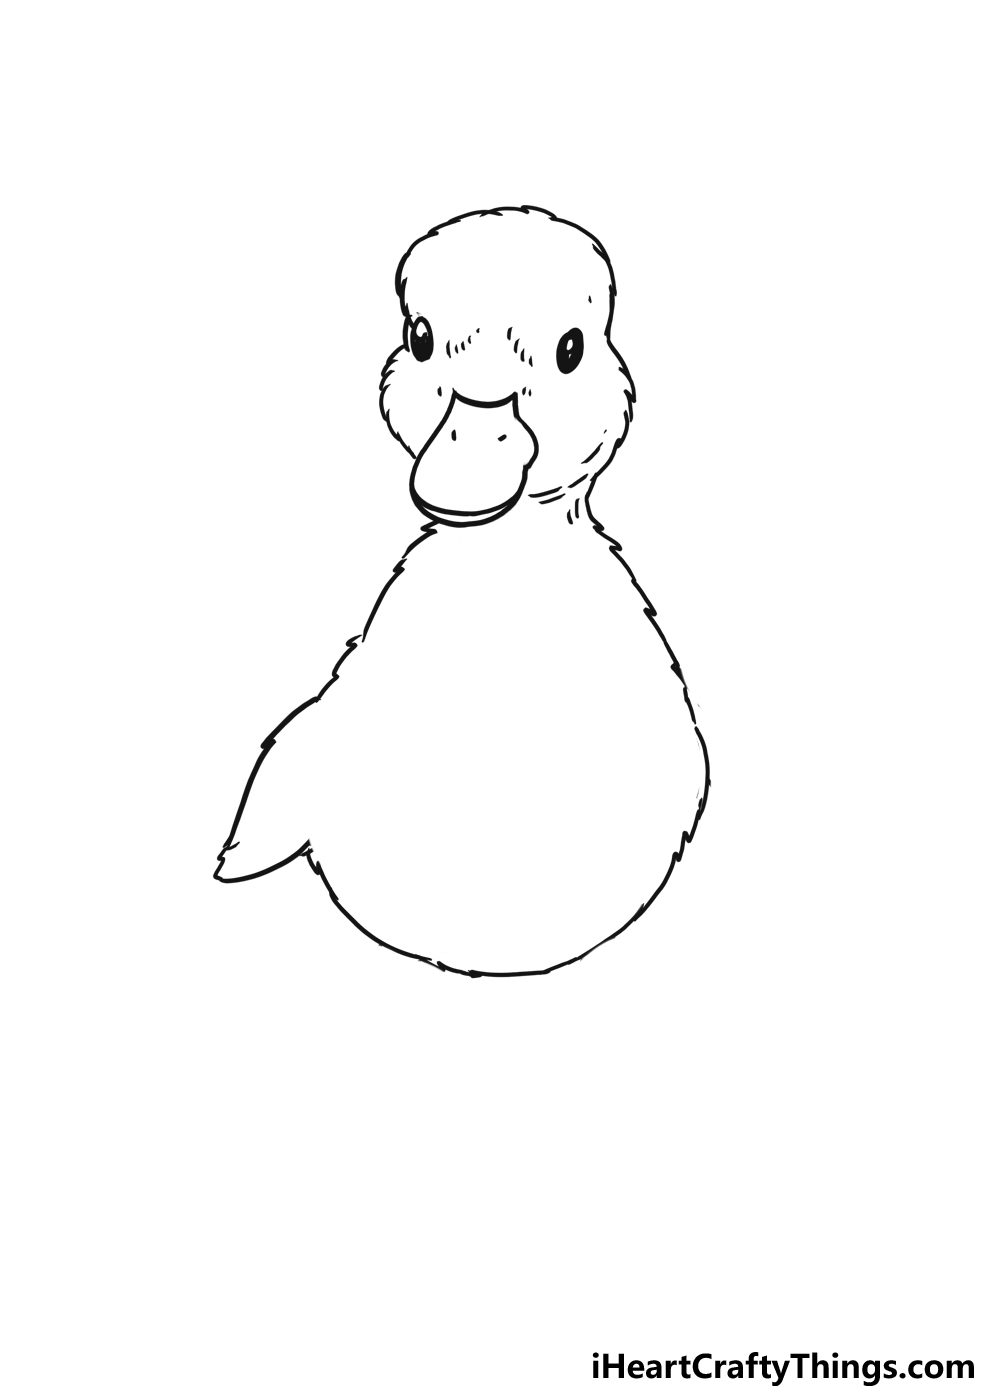
This body outlinewill be drawn with a similar line styleto the one that we used for the head outline.
Then you’ve got the option to draw the oval shape of the body.
We will also be adding a small wing poking off the left side of the body.
Much like a real duckling, it will be small, certainly too small to use to fly.
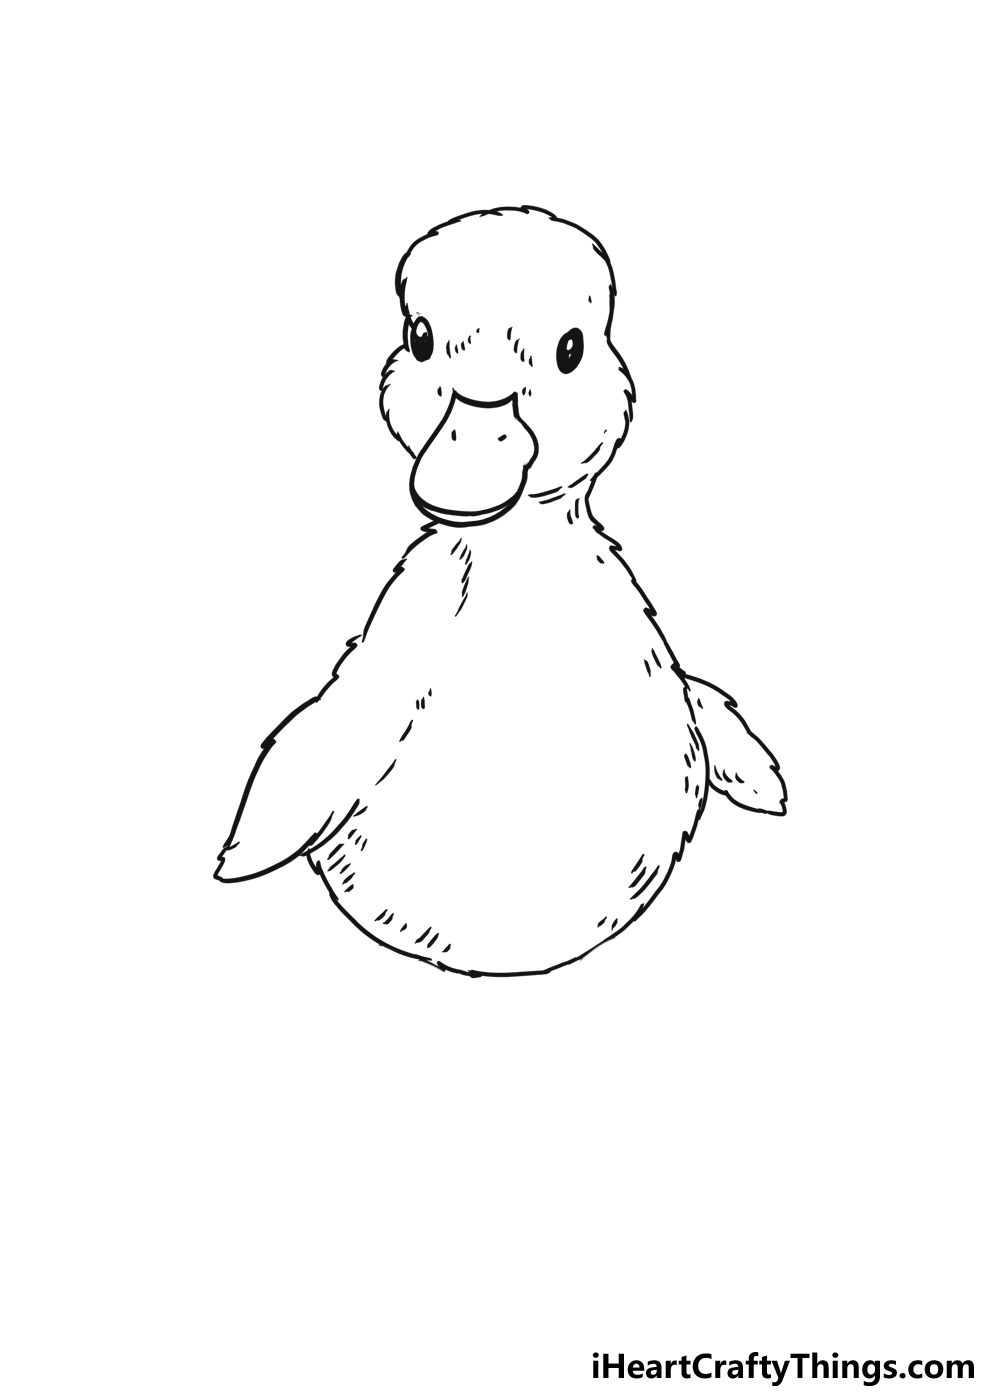
Lets begin by adding the second wing of the duckling.
Essentially, we want to add some fluff texture to the body and head of the duckling.
This can be done by adding a series of small lines all throughout the interior of the outline.

These will mostly go close to the inner outline of the duckling to make it look fluffier.
When you have added these final touches, we will be ready for step 5!
The reason for this is because of a ducks distinctive webbed feet.

You may not think it, but the legs and feet are rather tricky to draw.
The legs are drawn at an angle, and are very thin.
you could then connect the toes with a simple, slightly curved line.

These lines will serve as the webbing between the toes.
With those done, you might now add some extras to the image!
Or, maybe you would like some other birds or small creatures for some friends!

These are a few ideas, but how else could you go about adding to this adorable scene?
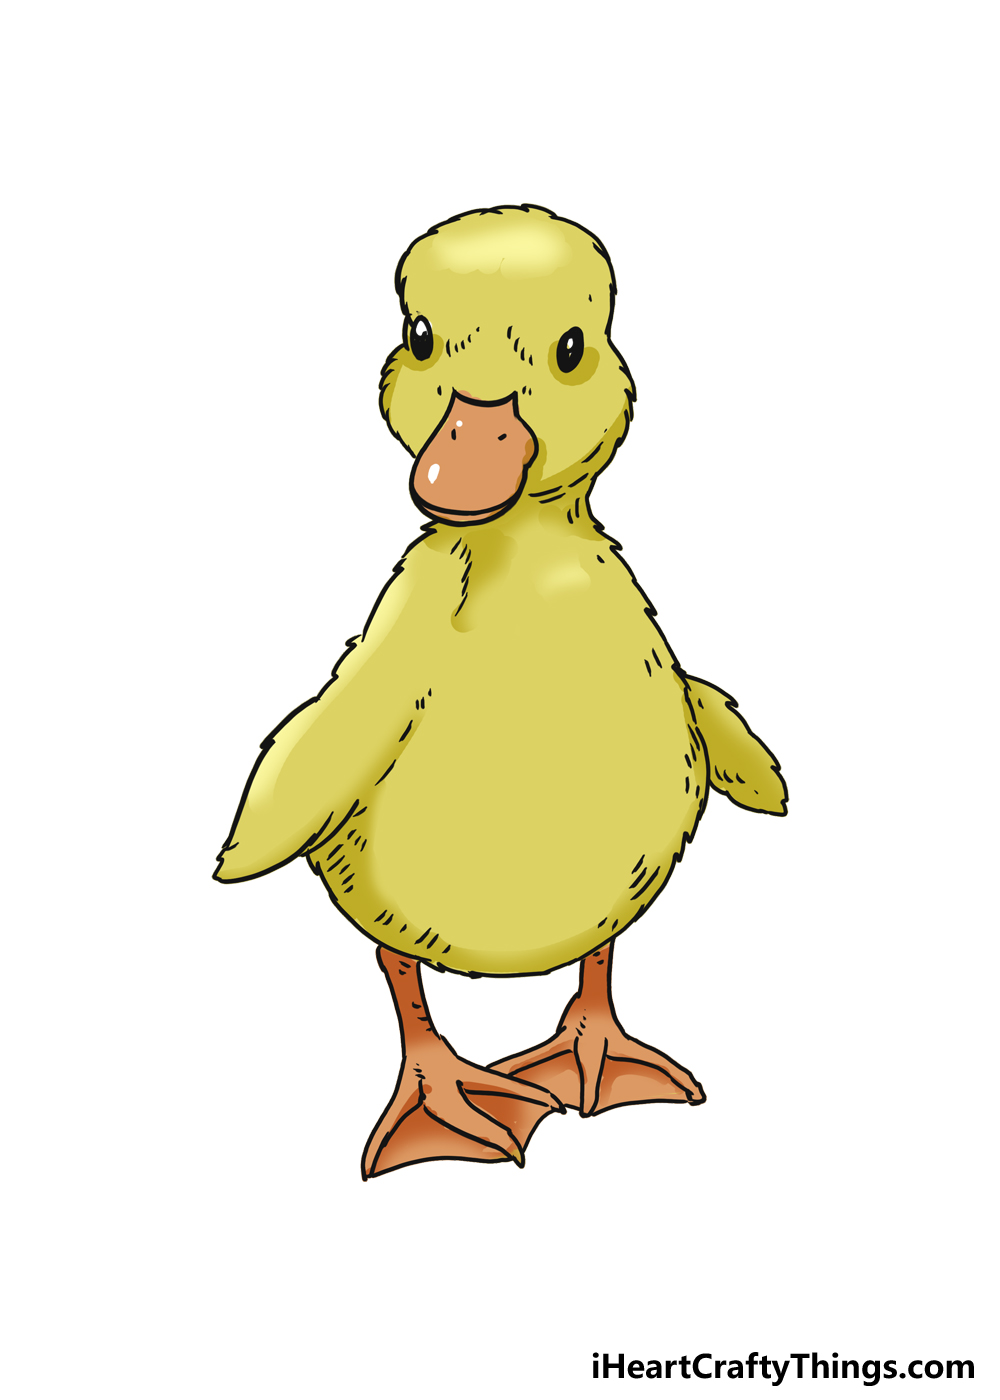
The beak and legs are orange while the feathers of the duck are various shades of yellow.
Darker shades of either of these colors can be used to show shading and texture.

These would give the colors a lovely soft tone.
They dont even have to be realistic, necessarily.
When you color in, dont forget to fill in the background as well!

If you added any background details, then you have something to color in already.
If not, you could fill it with solid colors or some shapes, for example.
Now its up to you!
Which colors, art tools and coloring techniques will you use to finish off this artwork?
Your Cute Duckling Drawing is Complete!
Ducklings are so cute,and this drawing of a cute duckling that you created is no exception!
We hope that you enjoyed replicating this adorable little duckling to create your own artwork.
Showing you how to draw this cute duckling was not our only goal, though.
We cant wait to see what you decide to do to make this drawing even more unique!
With that said, we would love to see how it turns out.
you might share your finished drawing on our Facebook and Pinterest pages for us to see.
It will be great to see how you depicted this cute duckling!
More From:How to draw
Printable Bubble Letters A Complete Guide!
