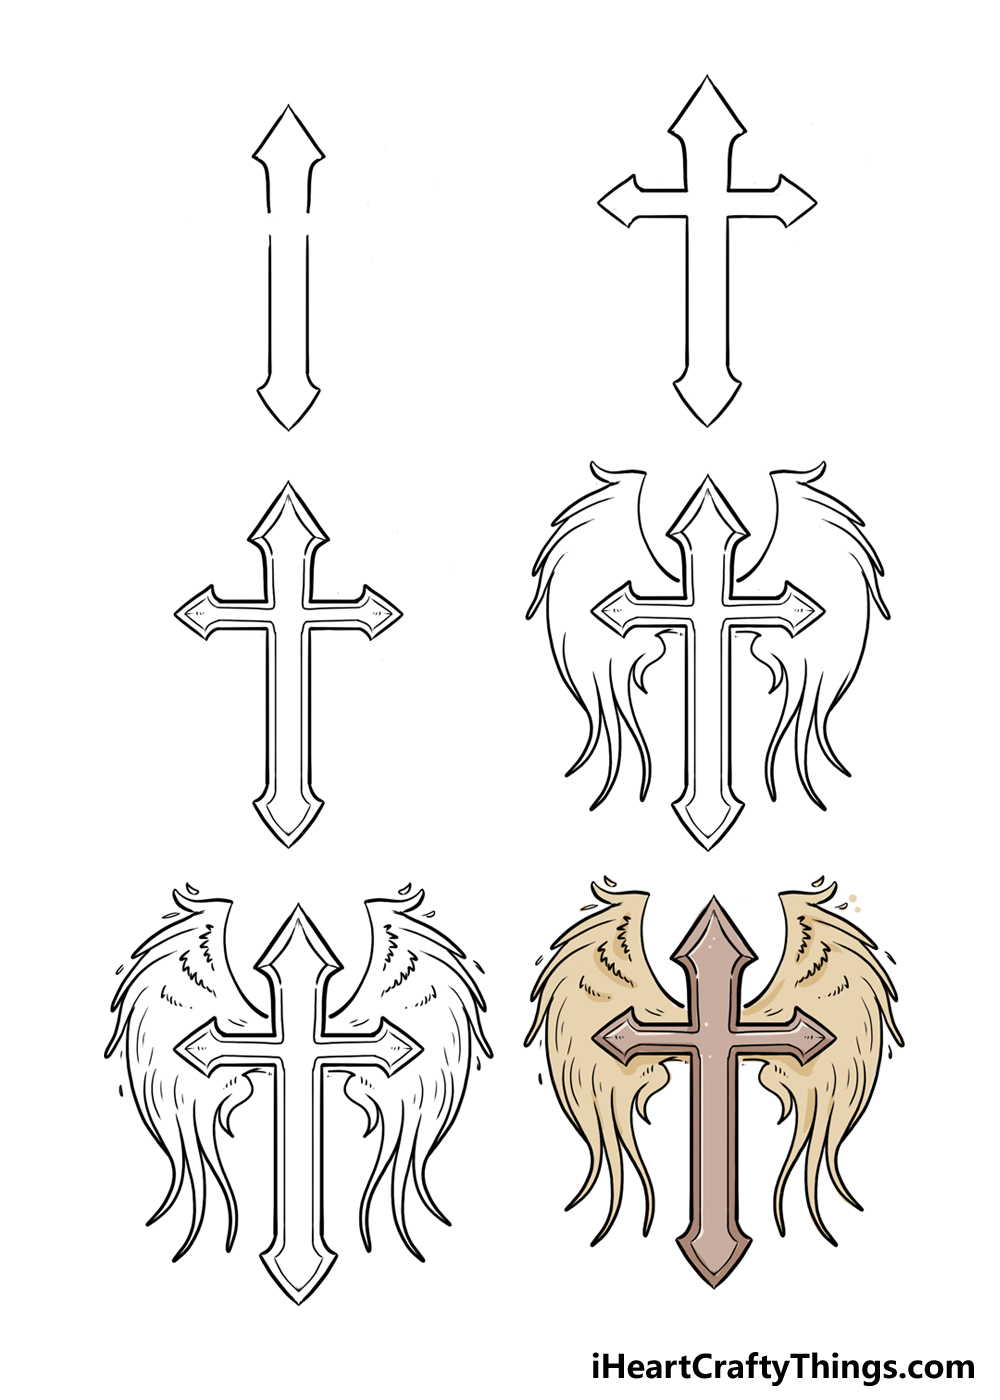
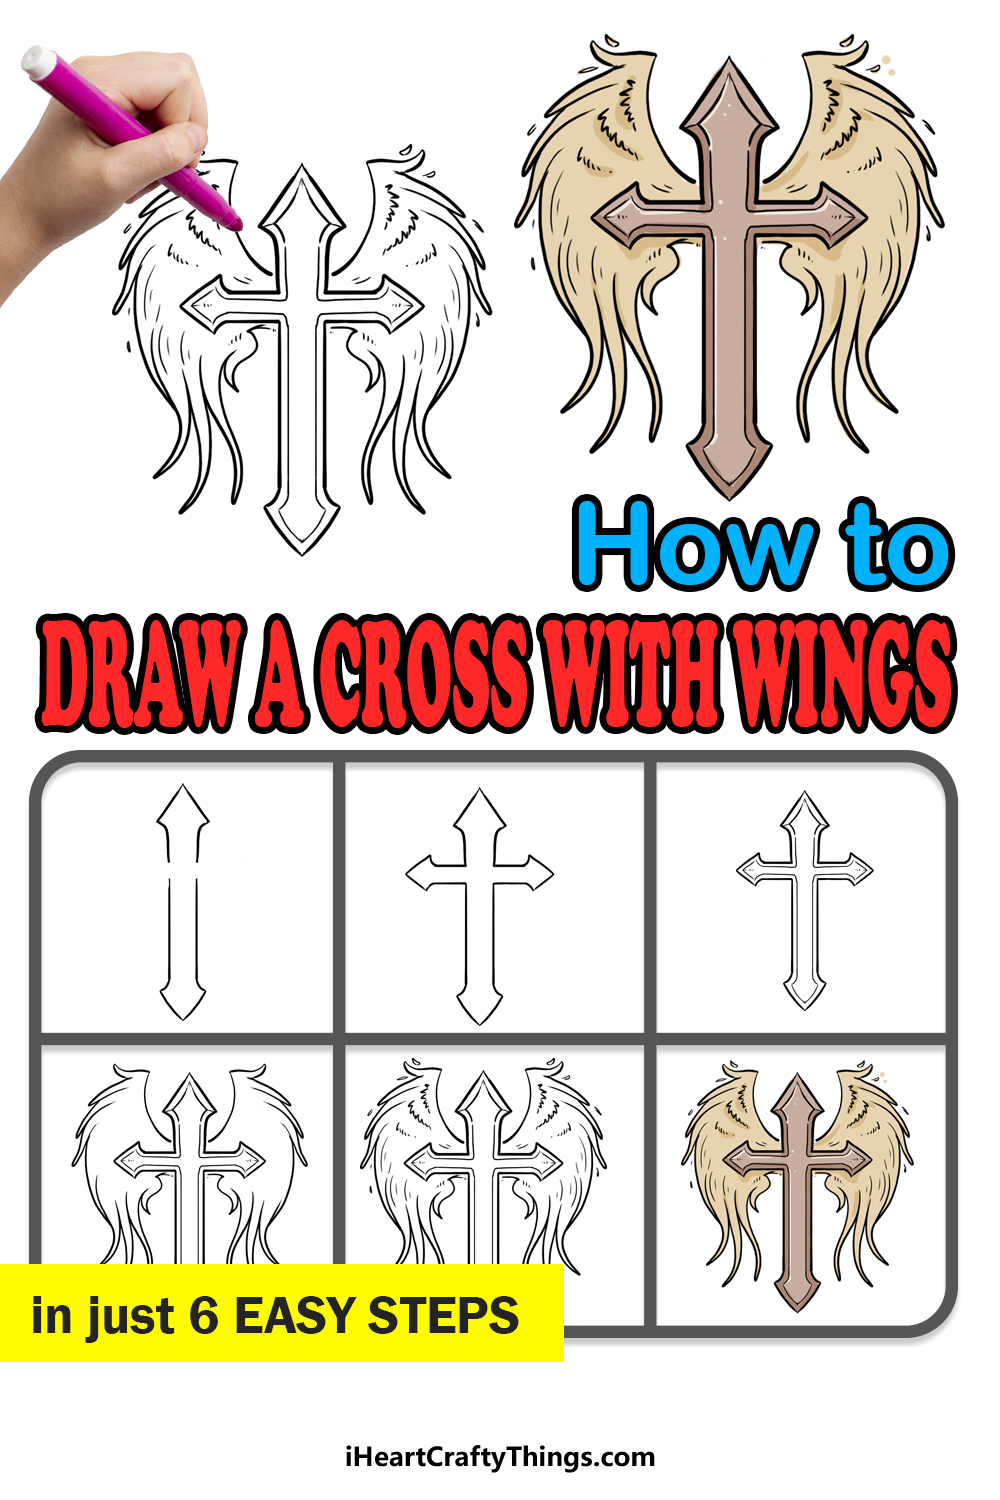
Cross With Wings Drawing in Just 6 Easy Steps!
The image of a cross is one of the most recognizable and cherished symbols in the world.
It is a central symbol for Christianity and is featured in other forms like Celtic art as well.
Combining a cross with wings takes the image even further.
Wings are often associated with angels, and combining these two images creates a new one entirely.
As long as you follow the steps and go slowly, youll definitely be able to do it!
By the end, you will have an amazing drawing of a cross with wings to show off.
So lets begin with the first of 6 steps that will show you how its done.
How to Draw A Cross With Wings Lets Get Started!

This could even just be some simple lines over one another to form this simple cross.
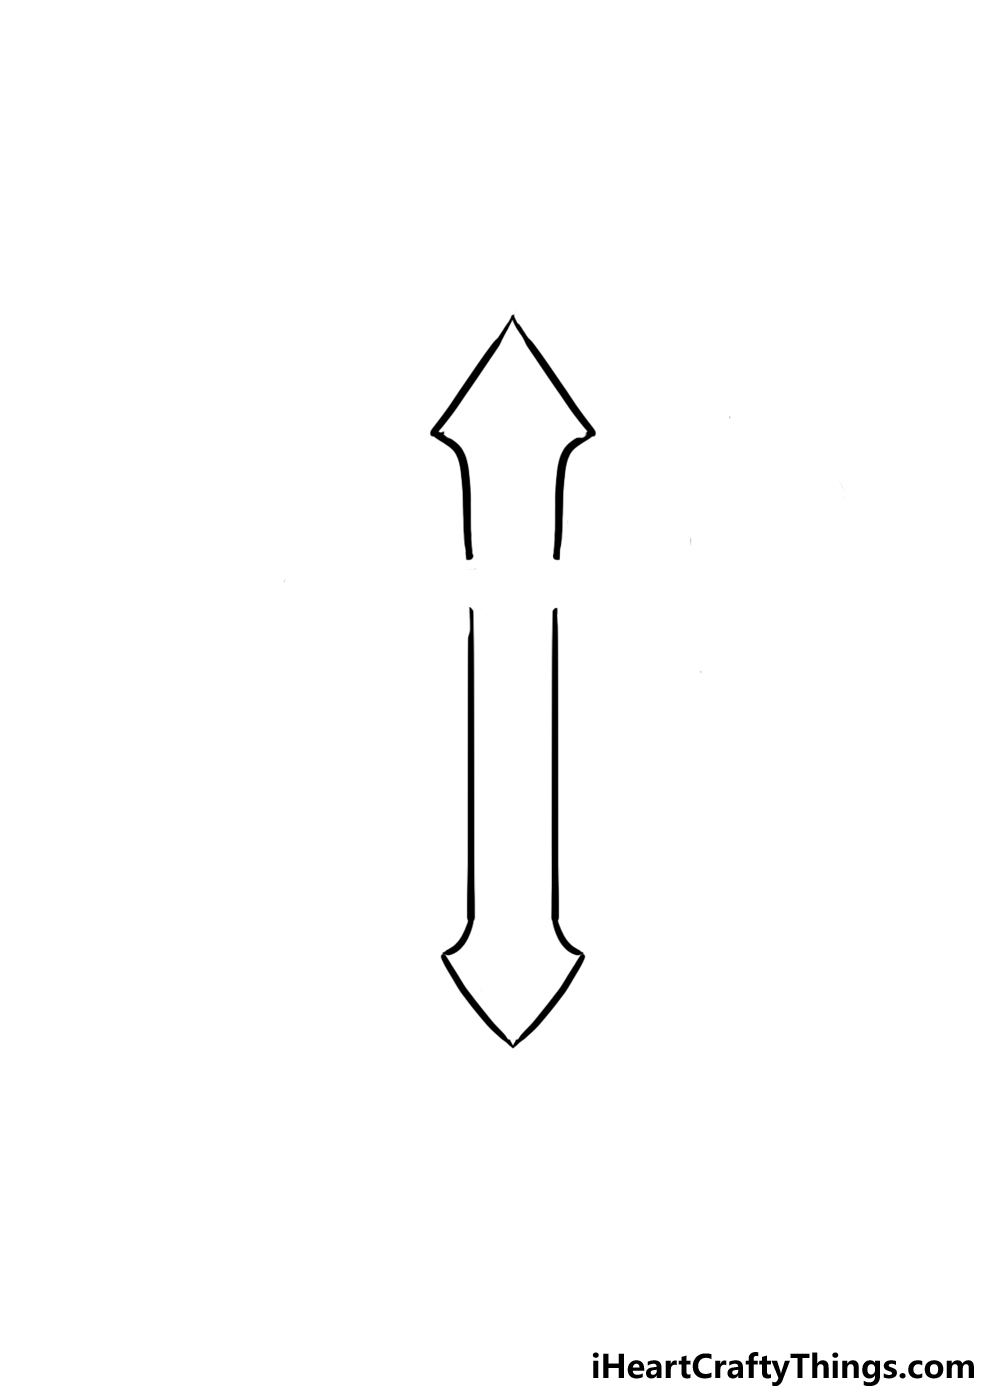
When drawing the actual cross, we would definitely recommend using a ruler.
There are some curved lines on the design, but the main edges are perfectly straight.
For now, we will be drawing the main central pillar of the cross.
Each point of the cross will have a pointy section.
Speaking of those horizontal portions, lets head to step 2 and add those.
Other than that, the idea is more or less the same.
That means that we will be using a ruler for the straight edges of the pillars once more.
If you drew a pencil guide, then you will see how we will be drawing these horizontal pillars.
You will also see that they will fill in the gaps left previously.
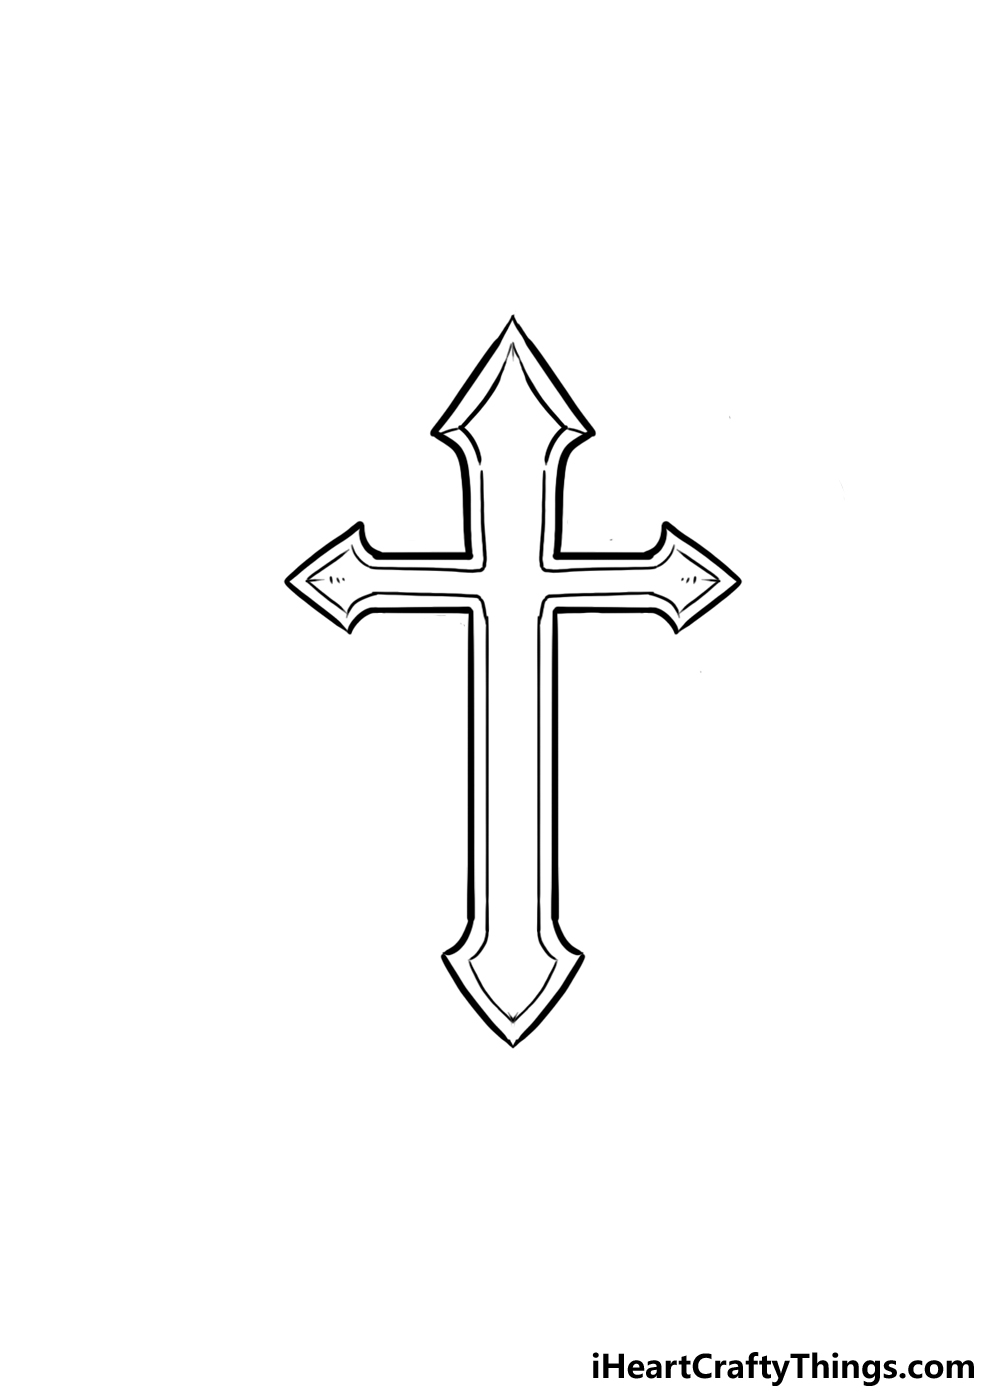
As mentioned earlier, these pillars will also be significantly shorter than the main vertical pillar.
You could make them a bit longer if you wanted to, however!
Much like the vertical pillar, these ones will each end in a spearhead-like design.
These can again be drawn using some curved lines that then culminate in a pointy tip.
When drawing these horizontal pillars, have a go at make them as symmetrical as possible.
For now, lets focus on the line details that will create the 3D illusion.
There will be a few differences, however.
Its a simple touch, but it will help to make the cross look a little more three dimensional.

There are also a few small dots on the horizontal pillars that will add some texture.
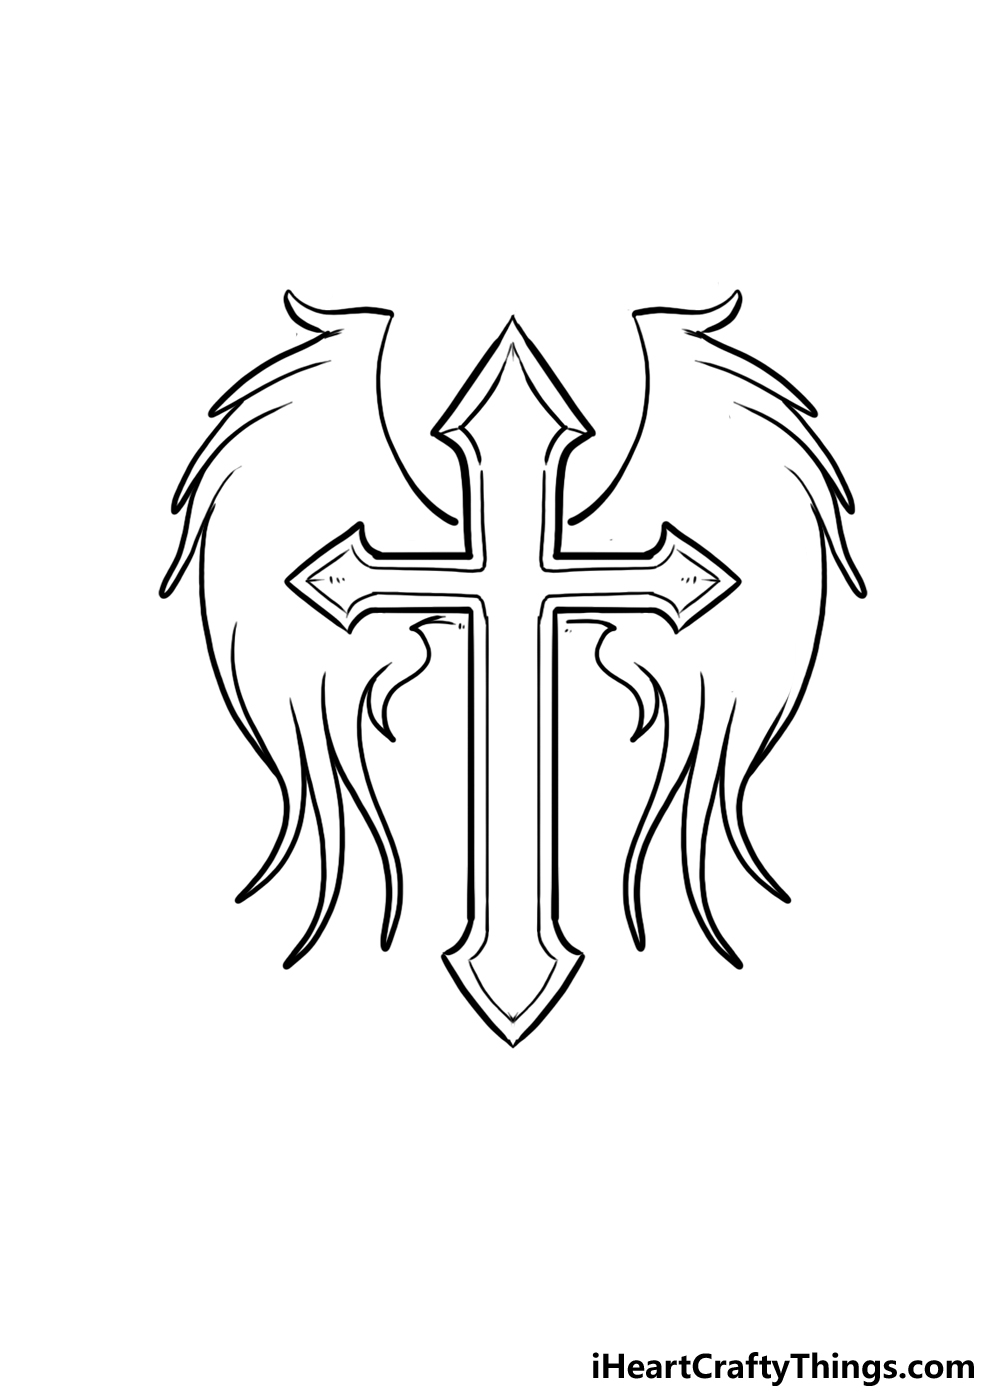
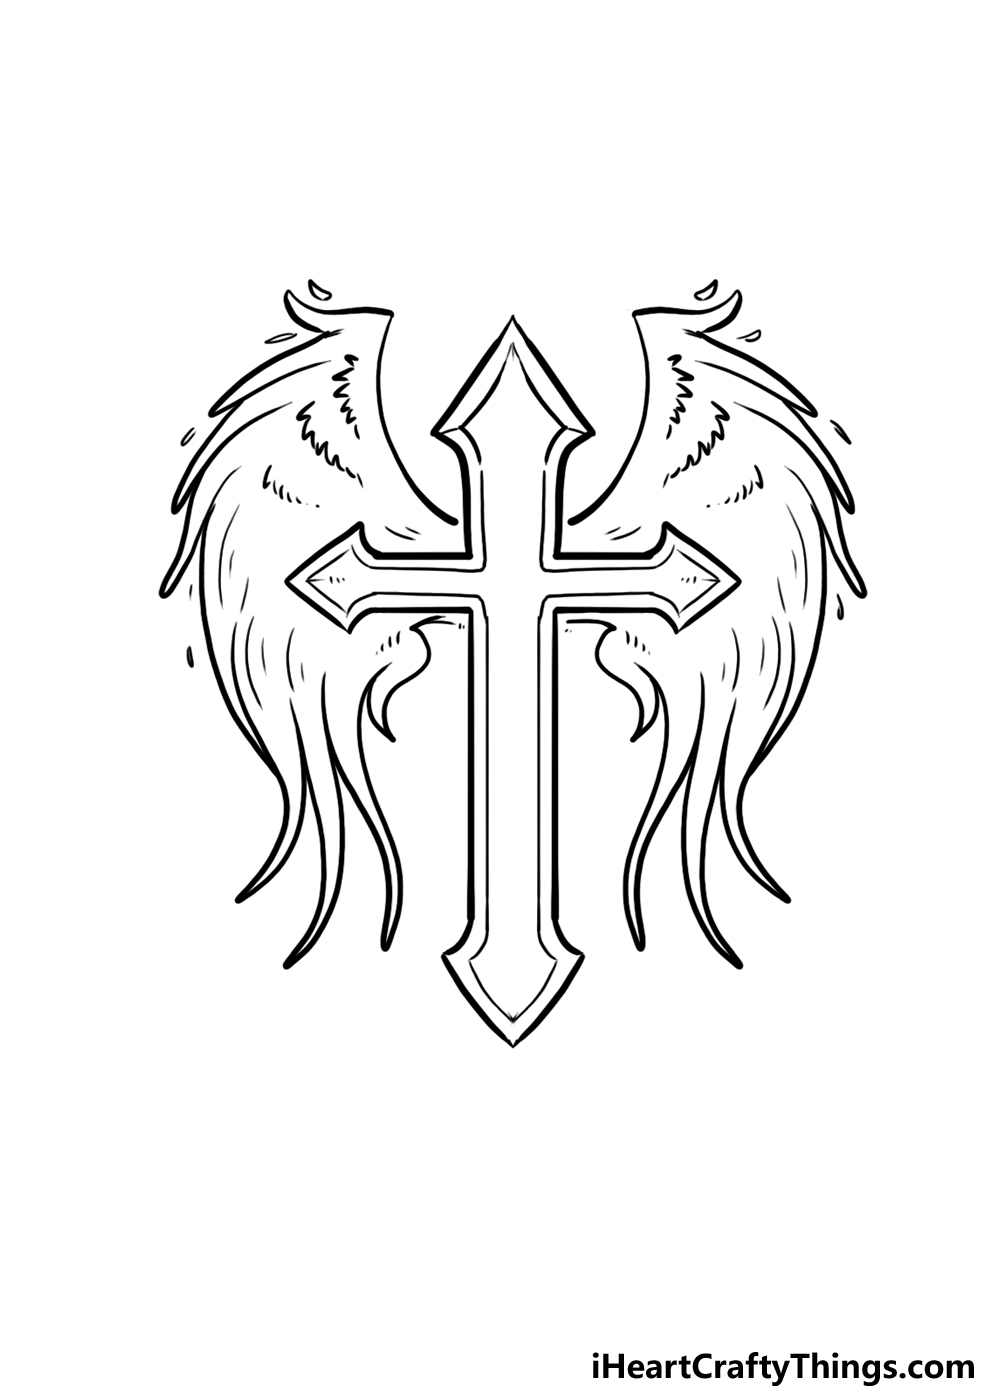
However, its missing the second aspect of this design, the wings!
The wings may look simple, but they can be surprisingly tricky.

Perhaps the most difficult part of this aspect is that we ideally want them to be symmetrical.
We would recommend starting from the sides of the top pillar.
Each side will have a curved line extending out from this portion.

The tips of these curves should be more or less level with the top tip of the cross pillar.
This is where it can get a bit tricky, as there are lots of thin little feather details.
This is another step where we would suggest taking your pencil and drawing a rough version.

The bases of each wing have some thin portions dropping down, and these are symmetrical as well.
With the wing outlines drawn, we can then move on to some inner details for the wings.
They wont be needed anymore from this point, and they may just get in the way.

The details we are adding in this step will be inside the wings.
There are so many ways that you could get creative with this!
You could also draw a background, or maybe write an inspirational message in a fancy font.

These are just a few ideas, but were sure that you have many more that you could use!
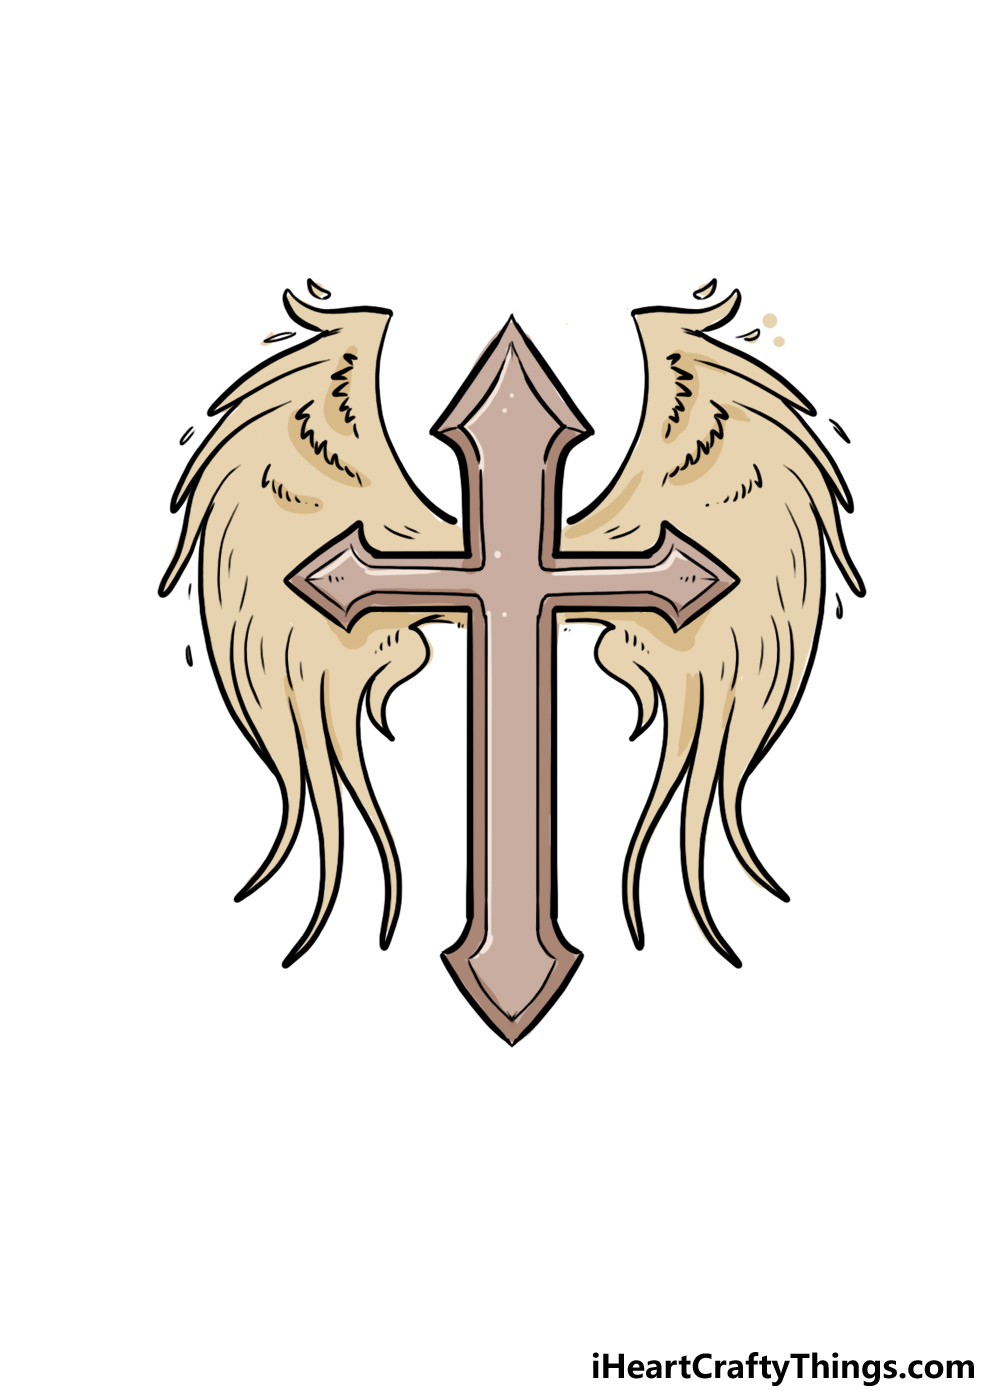
This is a great look that you could replicate for your own drawing.
Even the wings look like theyre carved out of stone, as we used some light greys.
Varying the colors with light and dark tones can help to make the colors look more dynamic.
There are so many other colors you could use for this drawing too.
You could also paint some yellows around the cross to make it look like its glowing.
Using crafts like glitter can also bring a very real sparkle to the image.
Your Cross With Wings Drawing is Complete!
There were some tricky details in this drawing, but they all contribute towards a more unique image.
Its your drawing, so youre in charge!
More From:How to draw
Printable Bubble Letters A Complete Guide!
