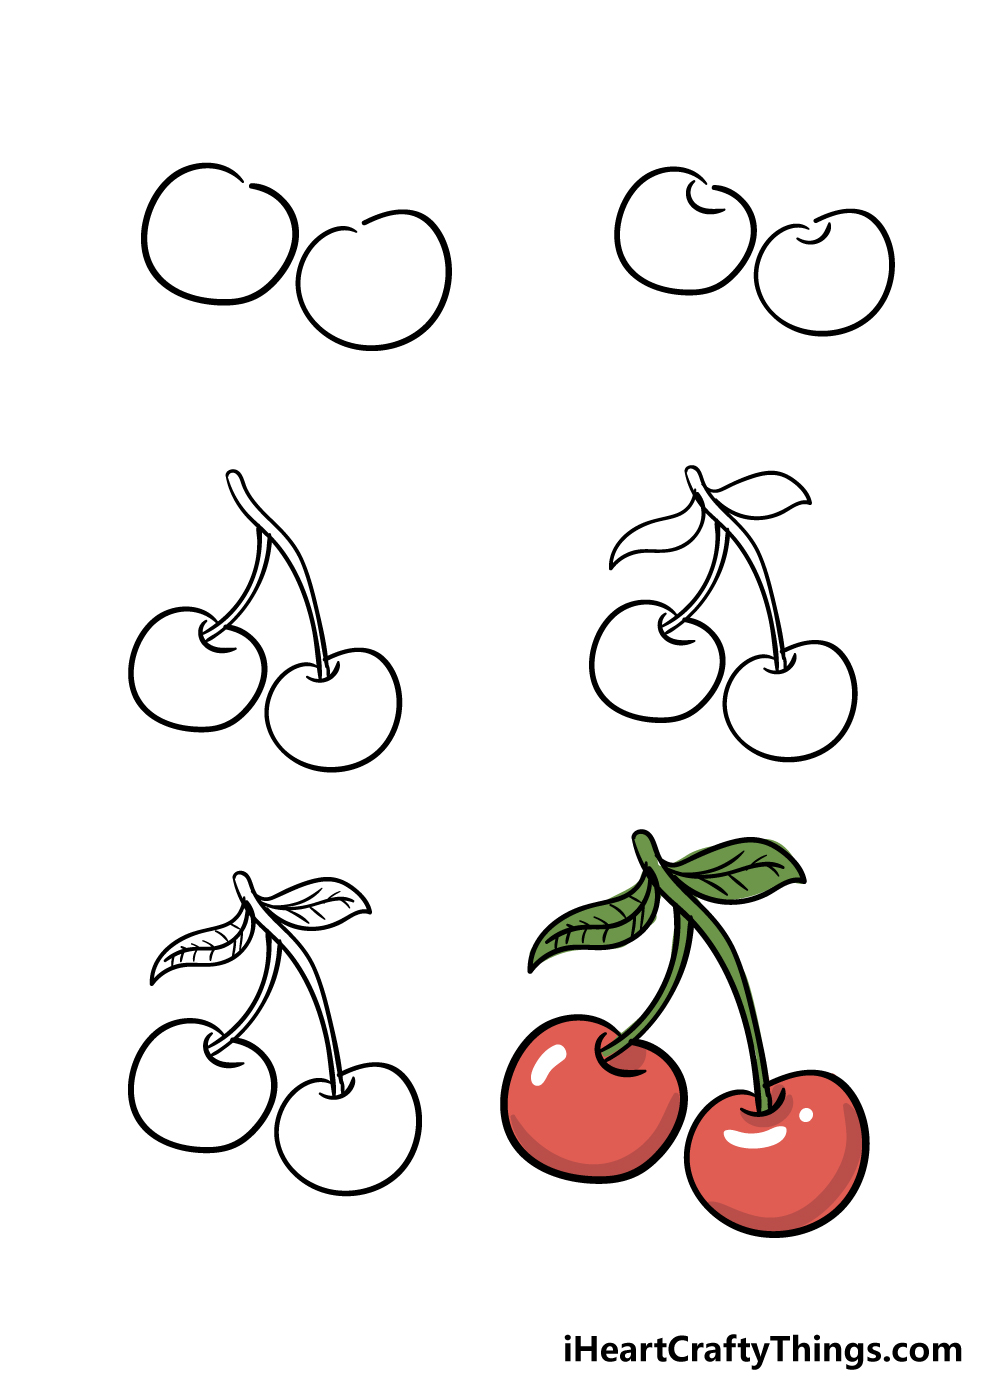
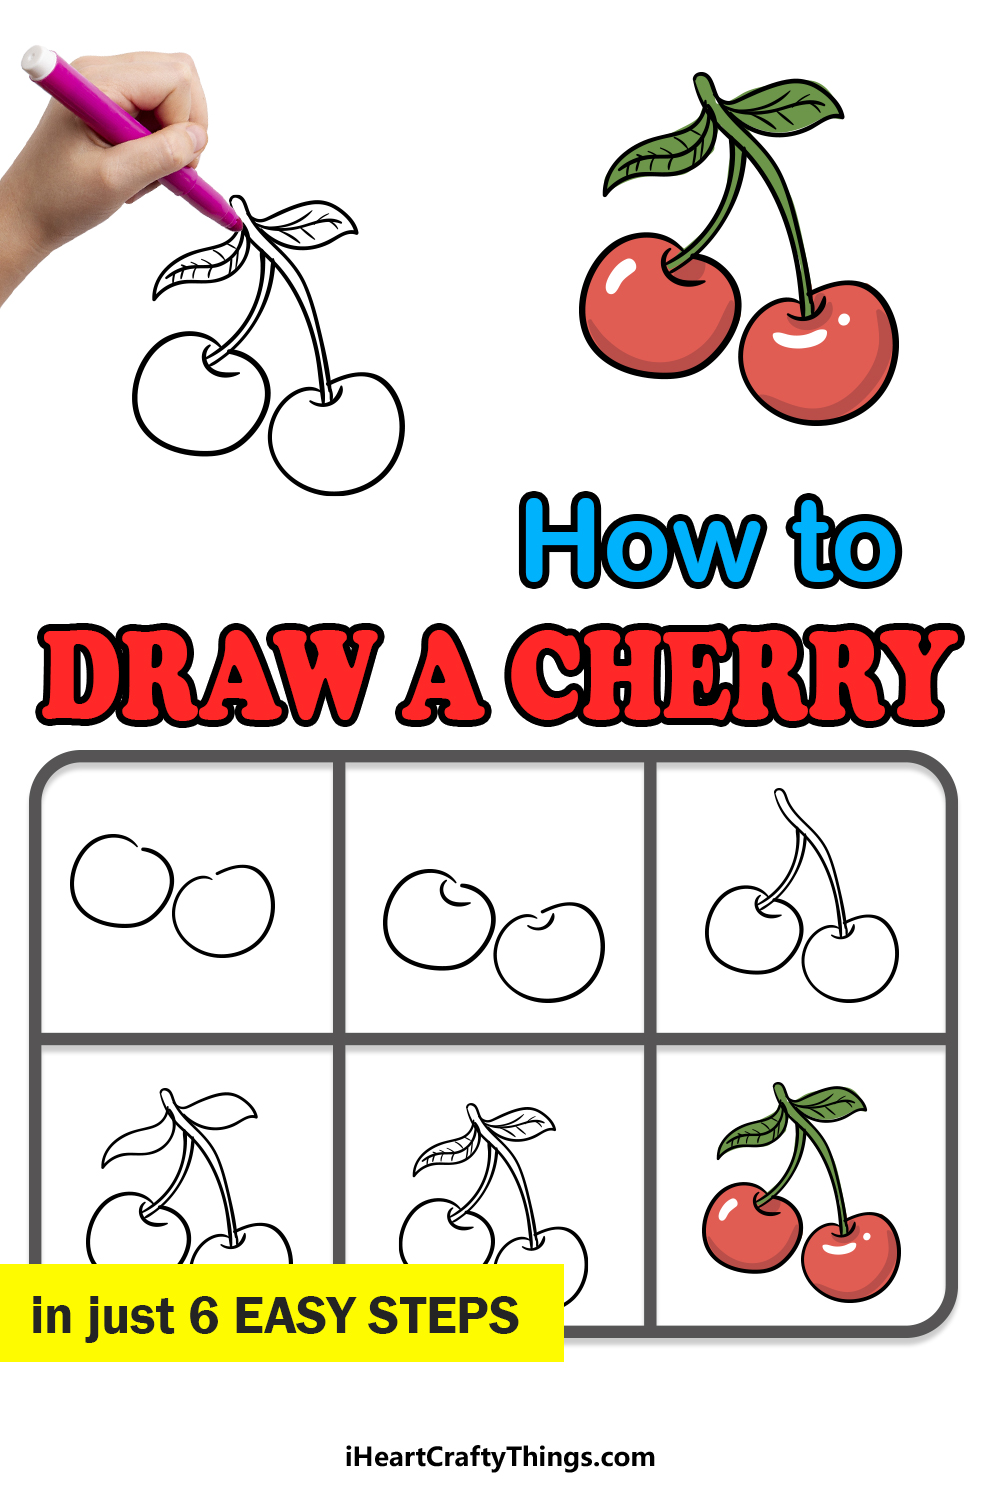
Cherry Drawing in just 6 Easy Steps!
Do you want to know the easiest way to learn how to draw a cherry?
Then this is the guide for you!
Cherries are not only delicious but also have a distinctive look.
Theyre as fun to look at as they are to eat!
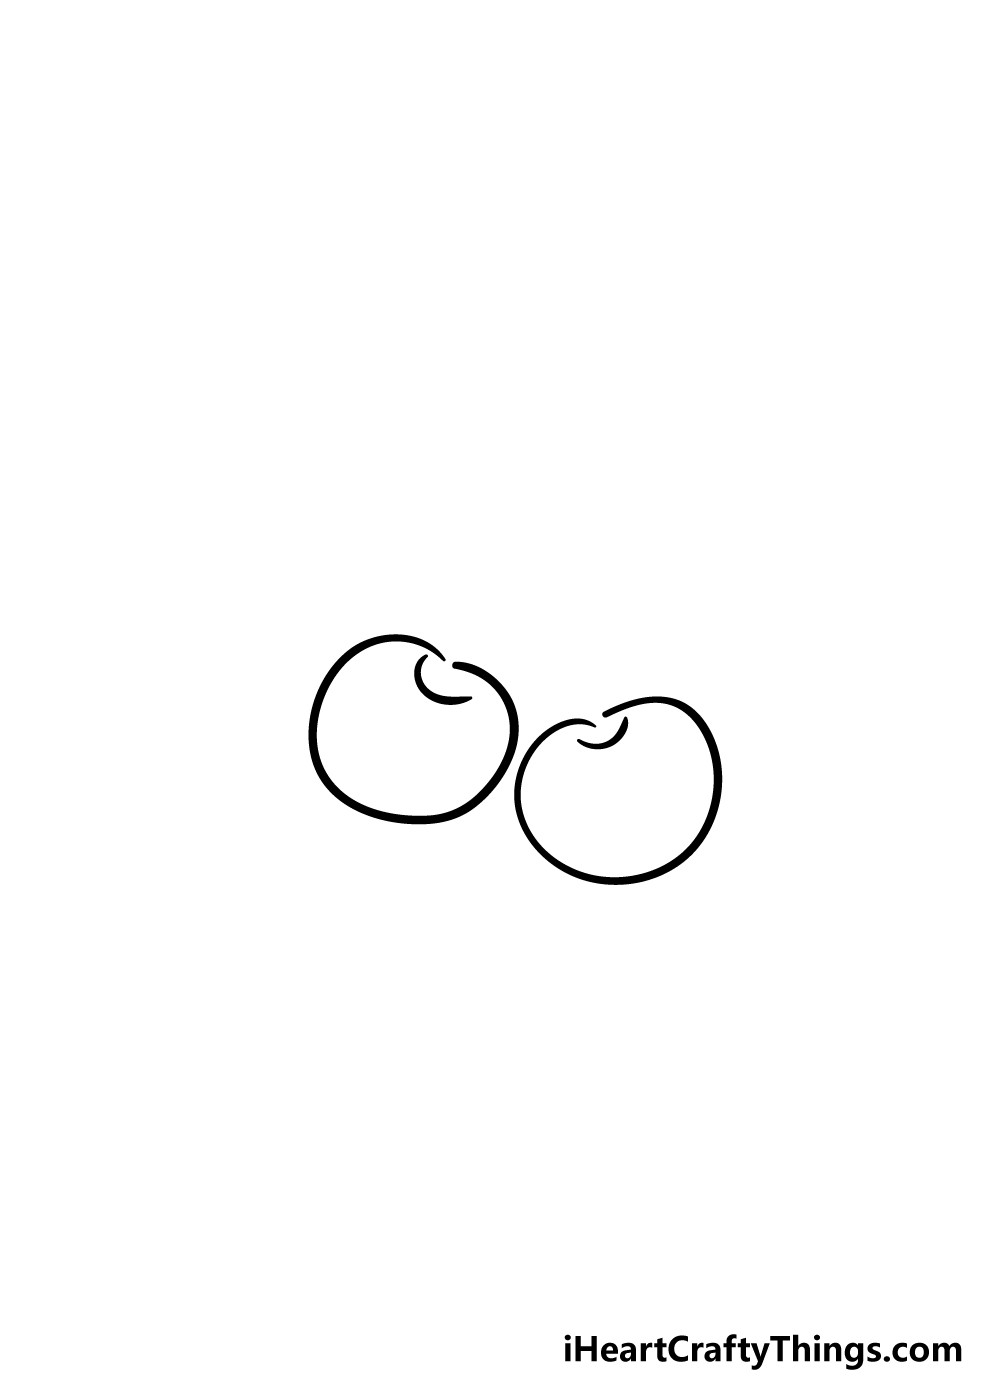
To draw these little fruits, you will use two rounded lines that curve in on themselves.
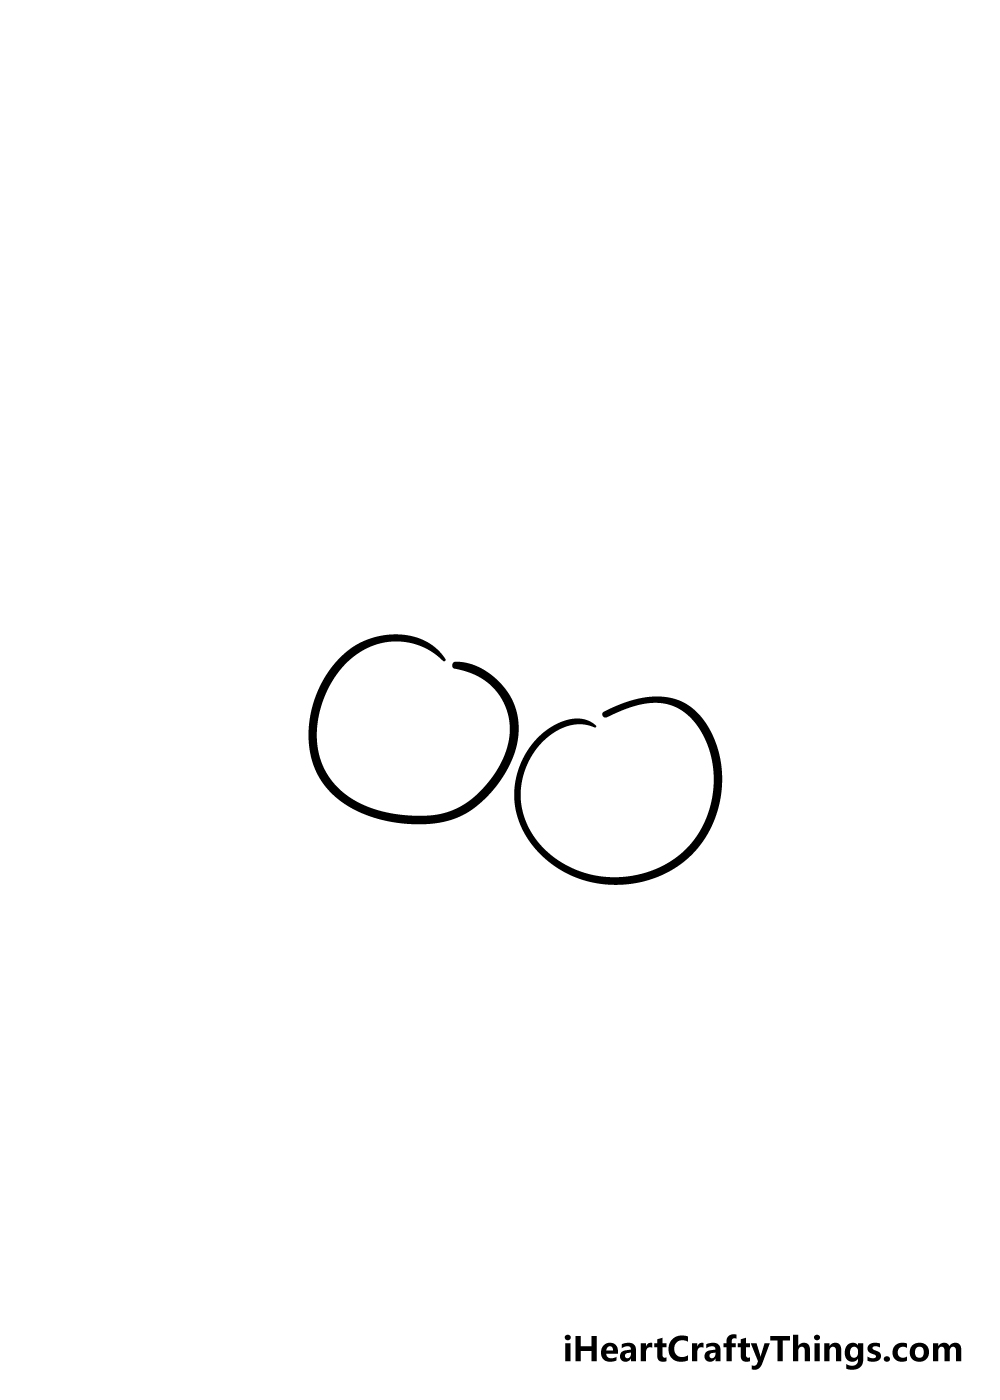
They should appear almost but not quite circular, as they have flatter bottoms than a circle.
They also have a dip at the top where the stems will connect.
All you oughta do for this step is draw two curved lines, one for each cherry.
Thats all there is to it for this step, so now we are ready to move on!
This step isnt too complicated, however it may require a slightly steady hand.
They should be quite close together, as the stem of the cherry is very thin.
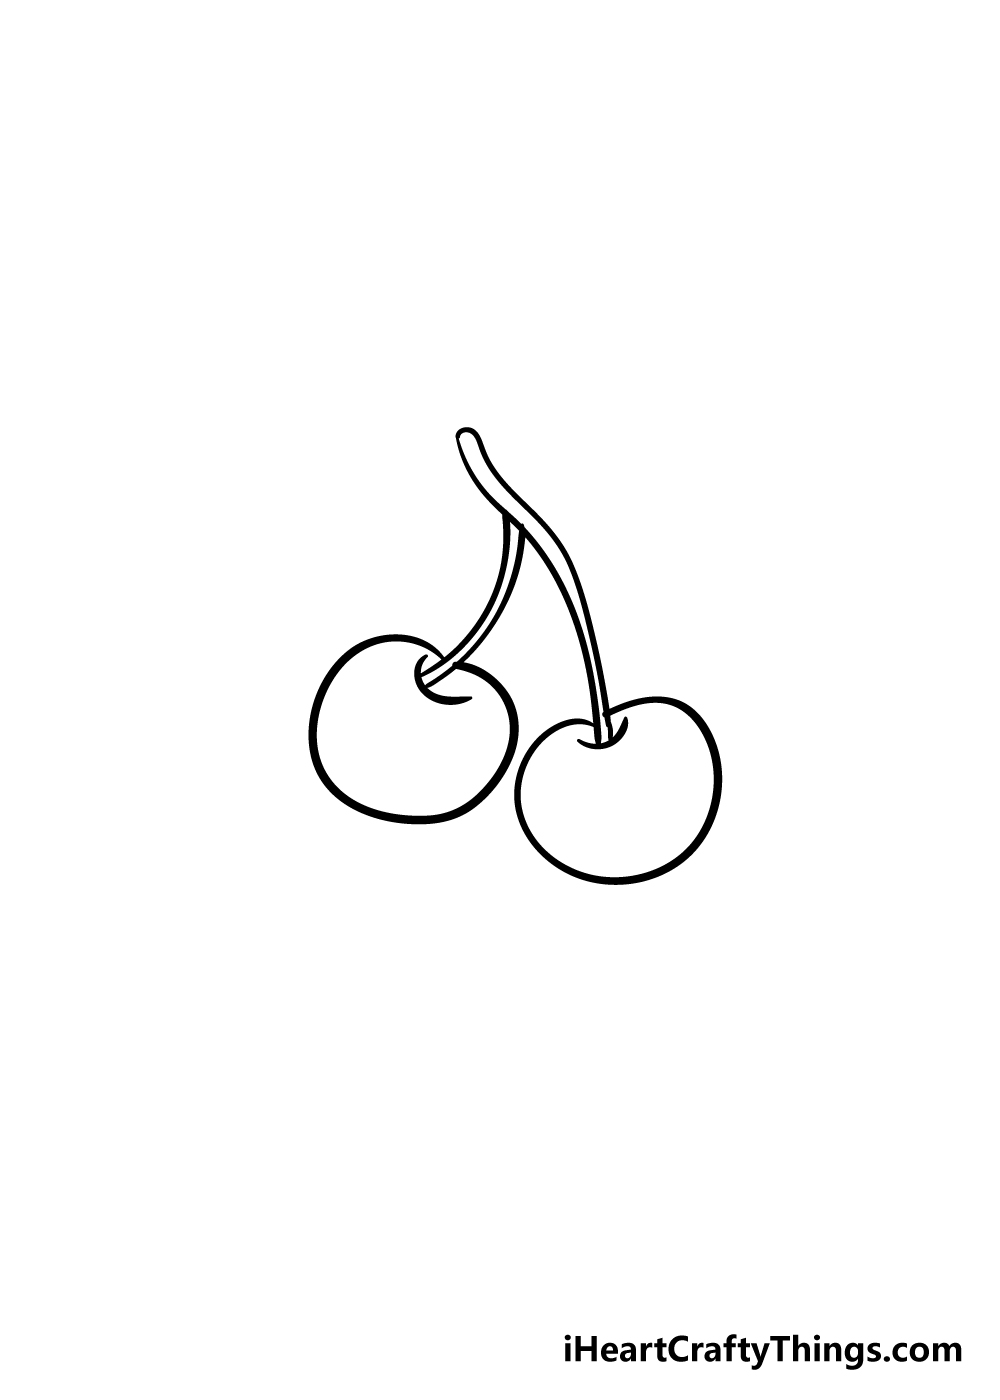
This one will extend up and connect to the stem for the right-hand cherry.
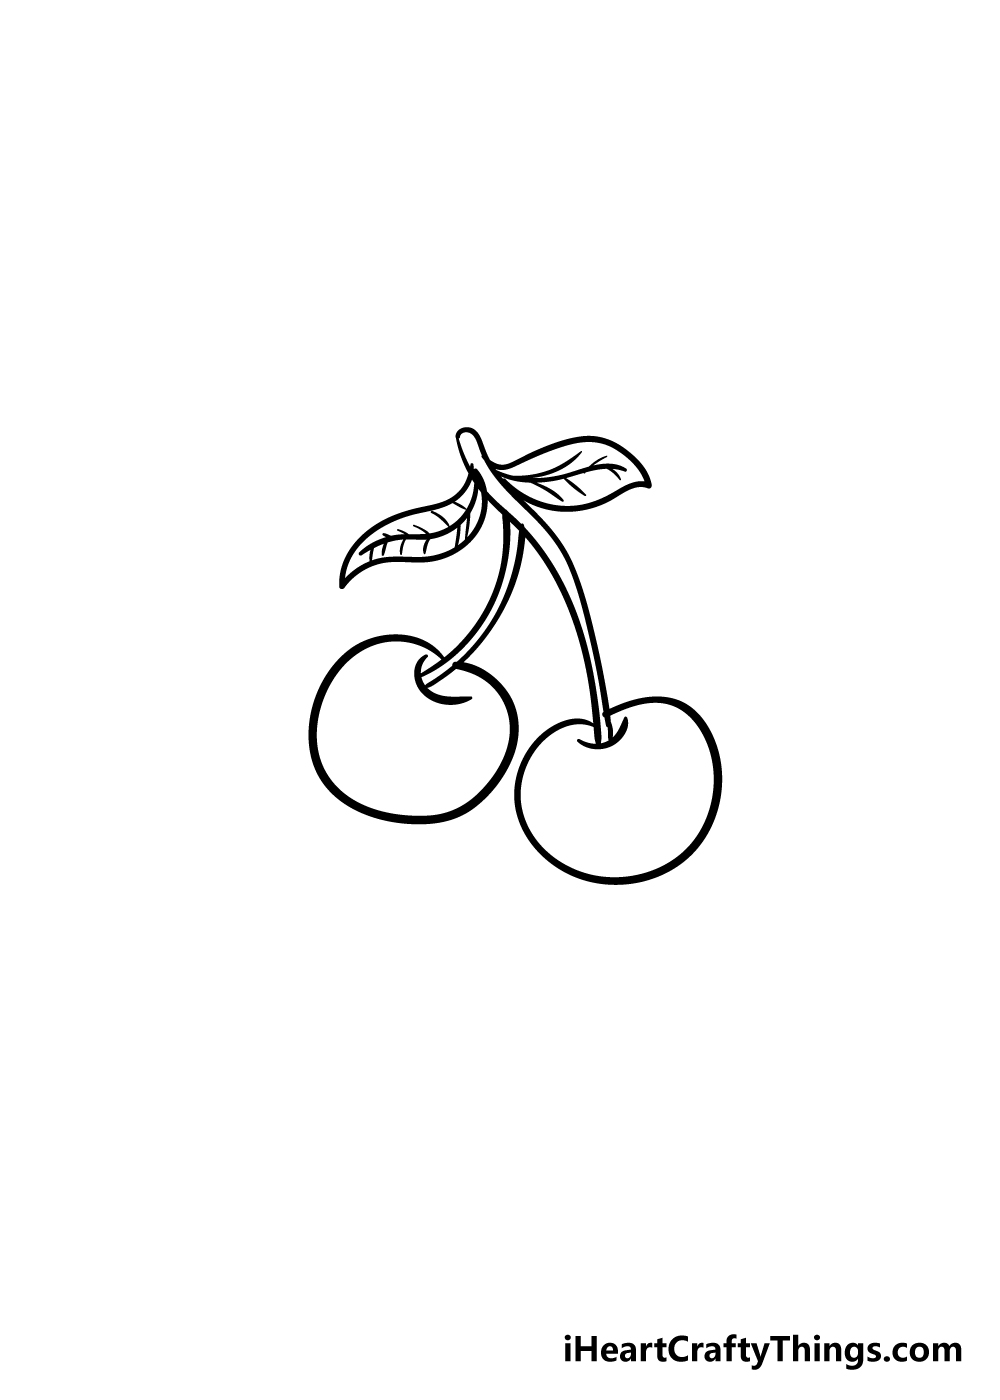
Step 4 Add the leaves of the cherry
Your cherry drawing is really coming along nicely now!
In this part, we shall add some leaves to the stem of the cherries.
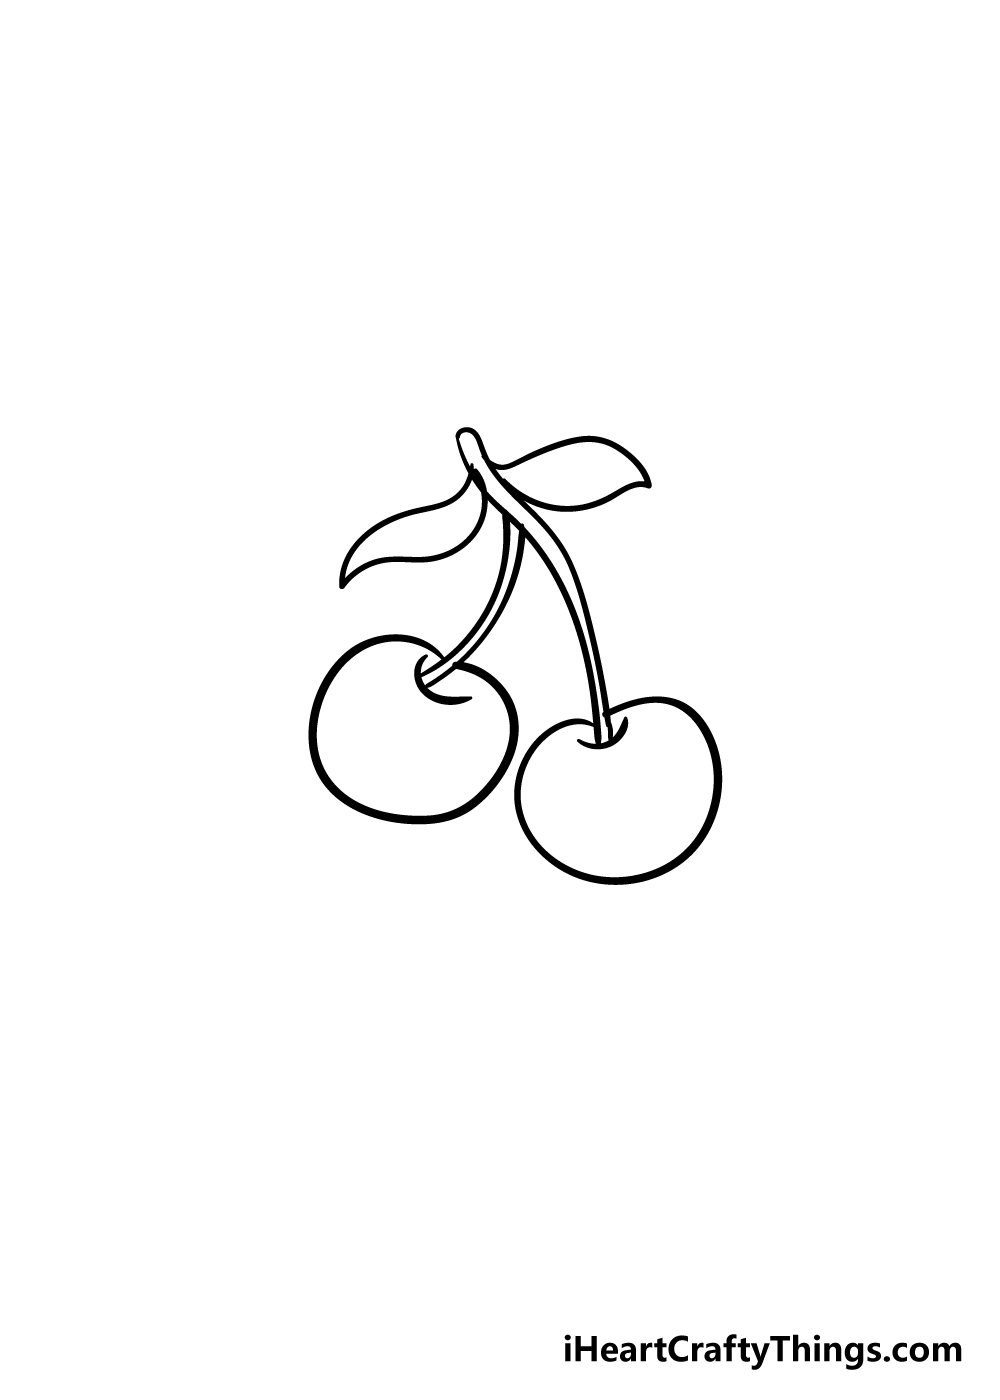
The main aspect of the step is to draw a central line through the leaves from the previous step.
Those final details mean that your cherry drawing is ready for the final step!
How will you finish offthis cherry drawing before the final step?
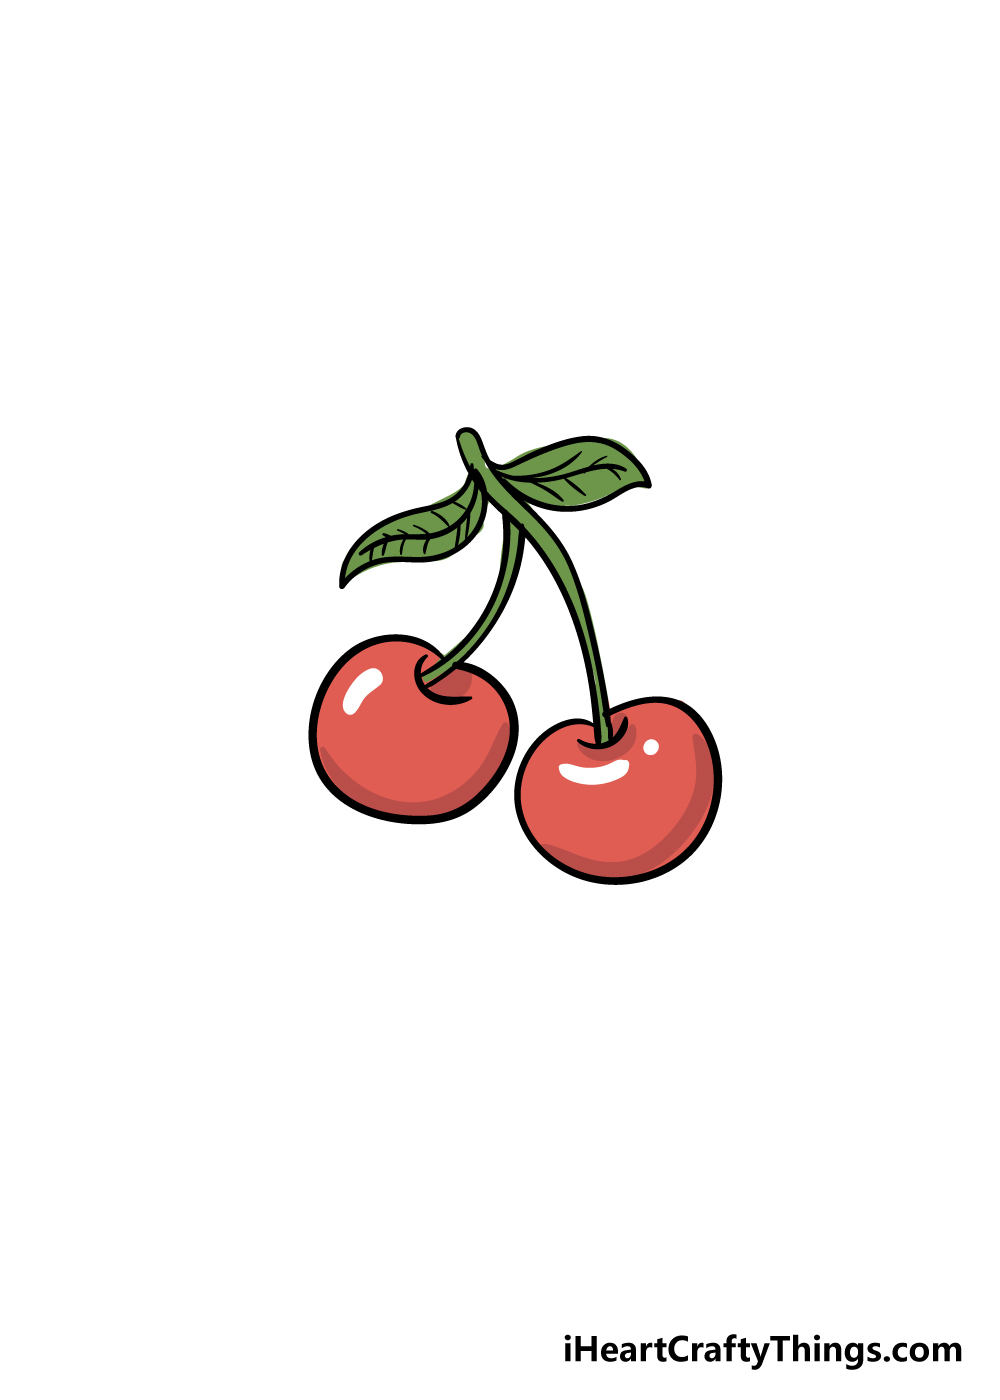
Now that your cherries are drawn, it’s possible for you to have some fun coloring them in.
Cherries have a lovely bright red color to them, which makes them very striking to look at.
Its all up to you, and we know that whatever you choose will look incredible!
5 Tips To Make Your Cherry Drawing Even Better!
Find out how to make your cherry sketch even greater with these tips!
Whenever you eat a cherry, its hard to stick to just one!
Now that you know how to draw them, you could add as many as the page will allow!
There are so many different kinds of fruits and vegetables you could add to the scene.
These could be any ones you like, and you could even arrange them like a traditional still-life.

What are some other foods you may want to add?
There are tons of tweaks you could put these cherries into.
What sorts of backgrounds can you think of that you could create?

This would be another way to present this cherry sketch!
These are just a few examples, but what else could these cherries be on top of?
Watercolors and colored pencils would be better for a more muted look, however.

What will you choose?
Your Cherry Drawing is Complete!
You have successfully reached the end of our step-by-step guide on how to draw a cherry!

We hope that you had a lot of fun working through this guide alongside us.
Finishing this guide doesnt have to be the end of your cherry drawing, though.
Be sure to let your creativity flow for this picture!

Once your cherry drawing is complete, we would also love to see your amazing drawing!
c’mon feel free to share it on our Facebook and Pinterest pages for us to admire!
More From:How to draw
Printable Bubble Letters A Complete Guide!

