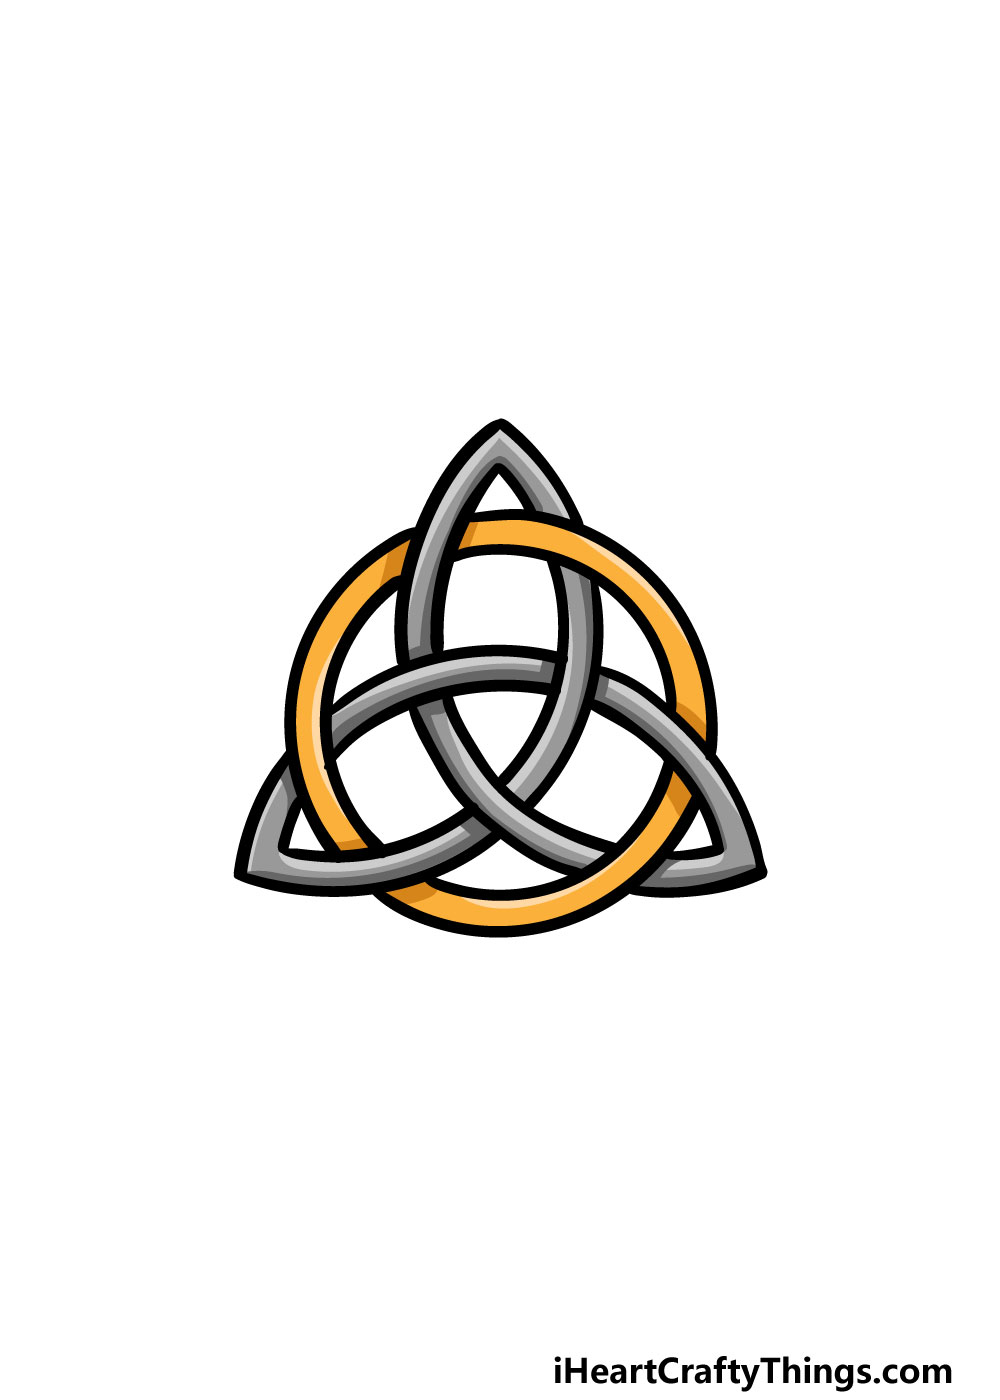
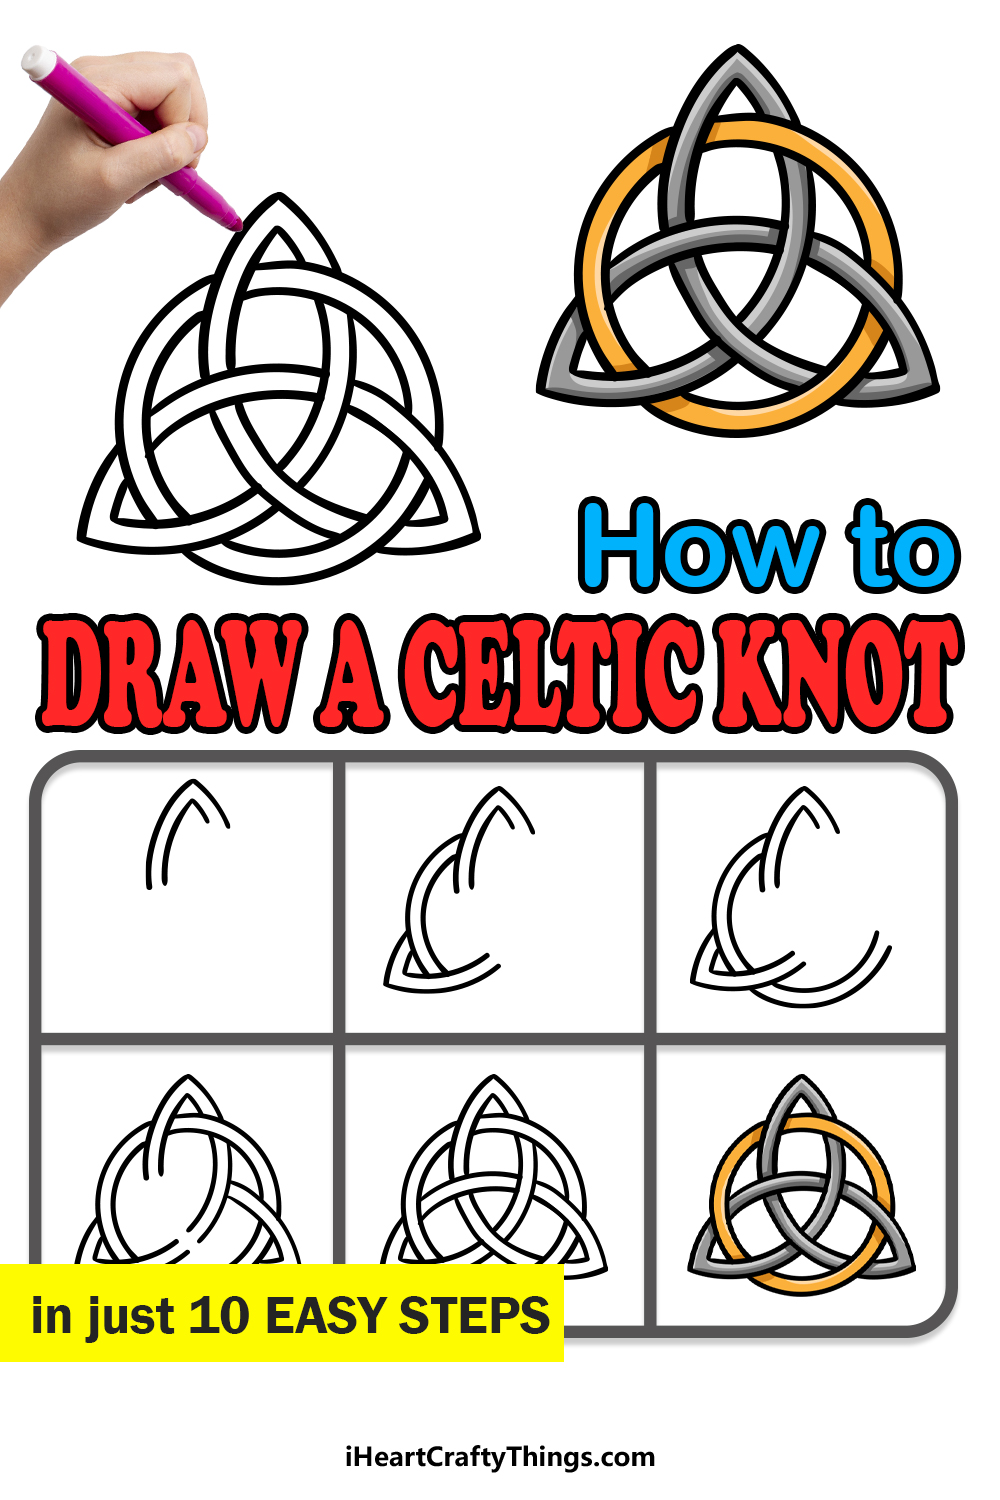
Celtic Knot Drawing in just 10 Easy Steps!
The Celtic knot is one of the most complex and intricate patterns in history.
How to Draw a Celtic knot Lets get Started!
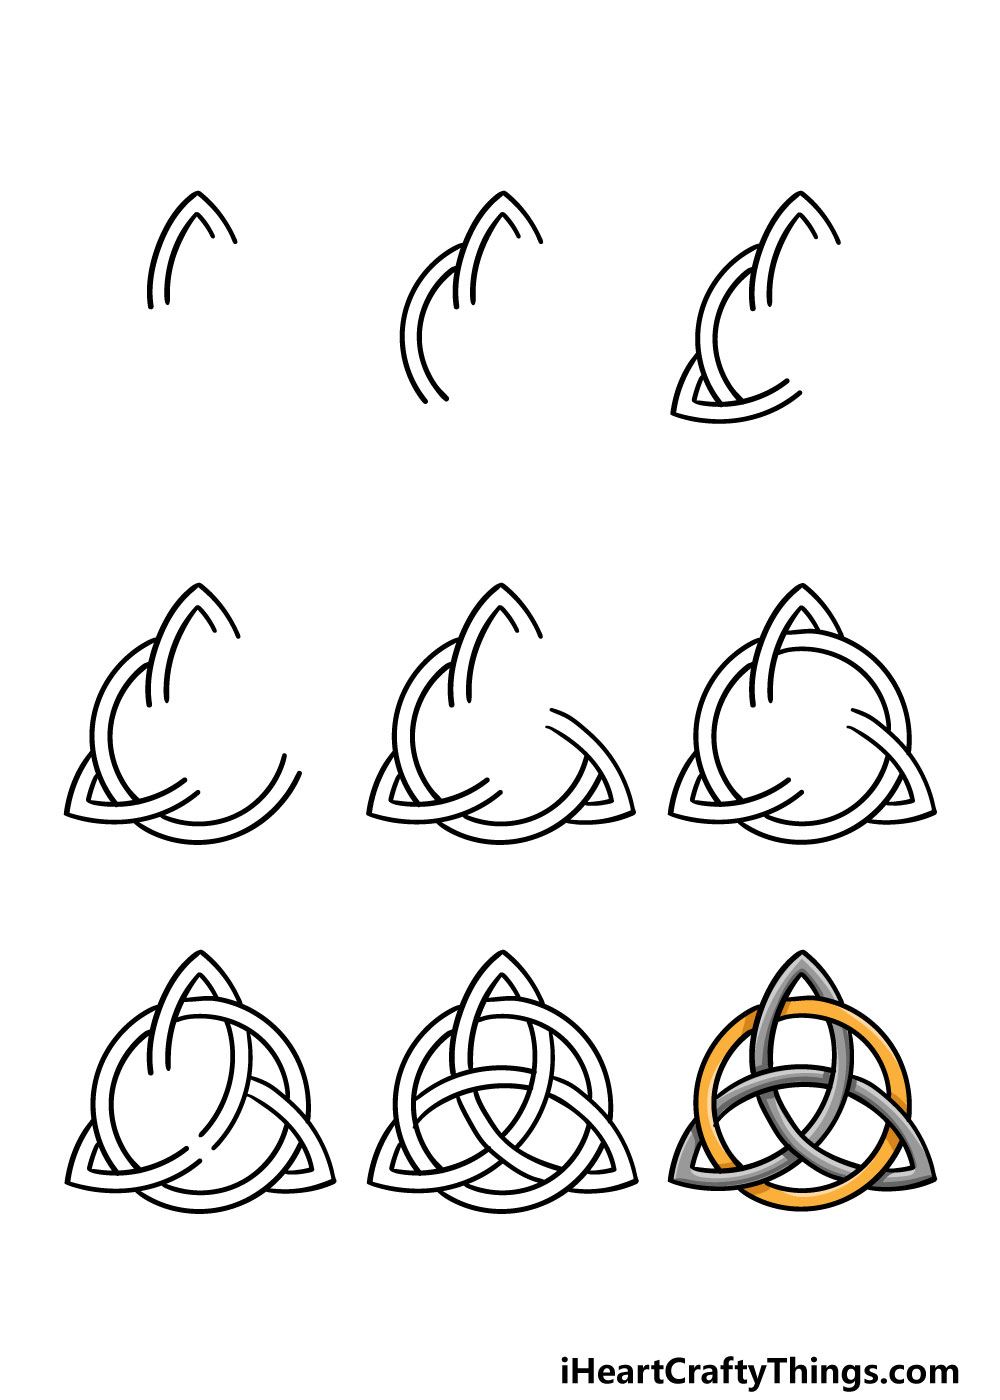
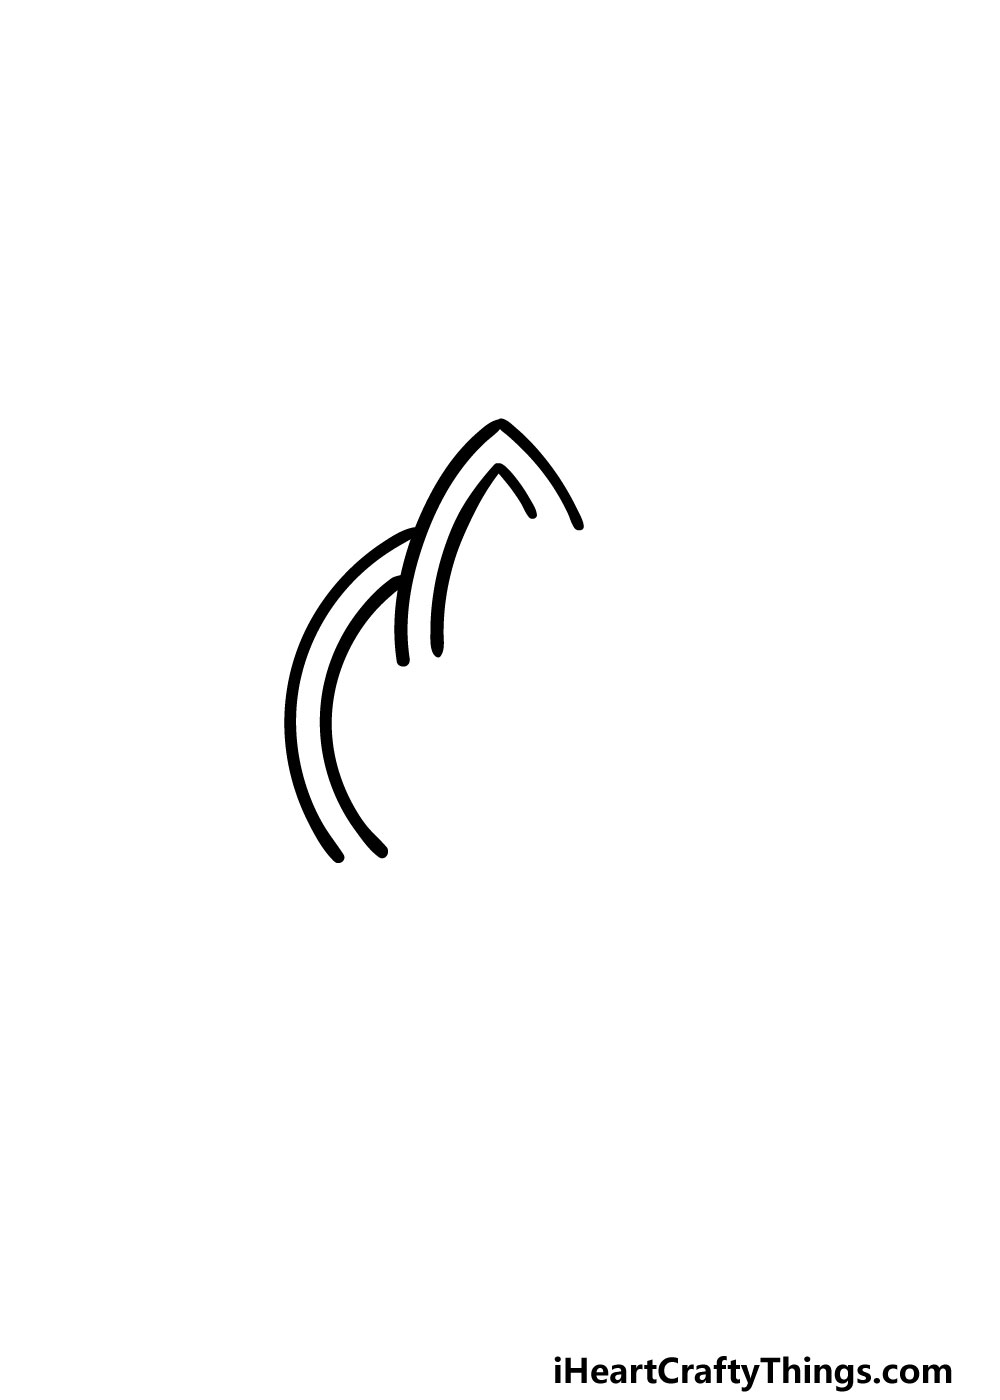
As you draw, give a shot to think of it as threads looping together.
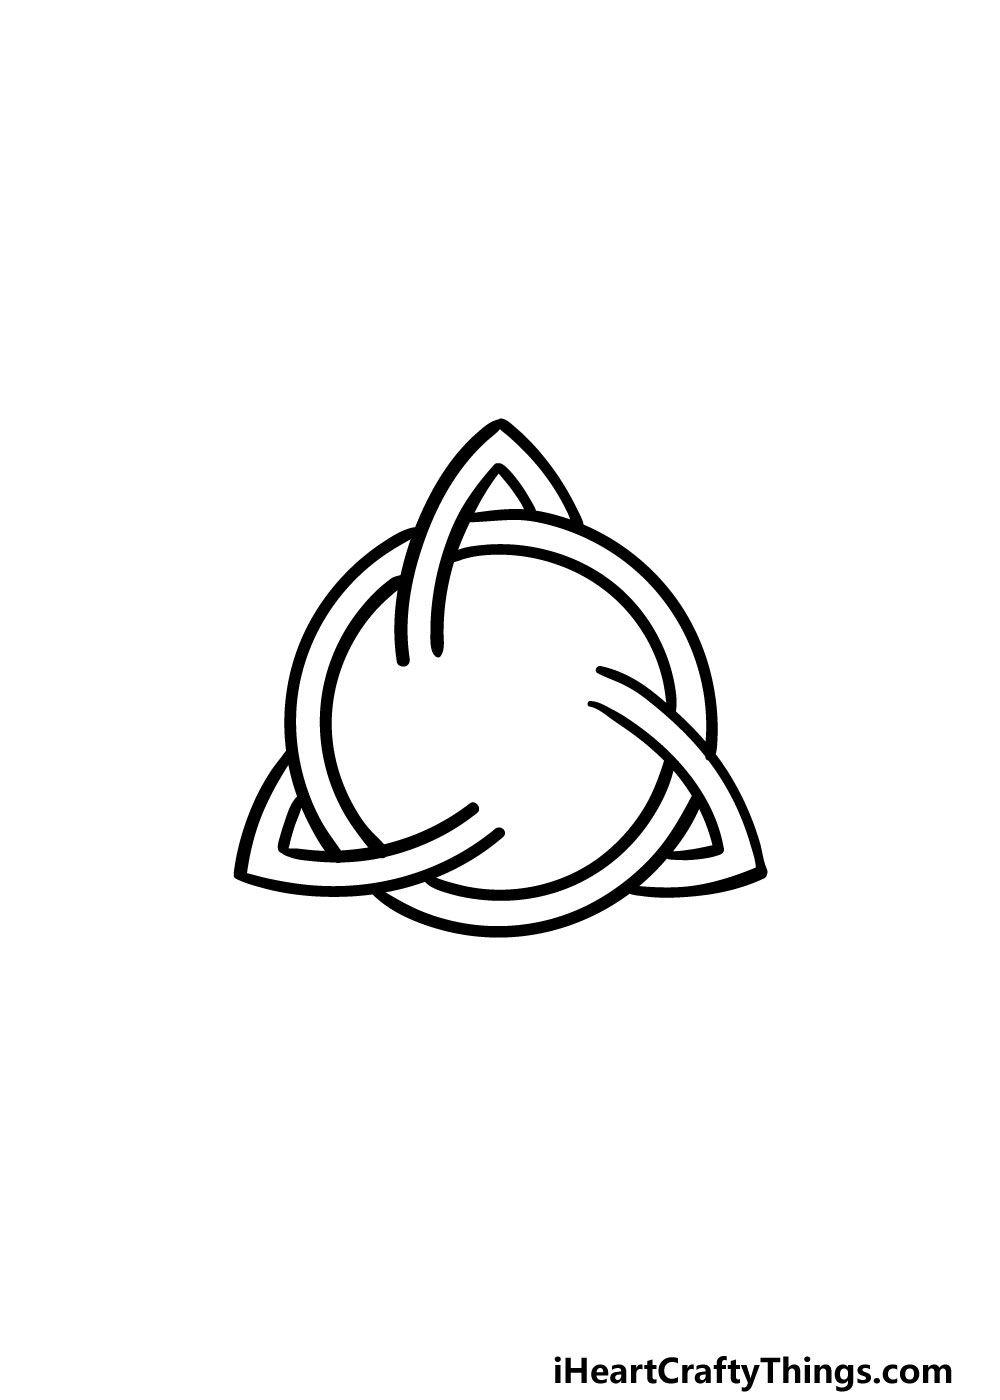
For this first thread, you will be drawing two curved lines that meet at a sharp point.
As seen in the reference image, this will form what looks like a sharp arch shape.
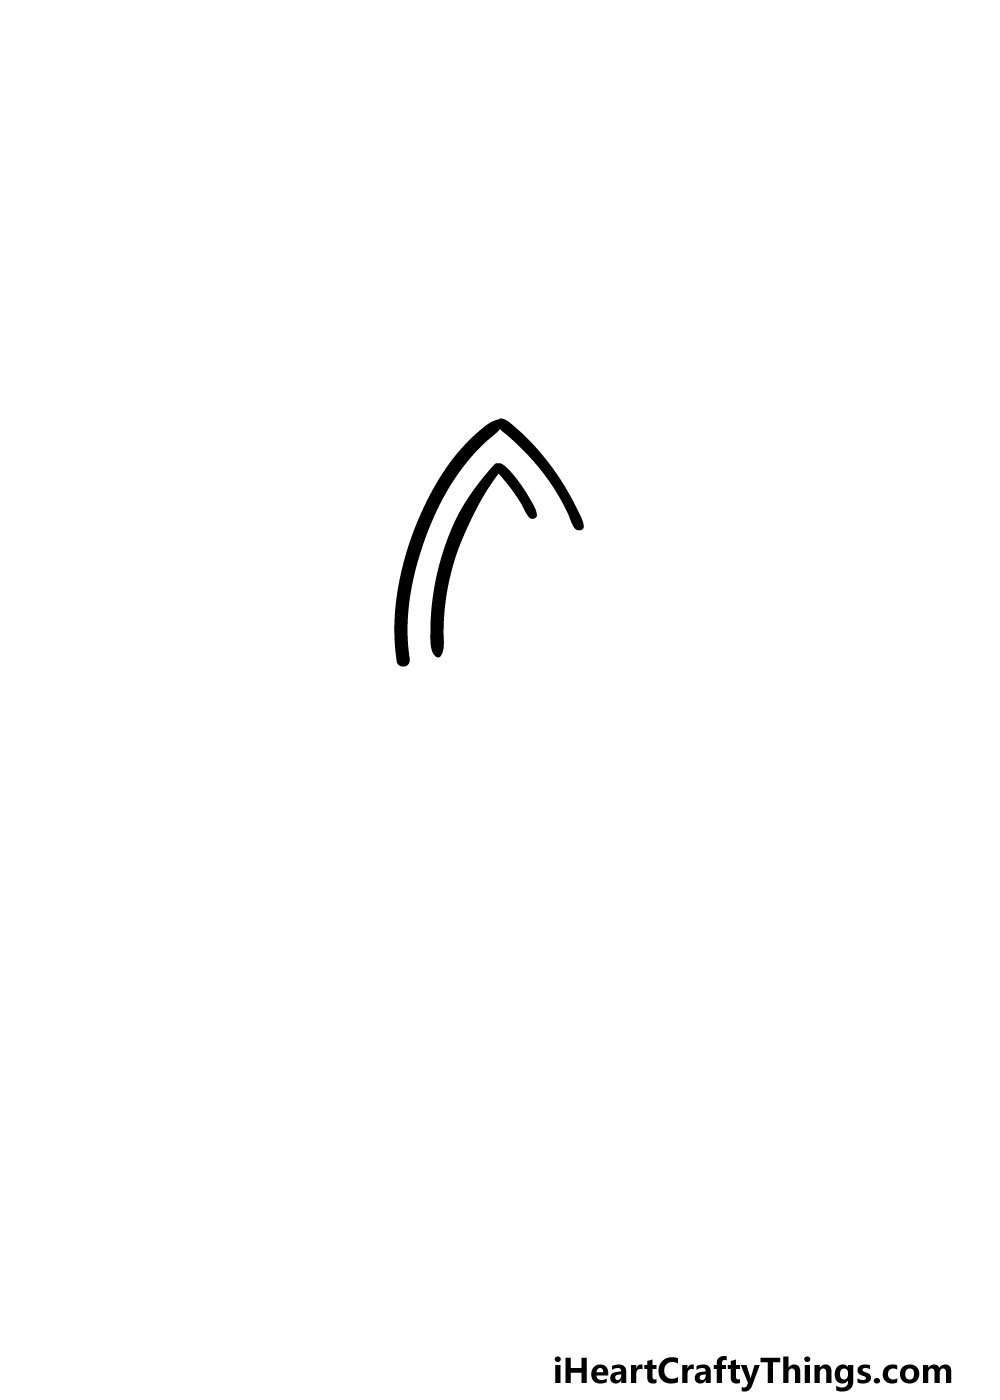
Thats all there is to it for now so its time for the next step!
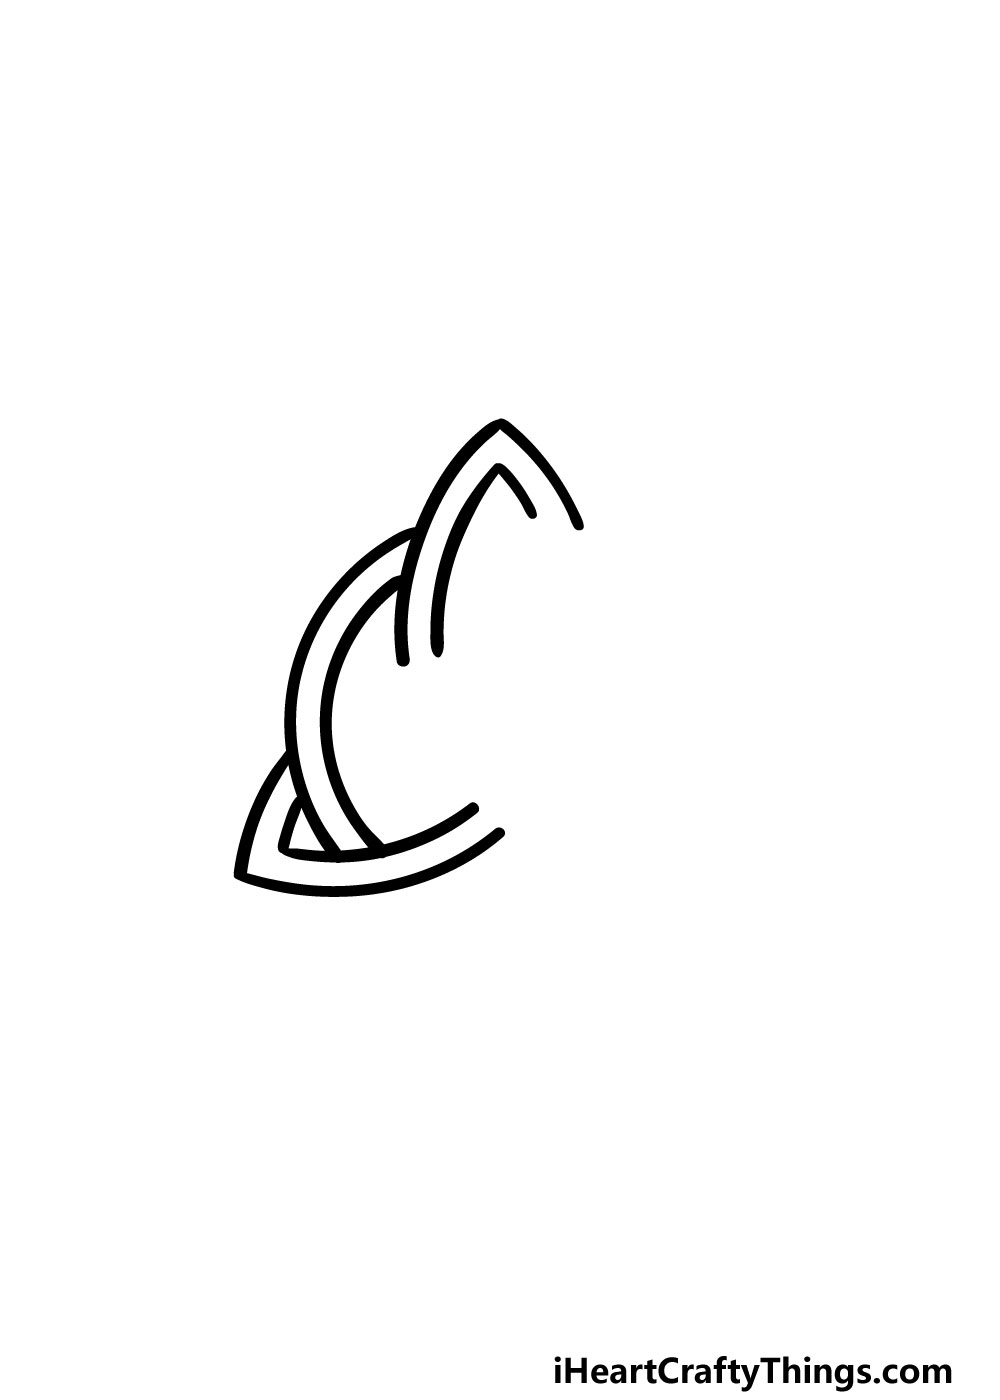
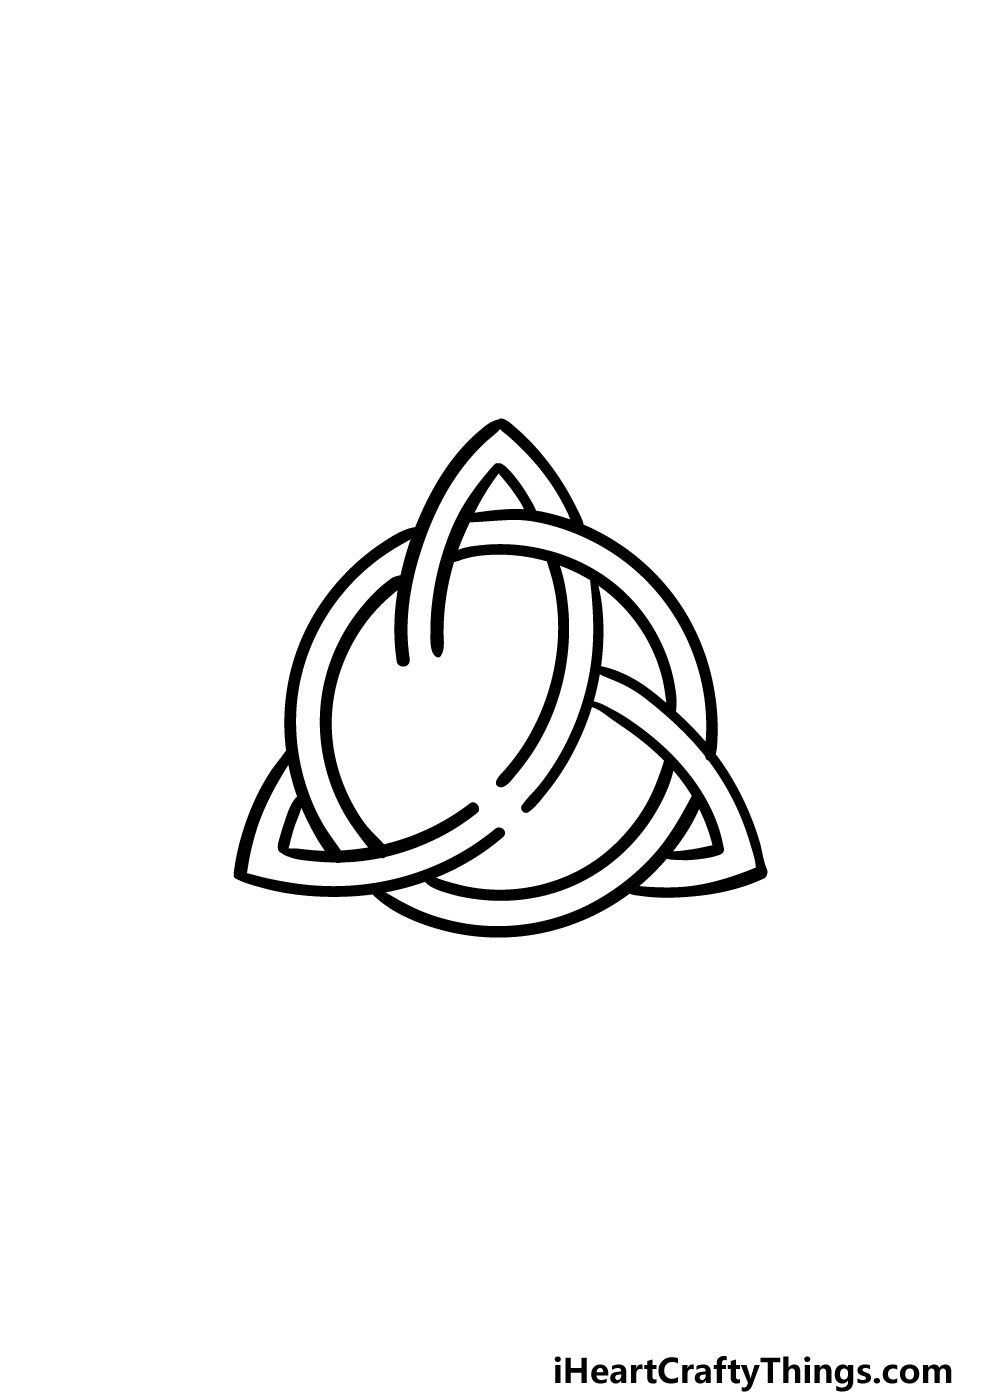
This arch will be going at more of a diagonal than that one was.
Once thats done, we can continue building on the knot as we proceed.
If any of this sounds confusing then referring to the reference image should make it much clearer!
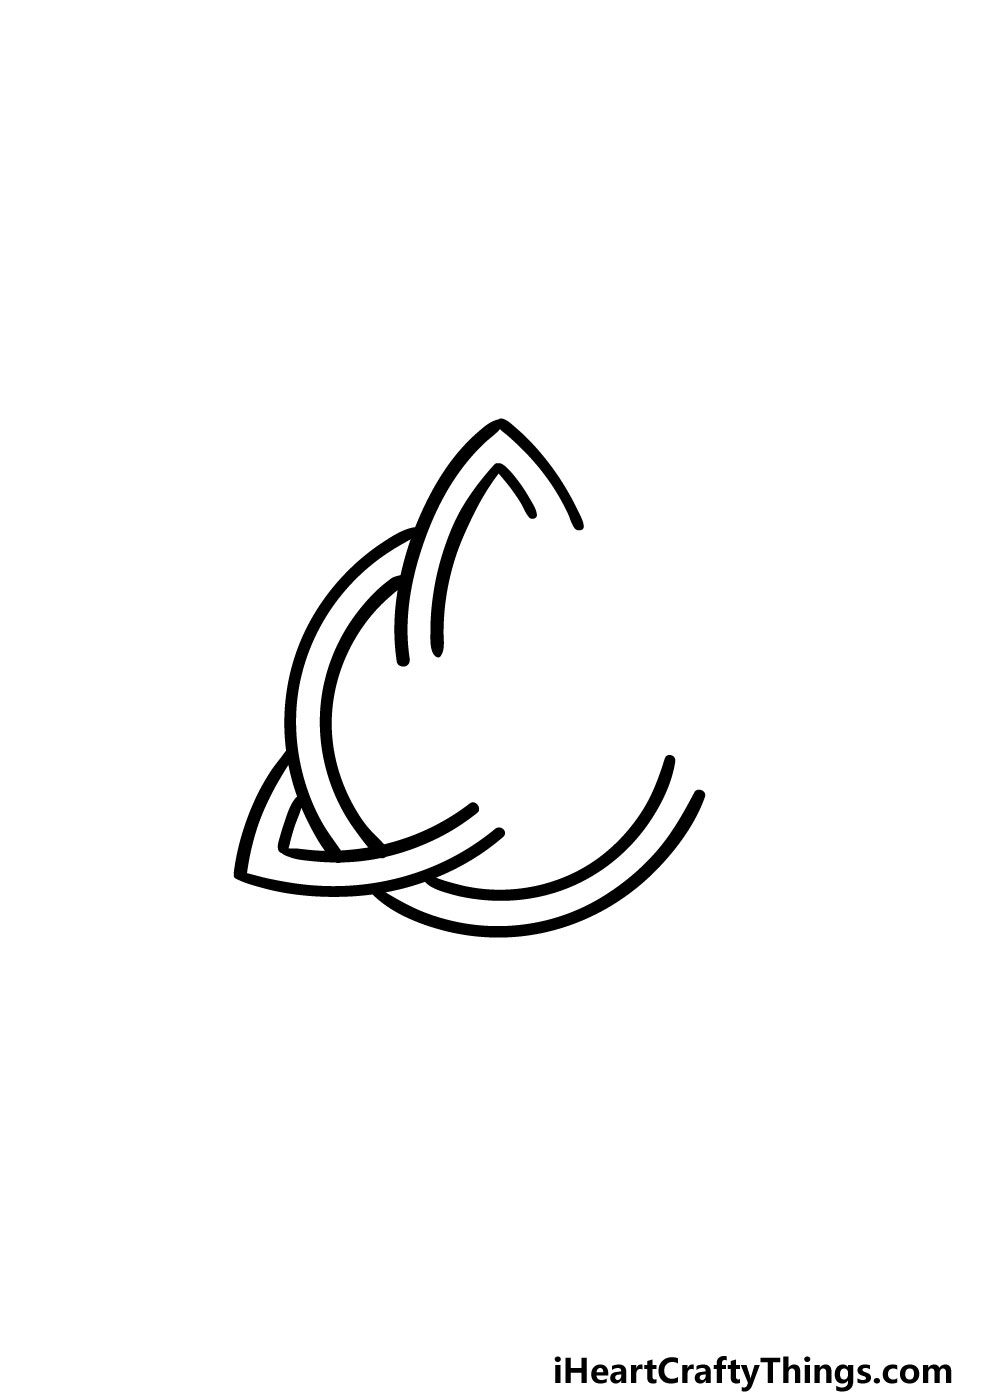
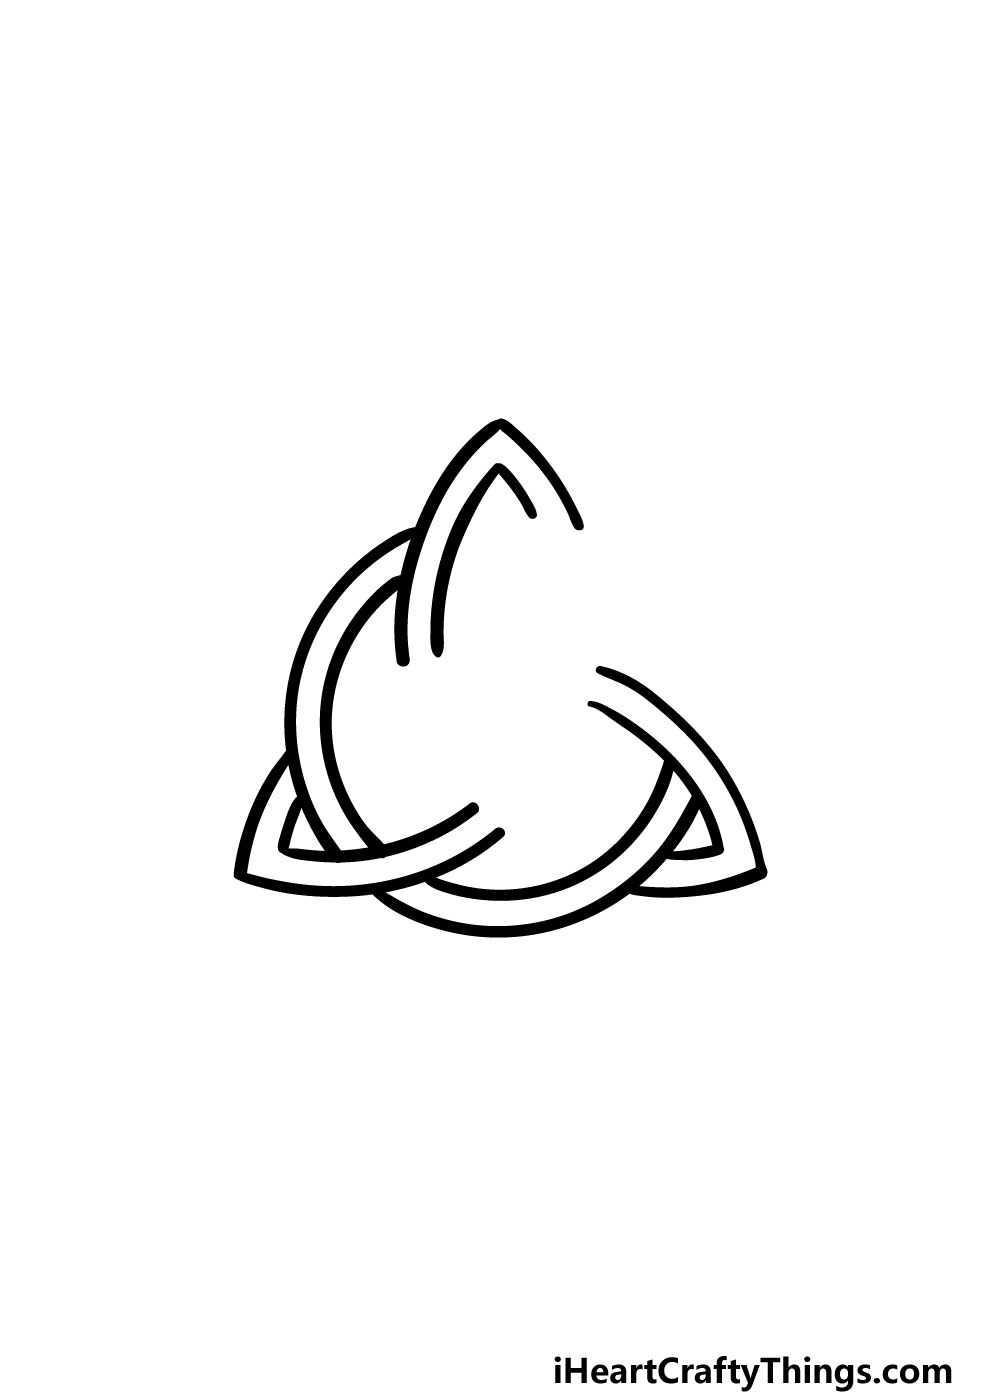
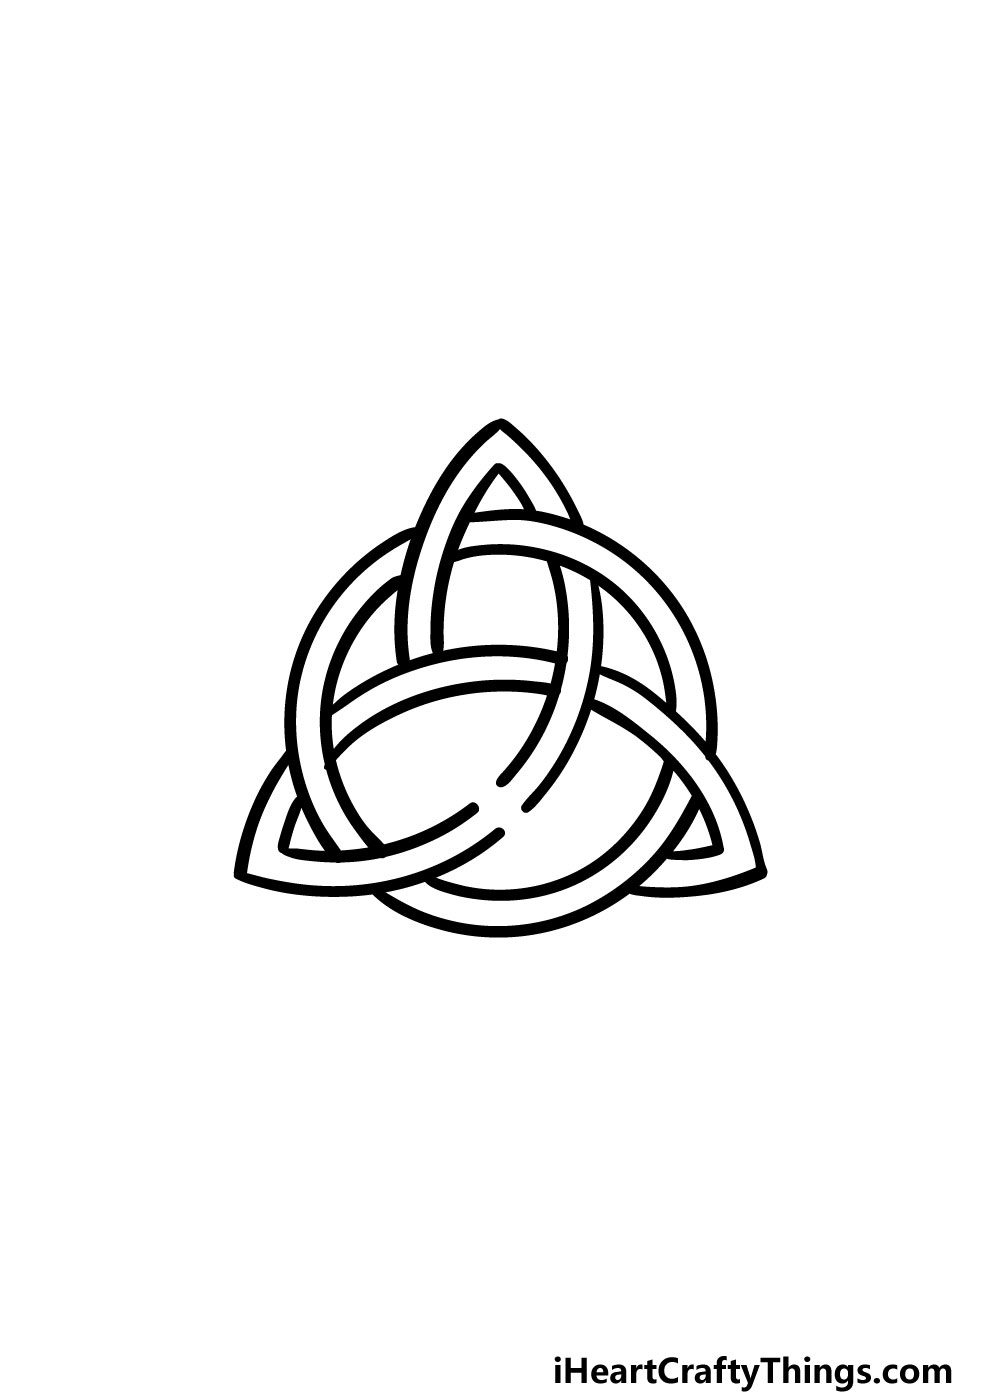
That circular shape is what we will be finishing off in this part.
With that, your Celtic knot drawing will be complete and youll be ready for the final step.
you could also help to bring these colors to life by choosing your art mediums wisely.
We cant wait to see how you bring this picture to life!
Now that you have completed it, you could make it larger!
You could even try out completely unique designs when you have the hang of it.
These colors could be as bright or as subdued as you wish!
What are some colors you think would suit this Celtic knot?
To do this, you could start by looking up instances of Celtic knots used in real life.
This is a great way to make the Celtic knot look like it exists in real life!
When your Celtic knot sketch is complete, you will have a lot of empty space in the background.
There are quite a few ways that you could fill in this empty space.
One would be to use some solid colors or textured background.
Another option would be to use some runes and other Celtic symbols to fill the background.
You could look up some real examples of these to make it more authentic and beautiful as well!
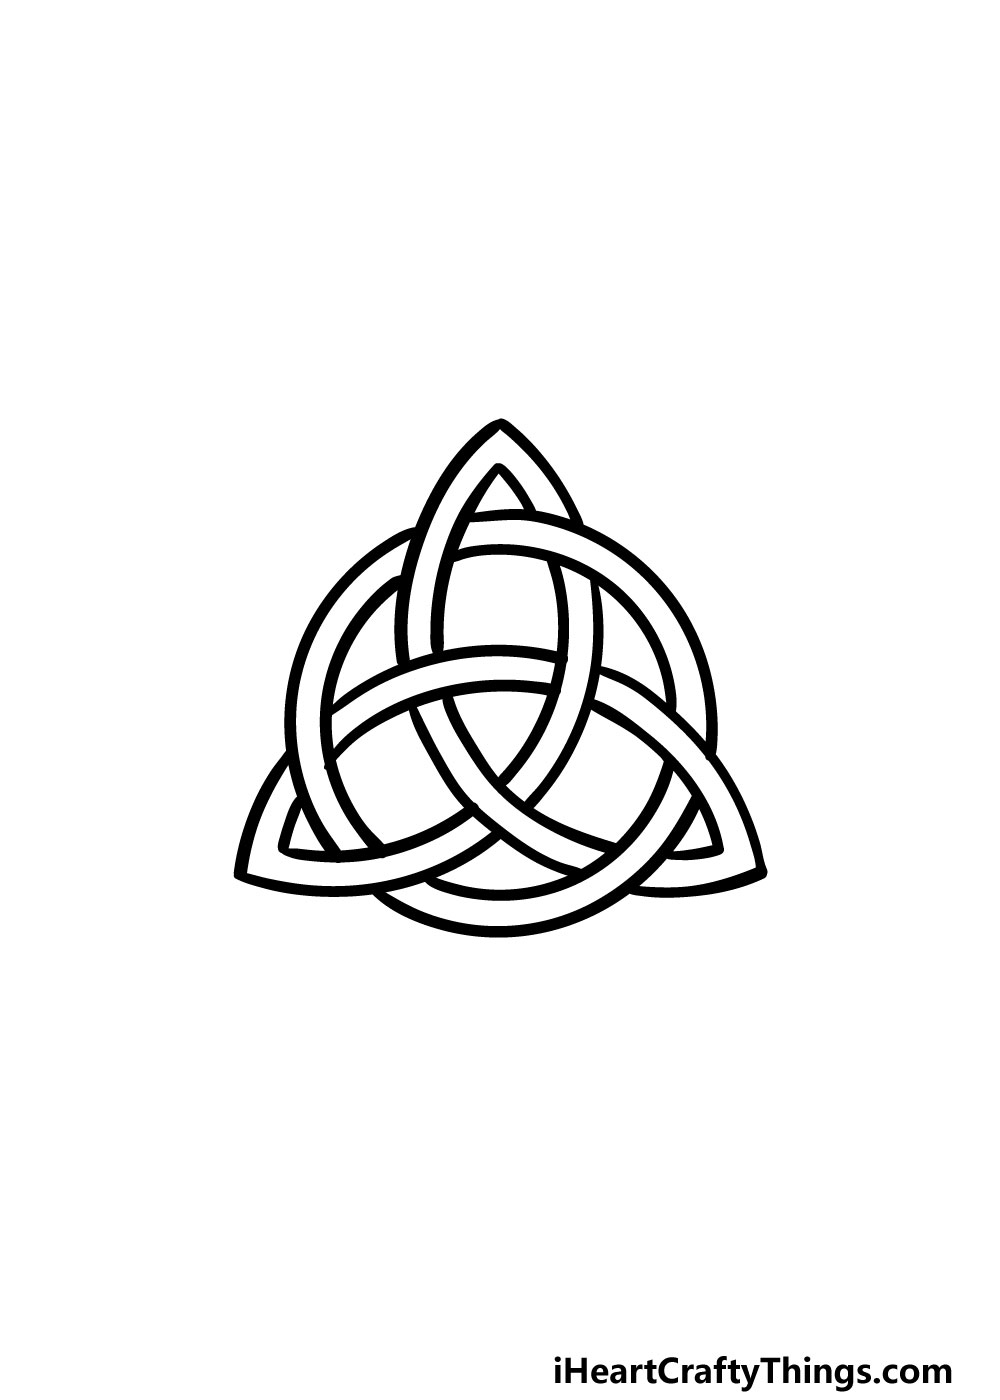
Your Celtic Knot Drawing is Complete!
With the final details and colors added, you have finished this guide onhow to draw a Celtic knot!
You could do this by extending the design of the knot by adding your own lines and designs.
Finishing it off with your favorite colors and art mediums will also look great!
Once youre ready for your next drawing challenge, we look forward to seeing you on our website!
We have tons of guides for you there and we upload new ones frequently.
When your Celtic knot drawing is complete, we would love to see it!
More From:How to draw
Printable Bubble Letters A Complete Guide!