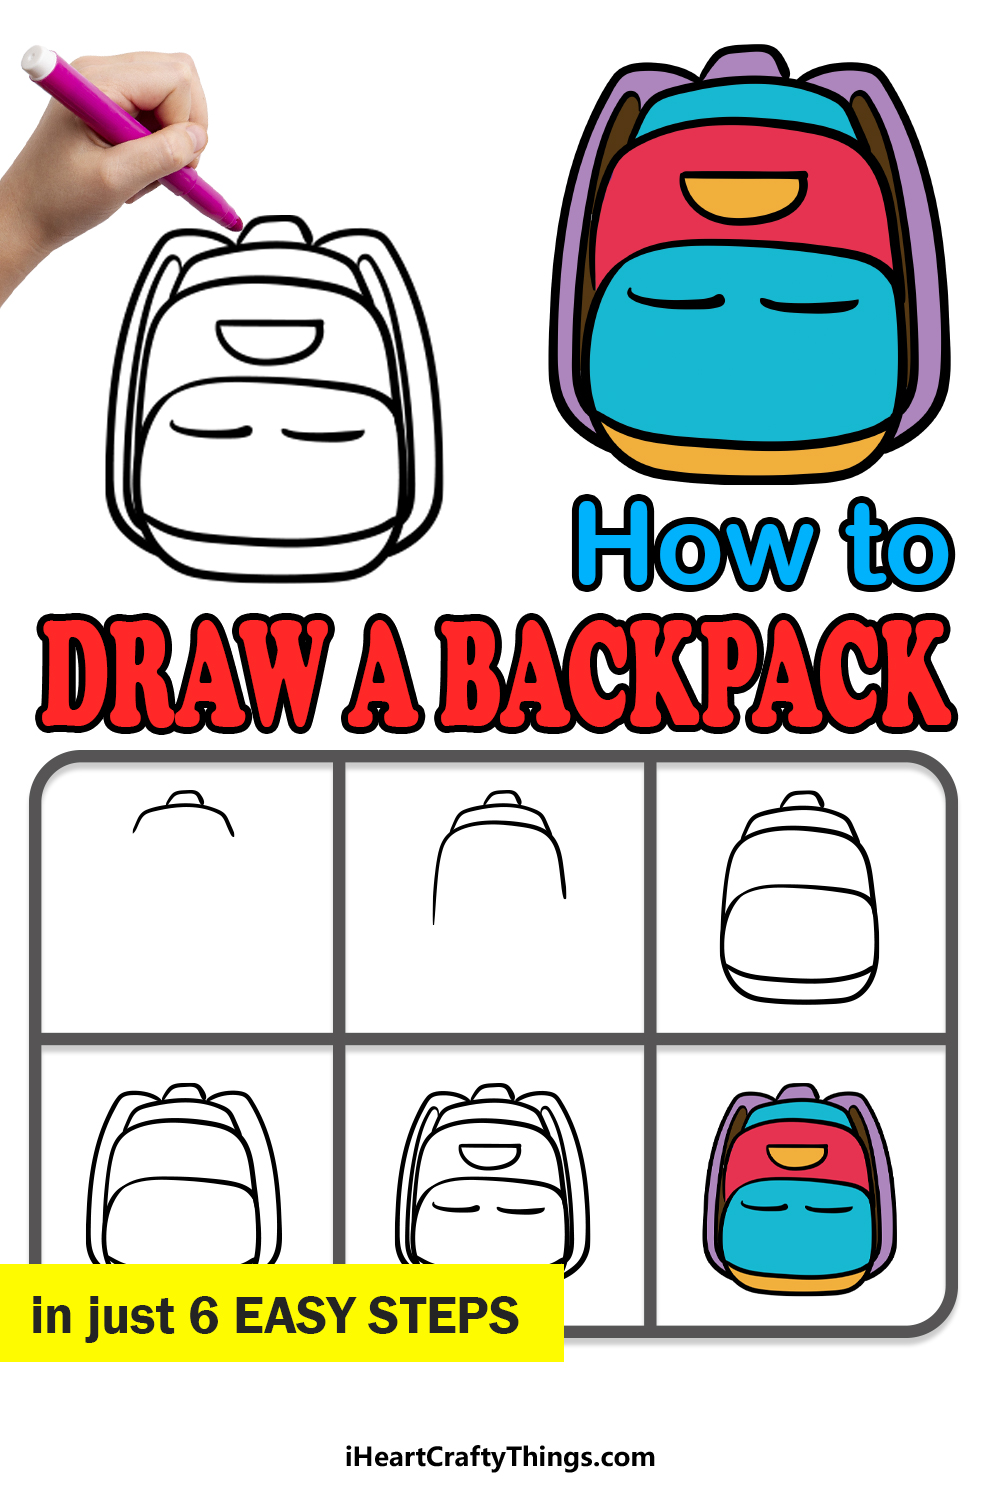
Backpack Drawing in just 6 Easy Steps!
How to Draw A Backpack Lets Get Started!
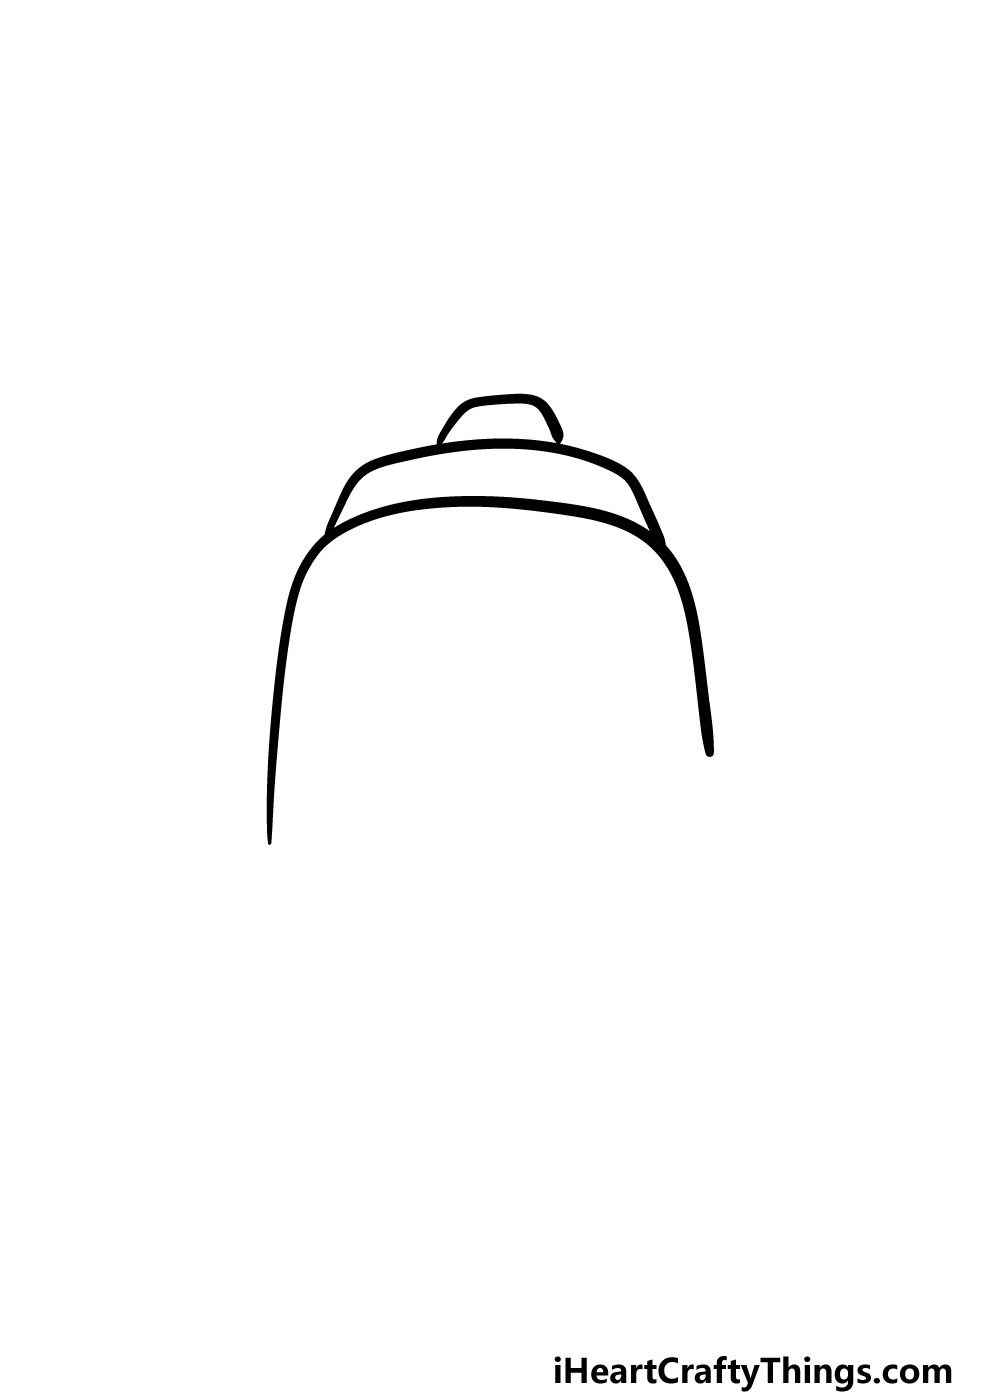
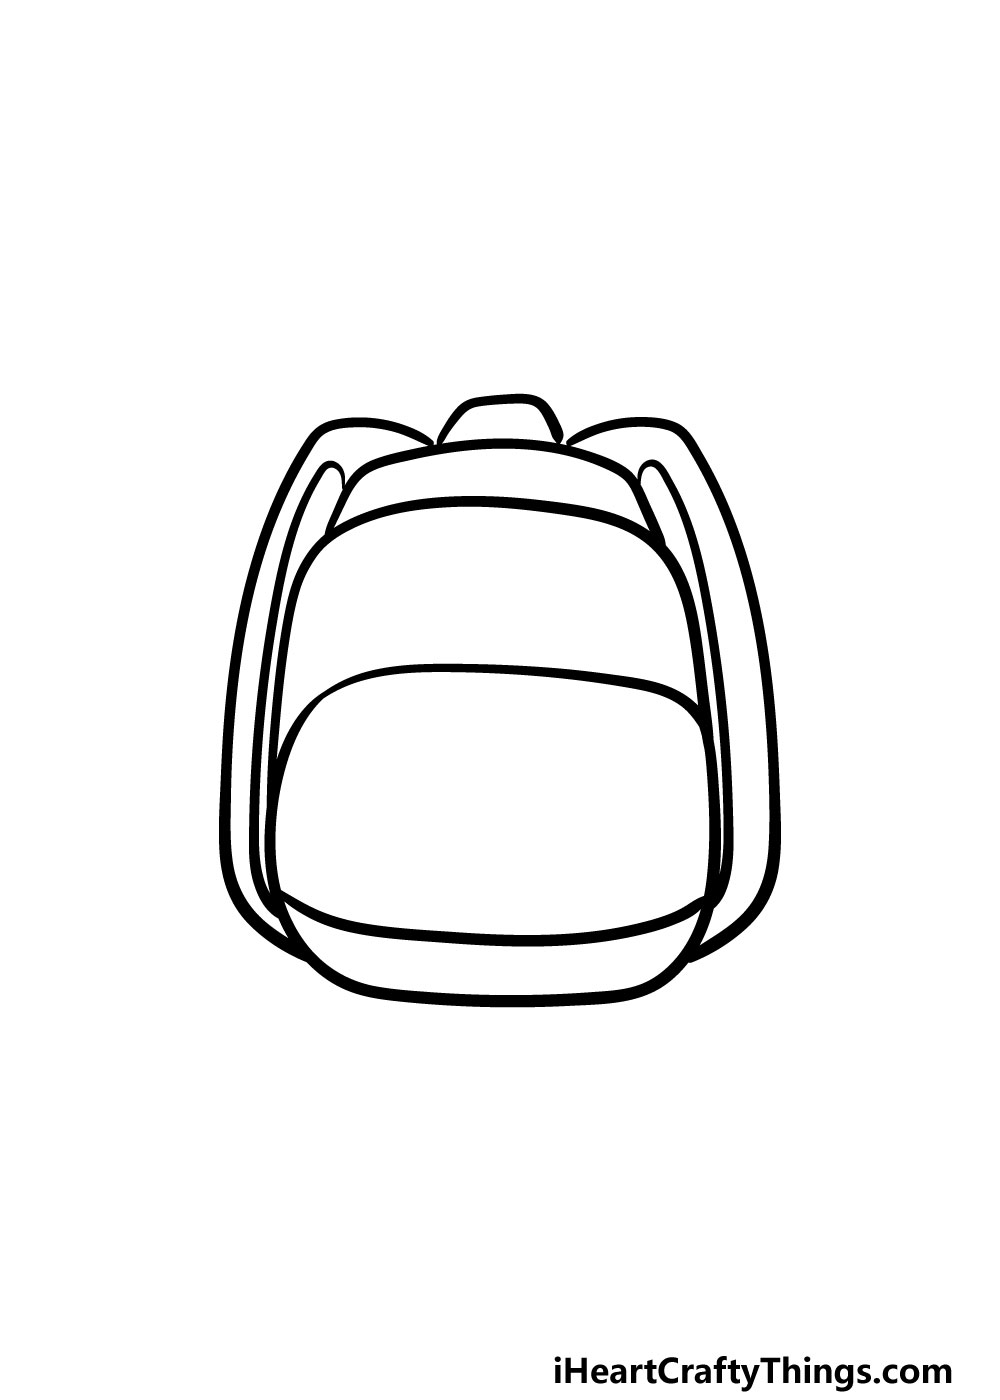
For this step, we will be focusing on the upper half of the backpack.
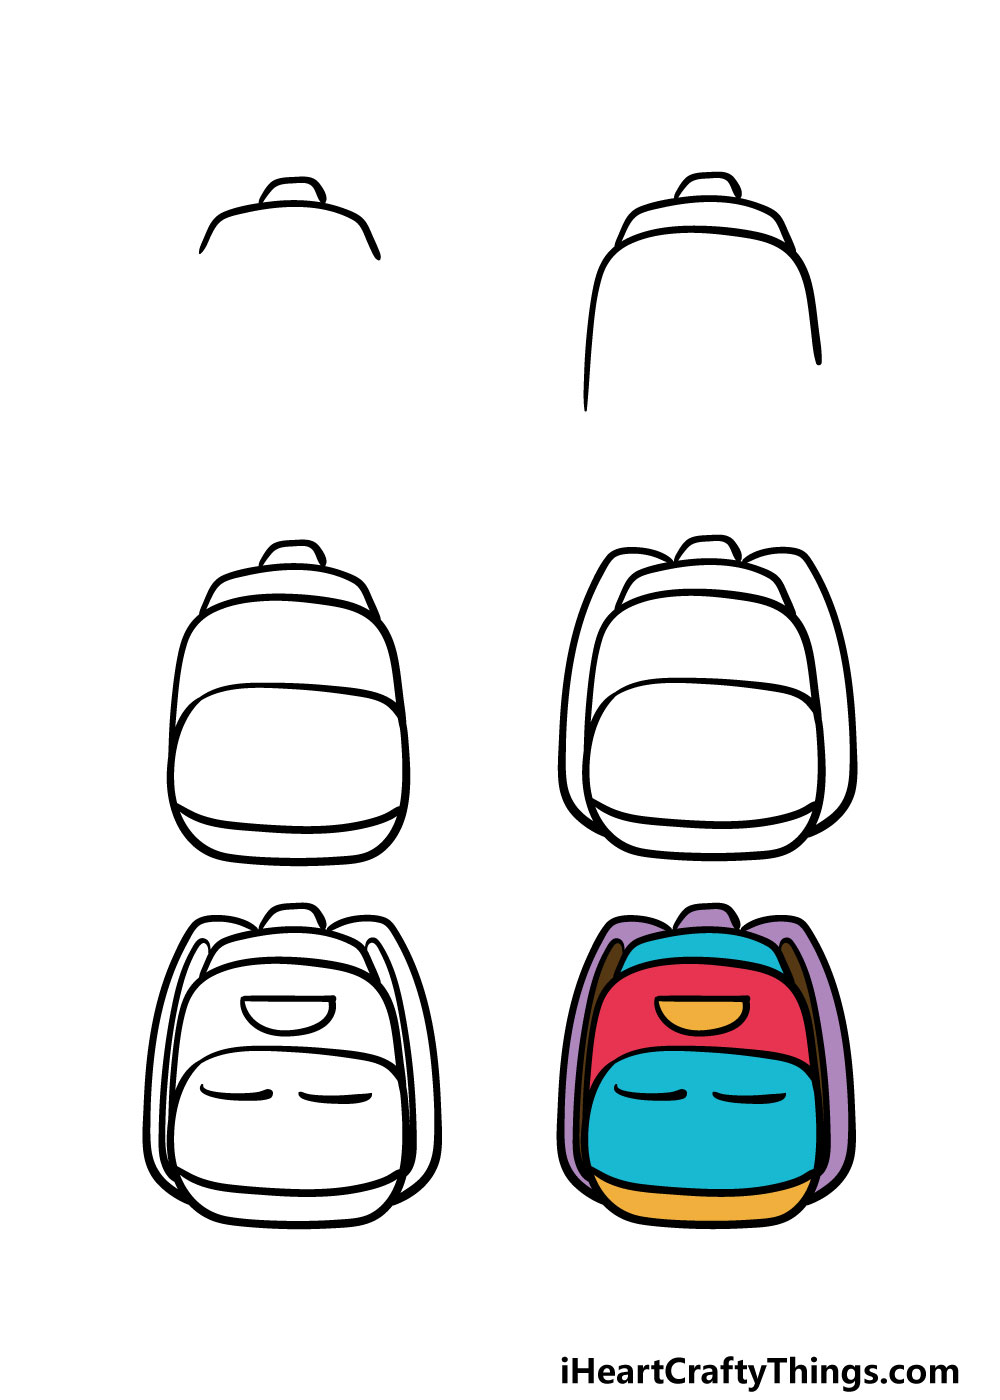
it’s possible for you to use a series of three shapes that get smaller as they go up.
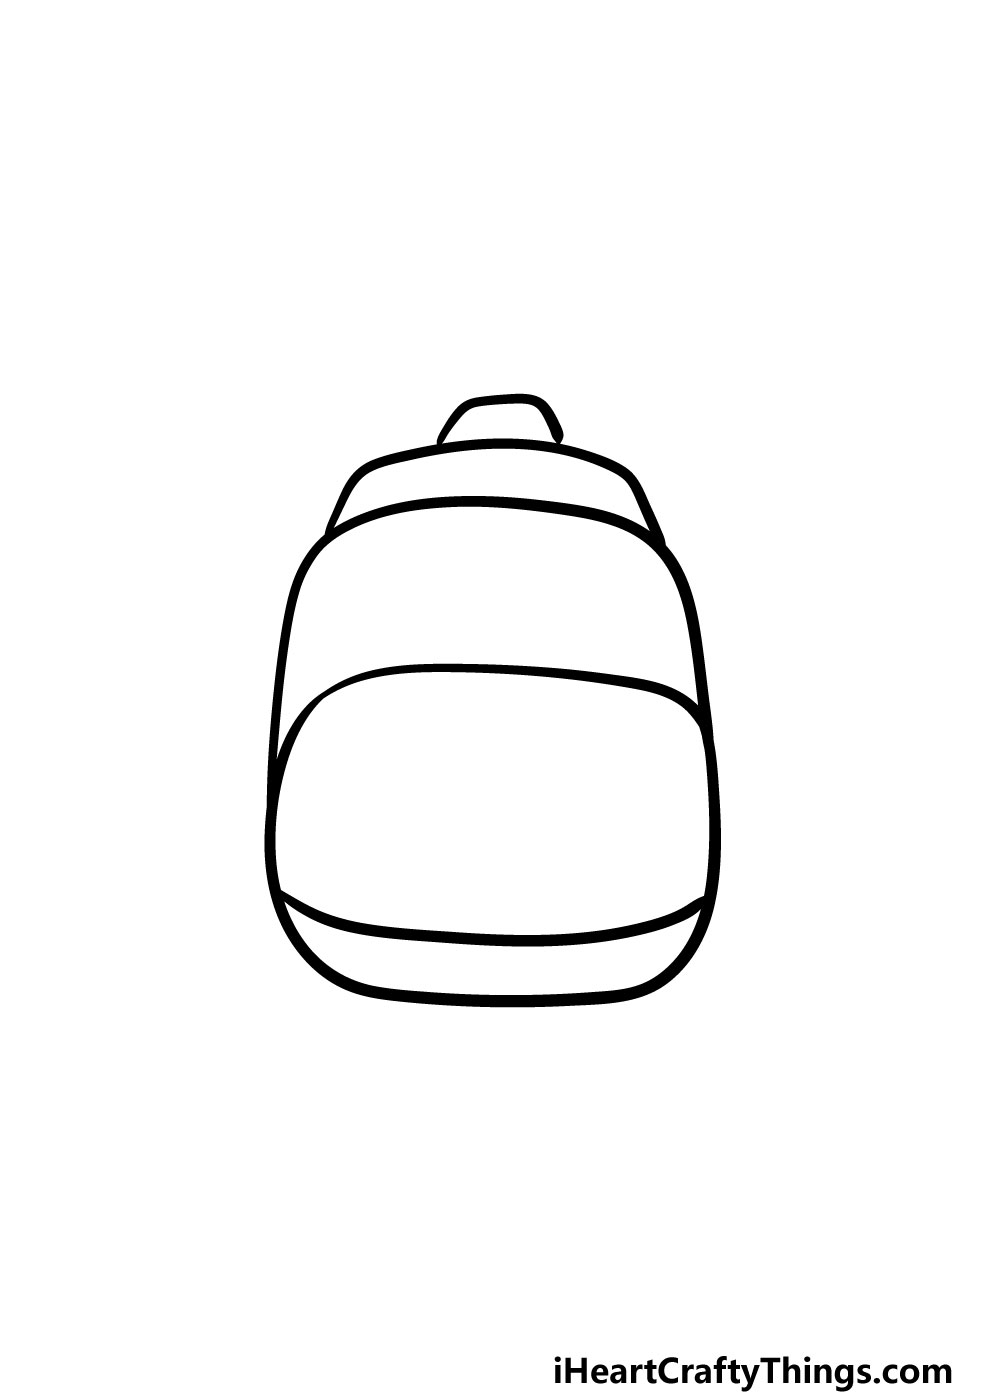
Then, you might draw some simple horizontal lines in the bottom half of the backpack for some pockets.
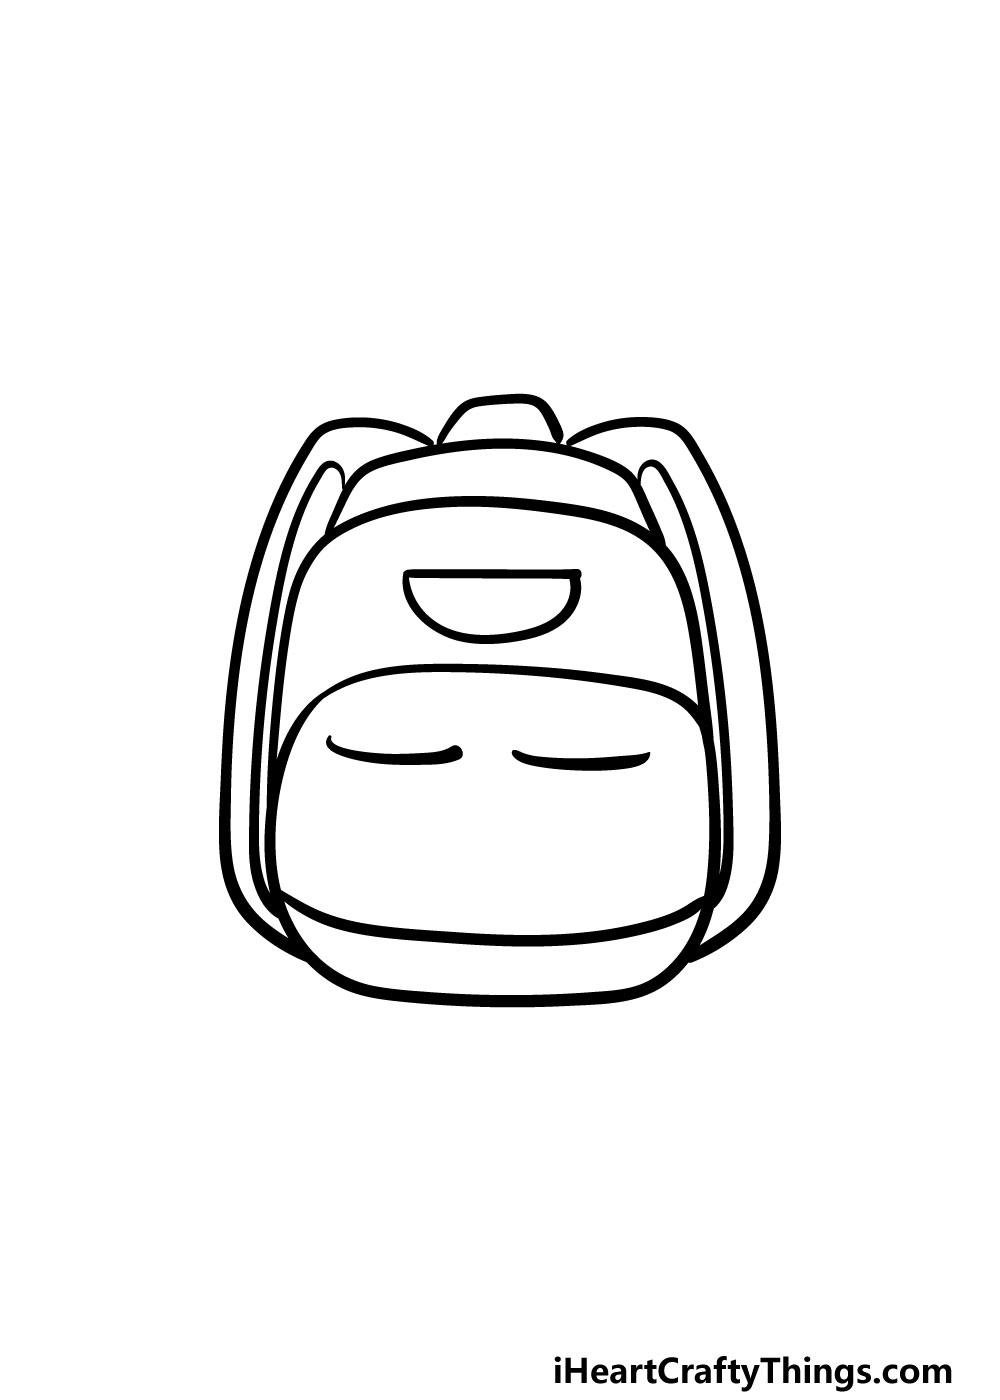
This is your chance to let your inner designer free and show us whatyour ideal backpackwould look like!

How will you finish off this drawing before the final step?
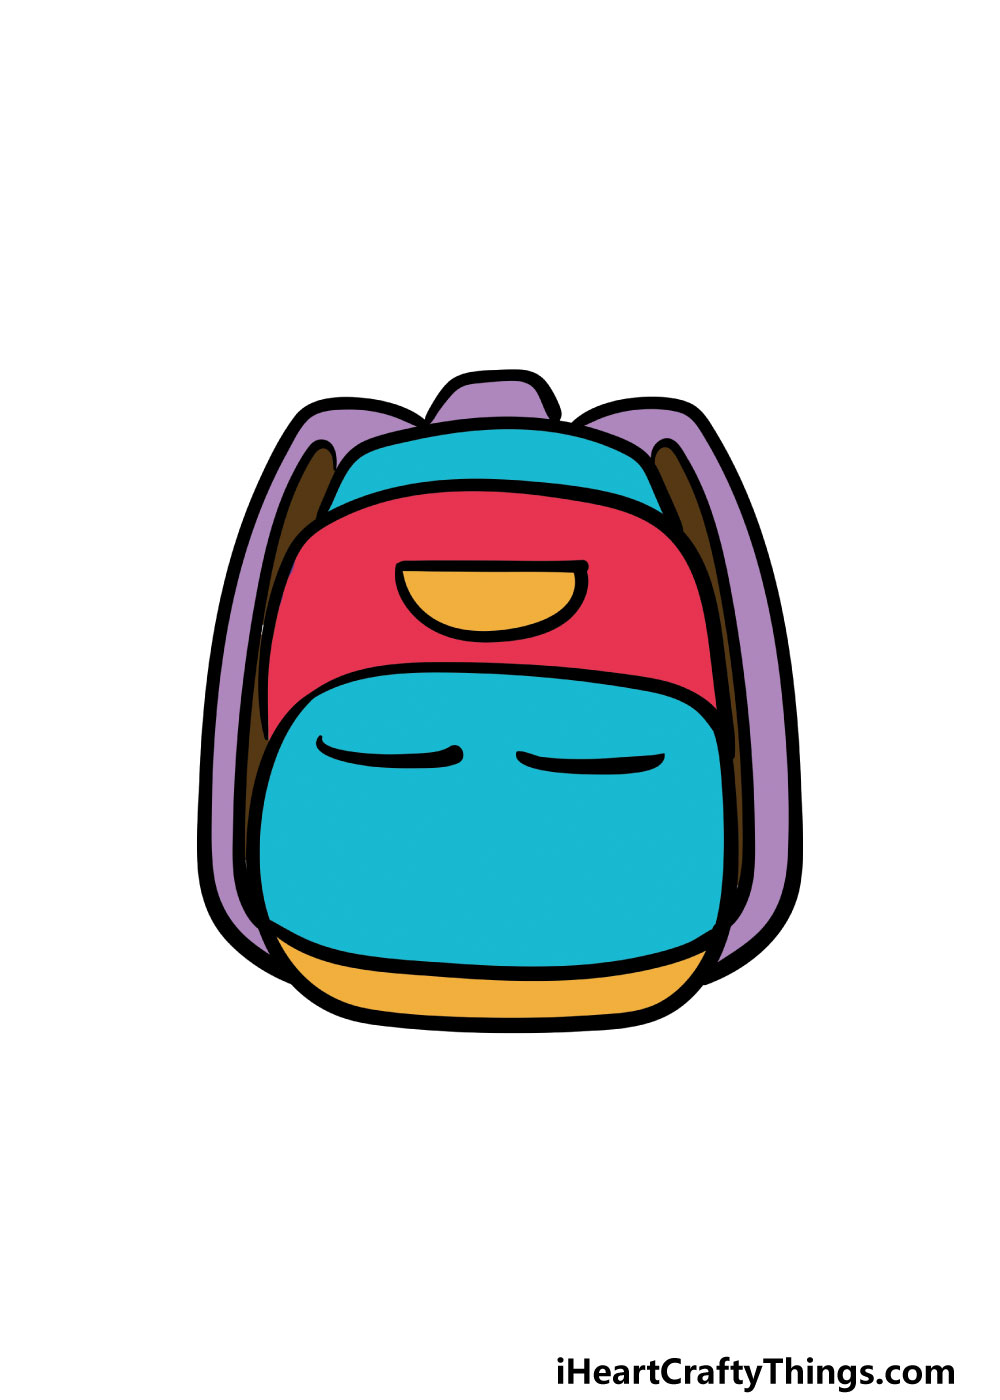
For our example image, we used reds, purples, blues and yellows.
This is your chance to use all of your favorite colors to finish off your backpack!
For more muted colors, you could try some watercolors or colored pencils for that look.
Even with a real backpack, you will often see people customizing them with various buttons and keychains.
You could add these kinds of extras to your backpack drawing!
We mentioned buttons and keychains, but these are just a few examples!
This is another step where you could look at a backpack you or someone you know own for inspiration.
By adding different zippers, compartments and logos you could easily make this backpack look more distinct.
What kind of backpack would you like to create?
This could be a character drawn in any kind of style you find fun and easy!
We used some bright and eye-catching colors for our example of this backpack drawing, and they look great!
You could really use any colors you like to get to create your very own perfect backpack.
We cant wait to see how it turns out!
Your Backpack Drawing is Complete!
We have plenty of guides for you to enjoy, and we upload new ones frequently as well.
More From:How to draw
Printable Bubble Letters A Complete Guide!