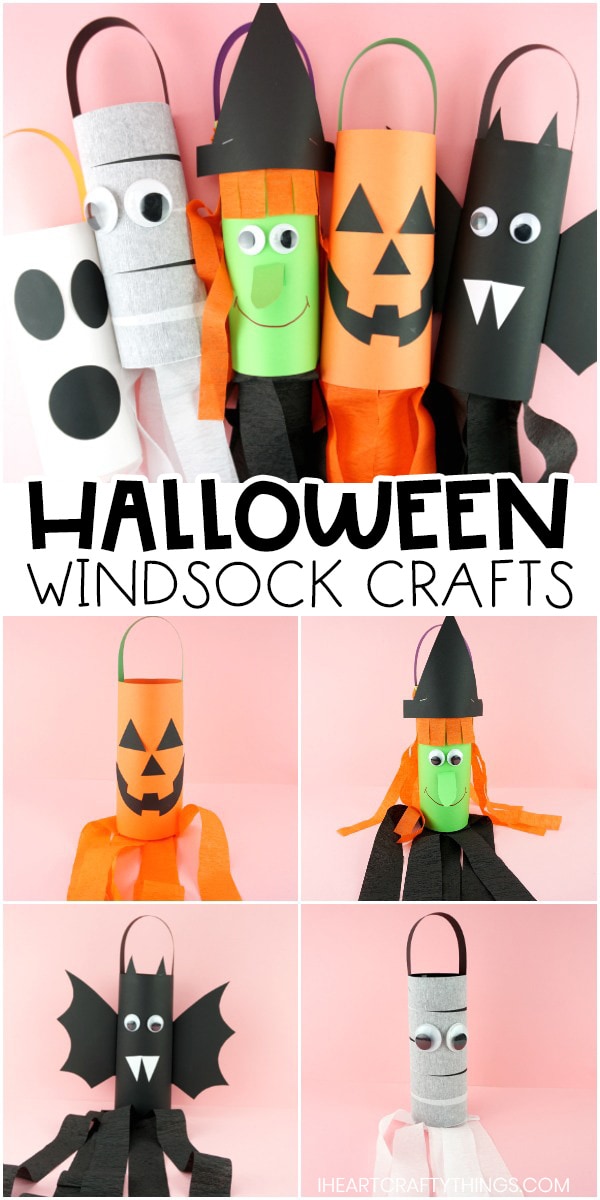
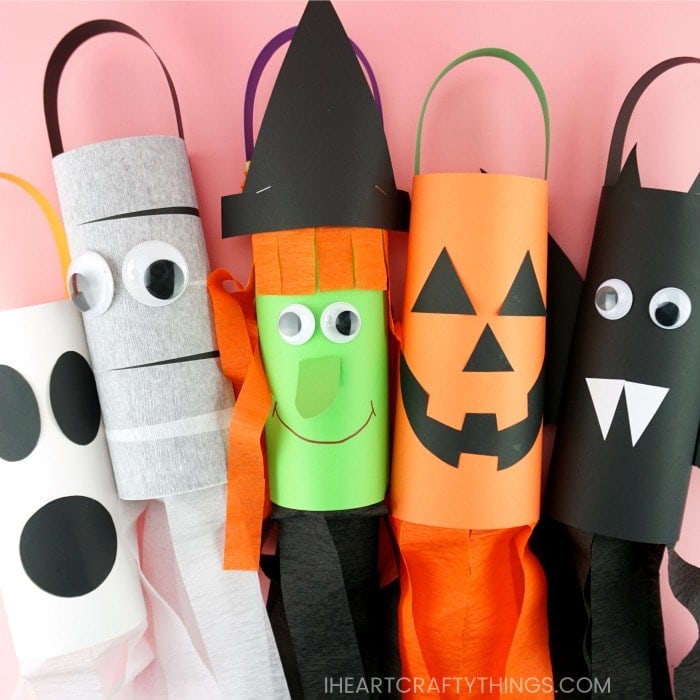
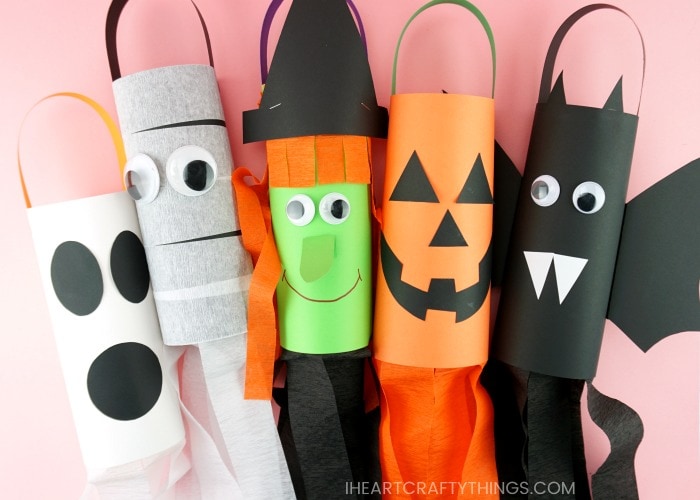
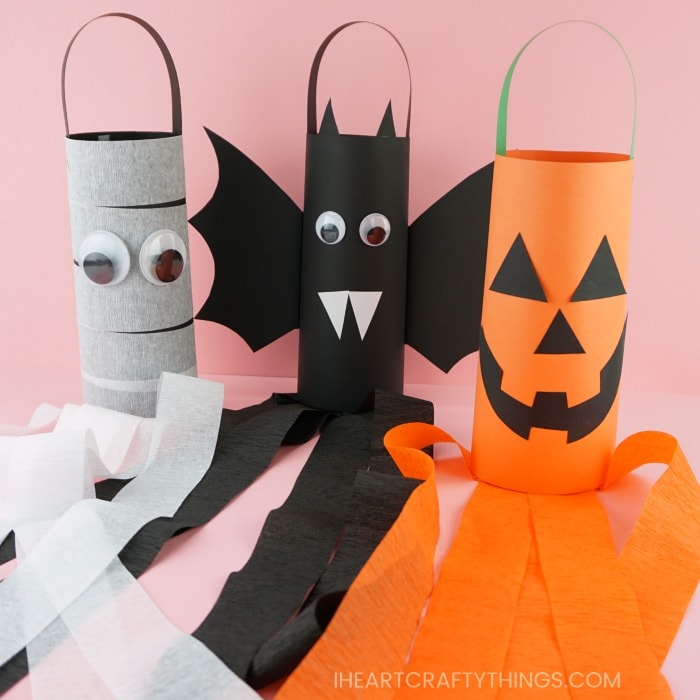
Looking for a fun way to decorate a classroom or front porch for Halloween?
These DIYHalloween Windsocksare super cute and easy for kids of all ages to create.
We even made printable templates for you to use to make prep time for making these windsocks a breeze.
Halloween is one of our favorite holidays!
This post contains affiliate links to the products mentioned.
Read ourdisclosure policyfor more information.
Turn your jack-o-lantern over.
Place two staples at the top and bottom of the windsock to join the ends together.
Place the strip inside the top of the windsock and attach it with a staple.
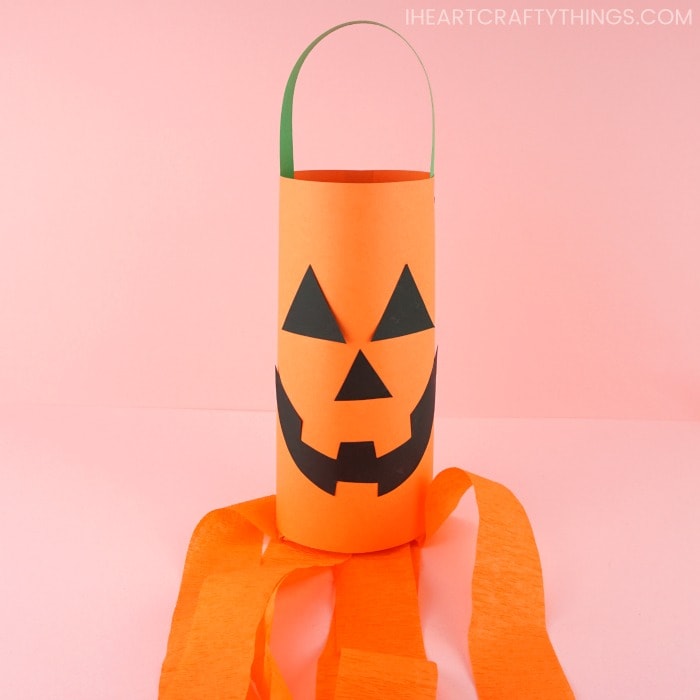
Then staple the opposite end of the green strip to the opposite end of the windsock.
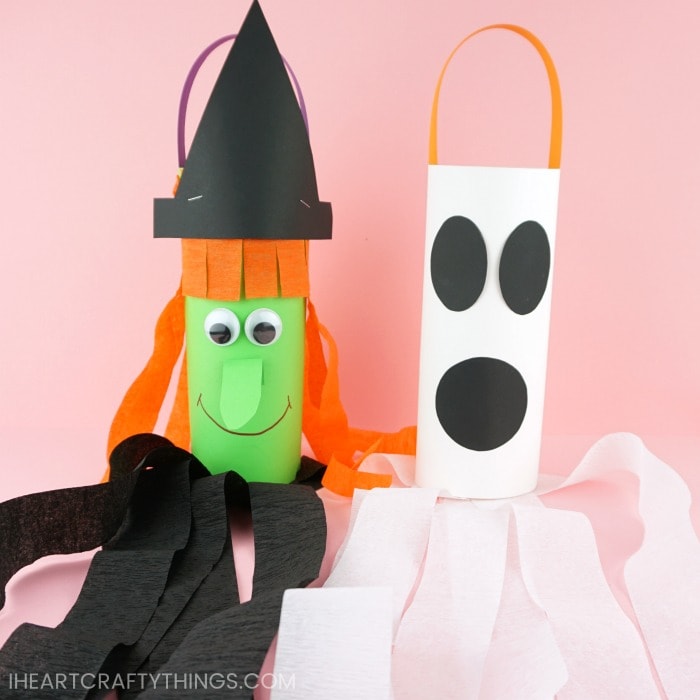
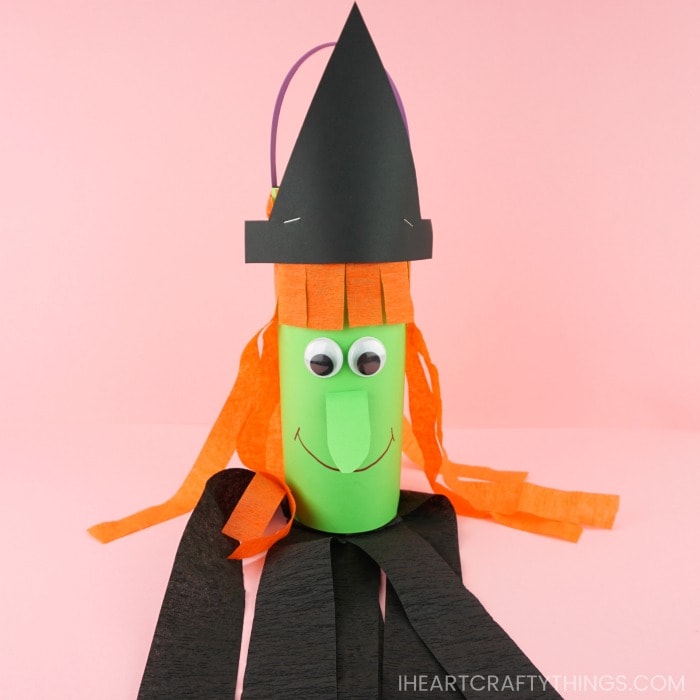
Kids will love watching their witch blow around in the wind for Halloween.
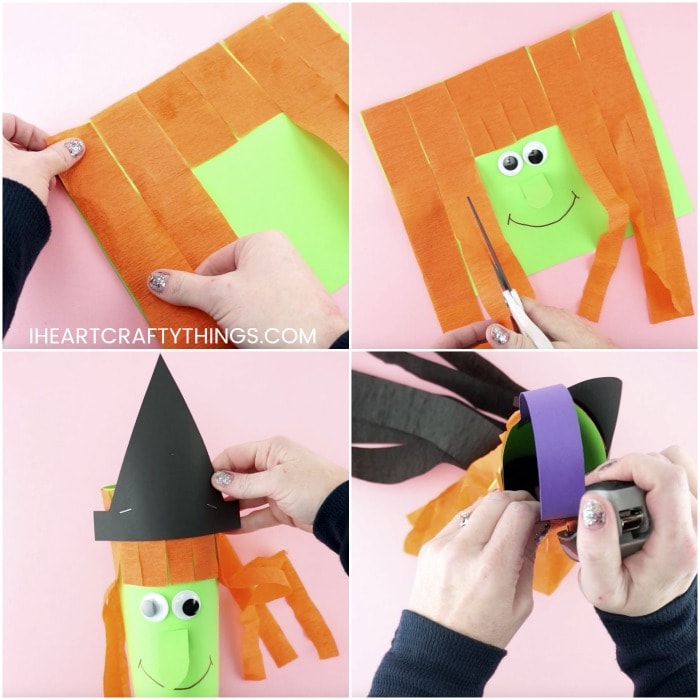
Then glue two of the longer pieces on each side of the bangs.
Glue eyes and nose onto with craft, draw a smiley face
Glue googly eyes onto your witch craft.
Then cut out a pointy witch nose from green cardstock.
Then use a red marker to draw a smiley face on your witch.
Turn your witch over.
Place two staples at the top and bottom of the windsock to join the ends together.
Then staple it onto your witch windsock.
Place the strip inside the top of the windsock and attach it with a staple.
Then staple the opposite end of the purple strip to the opposite end of the windsock.
Those big googly eyes popping out make this windsock extra festive.
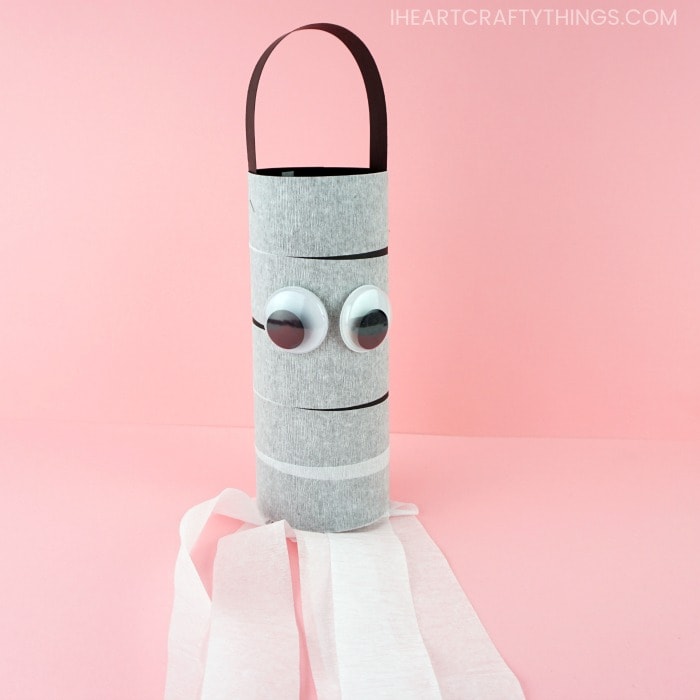
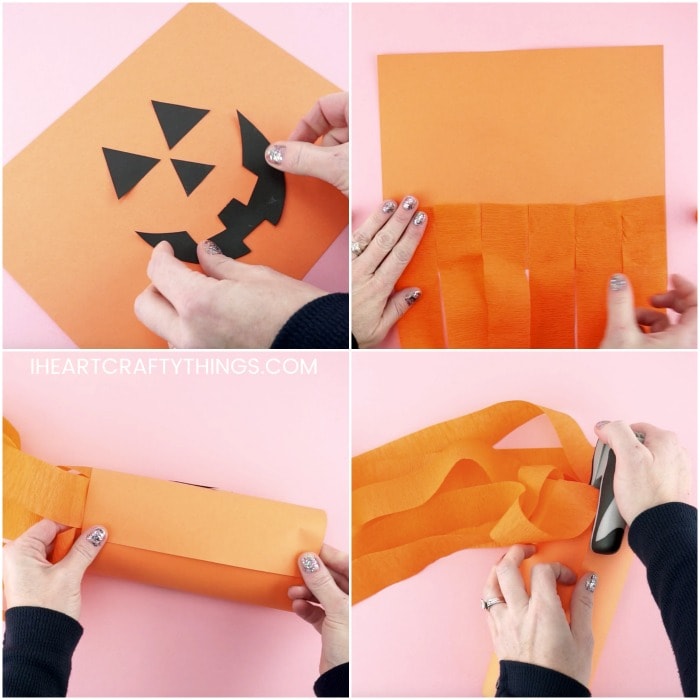
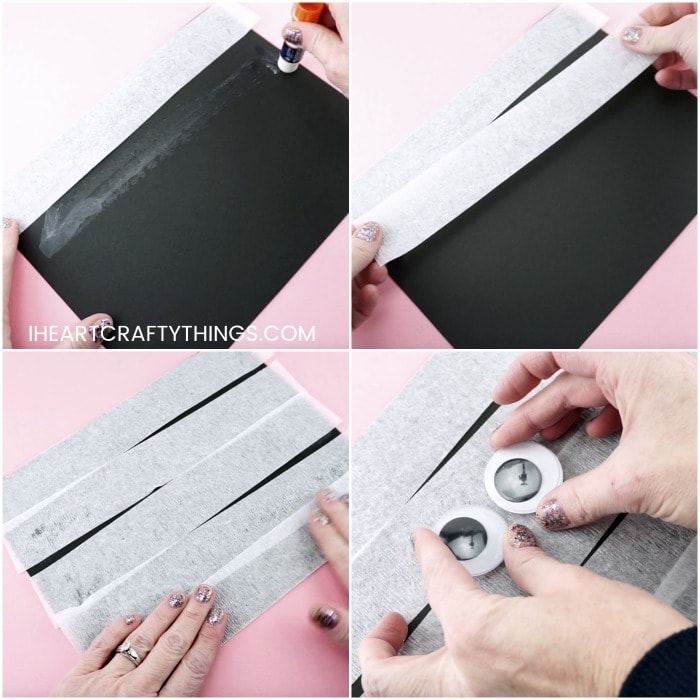
Overlap some of the crepe paper pieces a little to create a few small black gaps on your cardstock.
Then glue two large googly eyes in the center of your paper.
Turn your mummy over.
Bend witch into a circle and staple top&bottom together
4.
Place the strip inside the top of the windsock and attach it with a staple.
Then staple the opposite end of the black strip to the opposite end of the windsock.
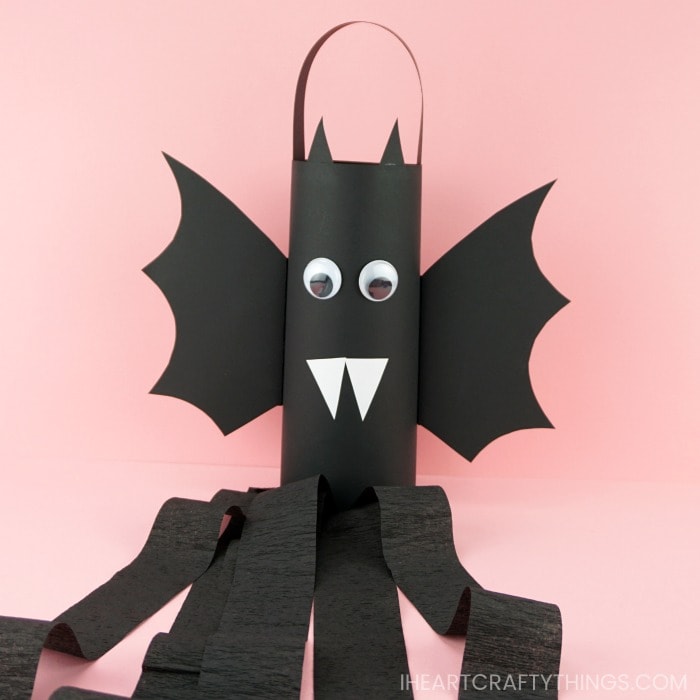
These simple bats are a great craft for a Halloween class party, especially with our easy template.
Glue googly eyes in the center of a piece of black cardstock paper.
Then glue your bat ears and teeth onto the black cardstock.
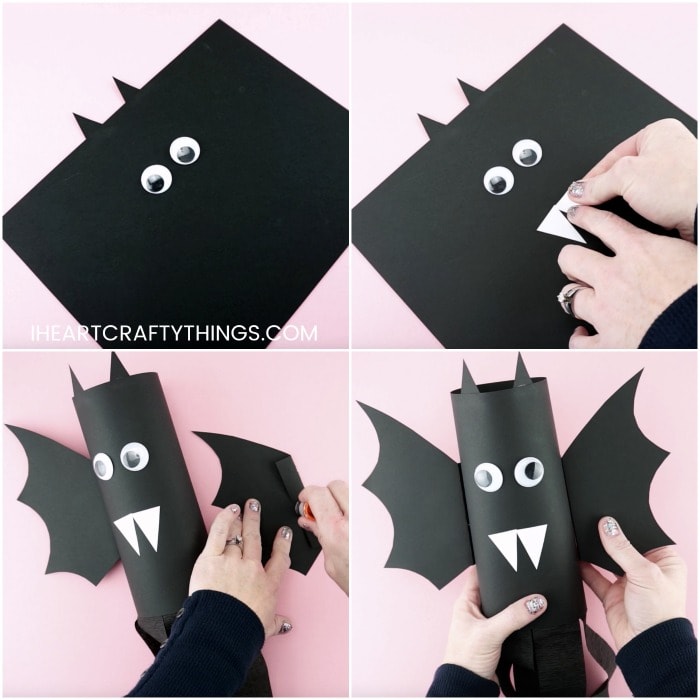
Turn your bat over.
Place two staples at the top and bottom of the windsock to join the ends together.
Add bat wings
Fold over the end of each bat wing (as shown on the template).
Add glue on the folded section and attach a wing to each side of the bat windsock.
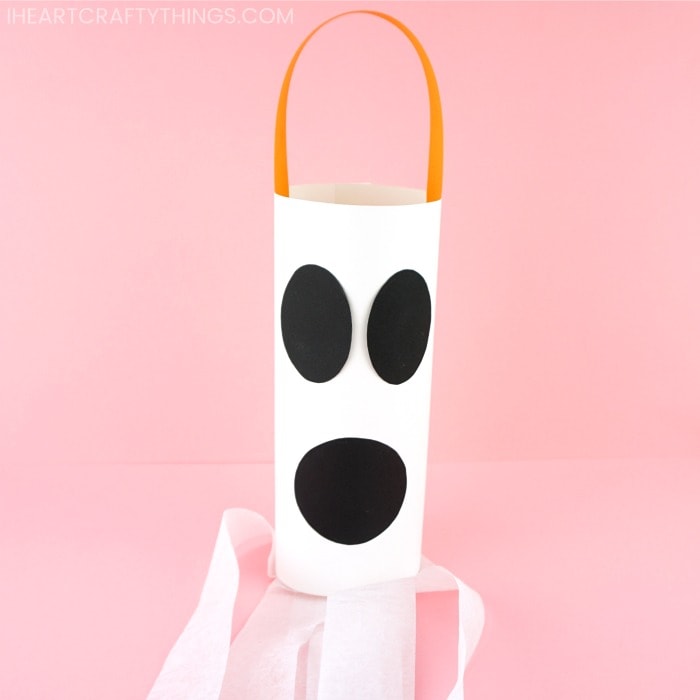
This simple ghost windsock is super easy to create, making it a perfect Halloween craft for preschoolers.
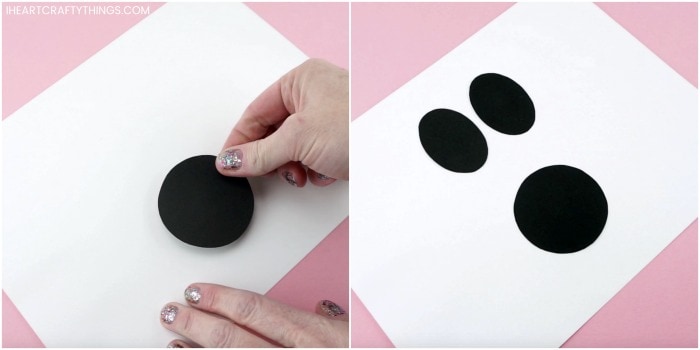
Glue the eyes and mouth in the center of a white piece of cardstock paper.
Turn your ghost over.
Place two staples at the top and bottom of the windsock to join the ends together.
Place the strip inside the top of the windsock and attach it with a staple.
Then staple the opposite end of the orange strip to the opposite end of the windsock.