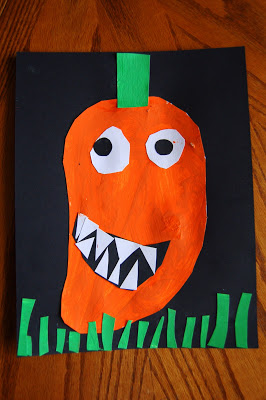
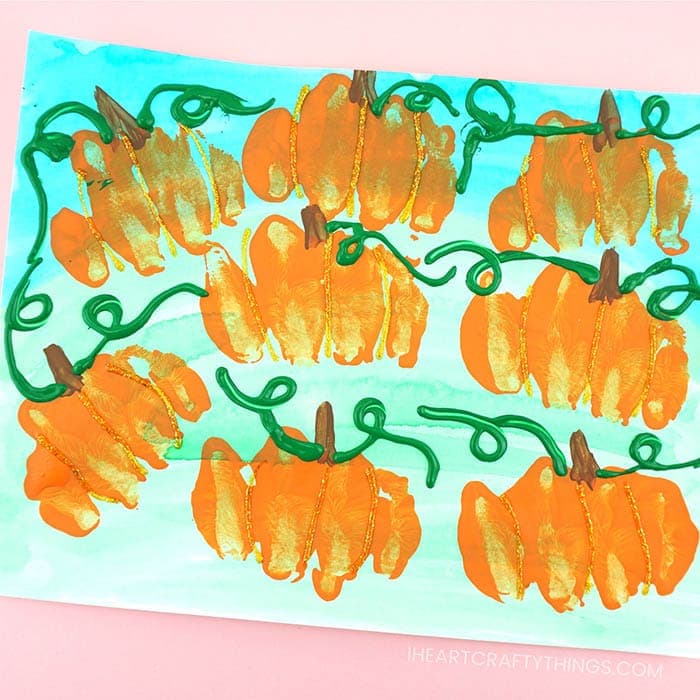
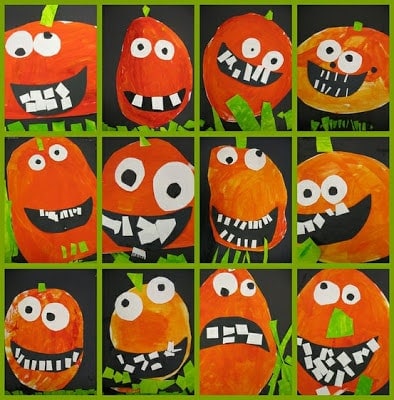
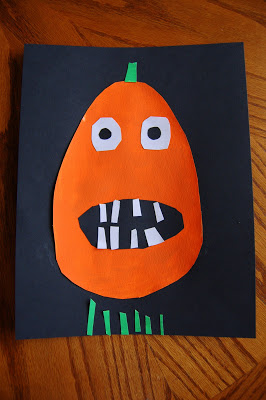
Arent these goofy pumpkin faces the cutest?
Ive saw this idea few weeks ago and had to recreate it.
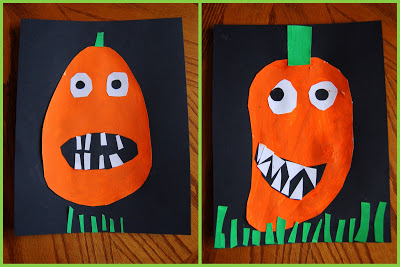
So this morning the boys sat down and made their very own, unique pumpkin faces.
Supplies needed:
Tutorial:
1.
My boys actually used a pencil to draw their pumpkin first and then cut it out.
Dont throw away the scraps because you are going to use them.

Paint your pumpkin
Paint the pumpkin orange.
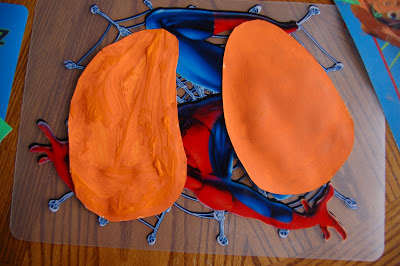
you’re free to already see how different my boys are just by looking at their painted pumpkins.
My oldest paints a thin, smooth layer.
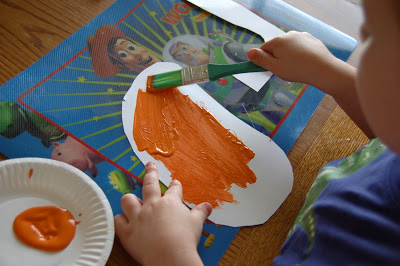
My youngest paints everything thick and dark.
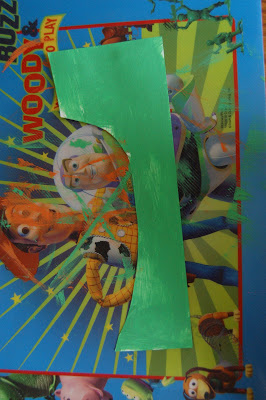
Paint scraps green
Take one of the left over white scraps and paint it green.
Let the pumpkin and green scrap dry completely.
Then glue on the mouth, teeth, eyeballs and pupils.
Then glue them on your page.
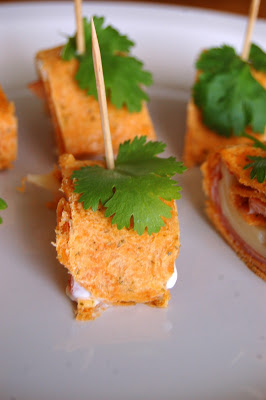
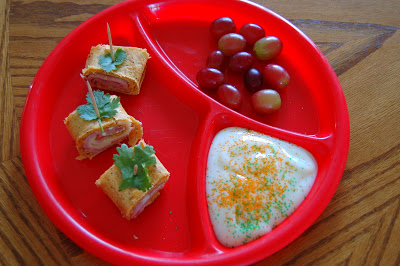
To go along with our pumpkin theme this week we also had a very fun lunch.
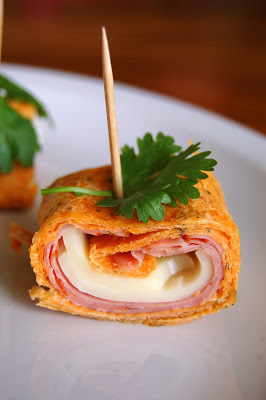
I made ham & cheese pumpkin wraps.
After it was rolled up, I cut the ends off and made 6 sections out of each wrap.
They turned out so cute, looking like little pumpkins.
I love eating fun food!