I can attest firsthand to how much fun it is to get crafty alongside my friends.
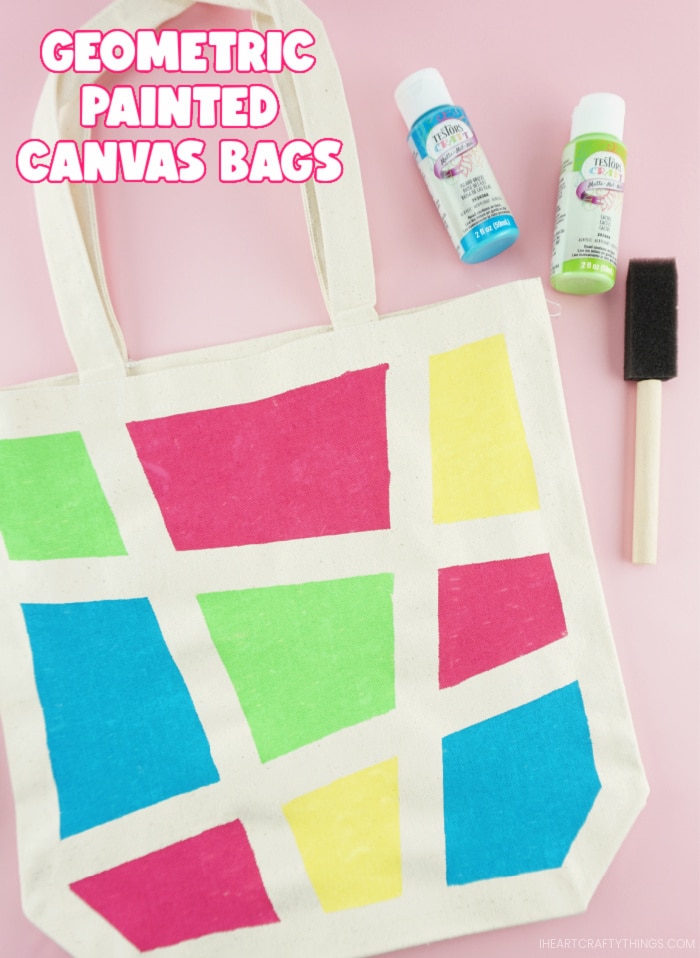
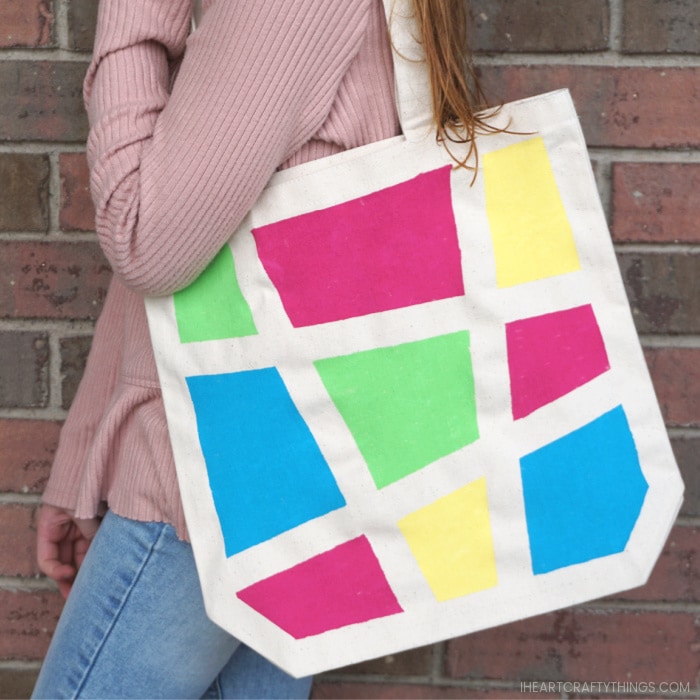
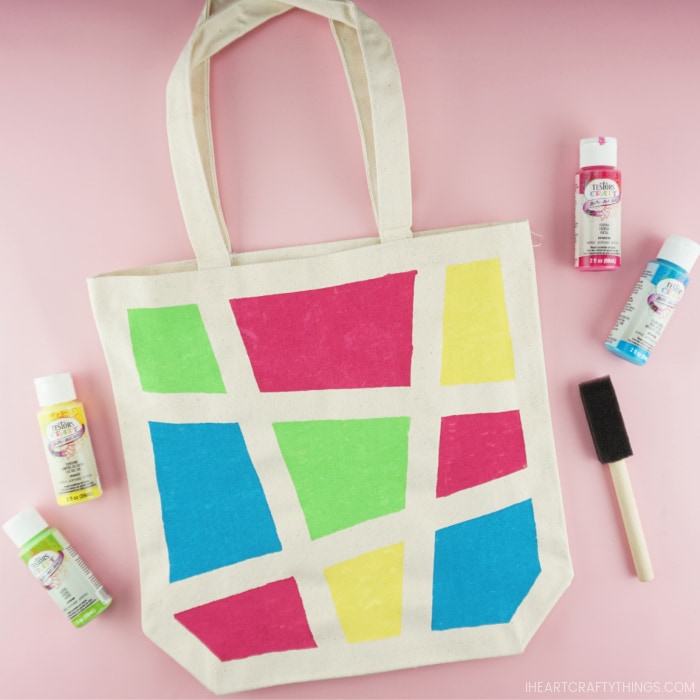
Big smiles and excitement are guaranteed when making these fun and colorful canvas totes.
Read our easy step-by-step tutorial below for how to create your own colorful geometric shapes tote bag.
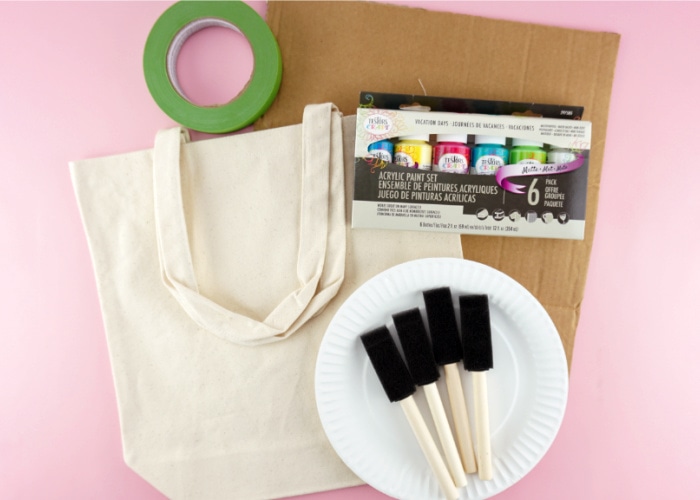
Supplies needed for this easy slumber party craft:
Instructions:
1.
Prepare your canvas bag
Start by prepping your canvas bag for painting.
Our canvas bags had minimal wrinkles in them so we left them as is before painting.
Each tote bag will turn out completely different dependent on how the tape is placed on the bag.
That makes it super fun for kids!
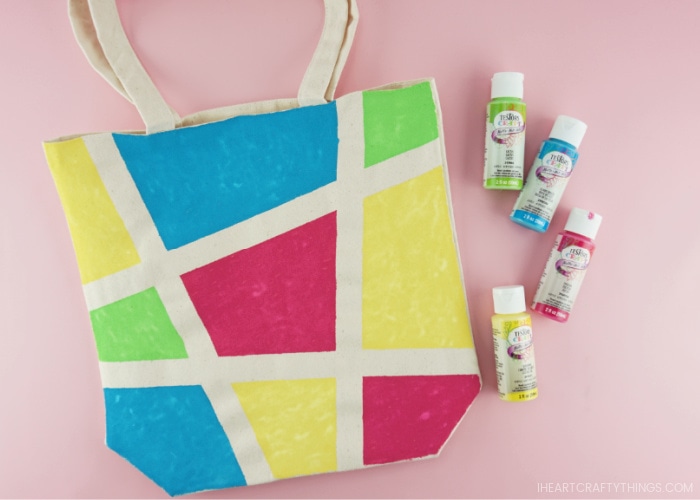
We tried two different ways of creating our design, one with a border and one without.
it’s possible for you to choose whichever look you like best.
Then add two strips of tape horizontally from top to bottom placed at two different angles.
Lastly, add two strips of tape vertically from side to side placed at two different angles.
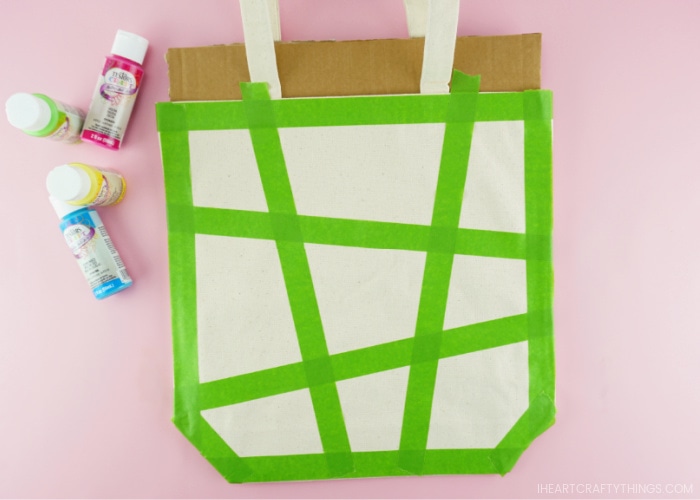
You are left with nine different geometric shapes for you to paint.
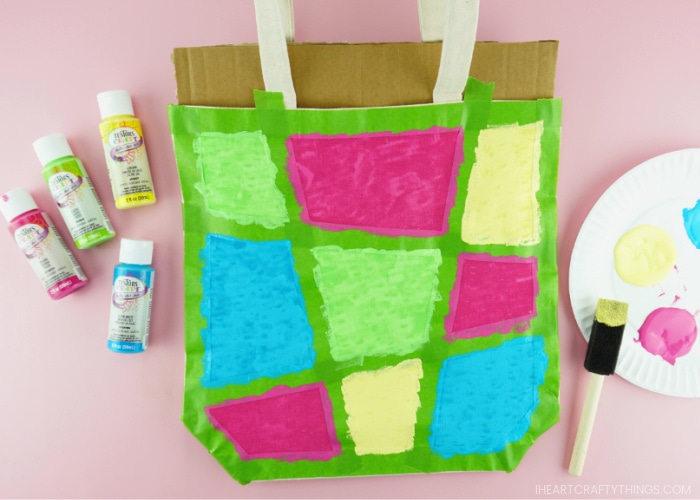
Paint your canvas tote bag
Choose a few different colors of acrylic paint to paint your canvas bag.
The bright pink, green, blues and yellow were a perfect combination for our tote bag.
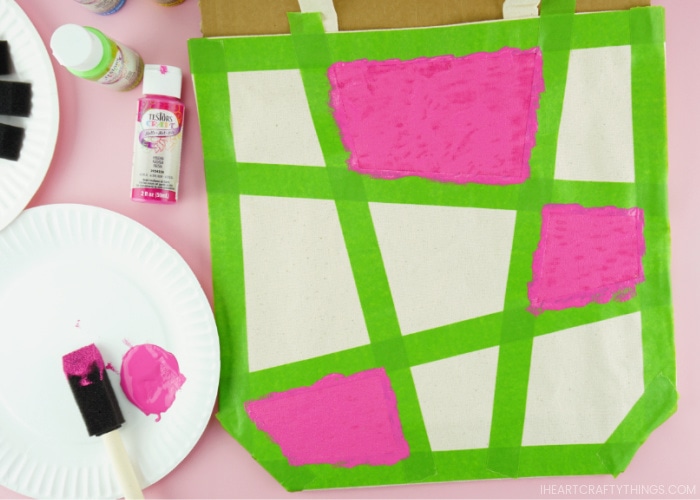
Pour a quarter size amount of one of your acrylic paint colors on a paper plate.
Continue dabbing the sponge into the paint and then dabbing it on the shape to paint it completely.
After you have finished with one color, add another color of paint onto your paper plate palette.
Use another sponge paintbrush to paint the second color in the shapes of your choosing.
Continue with additional acrylic paint colors until each shape of your canvas bag has been painted.
Set your bag aside and allow the paint to dry completely.
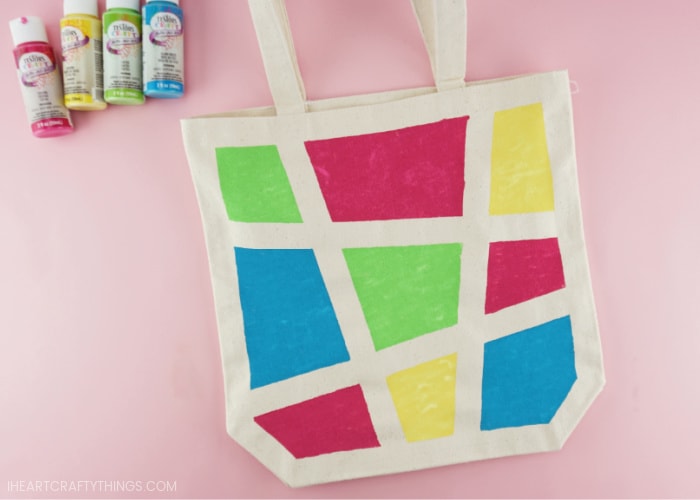
I painted the tote with no border and love that look but my daughter adored the border look.
Everyone will love creating their own custom painted design on their canvas bag.
There are so many fun ways kids can use their new colorful tote bag.
It can also be used a library bag for kids to keep their library books in for safe keeping.
The designs are so colorful and fun, its a bag everyone is sure to love!