Its also pronounced differently in some places, as some countries pronounce it zee while others say zed.
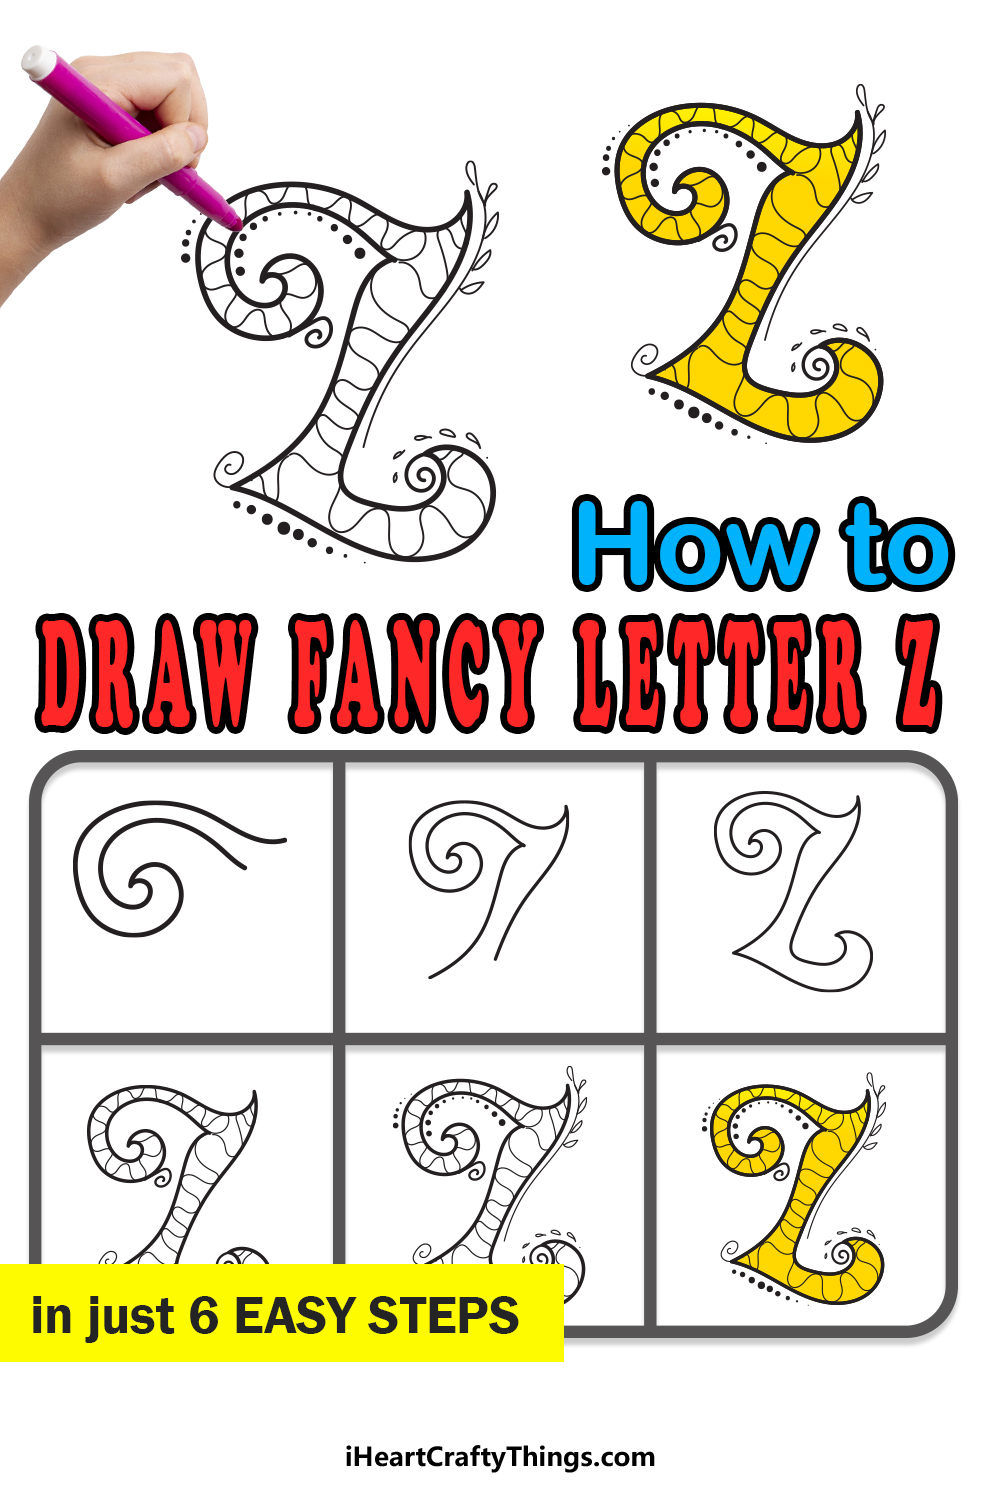
So lets begin with the first step of the guide and see how it is all done!
It is made up of two horizontal lines and one horizontal line.
Think of it as a skeleton for your drawing!
Then, we will be ready to draw the first part of the design.
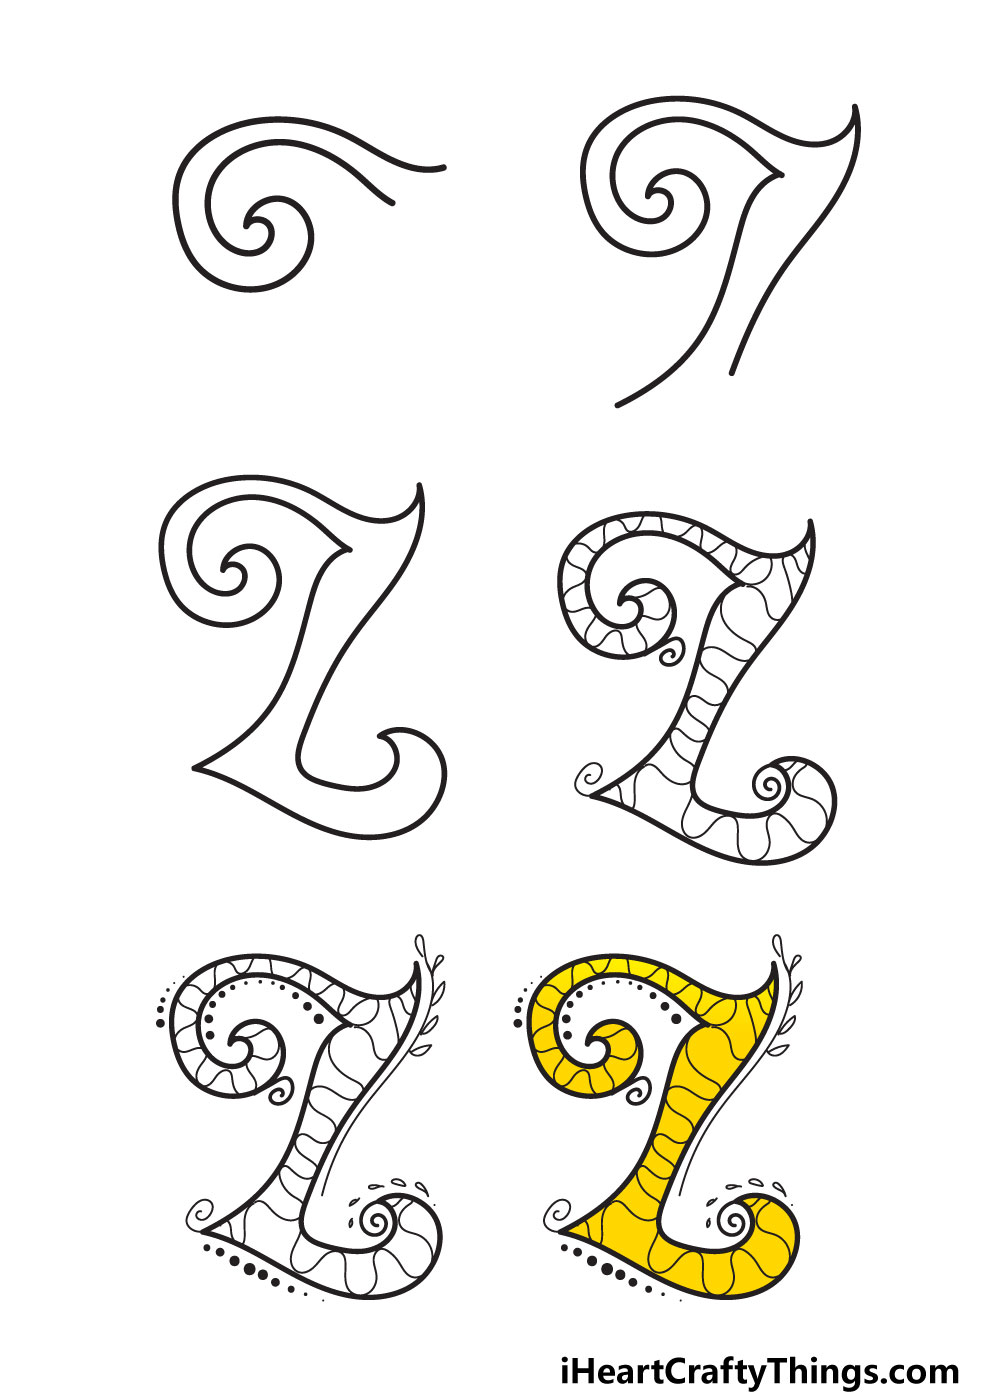
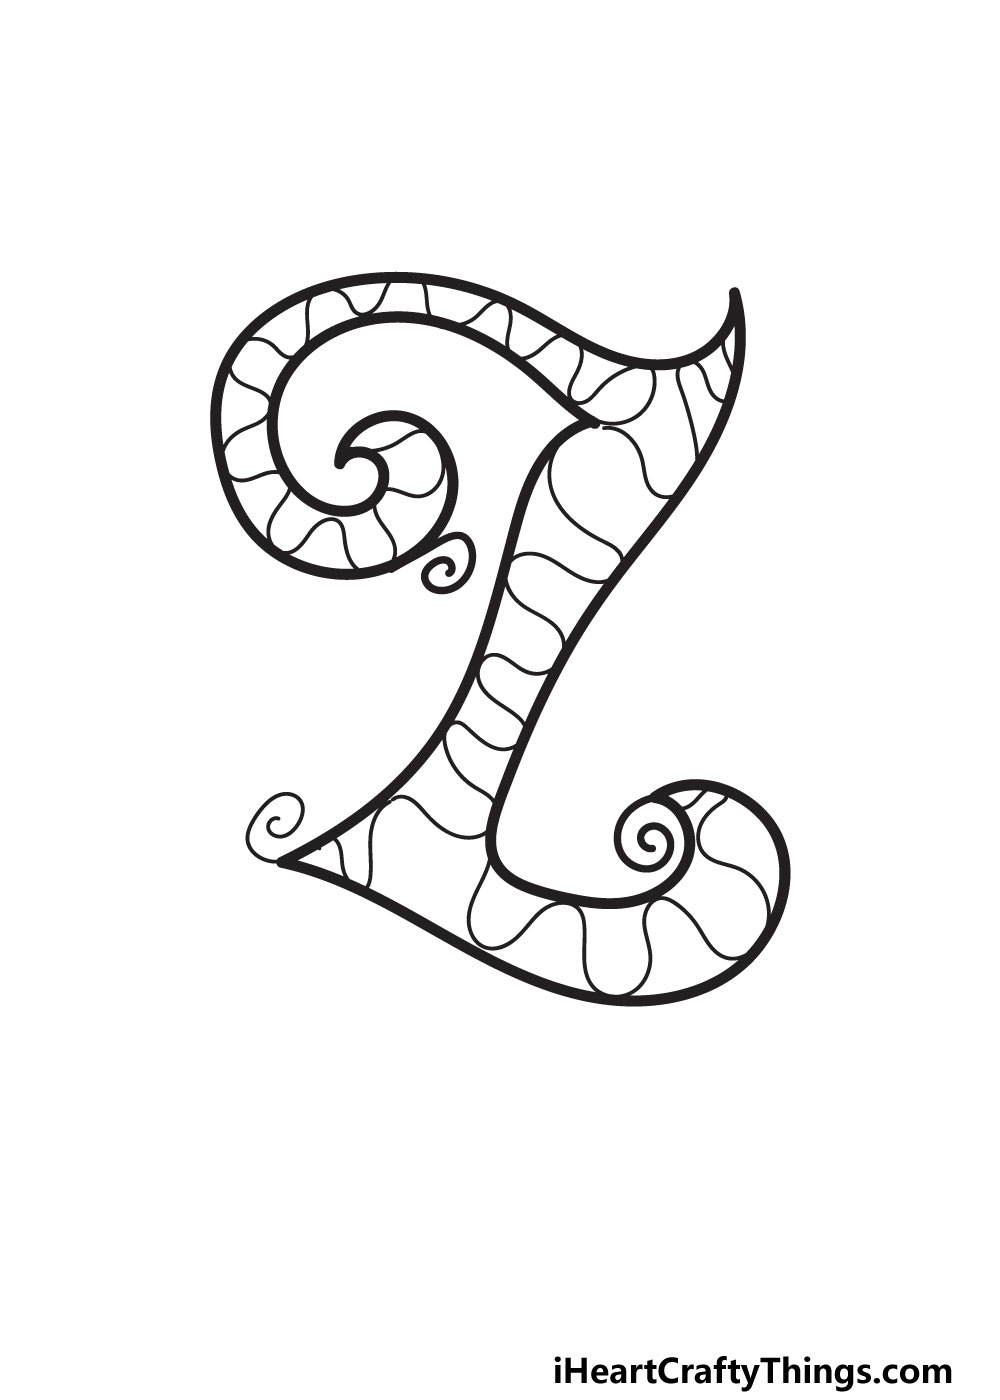
As we mentioned, the letter Z is normally drawn with straight lines.
Theres nothing normal about this design, though!
Instead, we will be using spirals and curved lines to create this version of the letter.
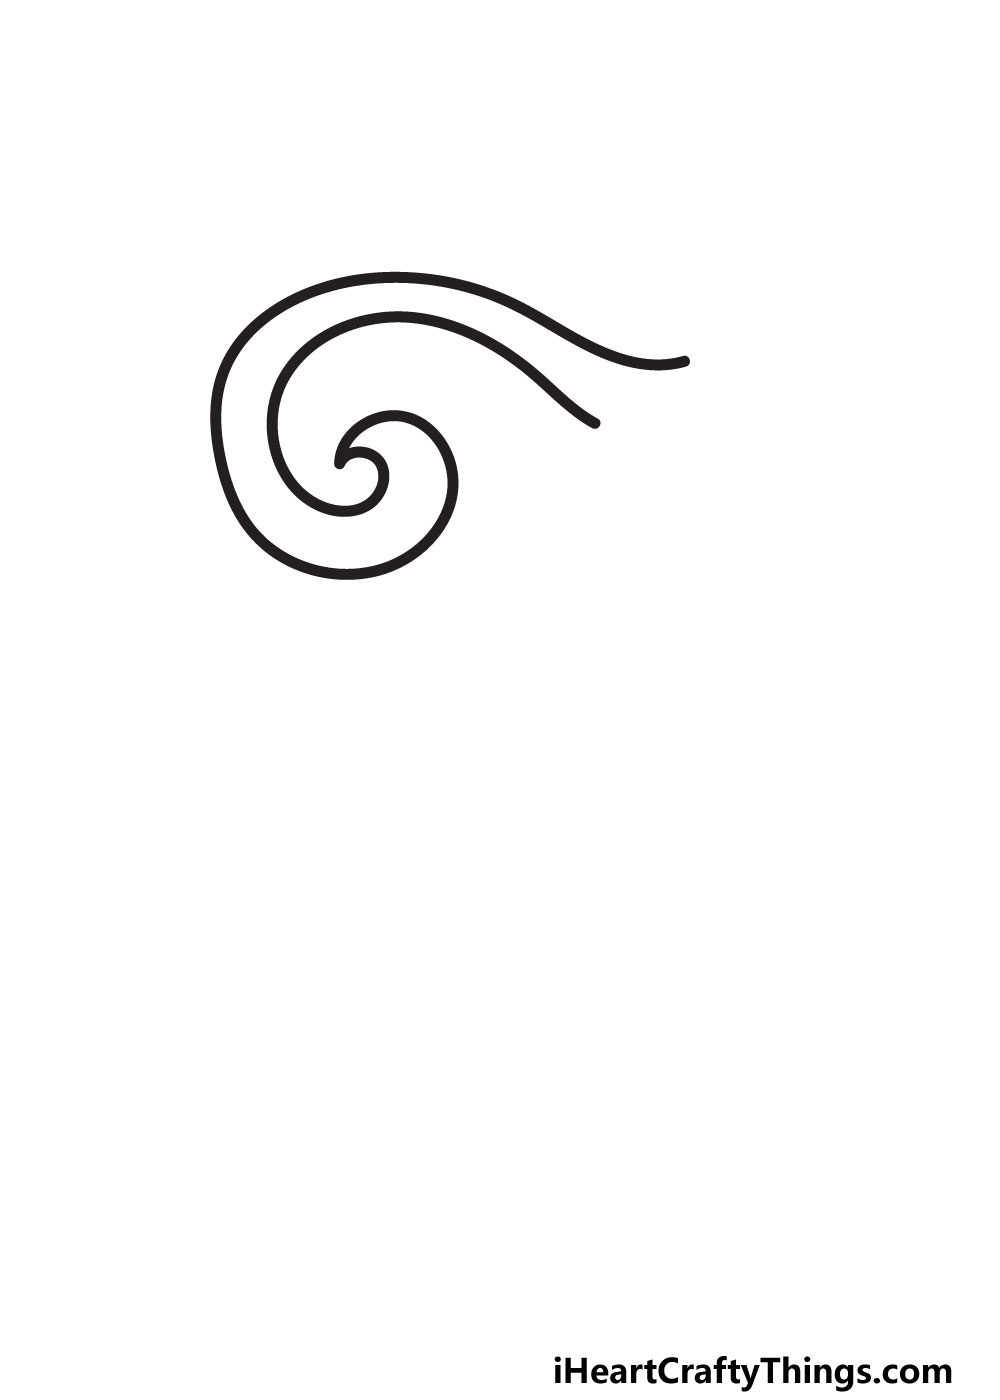
We will begin with a spiral that will form the top line of the letter.
Right now it may not look much like a letter Z, but it will soon enough!
When your spiral shape looks like our example, we can move on.
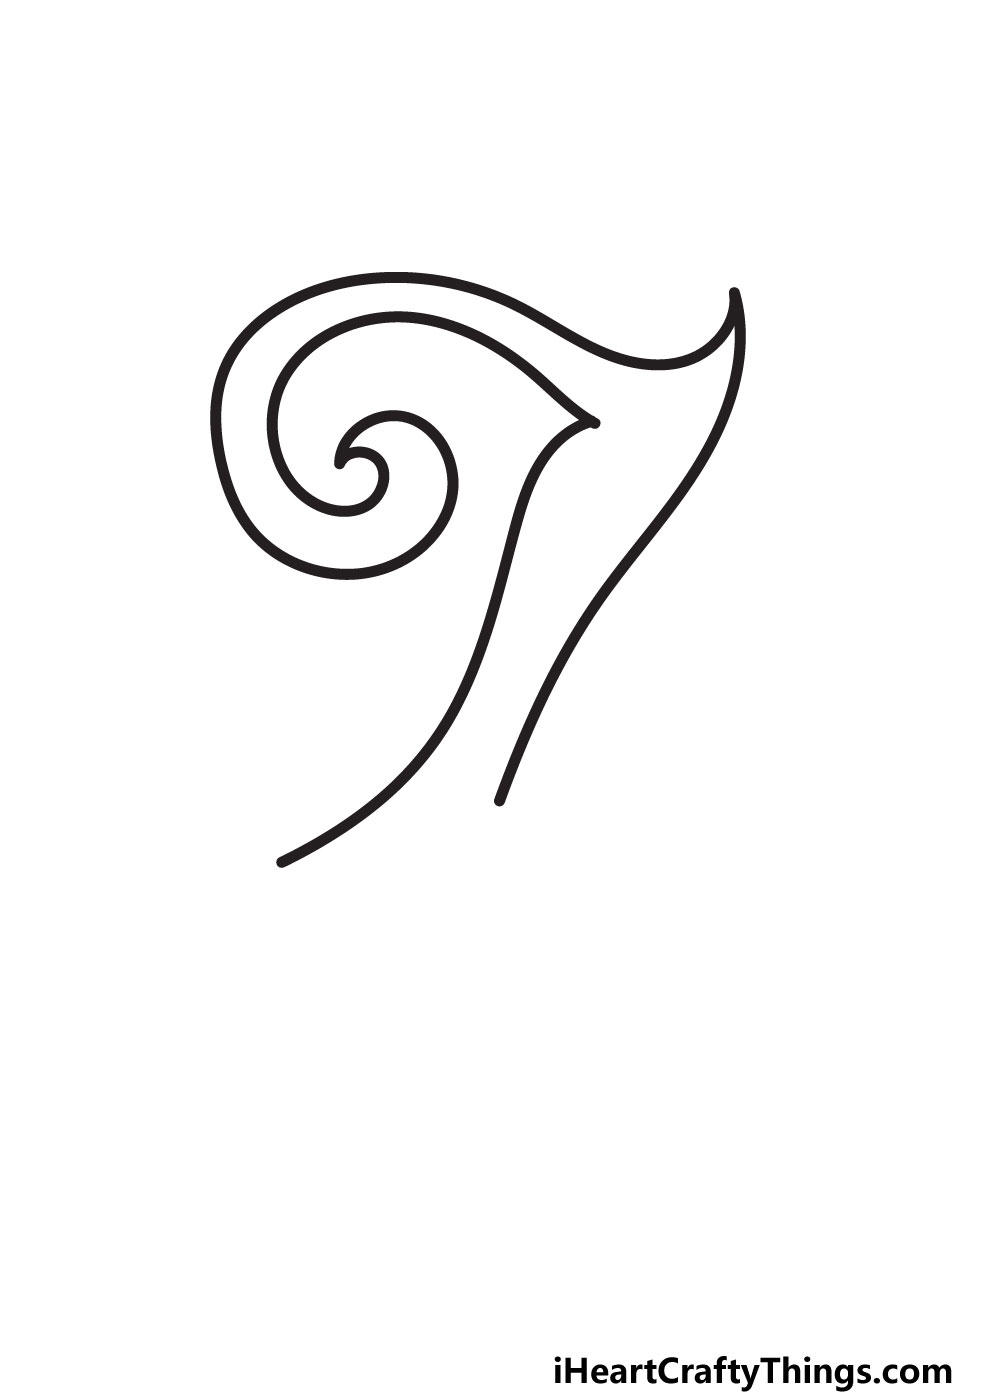
We shall start at the top of the curvy shape from the first step.
Draw another small line up that ends in a very pointy tip.
This pointy tip will then drop down in another slightly wavy line.
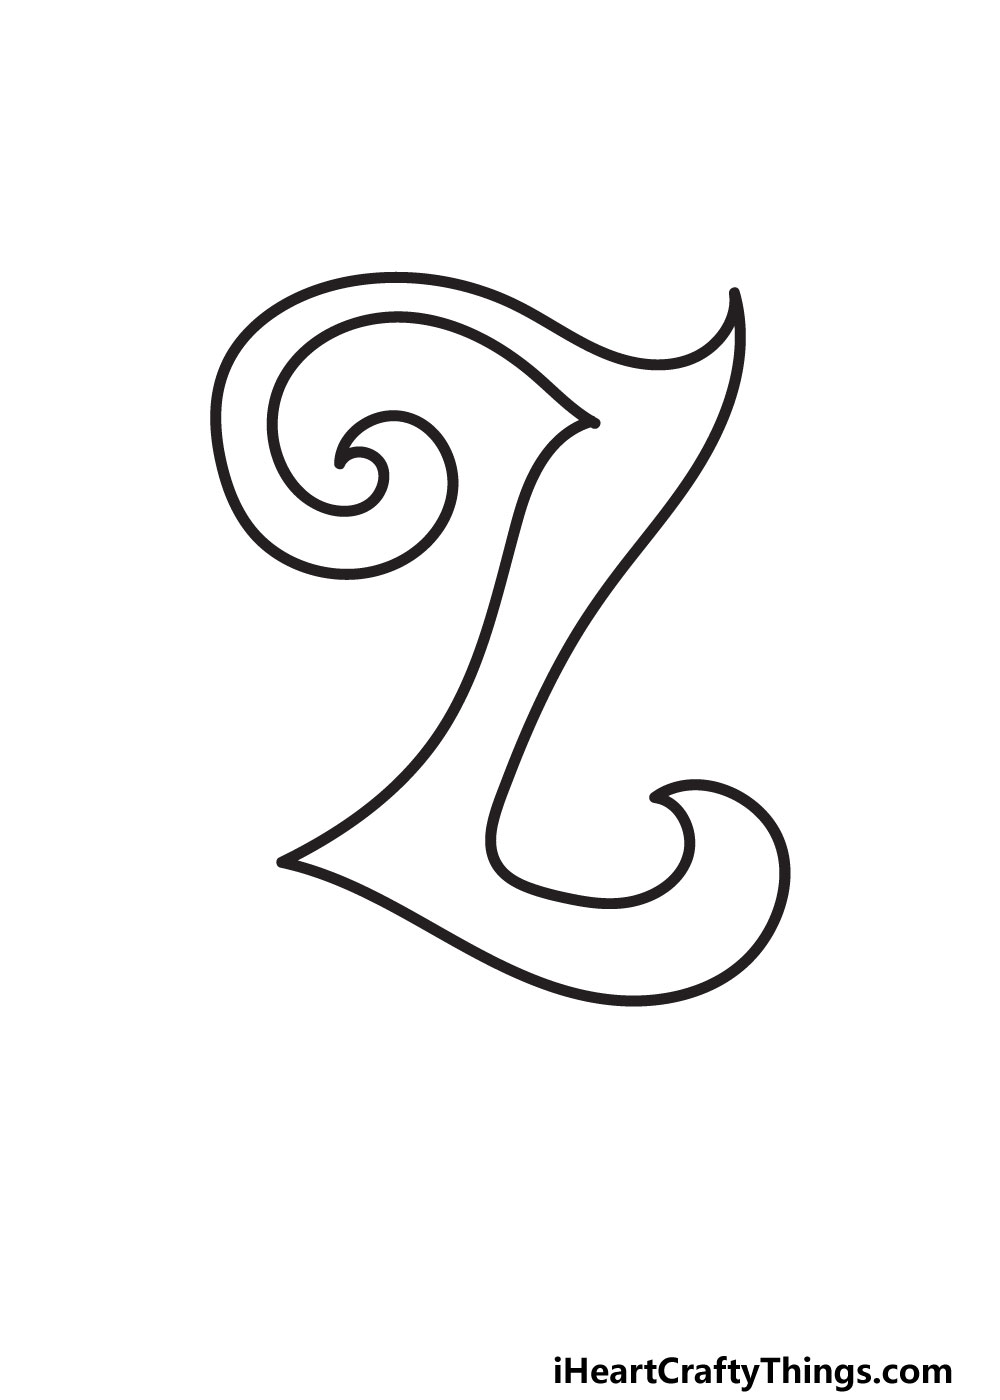
First, we need to draw the left side of the diagonal part of the letter.
This will be another curvy line dropping down from the top of the letter on the left.
This will mean drawing the bottom line of the letter.
On the left side of the base, there will be a pointy tip.
This will then extend to the right in another slightly wavy line.
It will gradually curve up to form another pointy portion poking to the left.
Then you will have your complete outline for the letter!
Now, we will move on to step 4 wherewe will start drawing the detailsof this letter.
From this point on in the guide, anything we show you is just a suggestion.
For now, lets take a look at what we added in this step.
Its a simple way to decorate the letter, but it looks really cool.
For another simple touch, we added some small spiral lines poking off various parts of the letter.
These show you a few simple ways that you could decorate this letter!

Now that you have some ideas, you might try out a few of your own.
You could fill it with different kinds of lines or other small details poking off the letter.
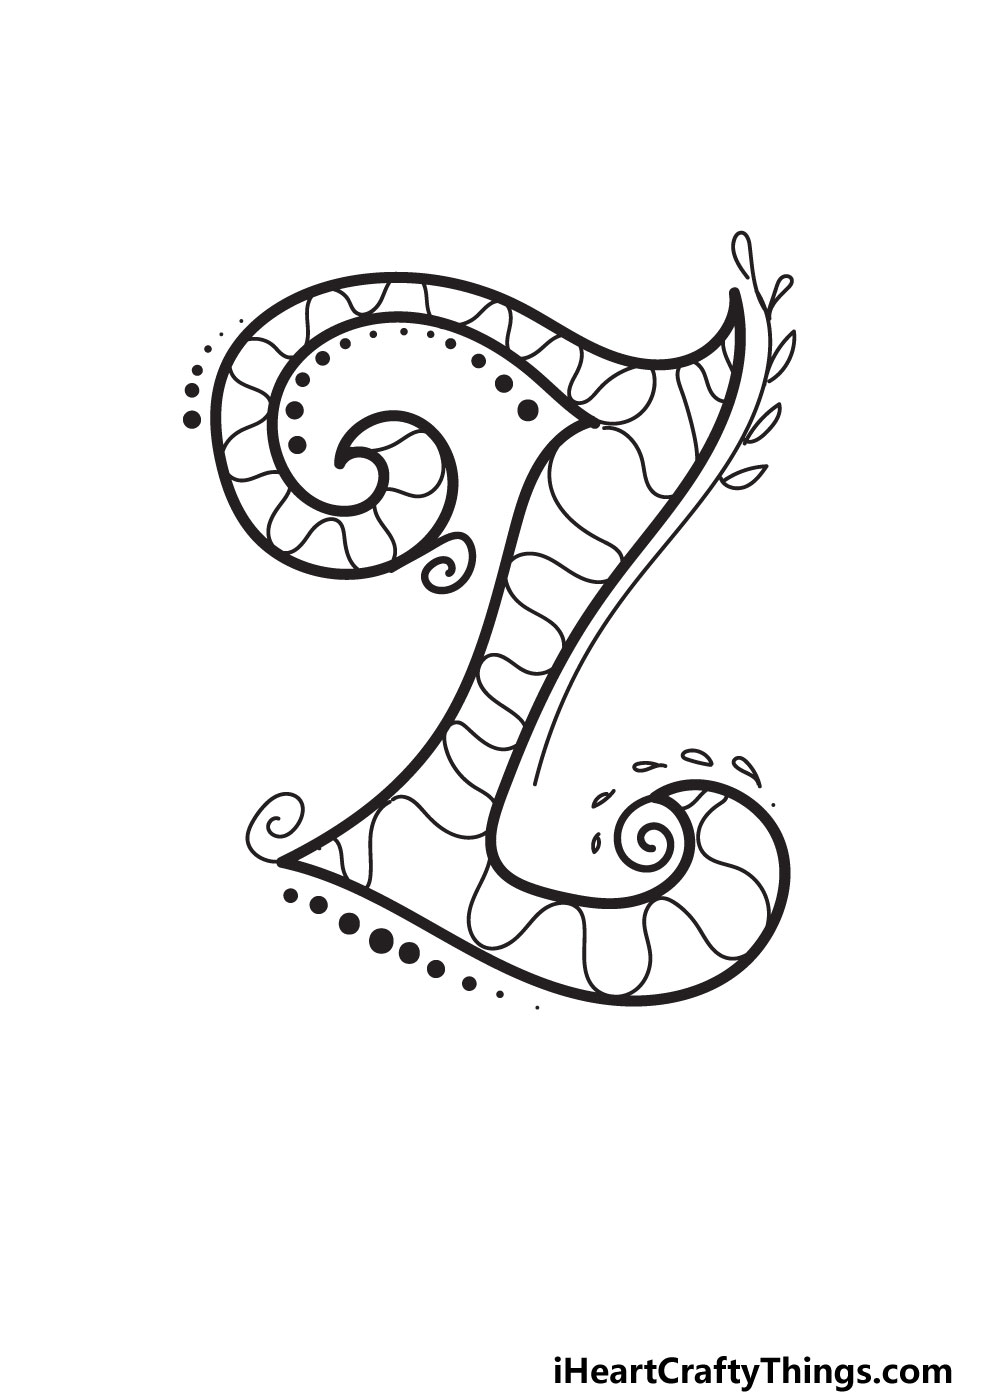
For starters, we added some dots on various edges of the letter.

These vary in size and placement, and you could add more to other places on the drawing.
Then, we drew a wavy line on the right side of the picture.
Finally, we drew some more of these small leaves on the lower right side of the letter.

We would also love to see what details you might come up with!
you could keep it as minimal or as extravagant as you like.
Remember that you also have the background, and details can be added there.

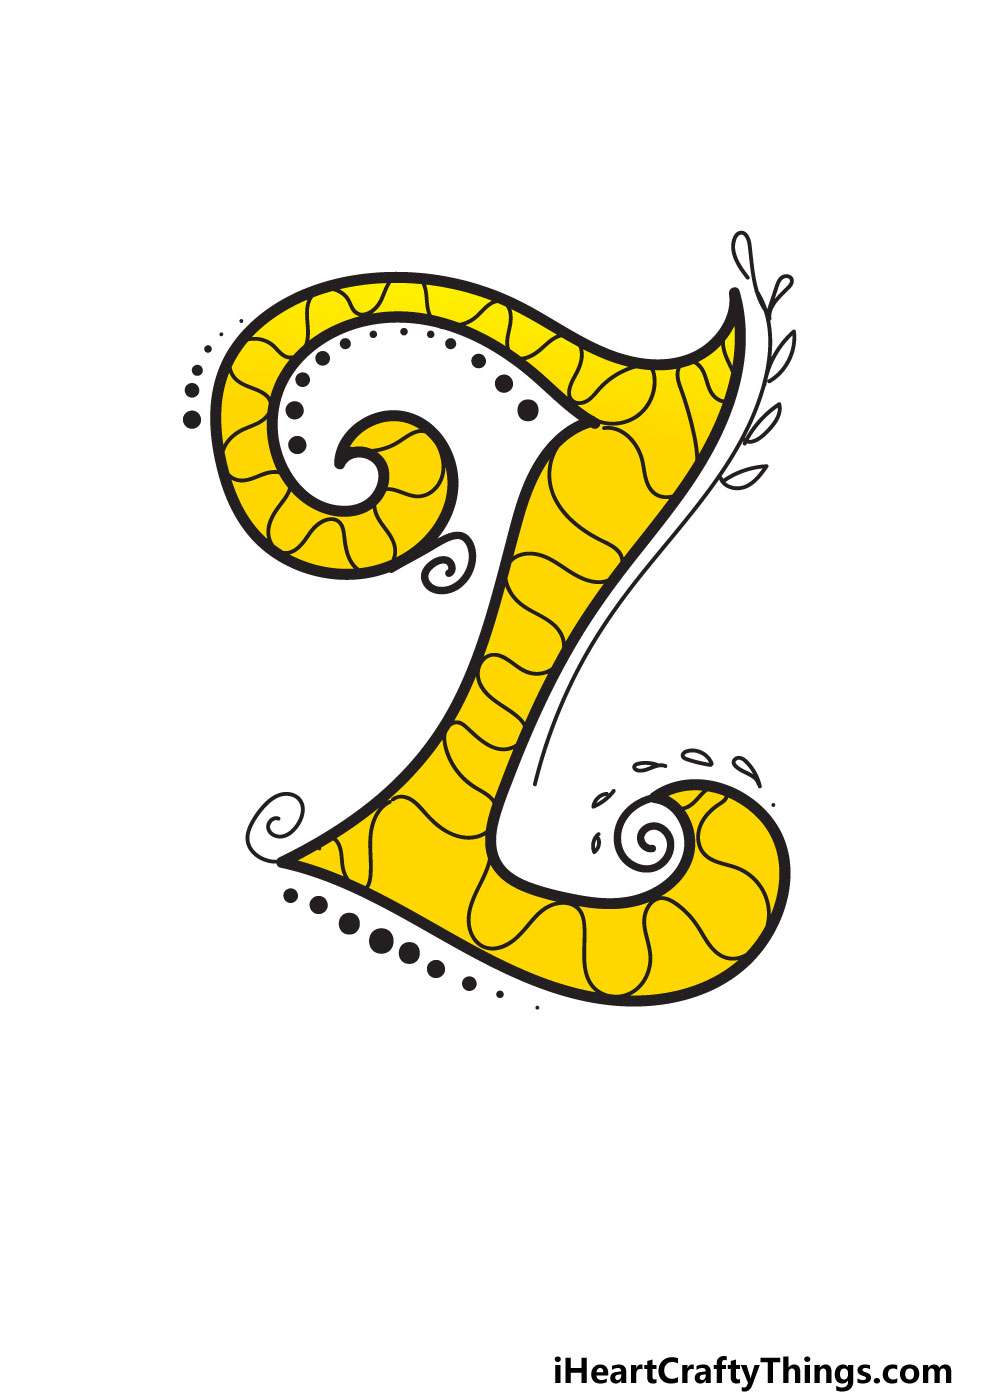
In our example, we show you just one way that you could color your picture.
We decided to use a bright yellow color to make the letter really pop.
If you want colors that are this bright, then you could use colored pens or highlighters.

You could alsouse other arts and crafts!
You should also use any of your favorite colors if yellow isnt quite what youre looking for.
If picking one color is too hard, then why not use multiple colors instead!

My Final Tips To Make Your Fancy Letter Z Drawing Even Better!
Earlier, we mentioned filling the background, but how can you do that?
Another way is to write out a word in this style.
Words like zebra, zombie or zoom would be a few words you could use!
If you know of some people with names starting with Z, then you could write out their name!
Writing out a full word is a great way to experiment with other letters in this fancy style.
More From:How to draw
Printable Bubble Letters A Complete Guide!
