Not only this, but we also want to leave room for your own creativity.
So with all that said, lets begin with the first step of the guide!
This isnt something you have to do, but we think it will make things much easier for you.
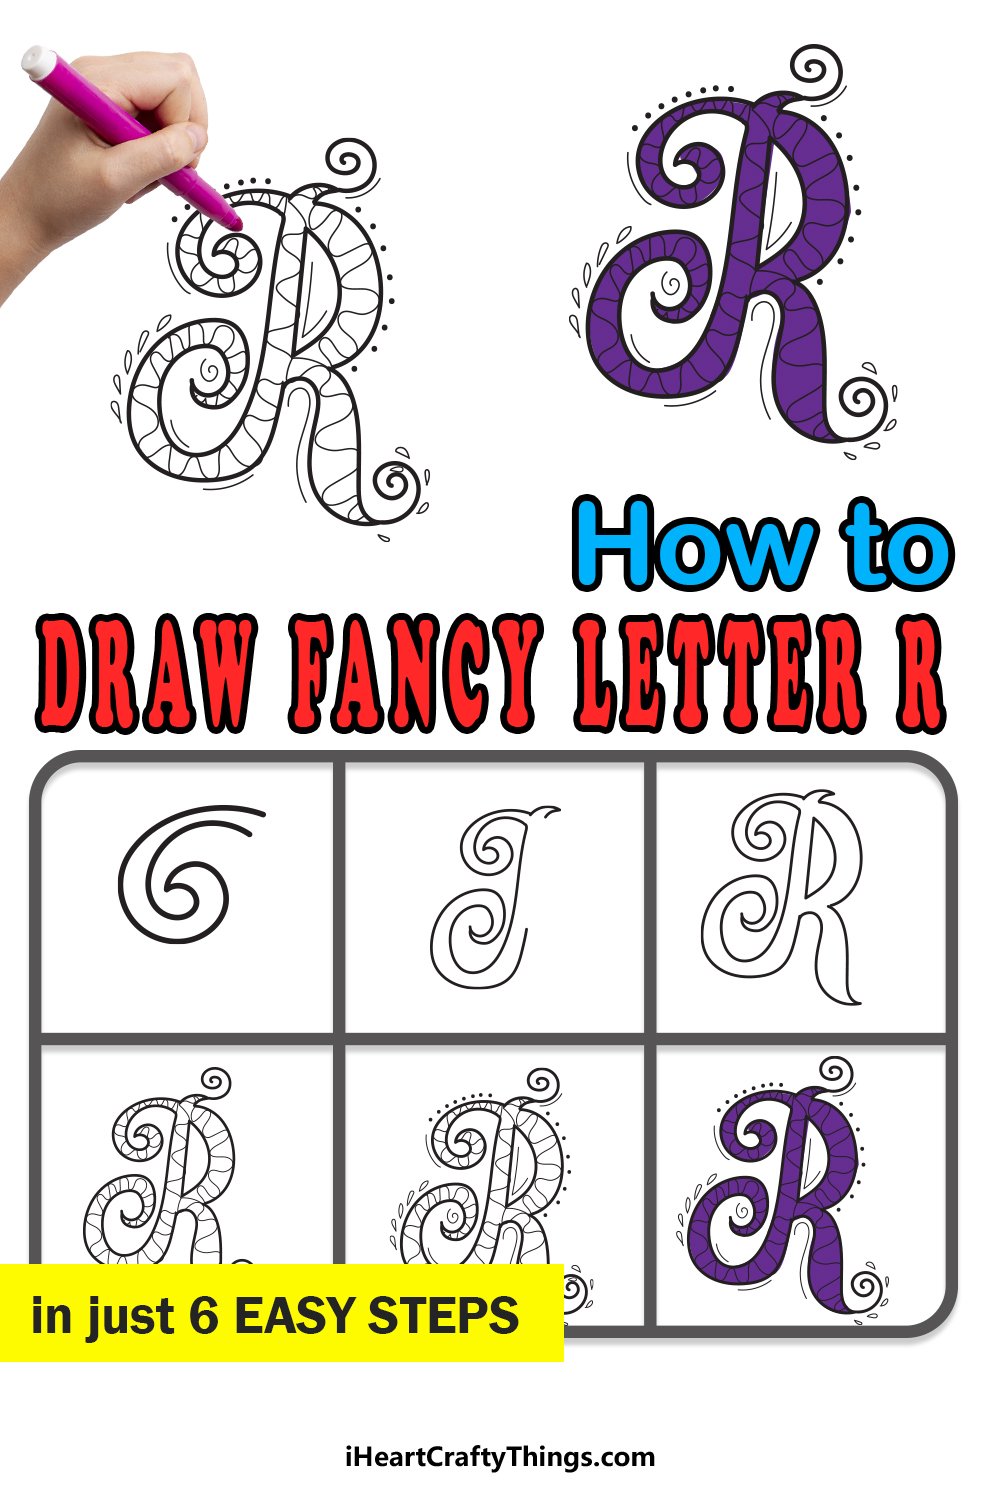
When youre ready, we can then start drawing the first flourish of the design.
When drawing this spiral, there are two ways to do it.
You could take a stab at draw it all in one long, continuous twisting line.
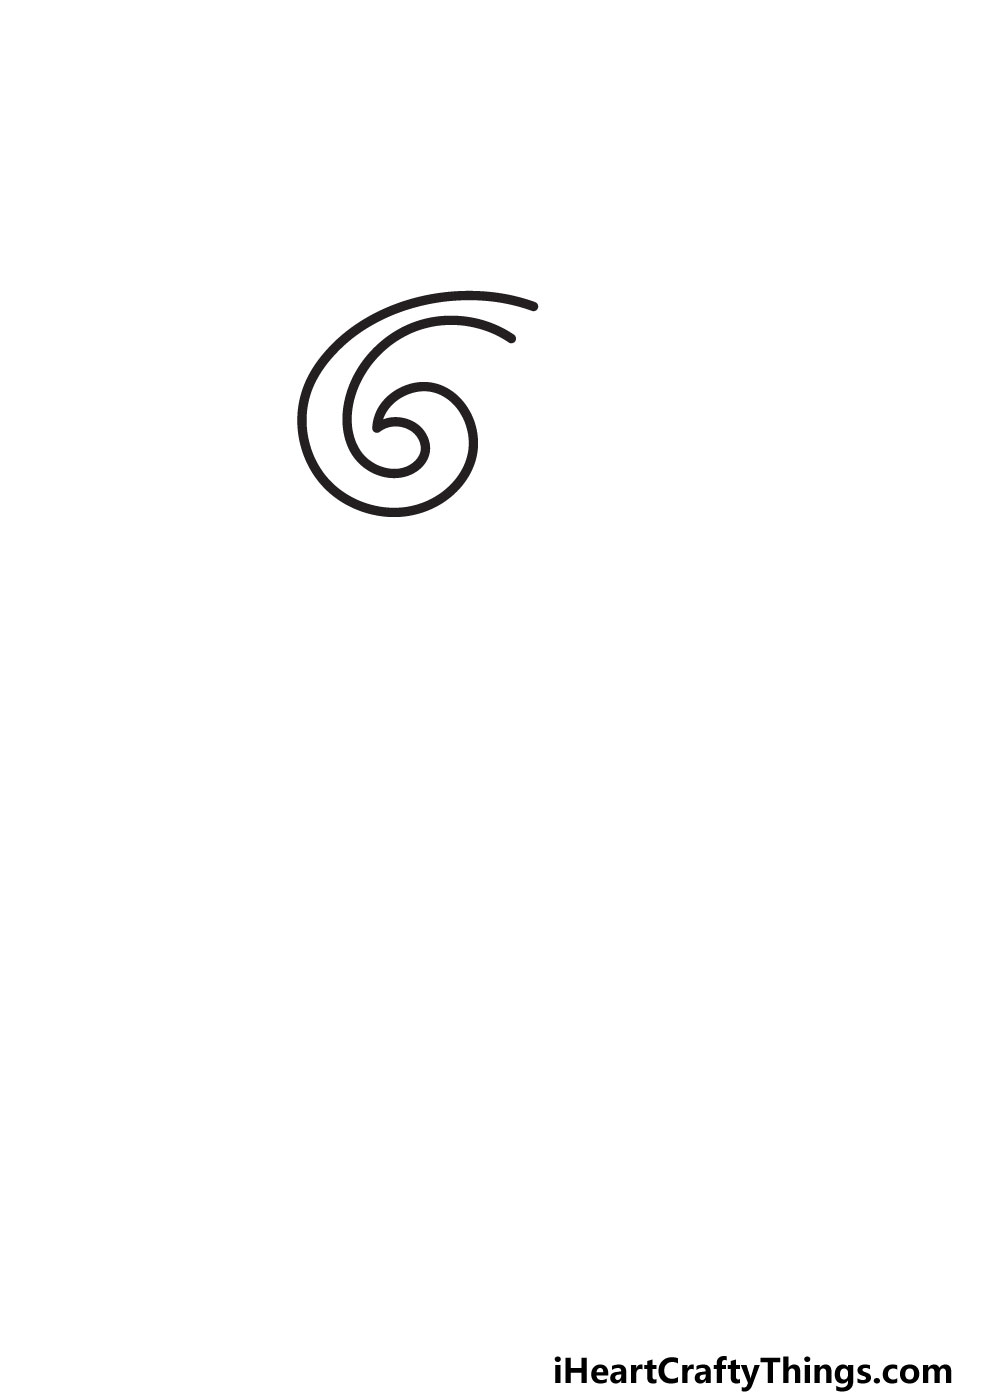
Or, you could use two lines running parallel to one another to create the spiral.
As you might see, there will be a pointy tip at the center of the spiral as well.
With this drawn, we can then start drawing the actual letter in the next step.
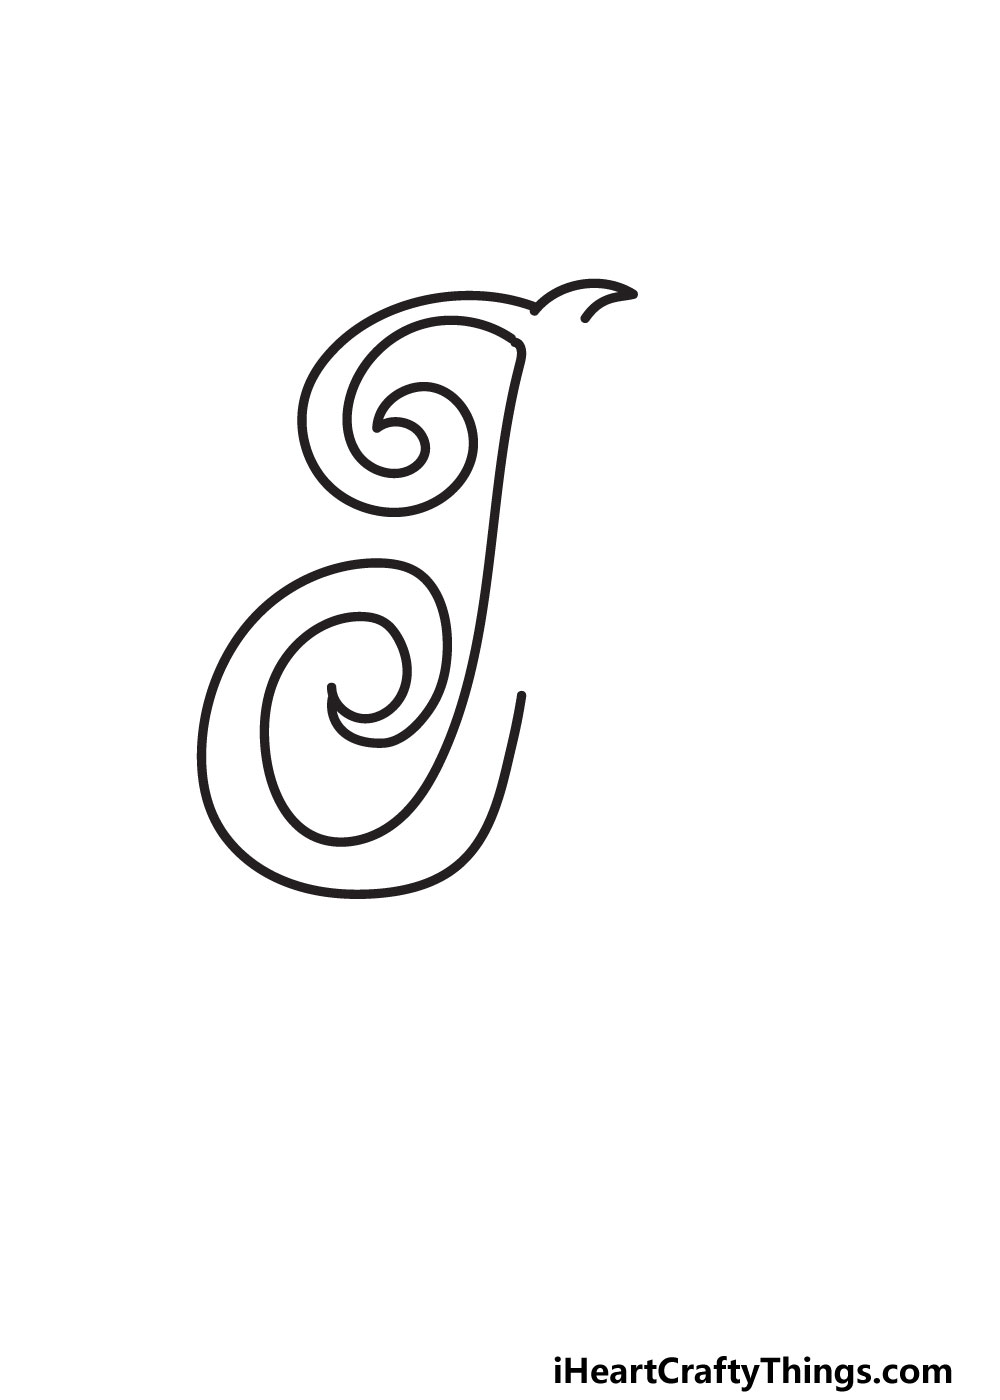
This little pointy shape will curve slightly to the right.
Then, we will draw a vertical line down from the spiral at the top.
It will have a very slight curve to it, and it will gradually curl to the left.
You will also notice that this second spiral is a lot larger than the first one.
venture to follow the reference image that we laid out as closely as you’re free to!
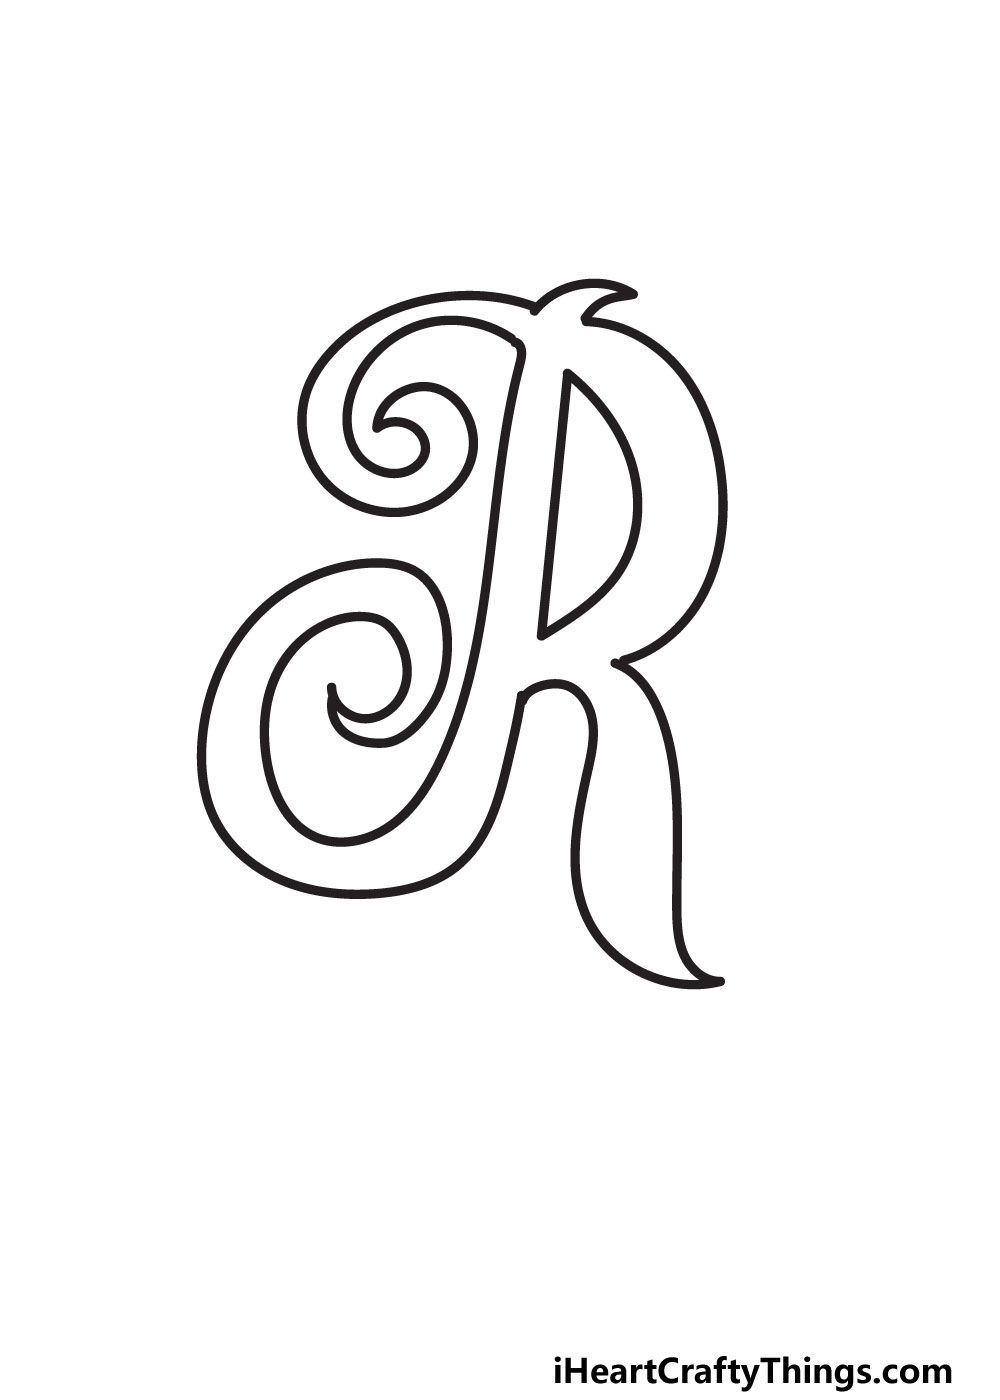
Start by drawing a vertical curved line down from the pointy shape at the top of the letter.
Then, we will draw the leg of the letter.
This will be drawnusing some slightly curvy lines extending out and ending in a pointy tip.
you could then connect this leg to the bottom spiral that you drew earlier.

Then, all that will remain will be to draw the hole at the center of the letter.
Its as simple as that, and then the outline is complete!
You could add a few more of these if you wanted to as well!

Next, we added some details inside the outline of the letter.
This looks great, but there are many other ways to fill this outline.
This is a step where you’re free to really get creative with it.
You could use our design, a variation on it or go for something completely different.
STEP 5:
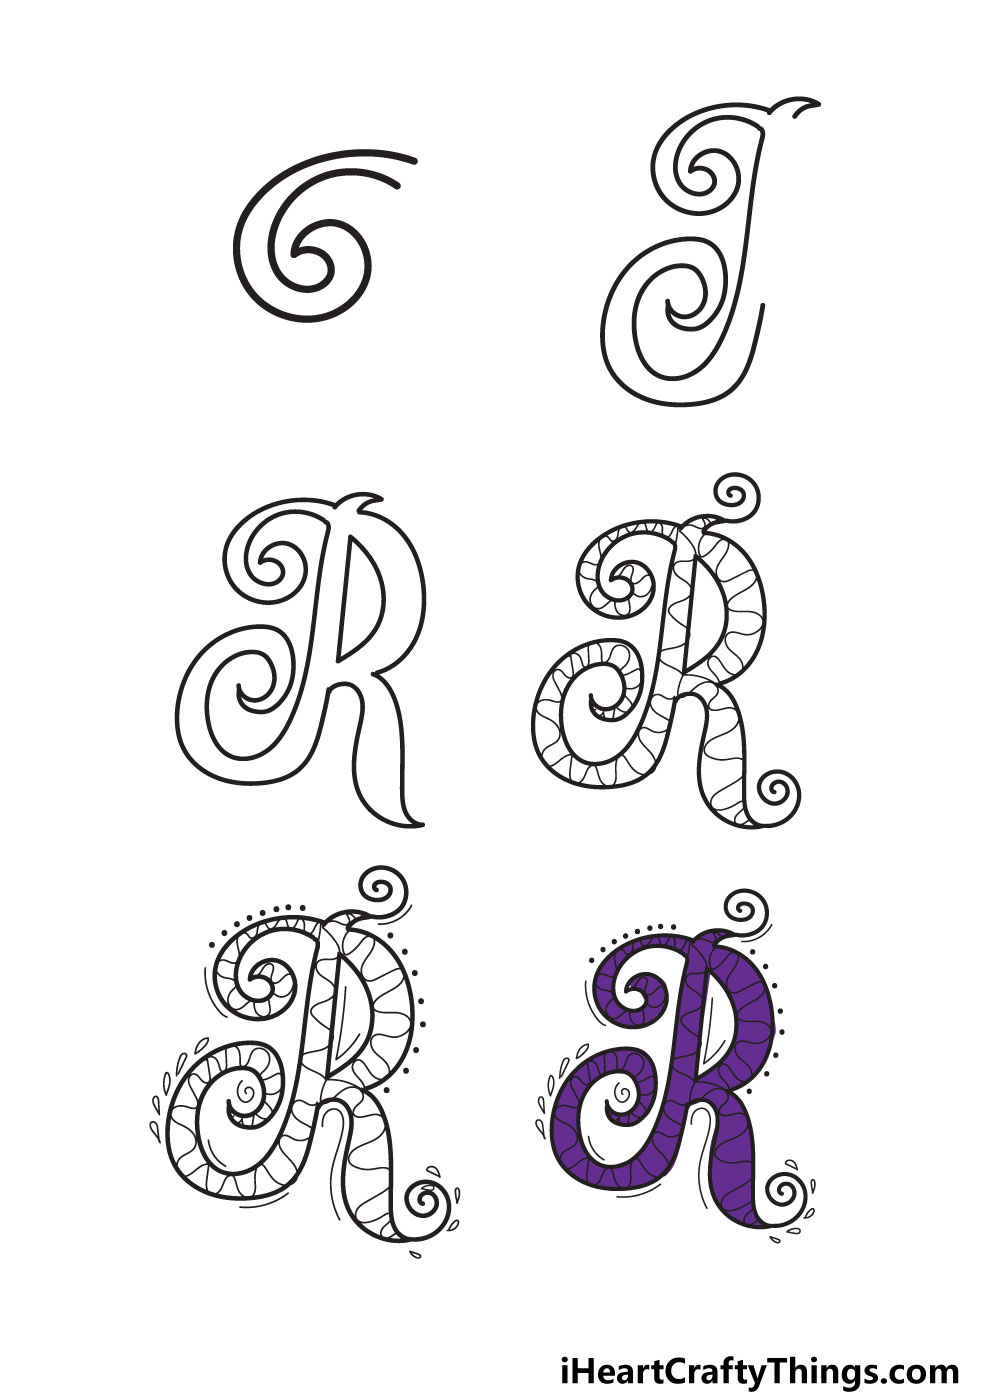
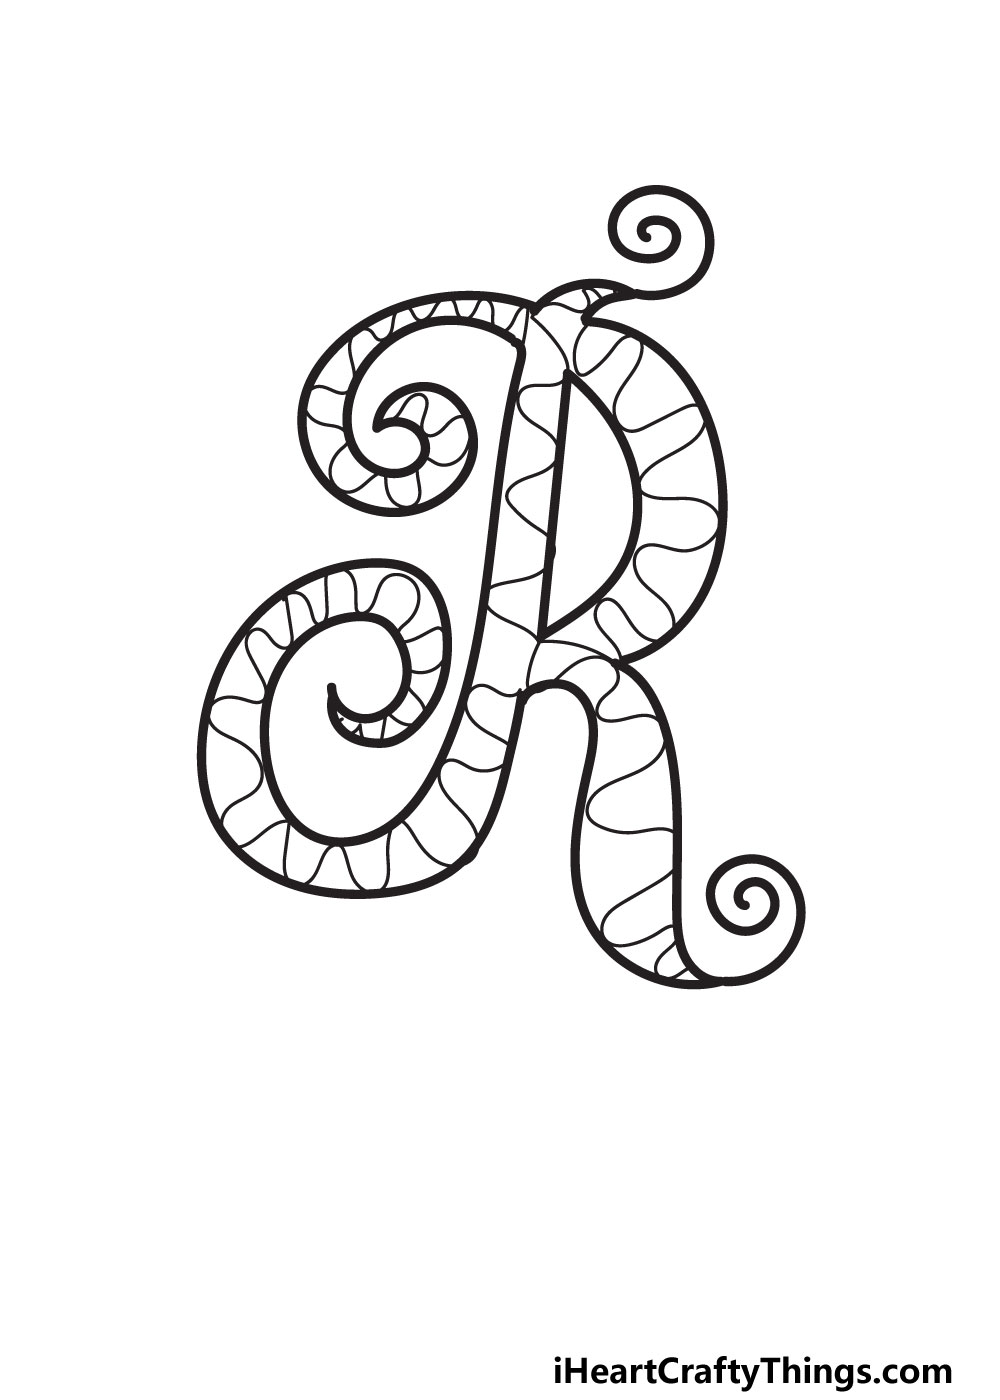
Now, we will be adding some final little details around the letter.
These details are all rather simple, but theycan really help to bring this design to life.

First, we added some dots along the outer edge of the letter.
We kept this minimal, but you could add many more of these if you like.
We finished off with some simple line details close to the outline at various points of the letter.

you’re free to also change around the places these details are or change the sizes.
We chose a deep purple color for the letter, and it gives the letter a beautiful look!
Or, there are so many other colors you could choose from!

Everyone has a favorite cilor, and you could use yours for the drawing.
My Final Tips To Make Your Fancy Letter R Drawing Even Better!
We may have finished the guide, but you dont have to stop here.

In fact, there are many ways to keep the fun going with some other ideas!
Doing this would allow you to fill the background and make this drawing even more personalized!
What are some words you could write out in this fancy style?

More From:How to draw
Printable Bubble Letters A Complete Guide!

