The letter O is certainly one of the easiest to learn to write.
For that reason, we would recommend drawing a rough version before you dive in.
The rough version could look like a regular letter O that you would simply write.

Whether you decide to do this rough version or not, we can now start the actual drawing.
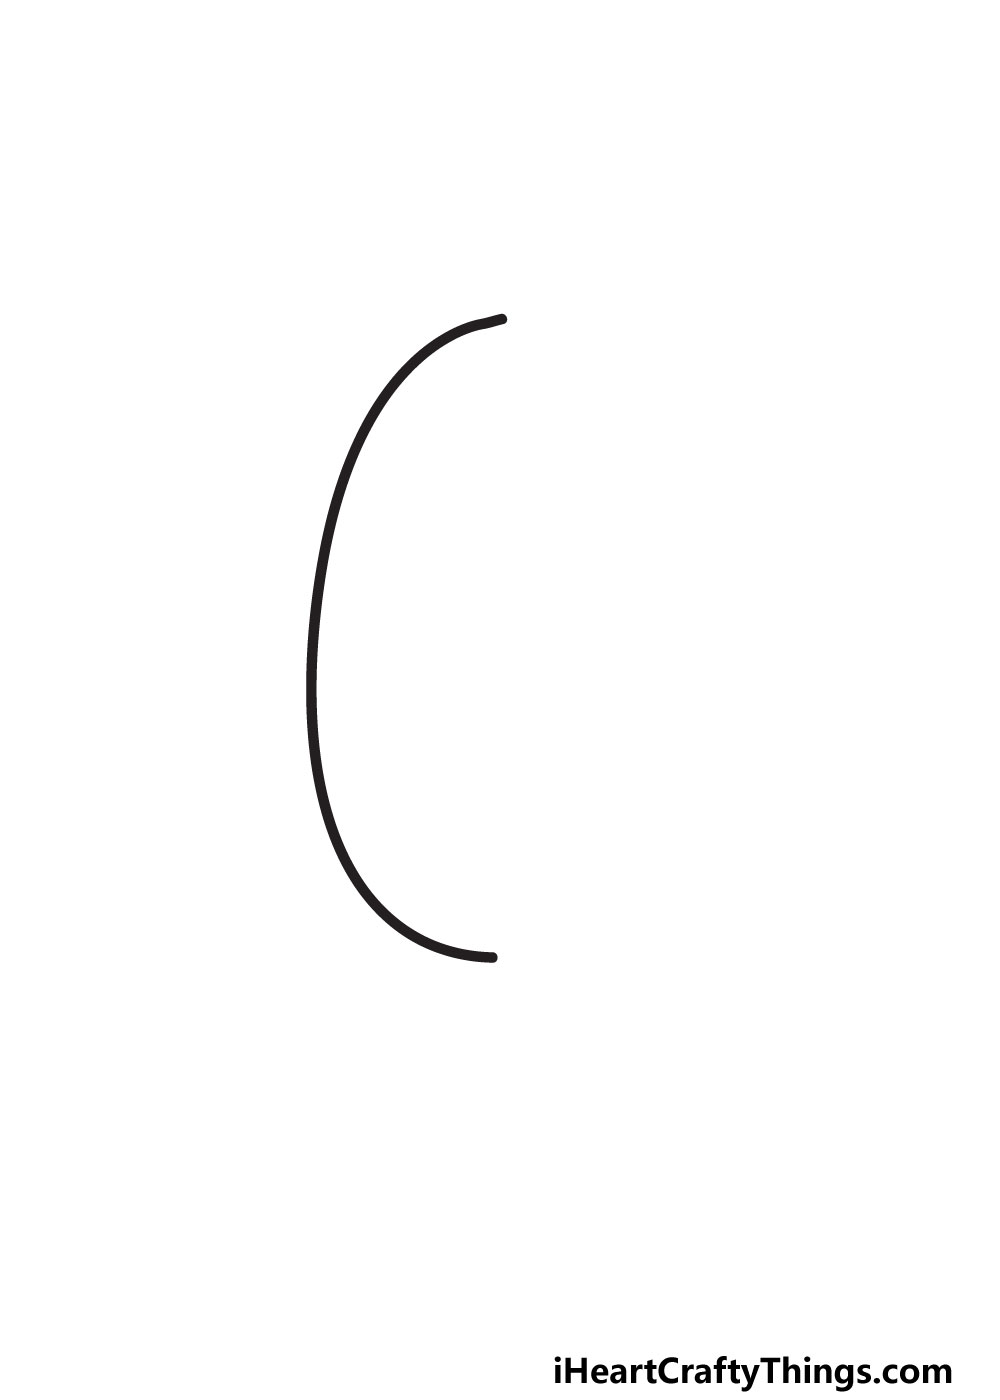
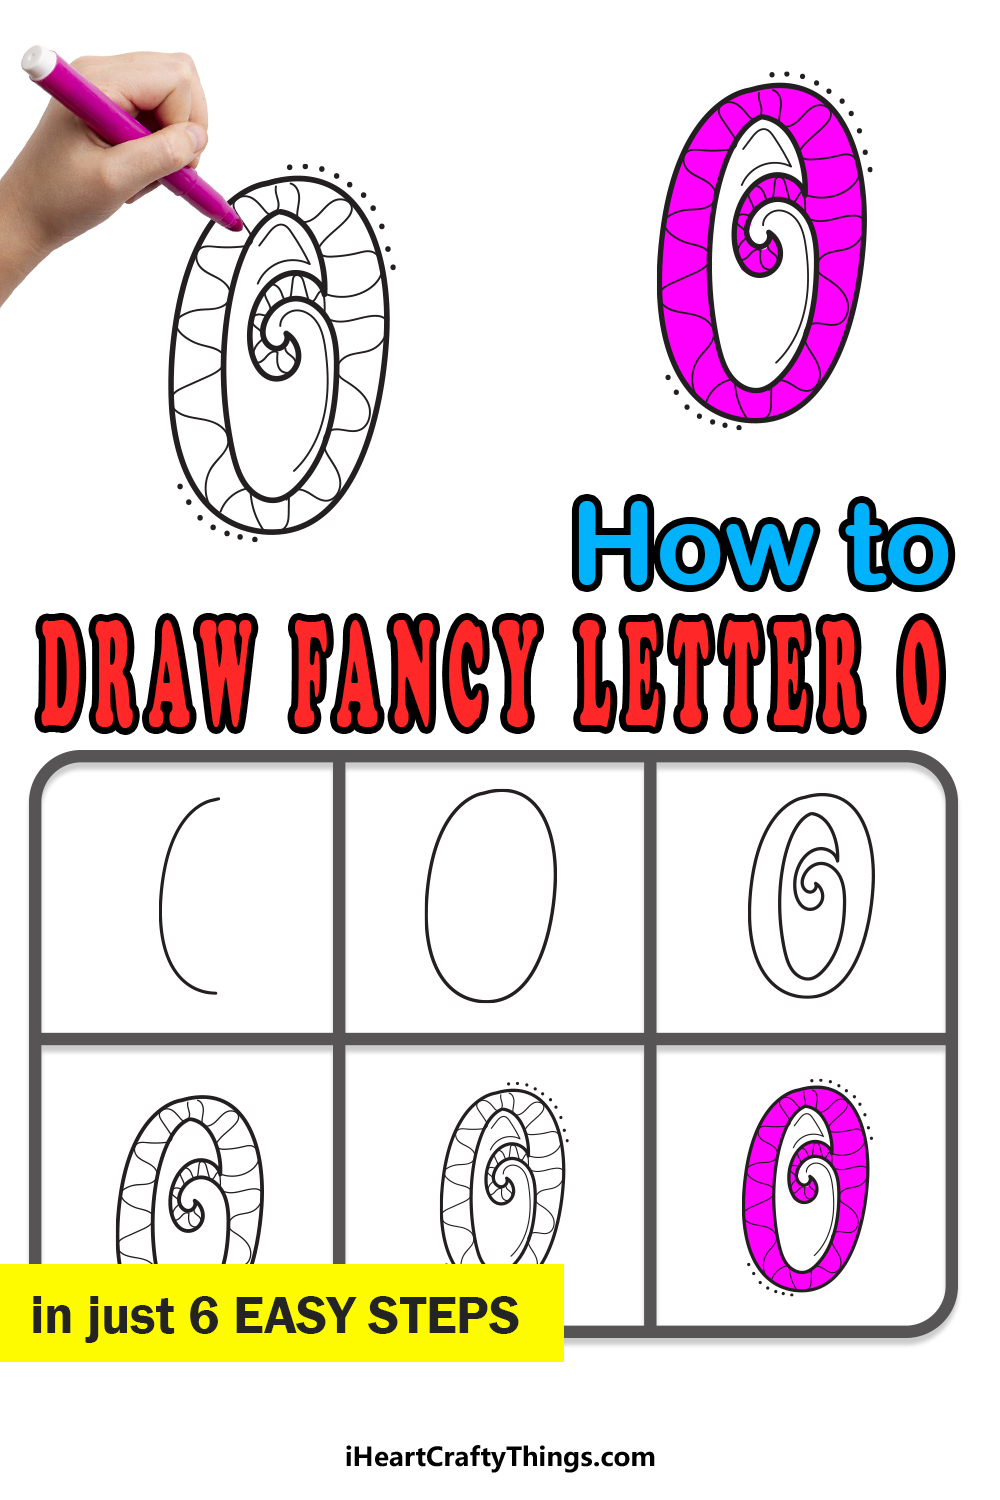
We will begin with the left-hand edge of the letter.
This line will be a single vertical, slightly curved line as shown in the reference image.
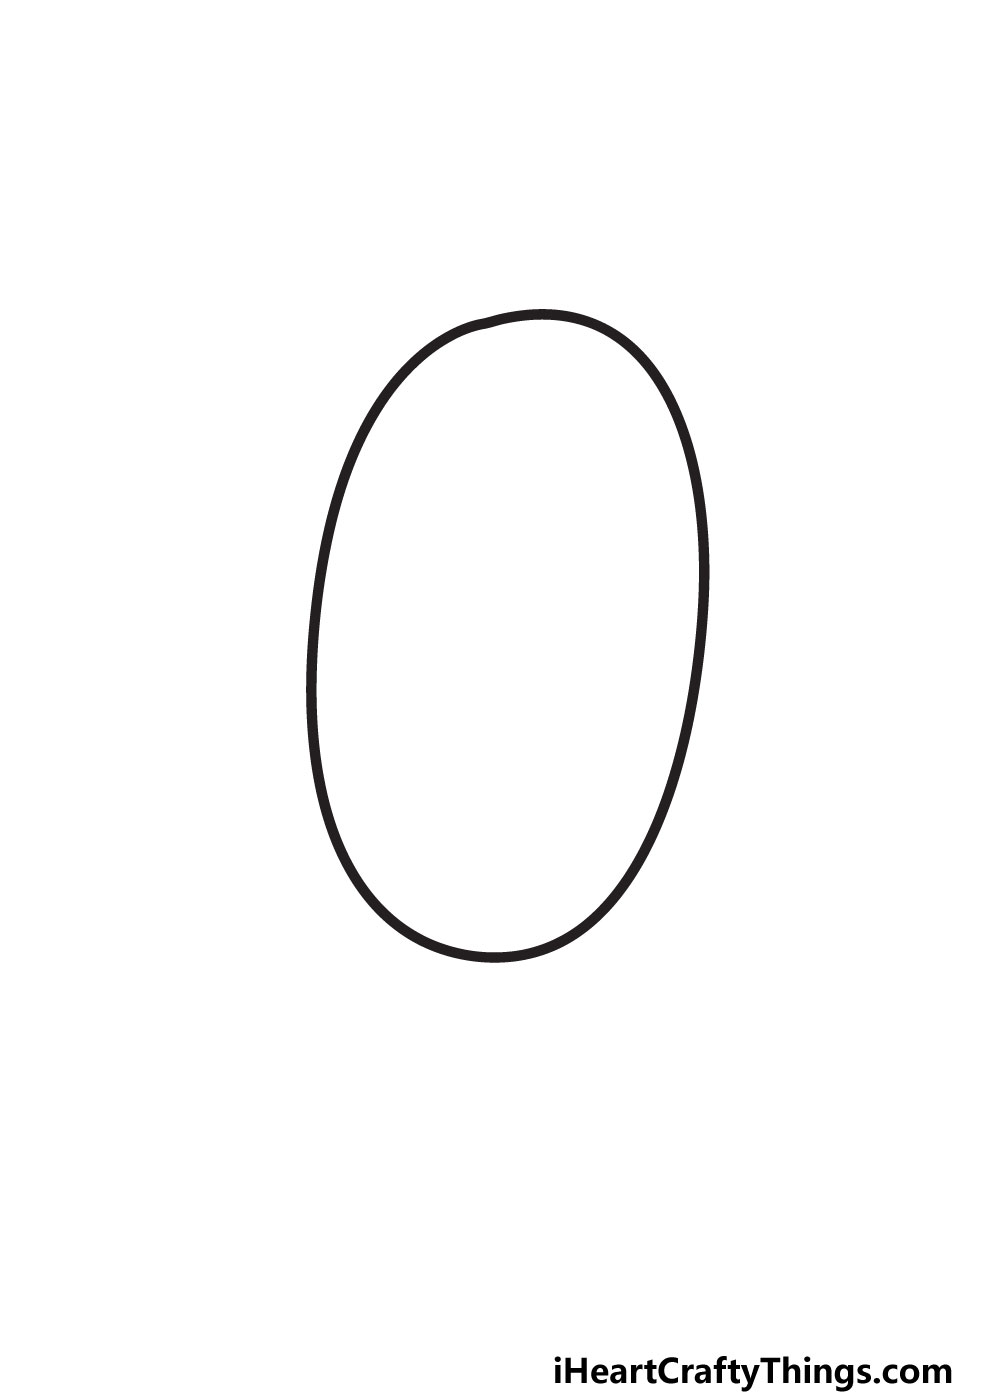
To do this, we will be completing the rest of the outline in its entirety.
It will be a very similar, reversed version of the line from step 1.
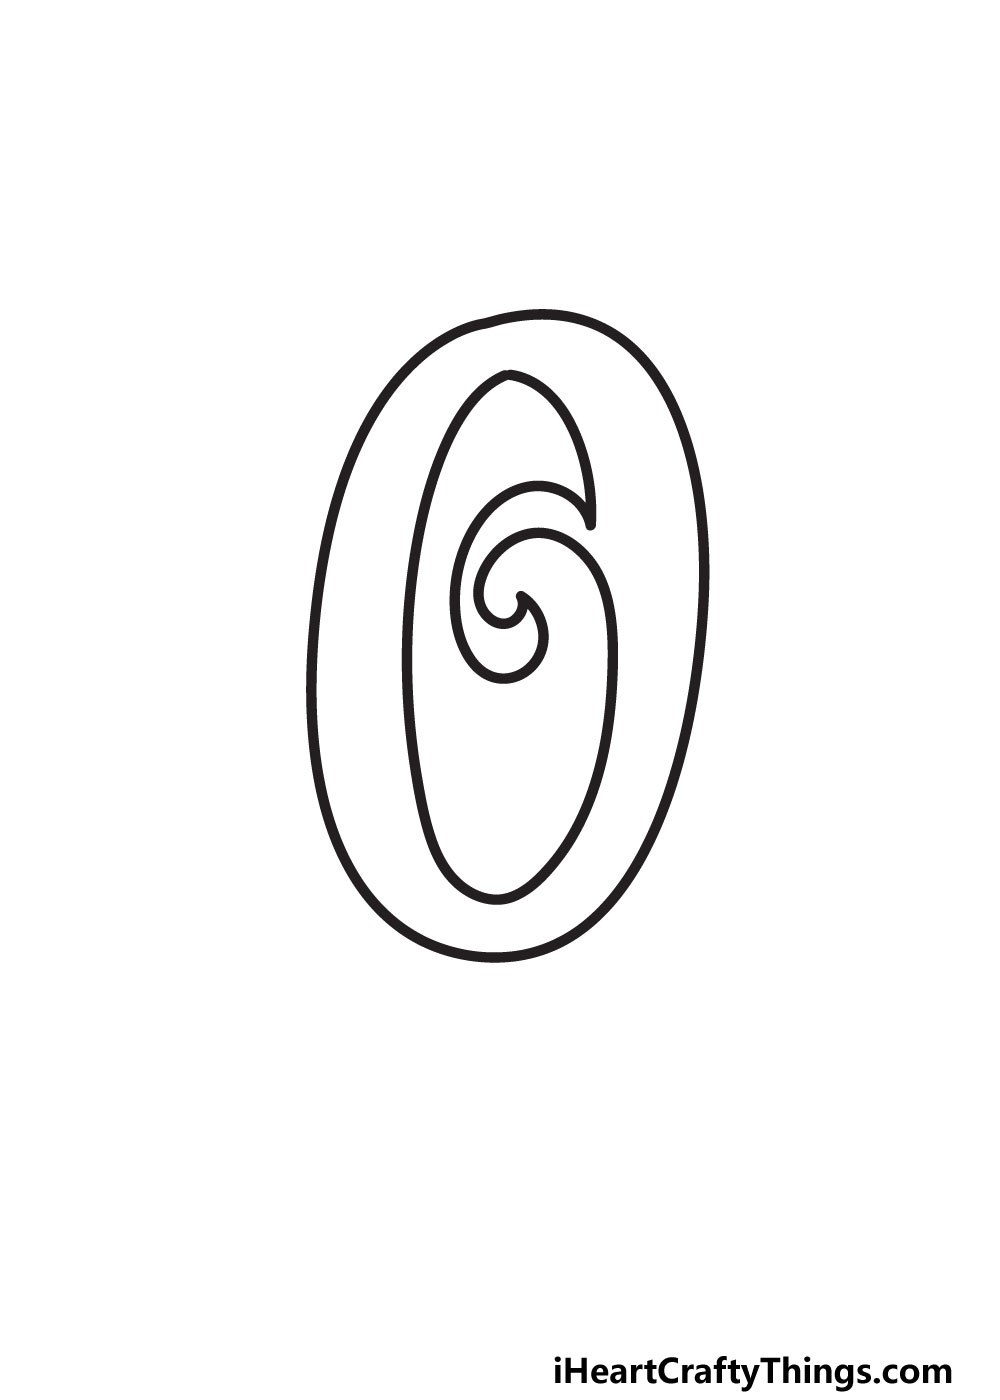
In this third step, we will be drawing the complex center of the letter.
Lets make it simpler by breaking it down.
That will extend up and into the design and then curl out again.
This part can sound a bit complicated, but just be sure to follow the reference image to help.
STEP 4:
That previous step was quite tricky, but this one should be much easier.
Not only is it easier, but you also have the opportunity to add some of your own ideas!
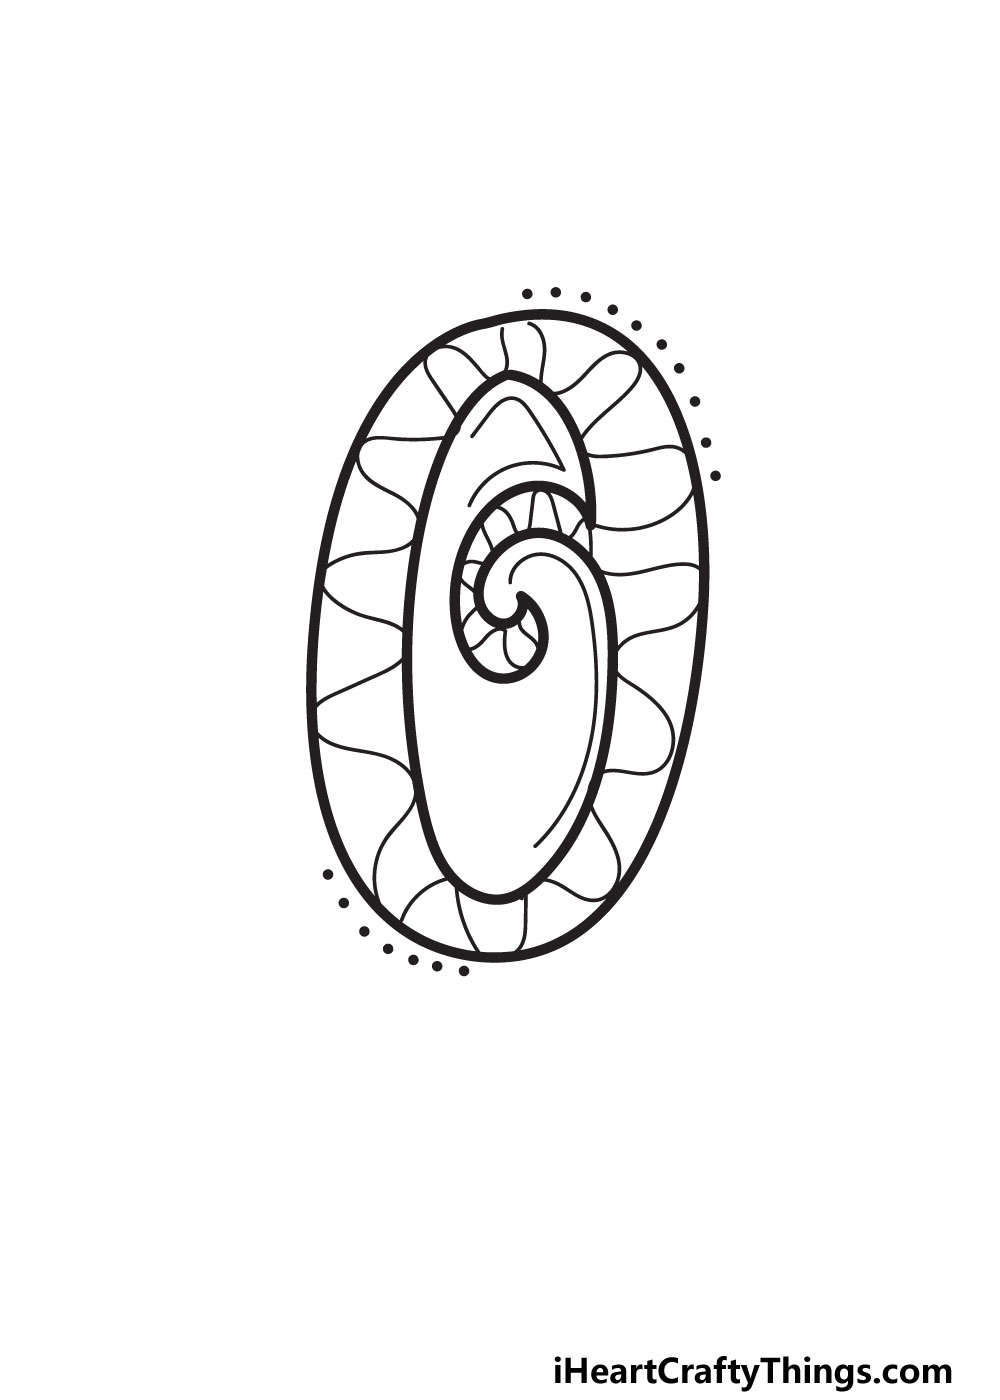
This step is all about adding some detailsto the interior of the letter.
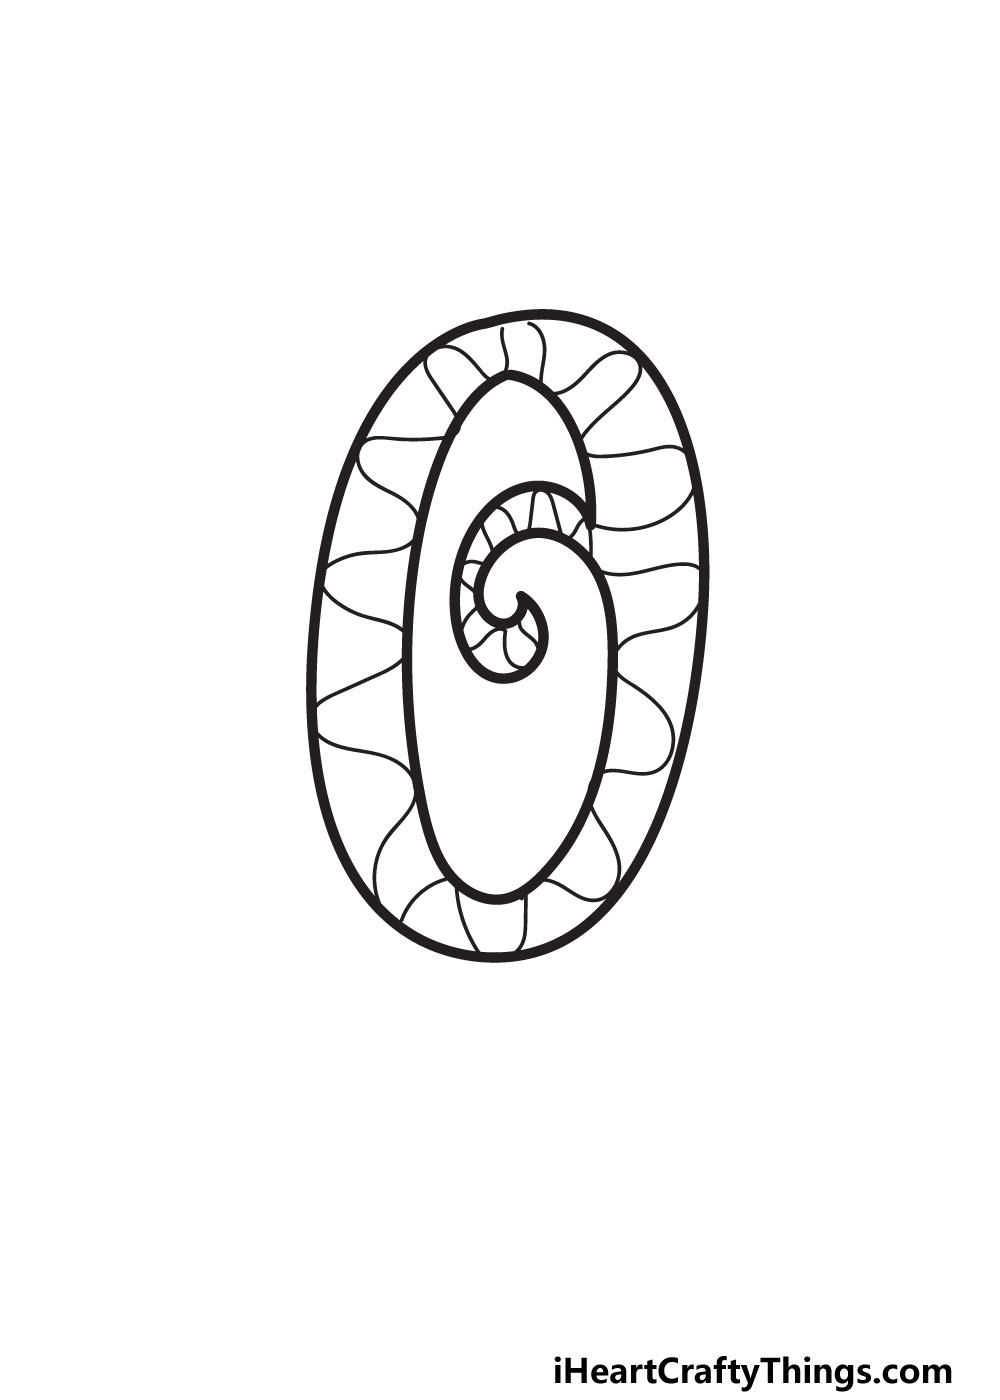
In our example, we went with curved, wavy lines all throughout the outline.
It helps to give the letter a more intricate look, even though the lines are quite simple.
While we love how these wavy lines look, you could add any details you like instead.
You may even prefer to leave the interior blank for some colors later.
Its up to you, and there is no wrong way to go about it!
Then, we can finish off with some final exterior details on the letter.

The details we chose are actually really simple, but they make a big difference.
Youll see that we added some small dots along the outline of the letter to start with.
We kept these fairly minimal, but you could add more if you like the look.
Then, we added some simple thin lines along the interior of the letter outline.
Once again, you could add more of these if you like!
It could be as complex or as simple as you like!

STEP 6:
Its always great to get outall your favorite art toolsand have some coloring fun!
In our example, we show you just one of the many ways that you could color your artwork.
We chose a bright pink color scheme to make it bright and eye-catching.

You may prefer something more subdued, however.
It can be fun to mix various mediums, colors and techniques as well.
Using crafts like glitter, beads or special glues can help to add texture to the image as well.

When you have colored the letter, be sure to consider adding color to the background as well!
What colors and mediums will you choose for your own drawing?
My Final Tips To Make Your Fancy Letter O Drawing Even Better!

When it comes to art featuring letters, choosing words as a theme can be a great idea.
To do this, we can think of some words that begin with the letter O.
You could pick short words like owl or something longer like orangutan if youre feeling ambitious!

Another way to do this is by chgoosing a name.
Are there any other themes you would like to embrace for this design?
More From:How to draw
Printable Bubble Letters A Complete Guide!

