As you will see in this very sentence, the lowercase letter L is a simple vertical line.
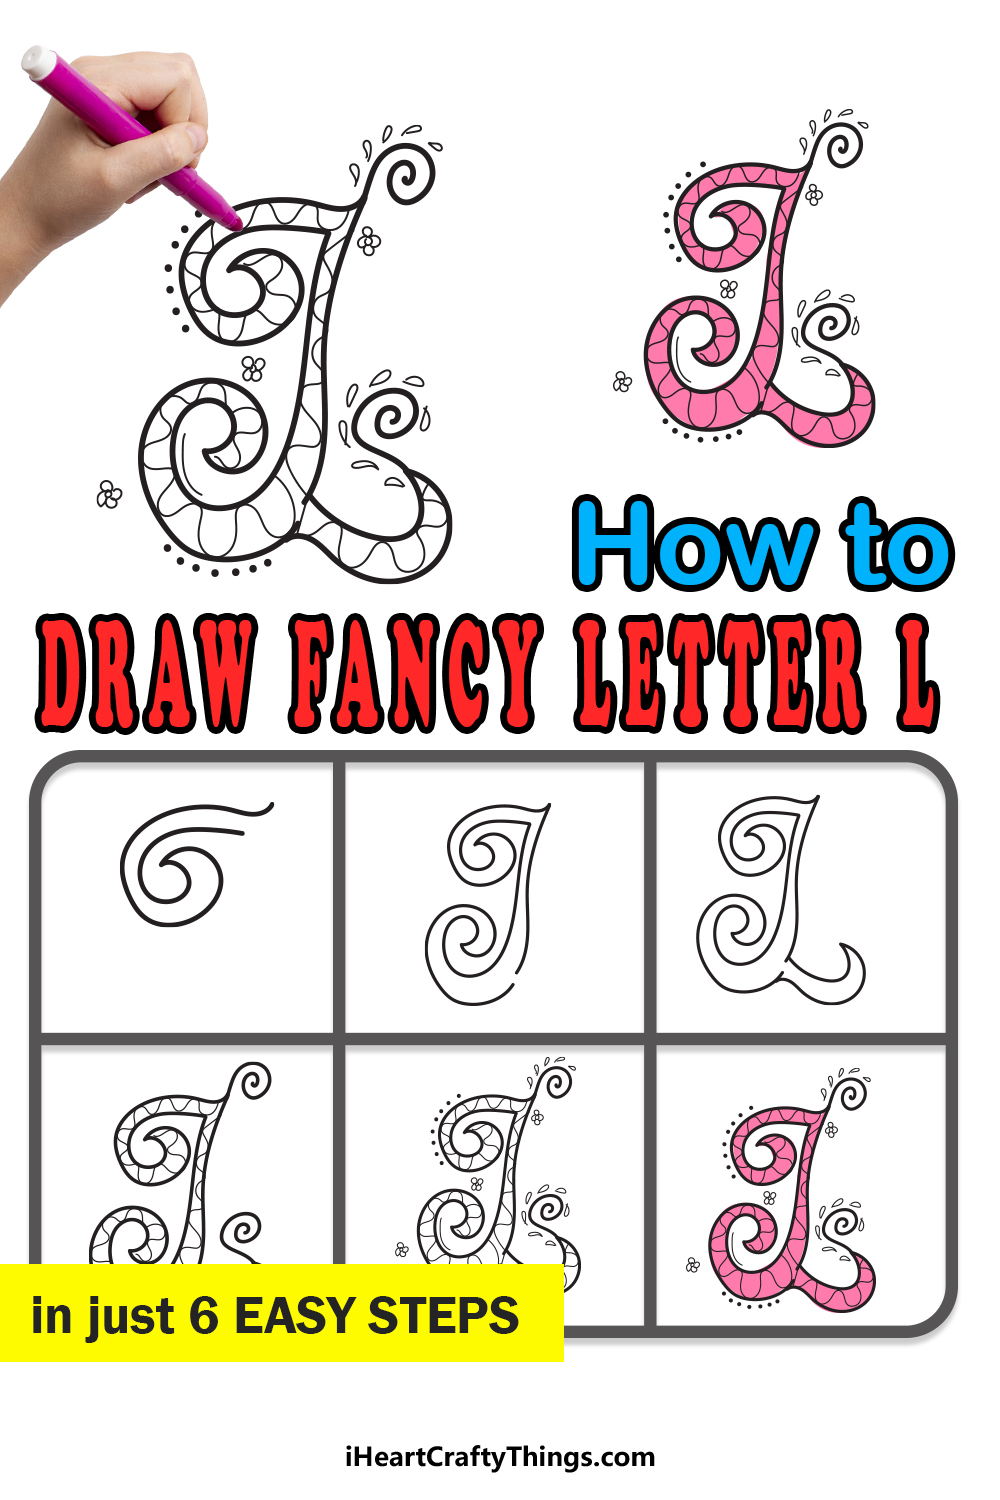
In just 6 steps, you will learn how to draw a fancy letter L!
With all that said, lets start with the first step of the guide.
When youre writing it normally, its not one most people will struggle with.
With that out of the way, we can draw the first flourish of the letter.
They will curl in and then meet at a pointy tip at the center.
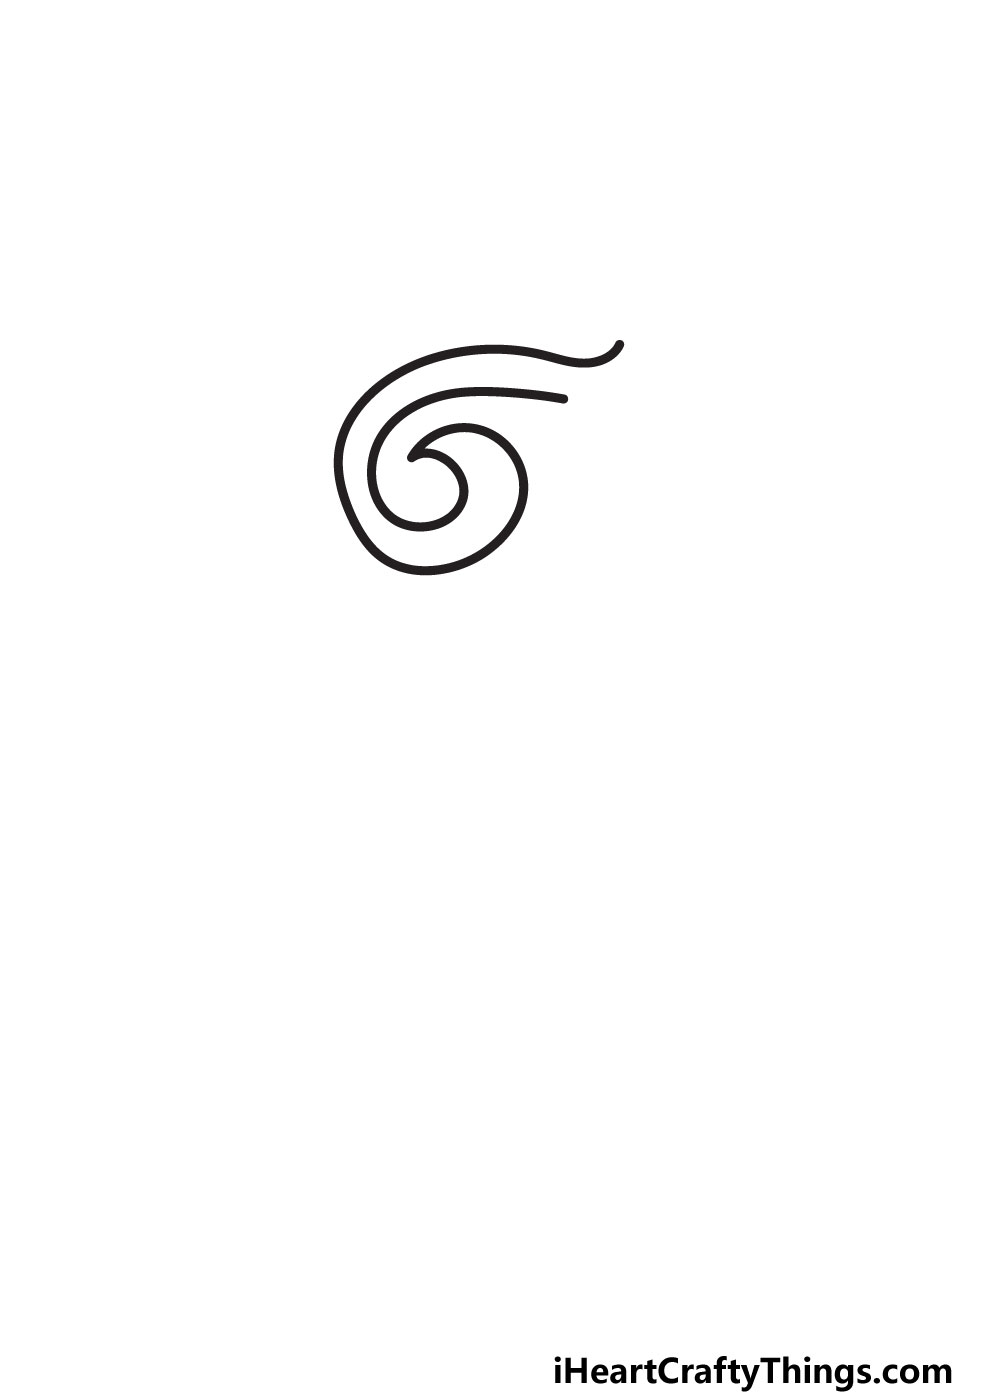
give a shot to follow the spiral in our example closely as you draw.
When youre happy with how the spiral looks, we can then add the next section.
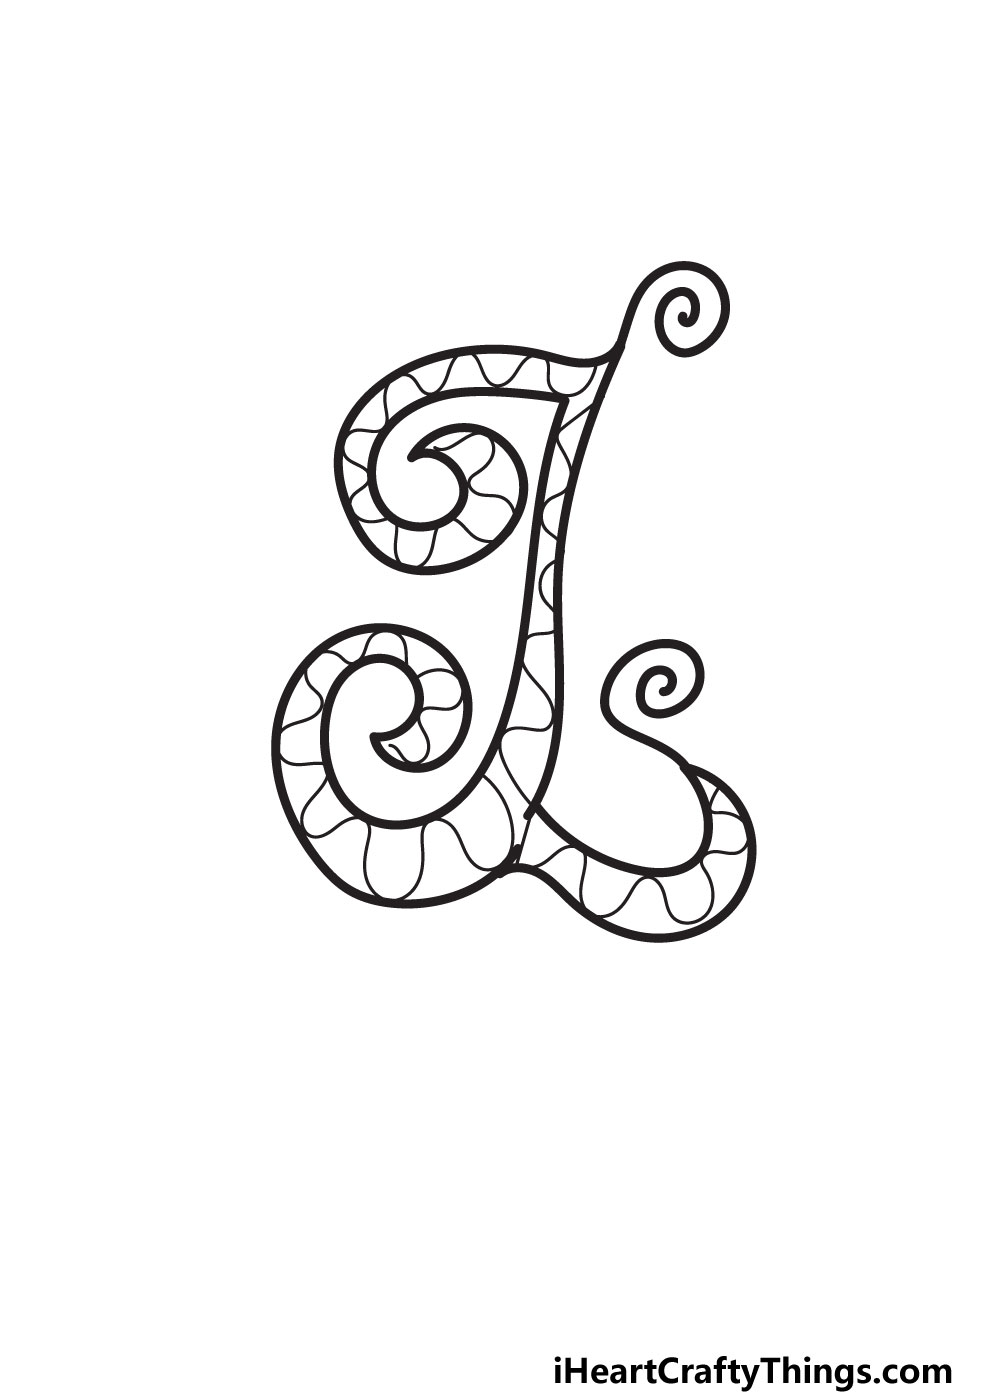
For now,we will draw the main body of the letter.
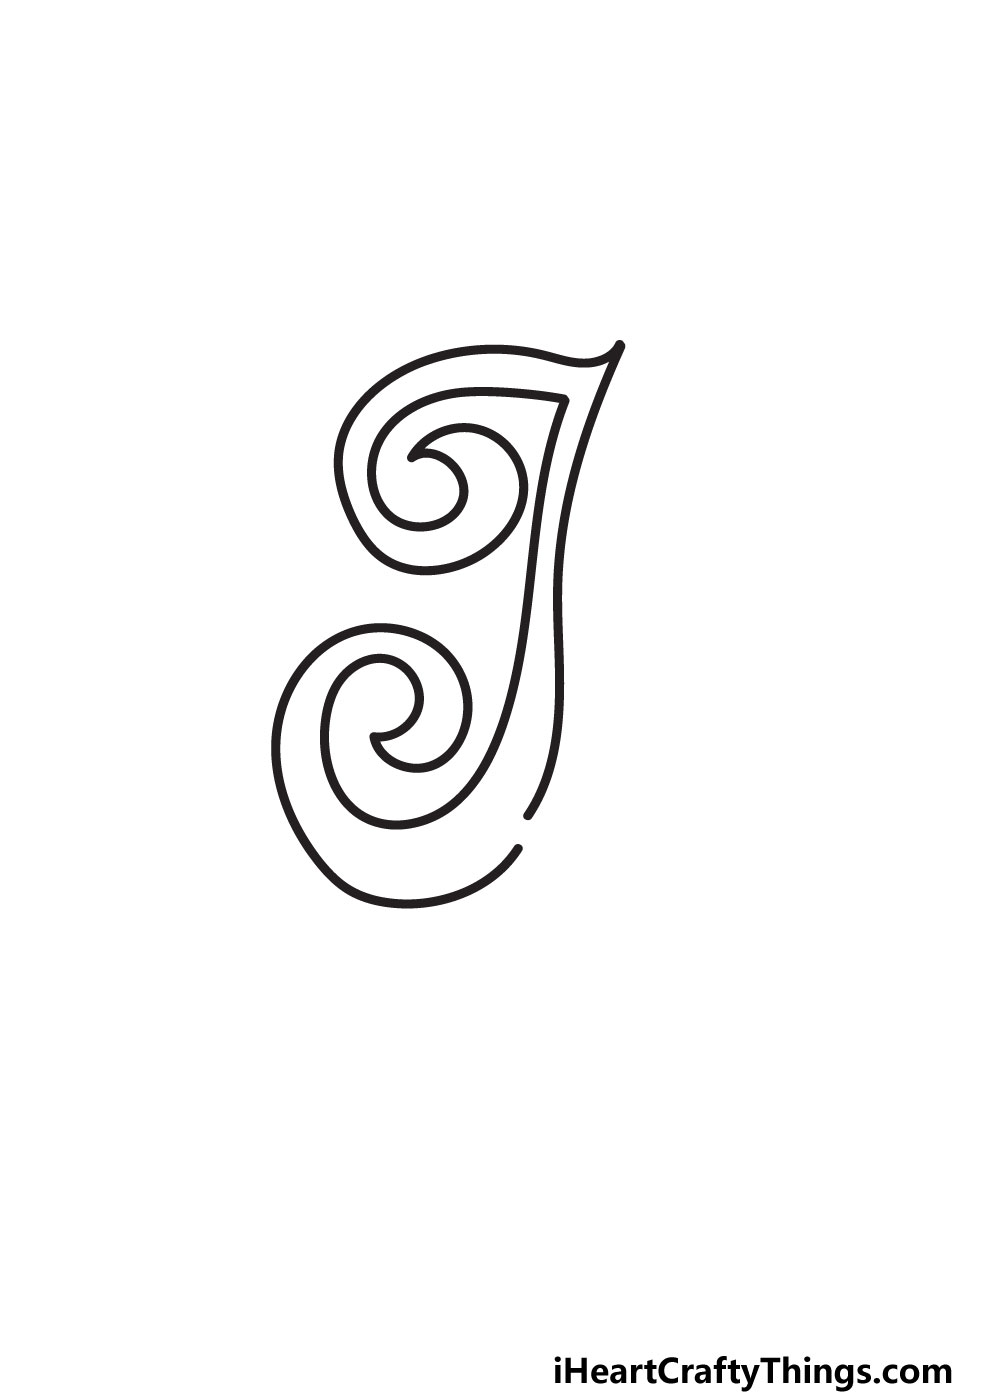
This will have a slight curl to it and will create a pointy tip at the top.
Next, we will draw a line down from the base of the spiral from step one.
This will also be a vertical, slightly curved line that runs mostly alongside the first vertical line.
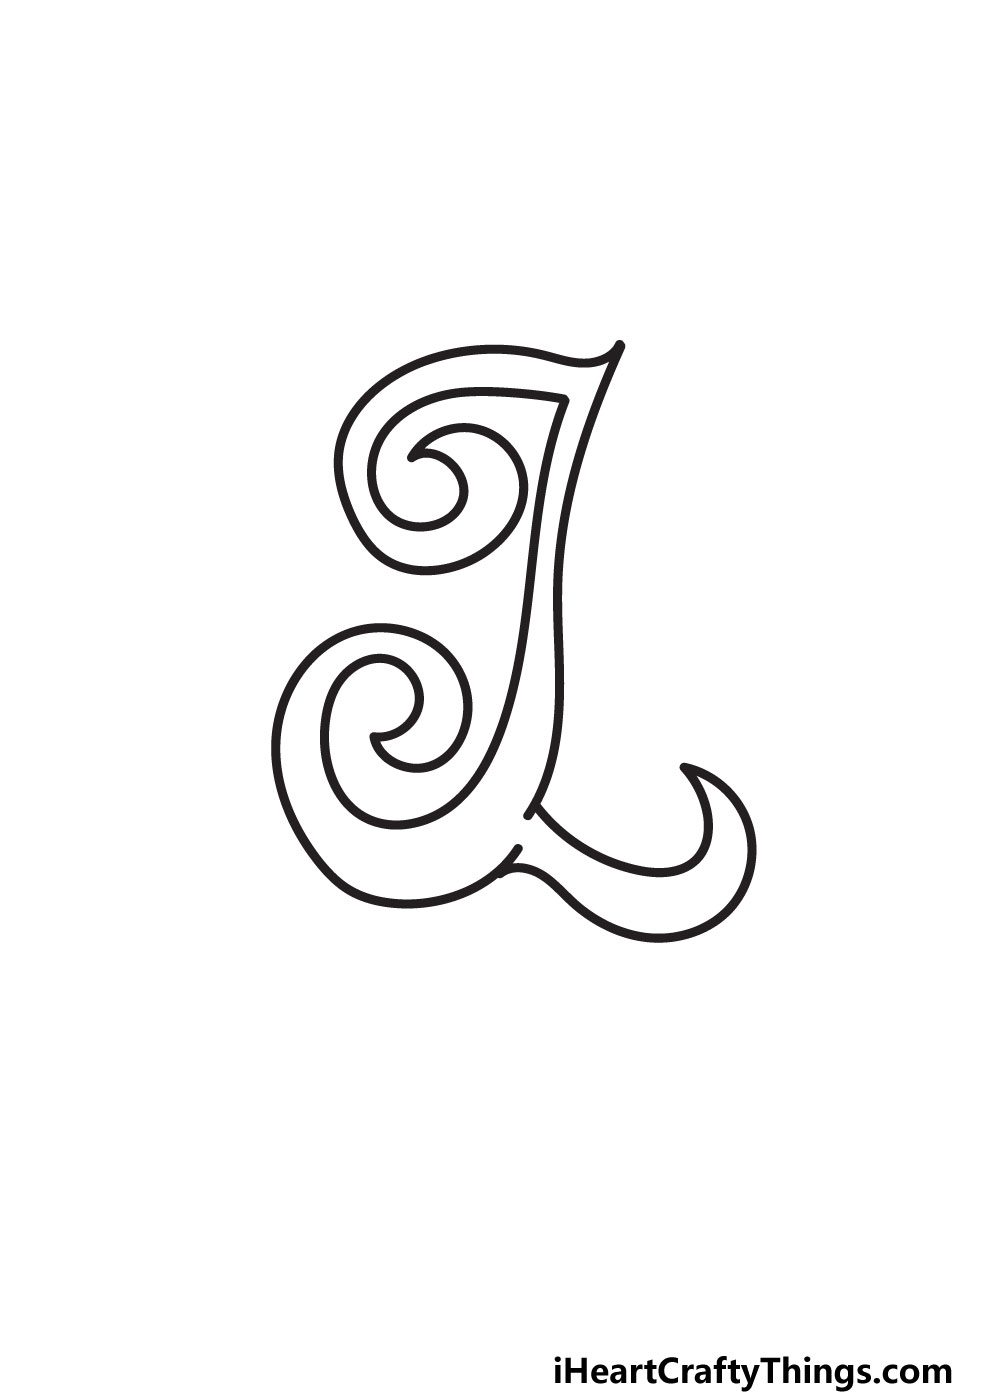
At the base, it will curl to the left to form a large, loose spiral shape.
The spiral will curve down towards the base and then up again.
This shape will curl up slightly to end in a sharp point.
Be sure to neaten and clean things up before moving on, though.
Be sure to not erase any of the final lines accidentally!
You should also avoid smudging any lines if you drew the final design with a pen.
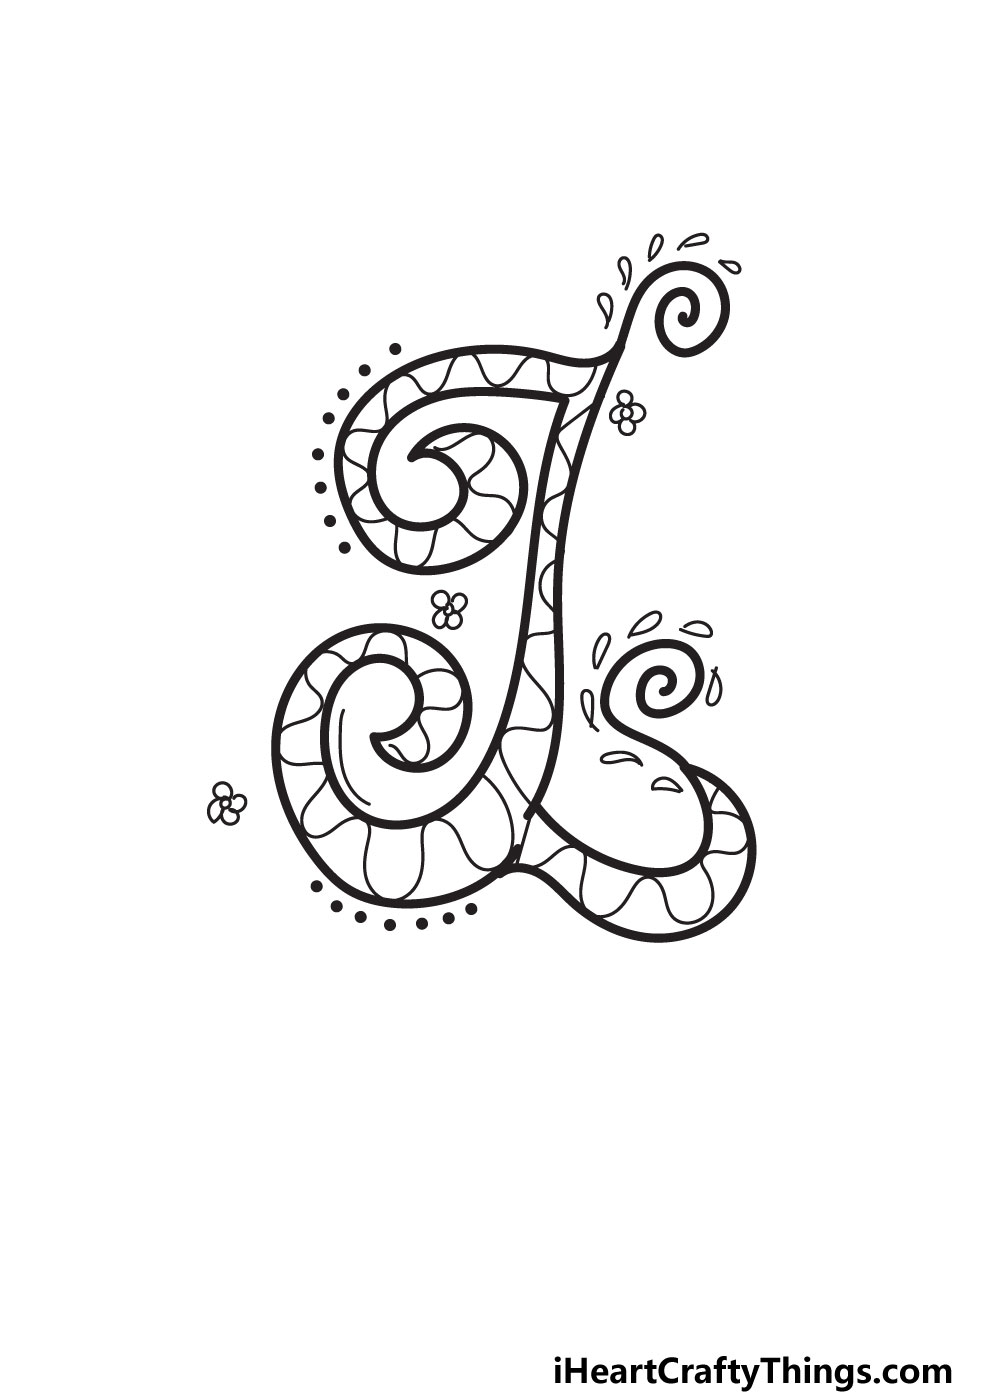
Then, we can start decorating in step 4, so lets move on!
In our design, we did a halfway point between the two.
We started by adding some spiral lines to the tips of the letter on the right-hand side.
The next details will all be inside the outline.
To fill in the interior, we went with a simple set of wavy lines all throughout the design.
These not only look visually interesting but will also provide lots of spaces to add and contrast colors later.
You could go with any other patterns or designs you may prefer, however.
If you want the lines to be straighter or maybe keep the interior blank, you should do so!
See where your inspiration takes you and were sure you will pleasantly surprise yourself.

We shall add some final details in the next step to finish things up before we color it in.
First, we added some dots along the outlines on the left side of the letter.
Finally,we decided to incorporate a floral themeto the image.

We did this by drawing some small flower shapes into the image.
you could move these details around a bit or add more of them if you like.
There are so many possibilities!

This is another step where you could take over and show off your creativity.
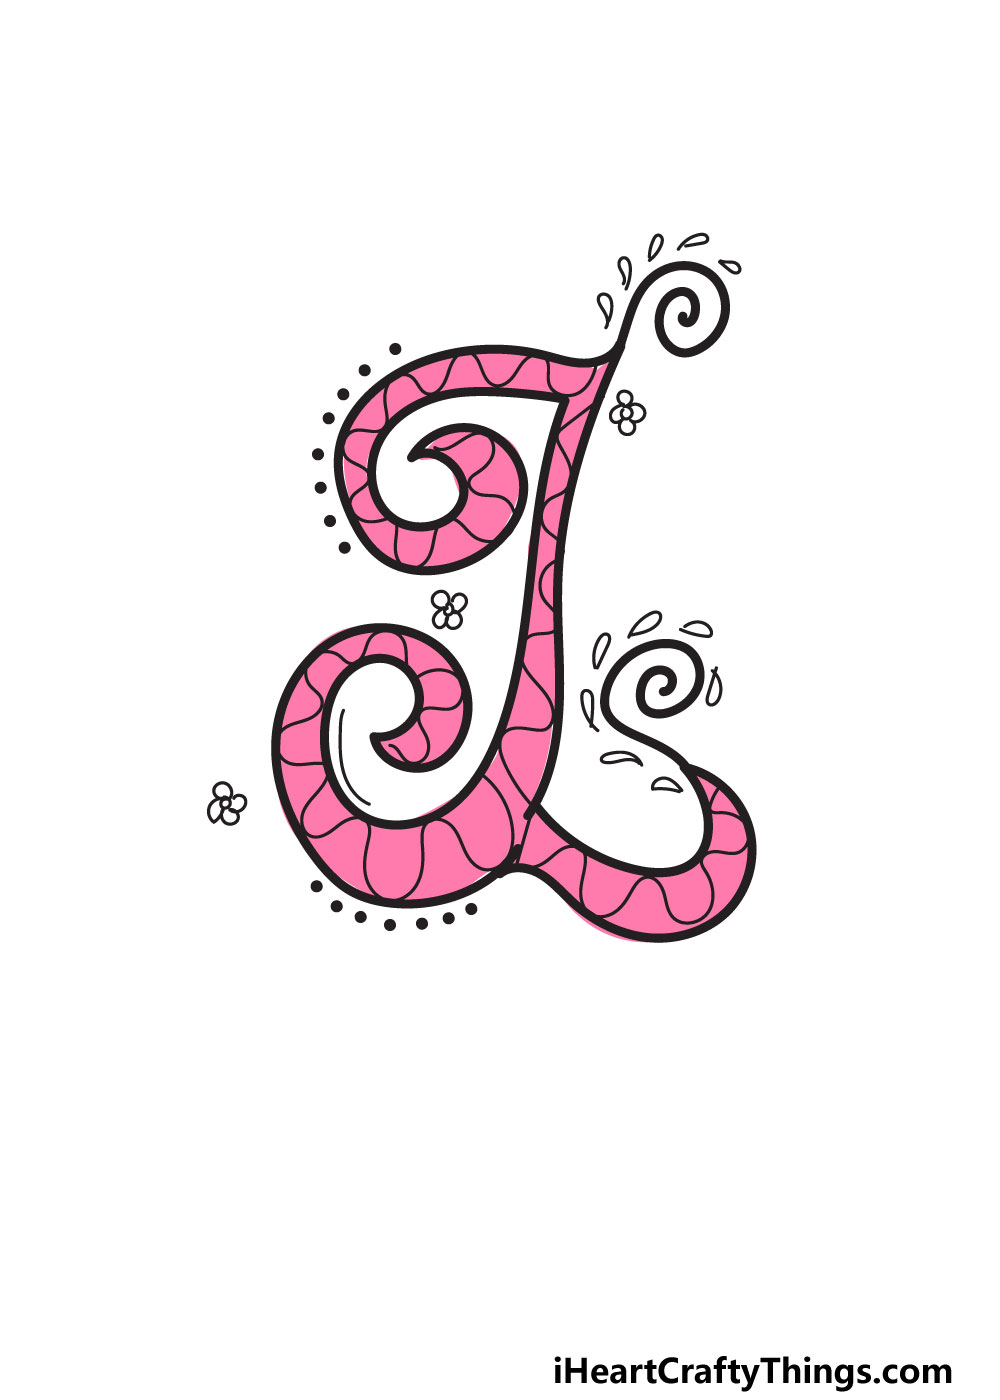
We chose a pretty pink color to give the letter an elegant look.
There are many ways you’ve got the option to get creative with it too.

What colors will you choose?
My Final Tips To Make Your Fancy Letter L Drawing Even Better!
One way would be to create a theme around the letter.

Its just one example of how you’re able to create a theme for the picture!
More From:How to draw
Printable Bubble Letters A Complete Guide!

