While its a fairly simple letter, it is a great letter to make all fancy with extra details.
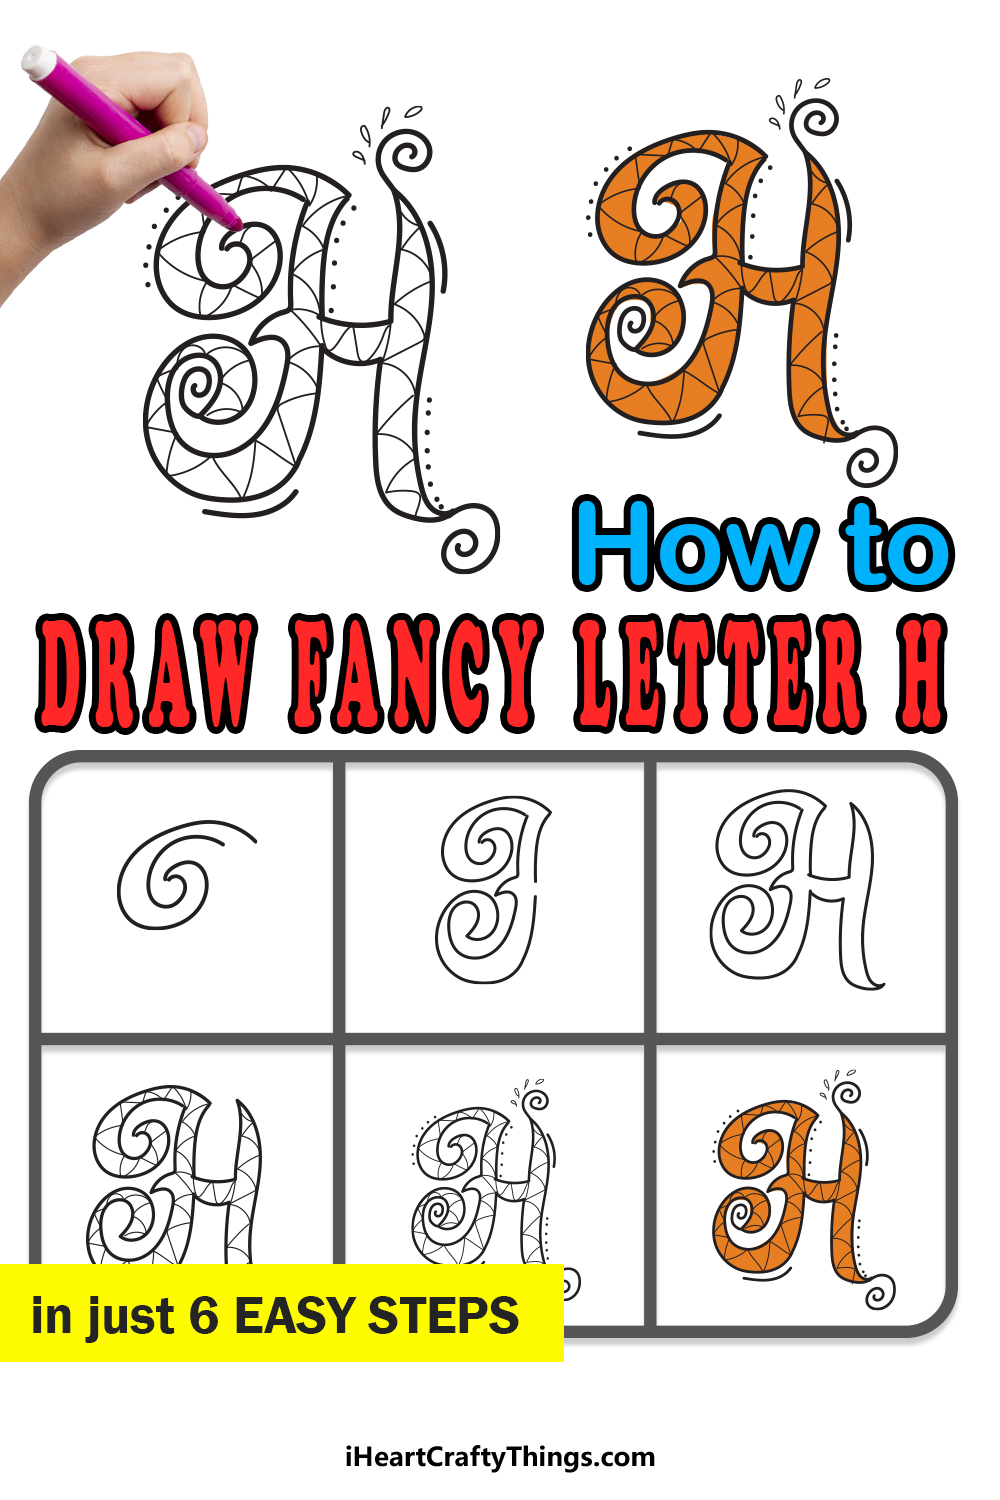
There are 6 steps in the guide that will break it down for you.
Lets kick off with the first step and see how its done!

This will help verify you maintain the right shape and will also help you plan out the size.
As part of the design, we will be incorporating various spiral shapes all throughout the design.
We will start this first step with one of these spirals.
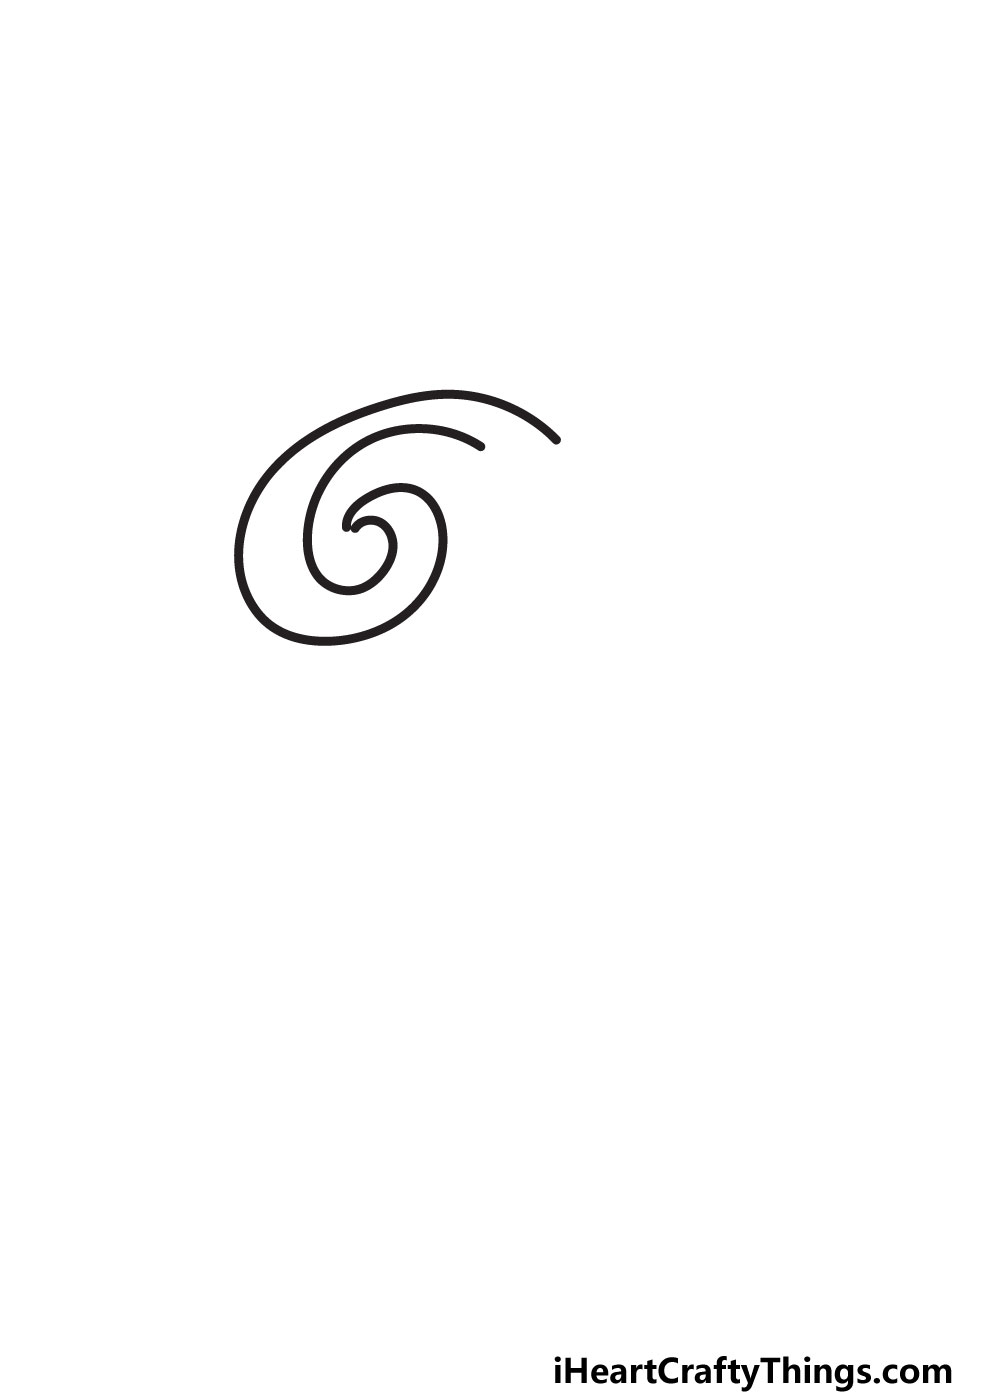
Also, remember that it will attach to the pillar on the left of the letter.
When the spiral is drawn, we can proceed to step 2!
STEP 2:
Next,we will be drawingthe lower left-hand side of the letter.
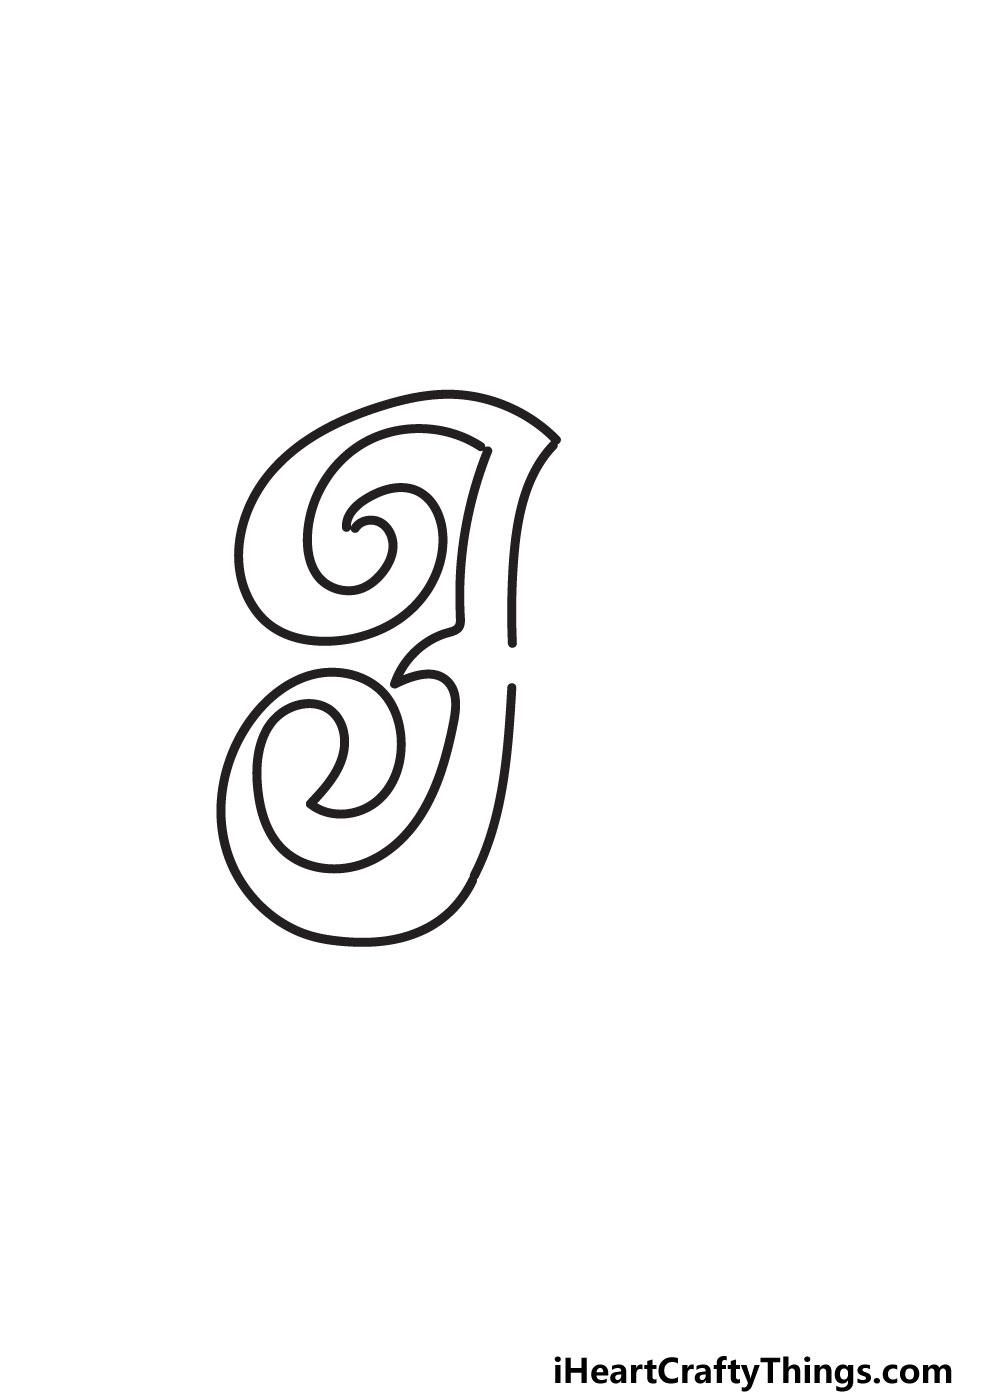
Keep drawing until halfway down the letter.
To finish off this step, we will draw the left leg of the letter.
This will extend from below the little sharp shape and the gap you left a moment ago.

First,we will draw two horizontal linesfrom the gap we left earlier.
These horizontal lines will have a very slight bend to them.
Then, we will draw the pillar and leg of the right-hand side.
They will have a much simpler design.Each one is made up of slightly curved vertical straight lines.
They will each end in a pointy tip.
Once these are drawn, your outline is complete!
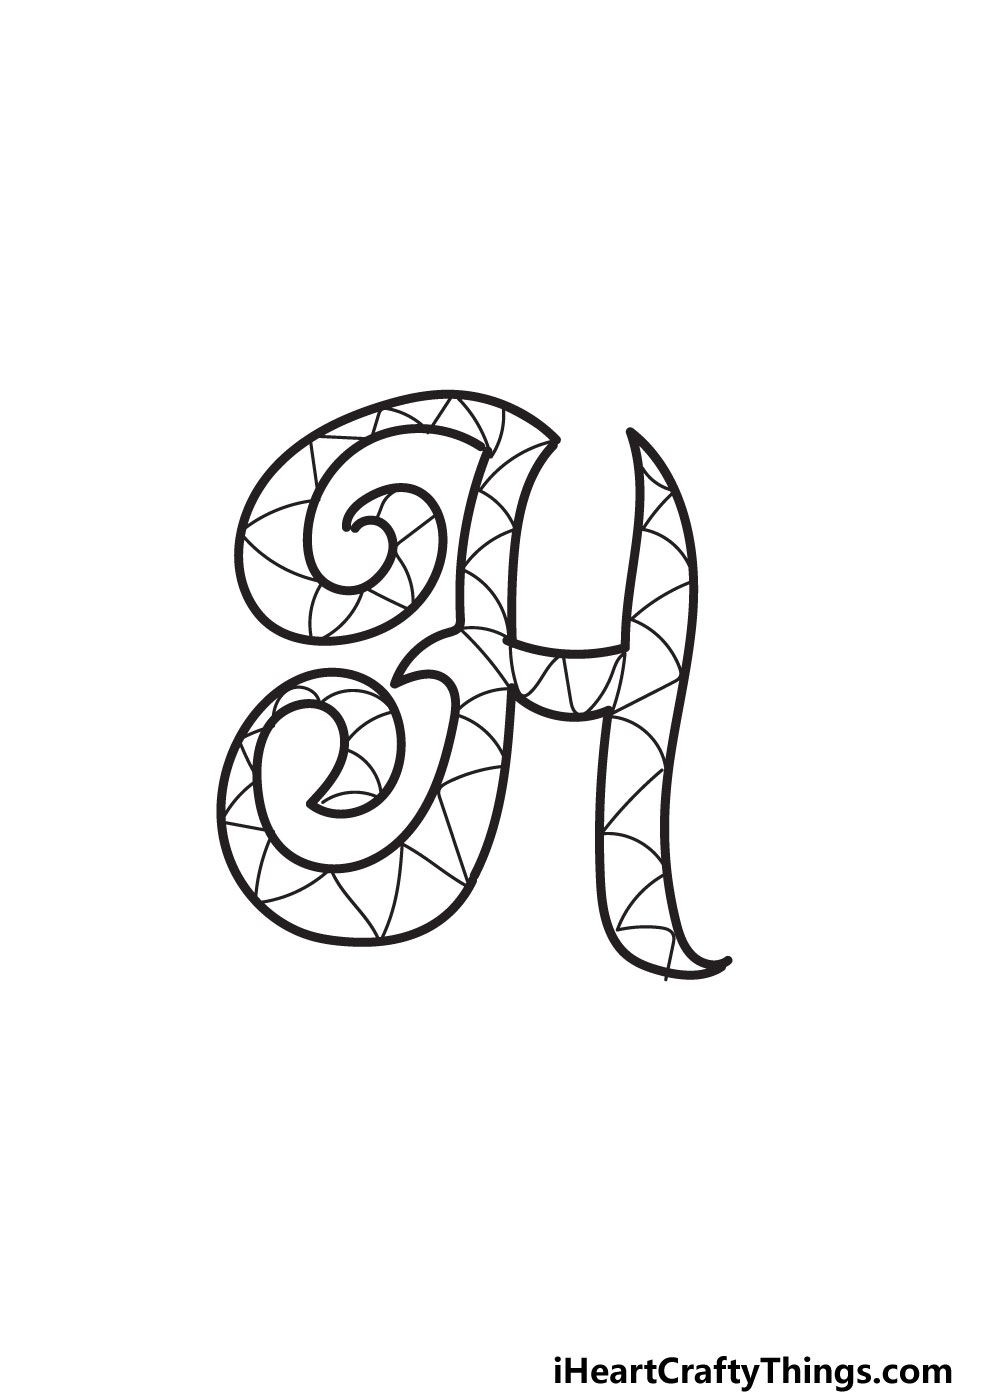
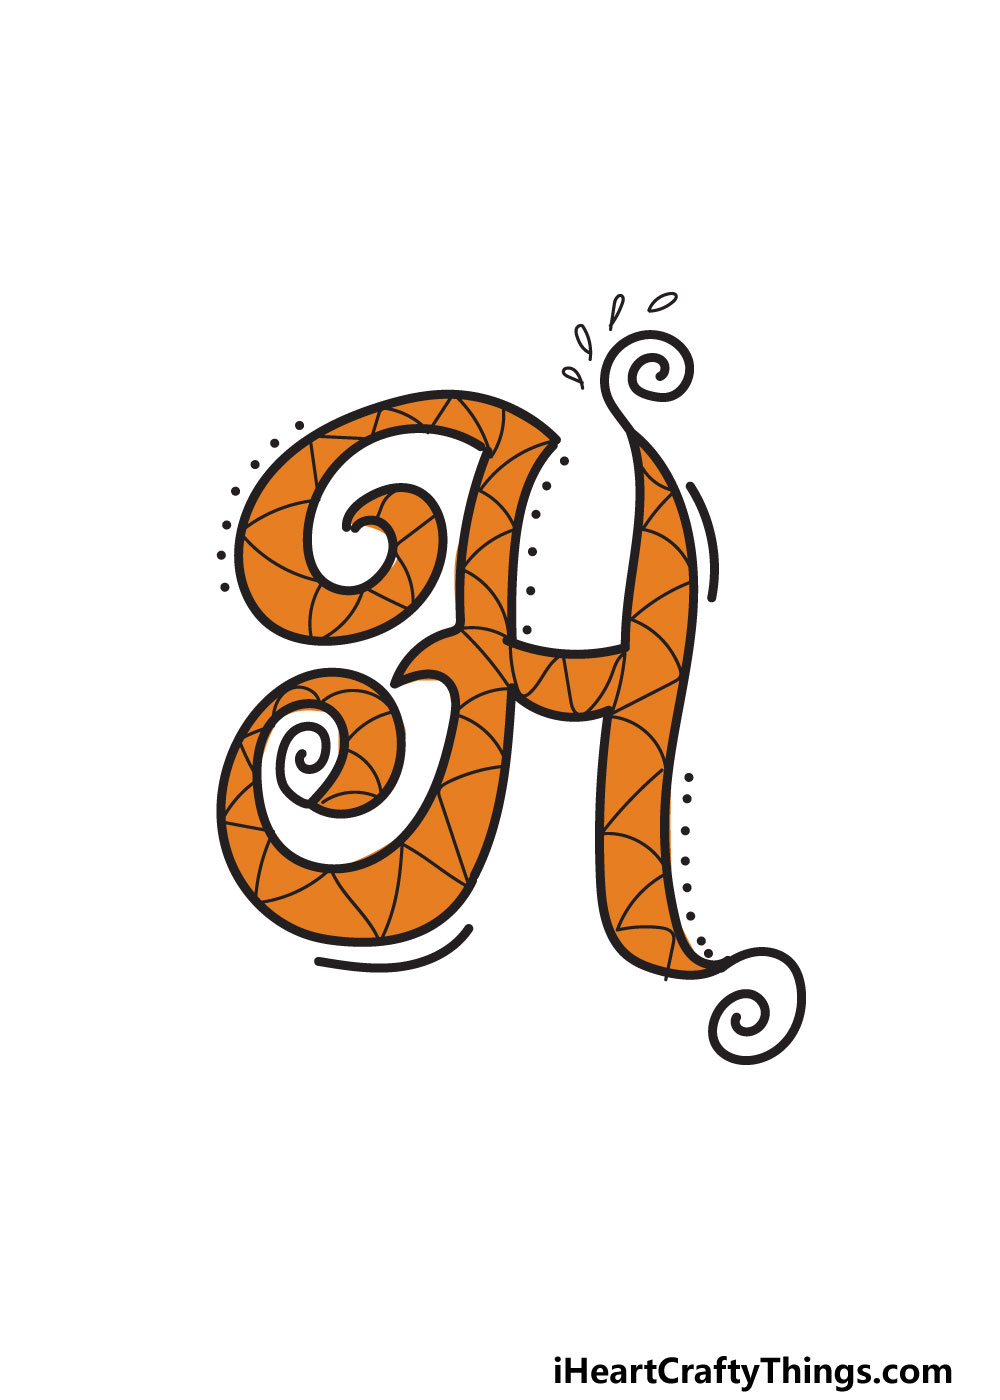
In our reference image, you will see how we chose to decorate the interior of the letter.
We created a zigzag pattern all throughout the interior of the letter using mostly straight lines.
This makes the letter look even more intricate, and it will be great for adding colors later.
There are no wrong ways to decorate your letter!
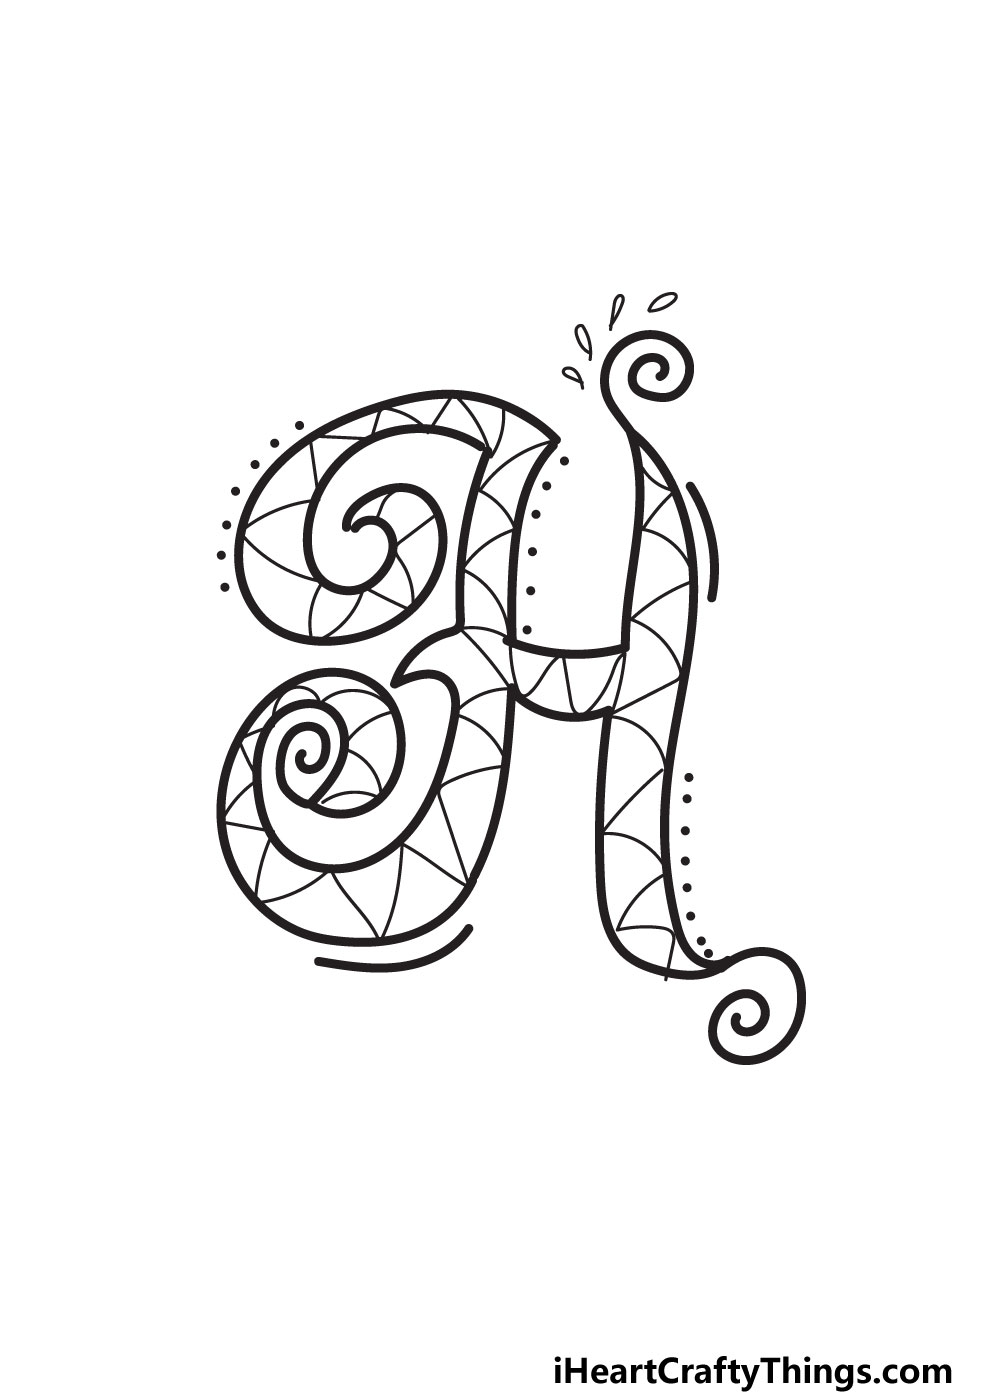
First, we added some spiraling lines poking off some of the ends of the letter.
These spirals make it look fancier on their own, but were not done yet!
We also drew some curved lines along some edges of the letter.
Then, we added rows of small dots along the outline as well.
Finally, we drew some little leaves along the spiral on the upper right-hand side of the letter.

Dont be shy about adding some ideasof your own as well!
you might also fill the background with various details to create a themed background.
Thats something to think about, but we will focus on the colors in the next step.

You could go for something completely different, or you could incorporate different colors with this orange.
The pattern we used for the letter would also allow you to add lots of different colors.
you’re able to also play around with fun art mediums and crafts to achieve your colors.

Dont forget the background as well!
You could fill it with solid colors or create more patterns and details there as well.
Before we finish off, we will go over a few ideas to get your imagination going.

My Final Tips To Make Your Fancy Letter H Drawing Even Better!
There are so many ways to keep having fun with the drawing, though.
It could be fun to create a theme for the picture, for instance.

It could be you or someone you know!
How will you finish off this drawing?
More From:How to draw
Printable Bubble Letters A Complete Guide!

