While it presents its challenges, it can be made easier when you know what to do.
This will essentially be true for this version, but we will make it a lot fancier.
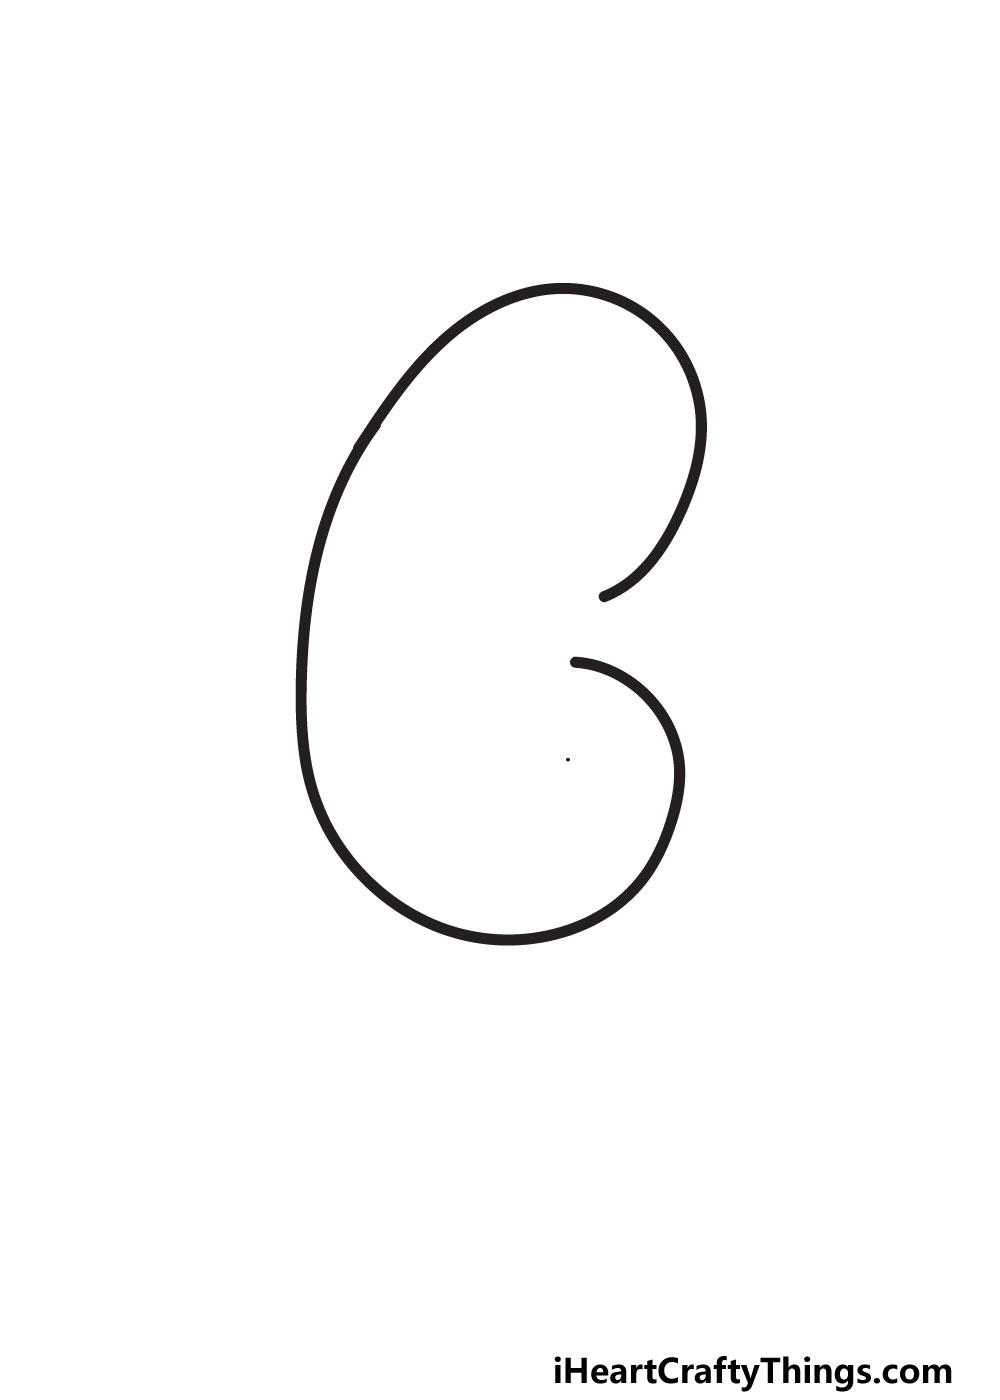
To begin,we will be drawinga curved line that we show in the reference image.

It looks a bit like it could be a regular letter C that someone grabbed and twisted inward.
Youll see why it extends so far in when we add more to the design later!
When youre ready, we can then proceed to the next step.
STEP 2:
We will keep things simple for this second step of the guide.
As you will see in our example, we will be adding a single curved line to the design.
In the previous step, wedrew a line that curved in to the centerat two points.
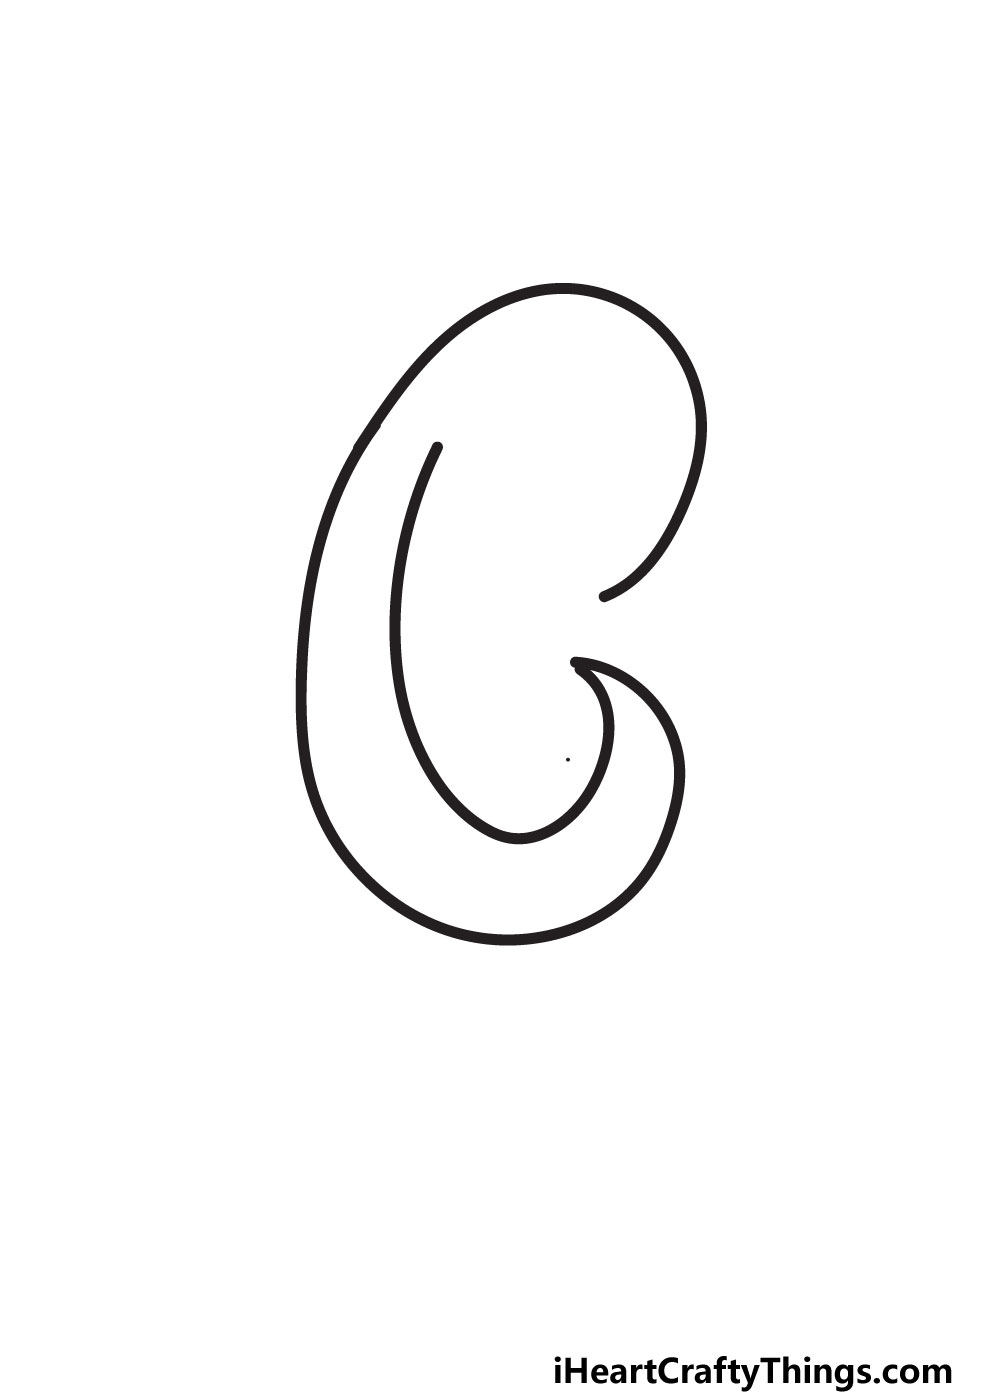
This next line will begin at the lower of these two points.
Then, it will slowly slope up towards the central inner part of the letter.
As it goes higher, it should get ever so slightly closer to the outline.
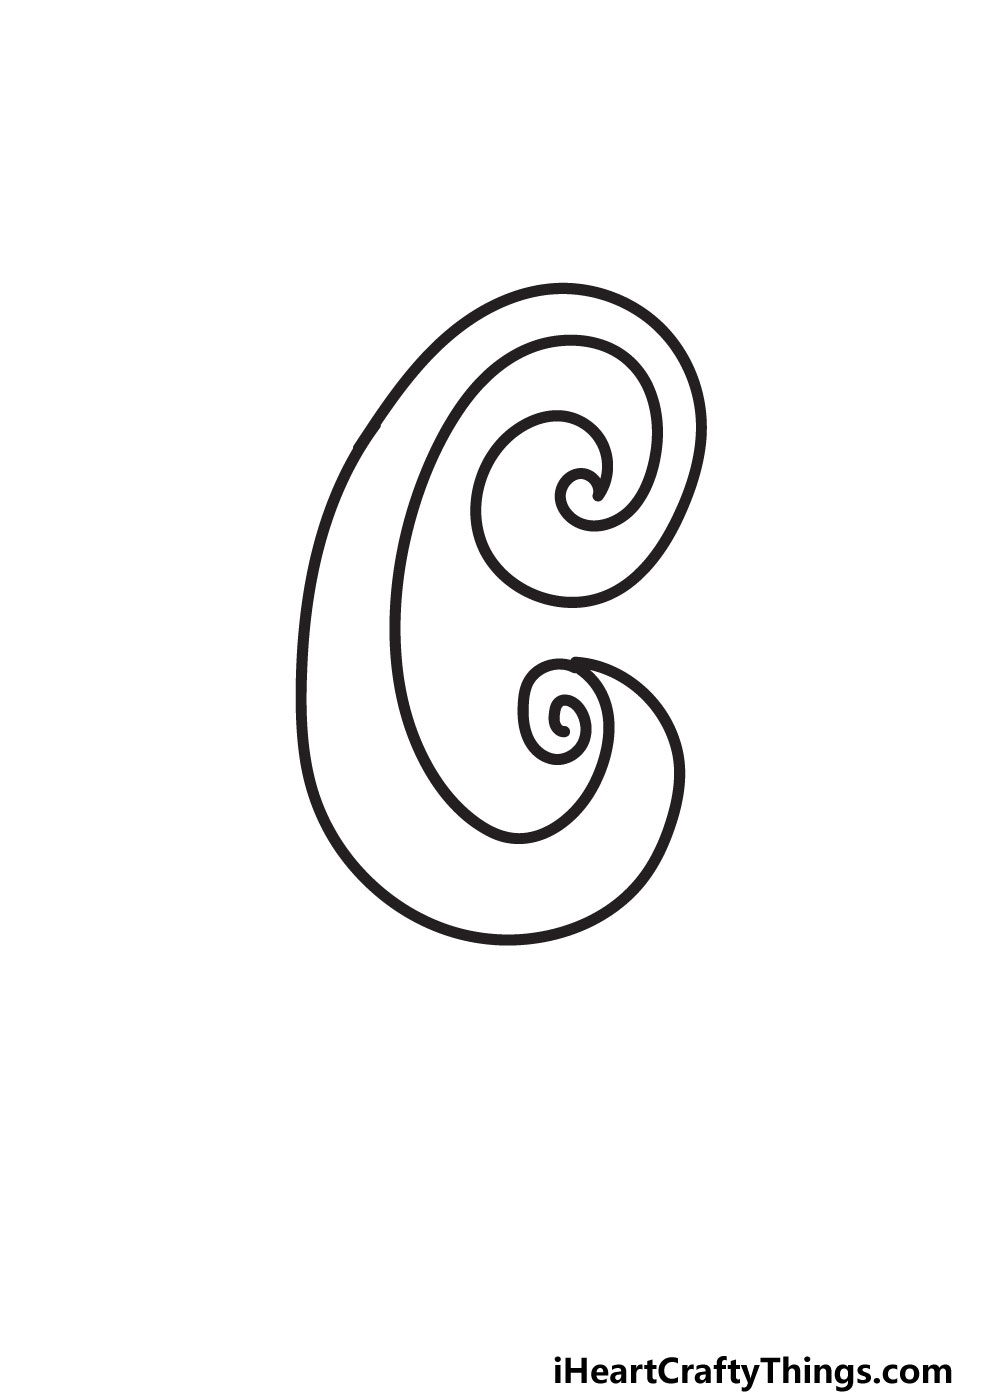
The next portion will begin where the previous line ended.
It will curve up, and then it will head out again to the right.
This portion will curve in a lot further than the point at the bottom half of the letter.
This is a section where we would recommend following the reference image especially closely.
Once its done, we have one more flourish to add in this step.
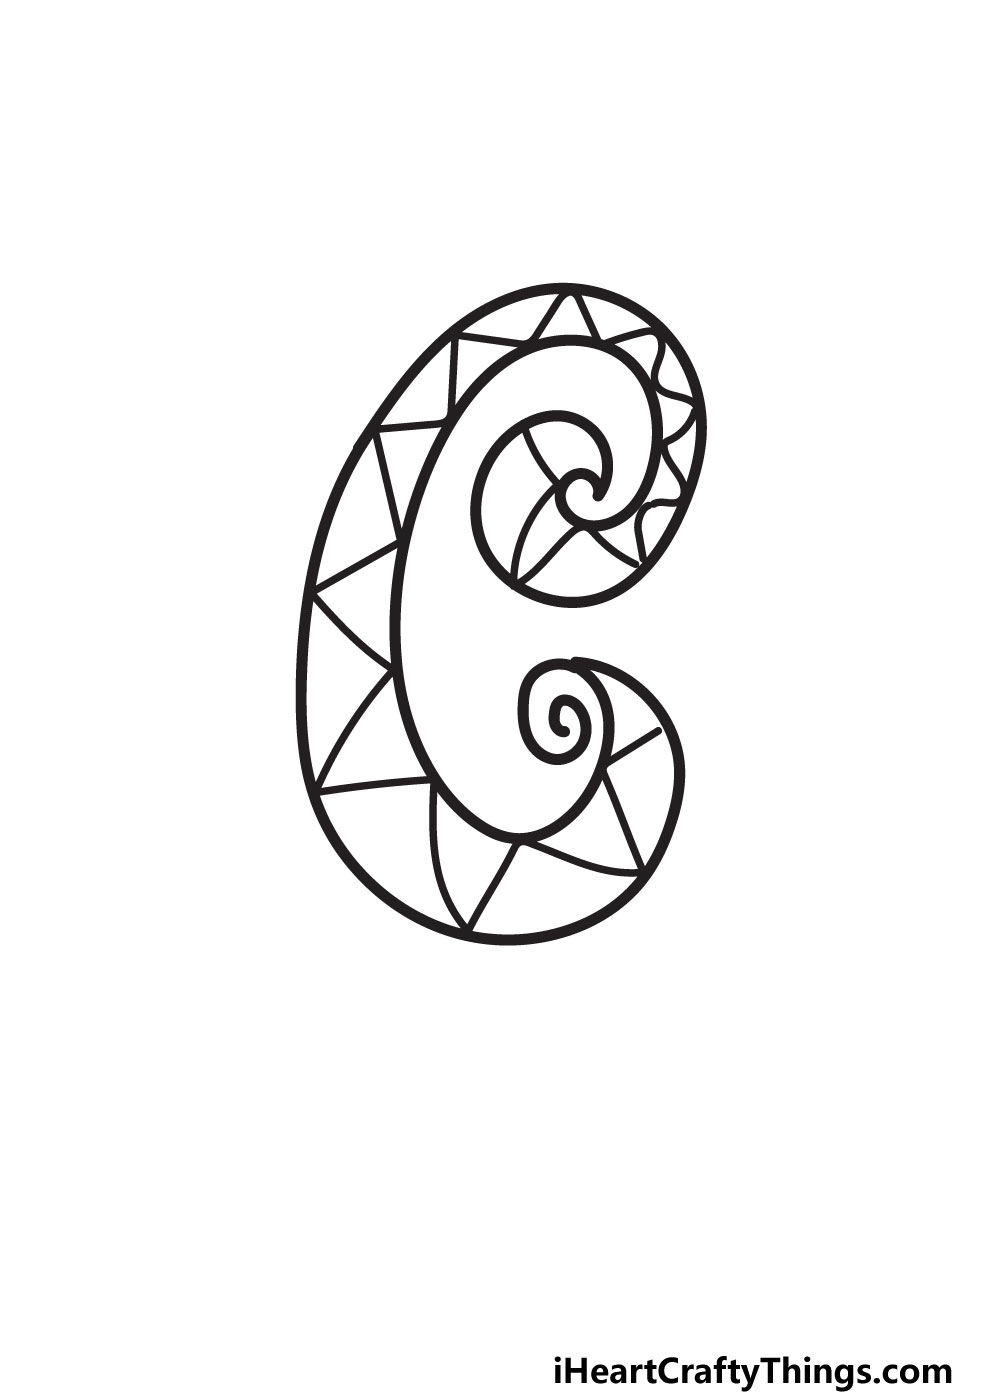
You should follow your creative instincts here and fill the letter with whatever you like!
Do you think you will stick with our pattern design or try a unique one of your own?
We will do this with more flourishing details to make it look even cooler.
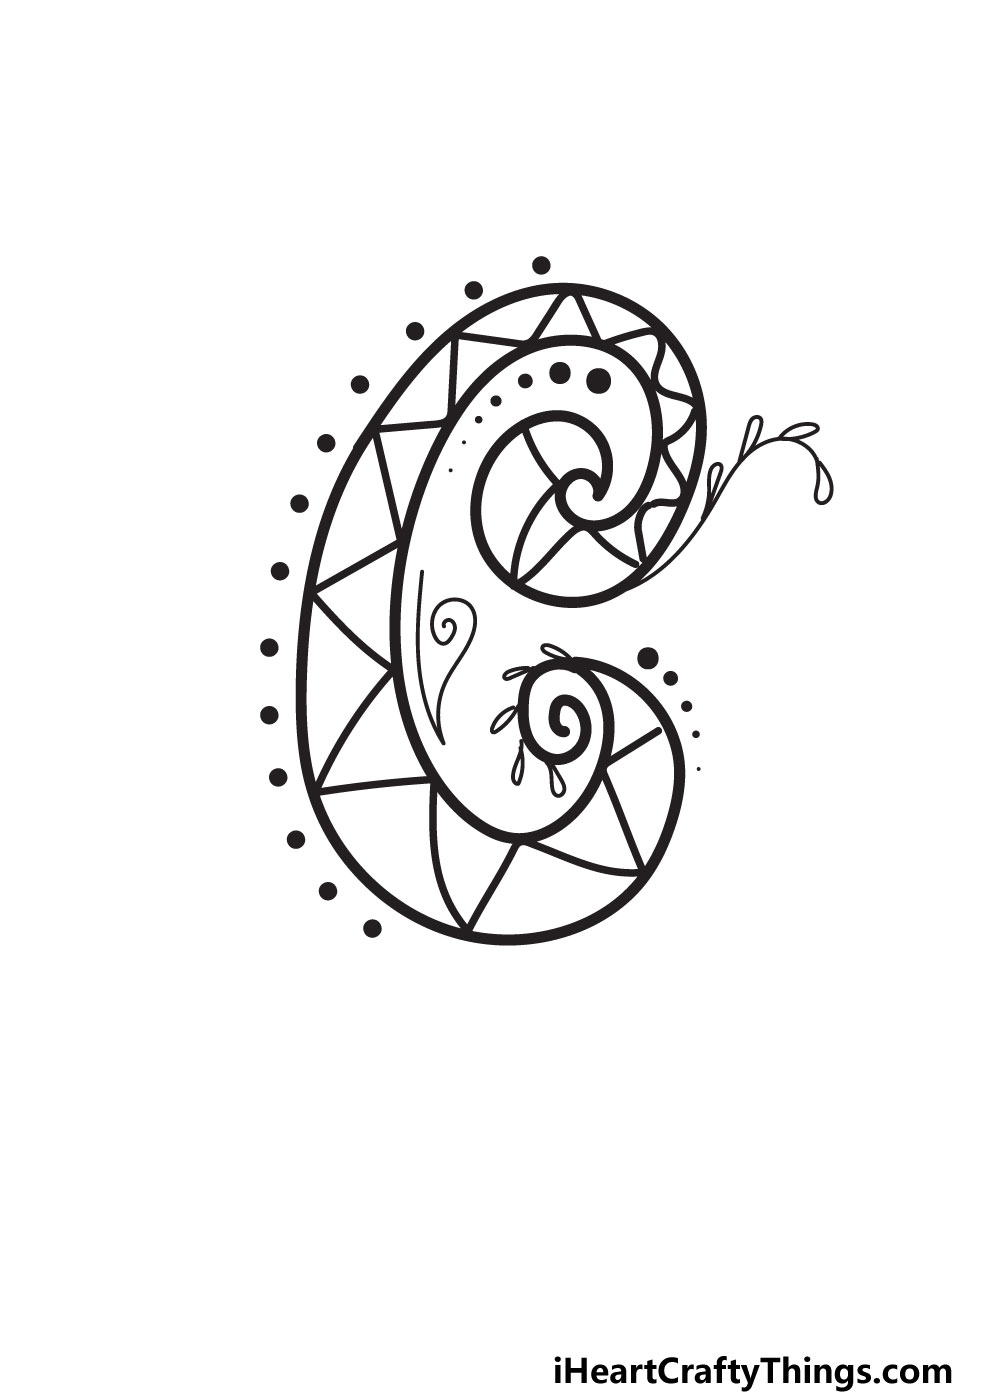
Lets start with the simpler details, which will involve some dots surrounding the design.
Feel free to place them on different points of the design as well!
Next, we added a line that looks like a twisty branch with leaves on it.
With that, the design is done and we can move on to add some color!
Before you do, it’s possible for you to add any other details you want.
It could also be fun to add some extra shapes, letters or background details to the design.
STEP 6:
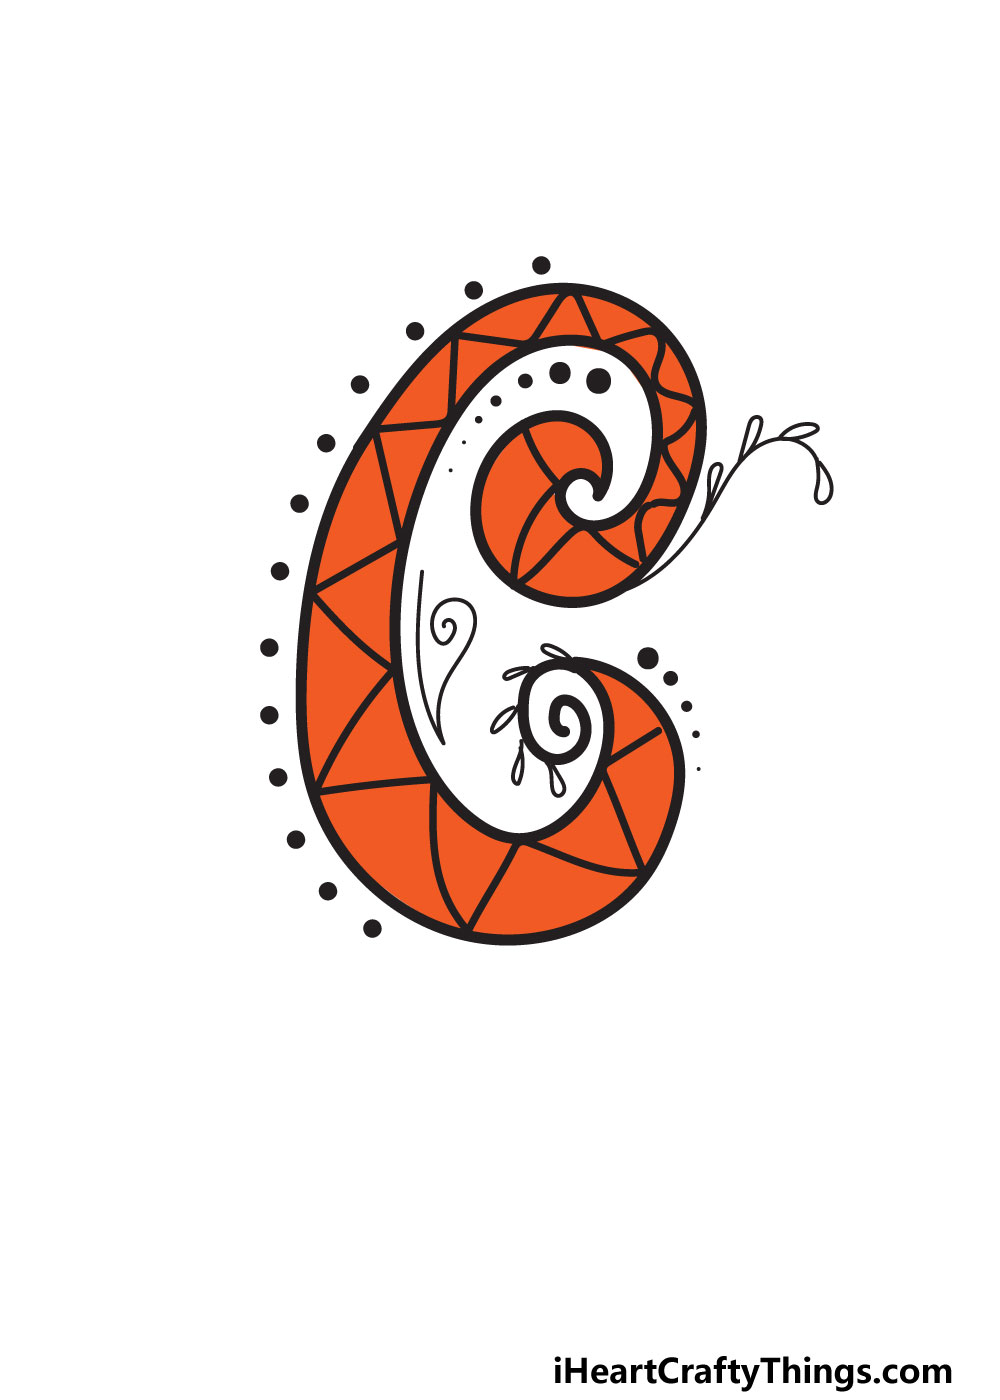
Now its time to finish off your drawing with some color!

In our reference image, we show you how we chose to color this letter.
We chose a bright orange color scheme to make the picture nice and bright on the page.
Otherwise, you’re free to show off which colors you would like!

The design we chose earlier opens up possibilities for many different color combinations and patterns.
Dont forget that you’re able to color the background and other elements you added too!
My Final Tips To Make Your Fancy Letter C Drawing Even Better!

In fact, there are so many more ways that you’re able to get creative with it.
Or, you could make things extra fancy!
For example, you could spell out a word like Champagne in this fancy style.

Then you could even draw some Champagne glasses in the background.
Your own name may even start with a C, which is even better!
More From:How to draw
Printable Bubble Letters A Complete Guide!


