Its the obvious choice, given that its the first letter of the alphabet.
Its also one of the most commonly used letters in the alphabet, so learning it is very important.
The lowercase version of the letter is small and rounded, whereas the capital version is tall and angular.
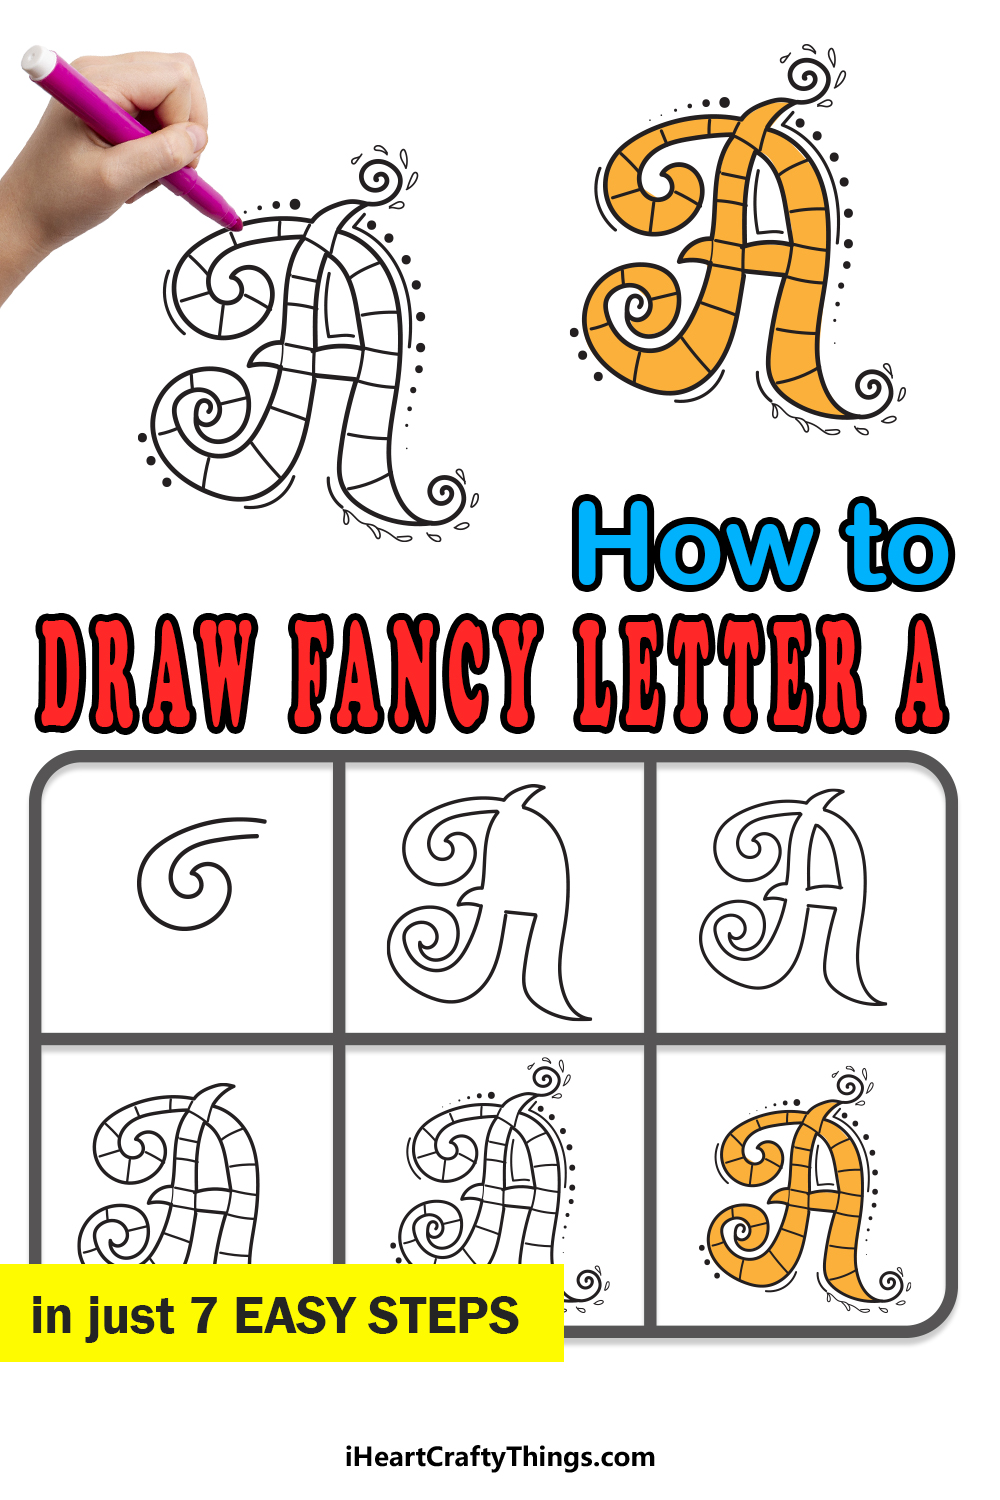
Thats why we created these 7 steps to show you just how fun and easy it can be!
First, we recommend studying the final image of the guide closely to see what youre aiming for.
We will add the final lines over this pencil drawing later.

Carefully draw a curved line that creates a swirl going in on itself.
We will take care of that in the next step, so lets move on when youre ready.
We will go through each part individually to make it easier.
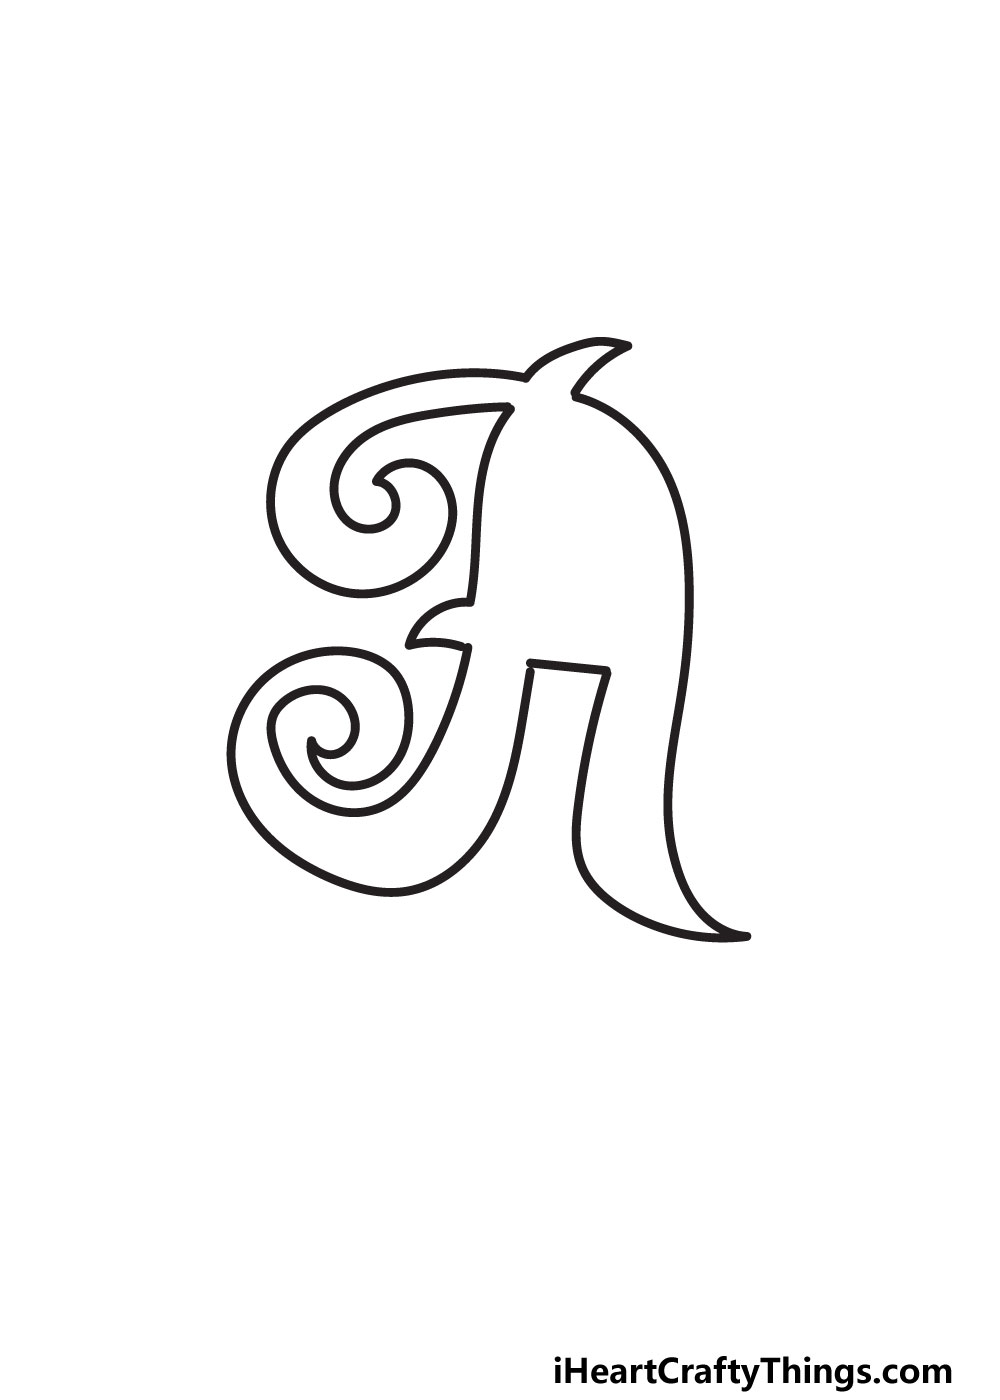
Lets start where we ended off in the previous step.
you could add a curved, pointy section connecting to where the swirl from step 1 ended.
This pointy part will extend down in a wavy line that will form the right-hand side of the A.
It will end in a pointy tip, and then another wavy line will extend back up.
Next, draw a flat, horizontal line that will connect the two legs of the A.
Another line will extend down from that horizontal part and extend left into another large swirl.
Finally, we will add another curved line coming up from the swirling shape we just drew.
Its a lot to get your head around, so be sure to draw slowly while consulting our example.
Dont worry if it takes you a few tries!
When youre happy with how the outline looks, we can then move on to the next step.
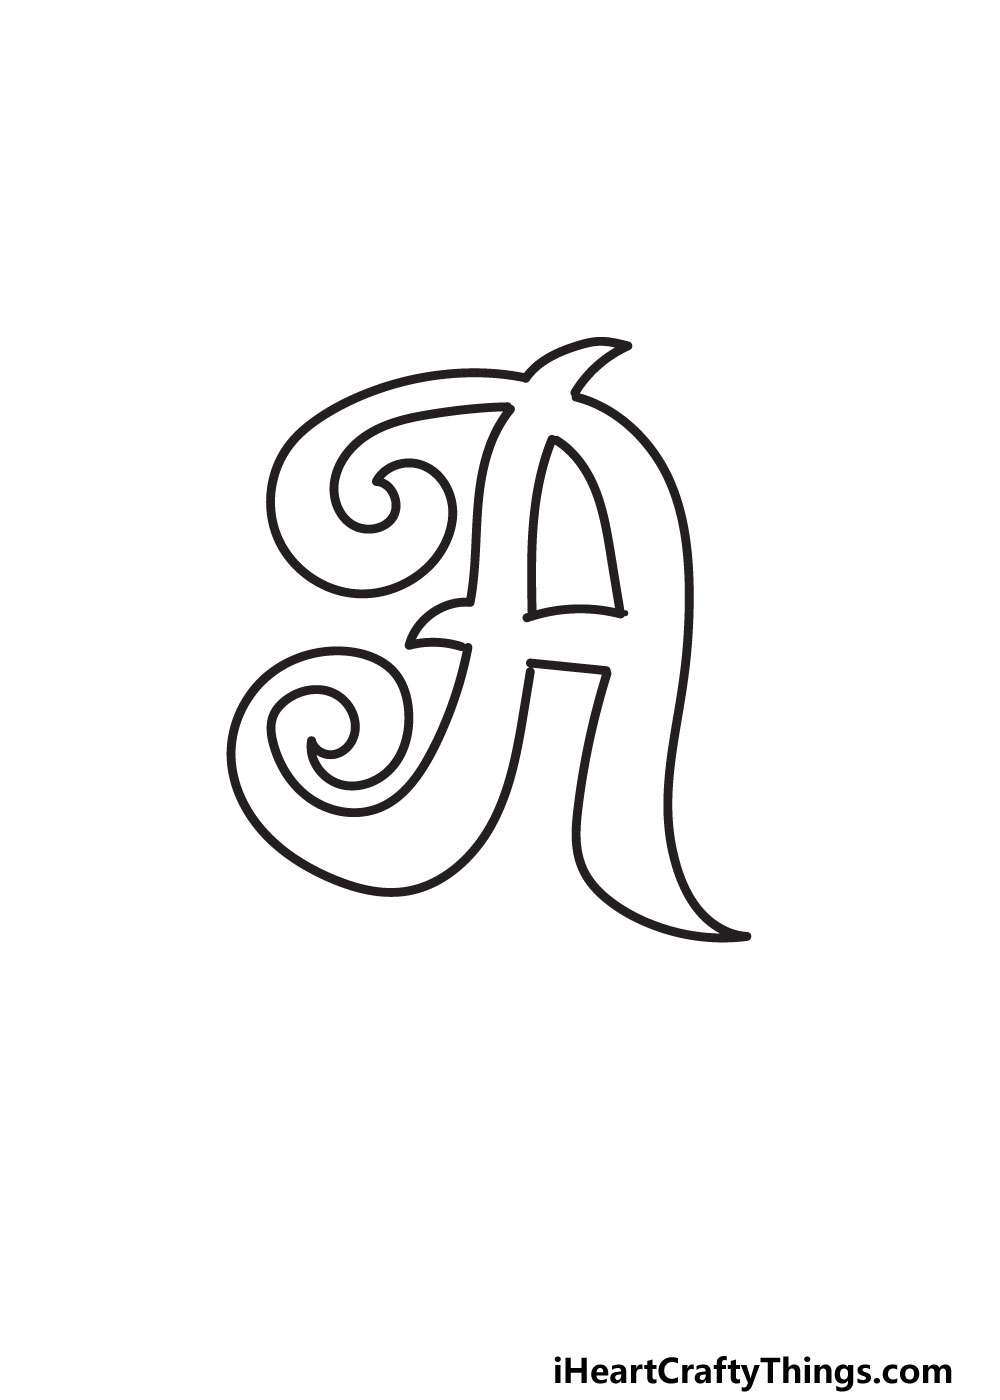
After the previous step, things will get much easier from this point onward!
As you might see in our reference image, this hole will be shaped a bit like a bullet.
you’re able to start by drawing a flat line for the base of the hole.
Then, we will have two slightly curved lines extending up from the base.
attempt to draw it at a bit of an angle, as we did in the reference picture.
When you have this drawn, all of the most difficult parts are finished!
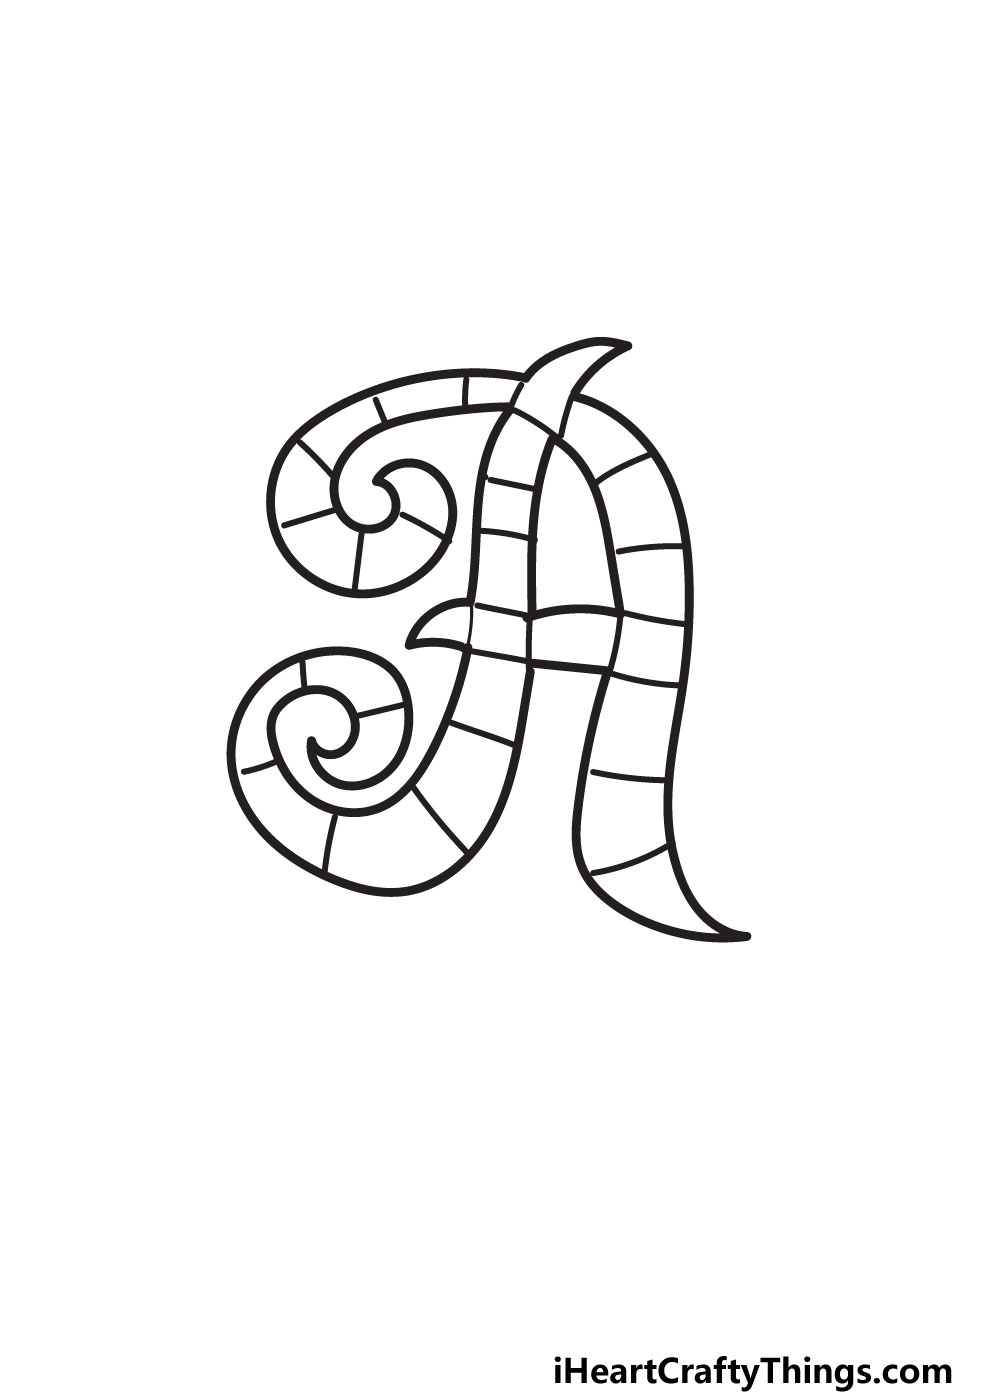
In the next few steps, we will focus on adding some interior details to the letter.
For now, lets focus on the pattern we chose.
As you might see, we drew short lines along all sections of the letter.
This looks great, but there are many ways you could fill the letter with a pattern.
You may prefer to draw little shapes or have the lines closer together.

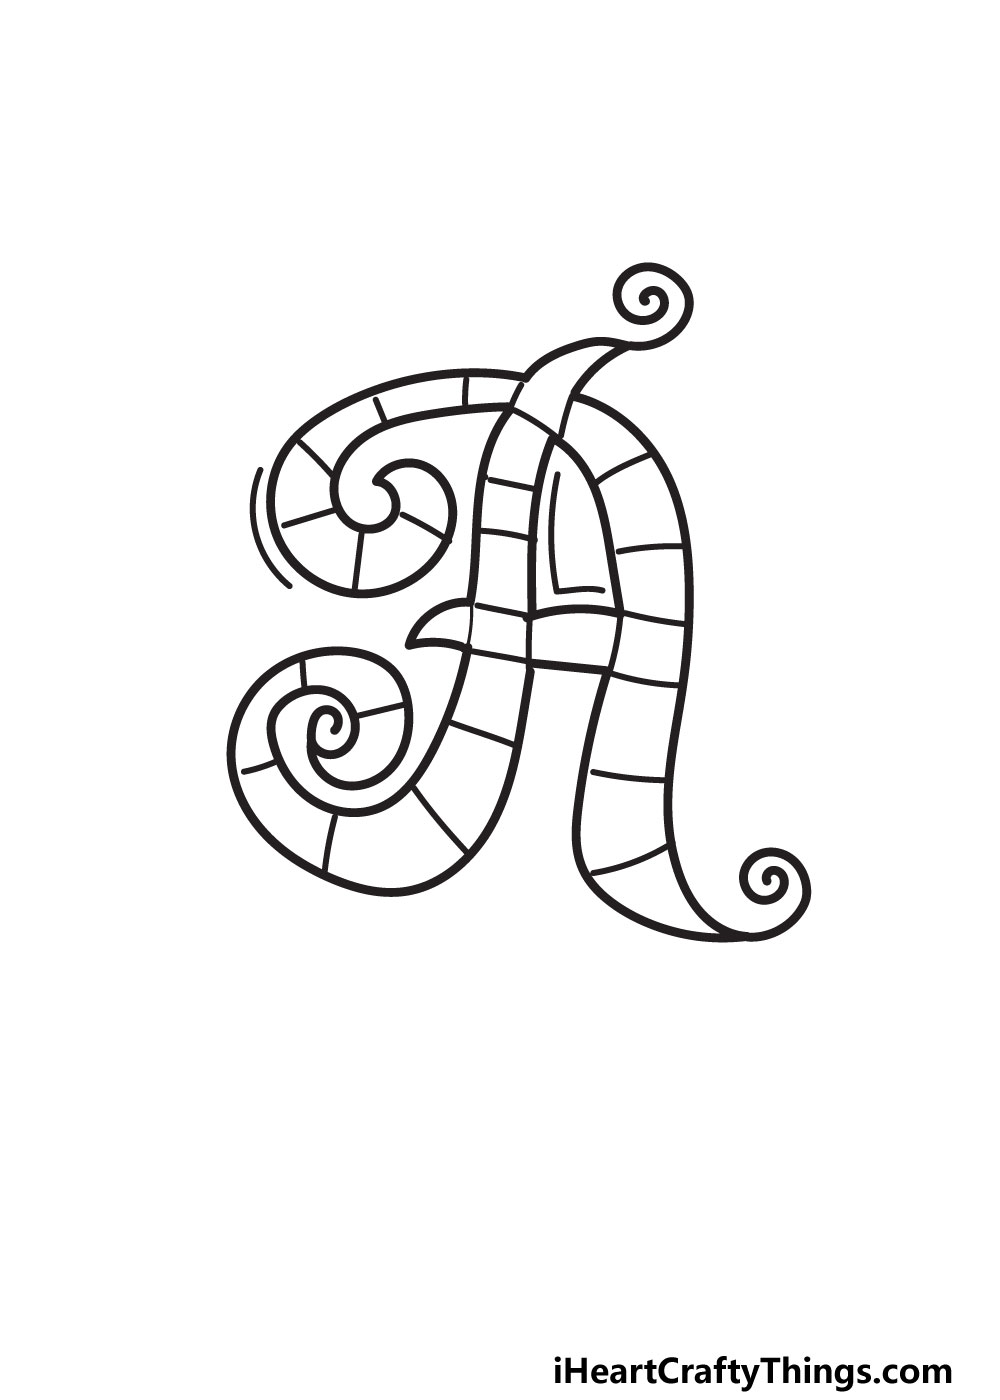
Next, we will add some more flourishes to the letter to make it look even fancier.
To do this, we will be adding some twirling lines on some of the points of the letter.
We shall start with the pointy section right at the top of the letter.

it’s possible for you to draw a thick line curling in on itself from that pointy tip.
Then, we will add another curled line extending from the bottom right-hand side of the letter.
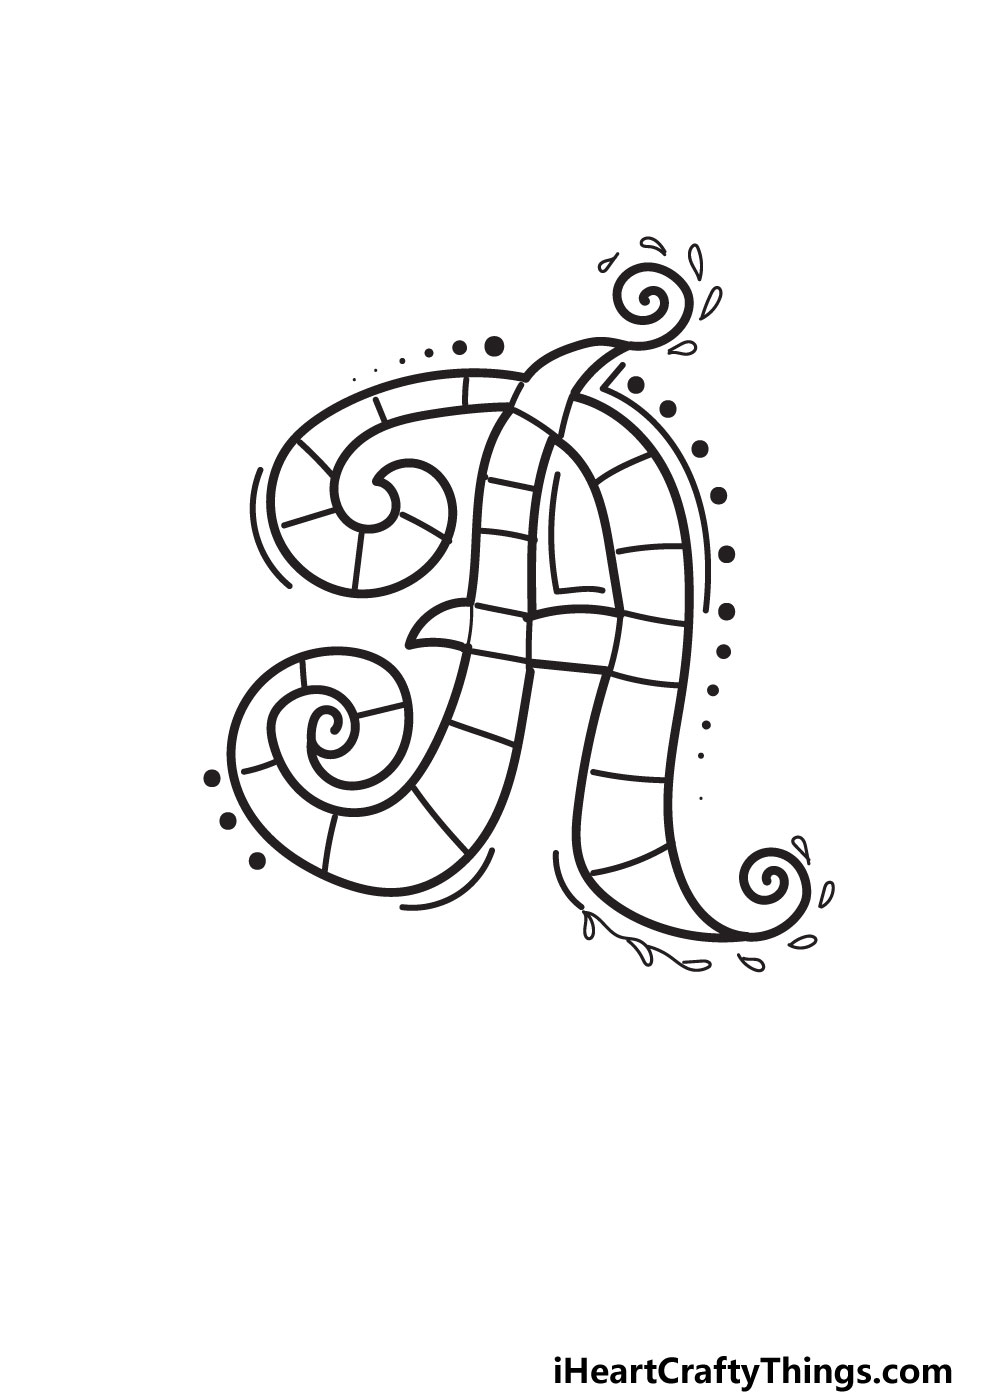
Feel free to add any more curls and swirls that you may like for the design before we proceed.

We also added some small leaf designs around other portions for some variety.
This is what we chose, but you might take it much further!
You could also go even further and add a background.

This could be a simple pattern with shapes, or you could create an actual background setting.
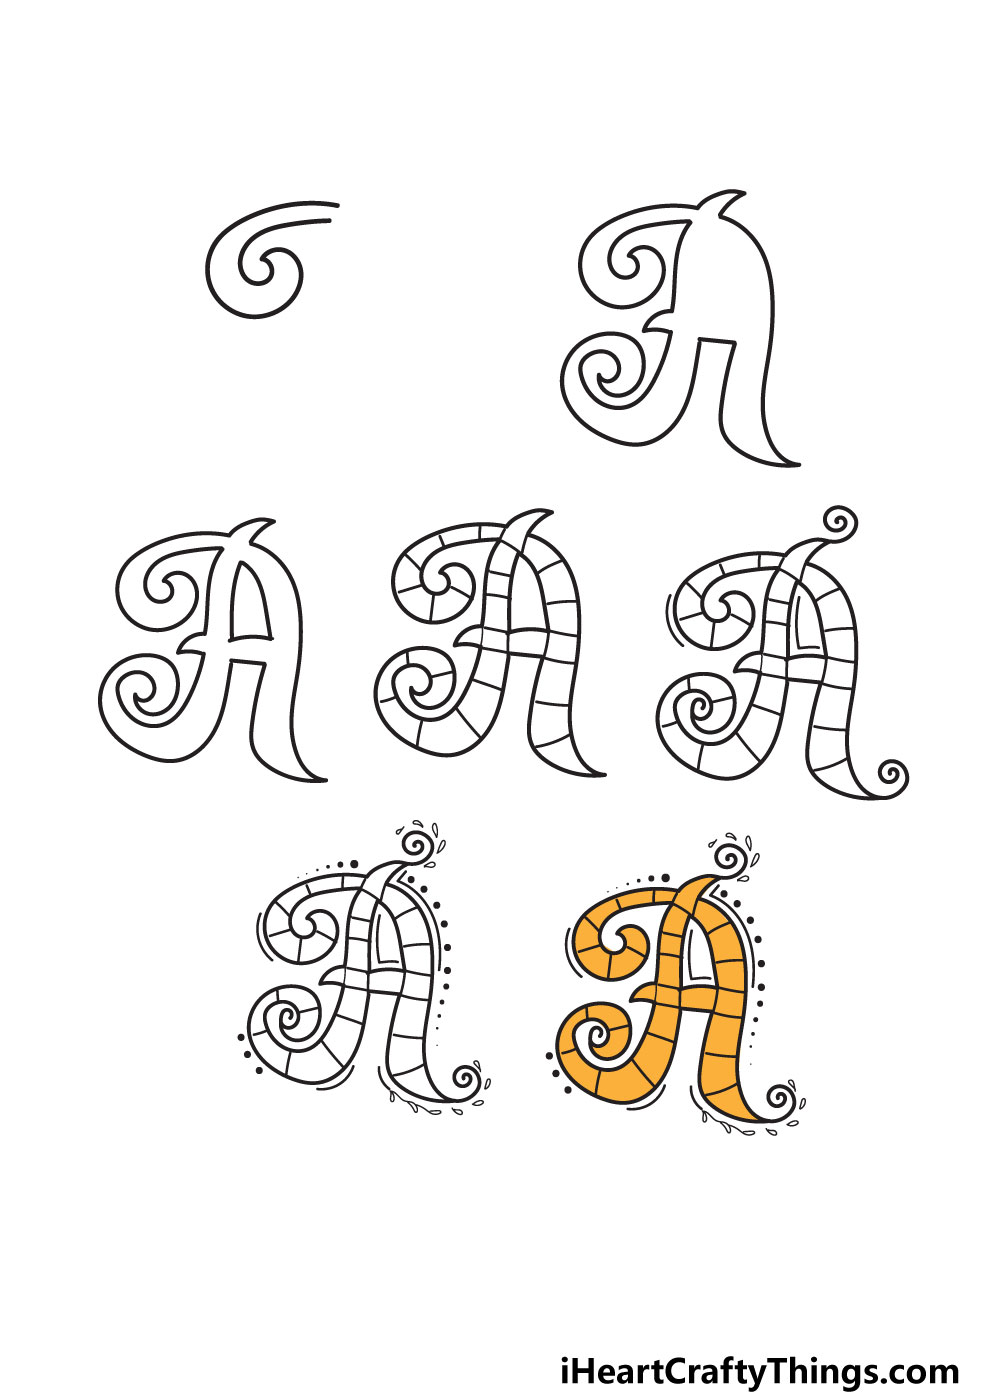
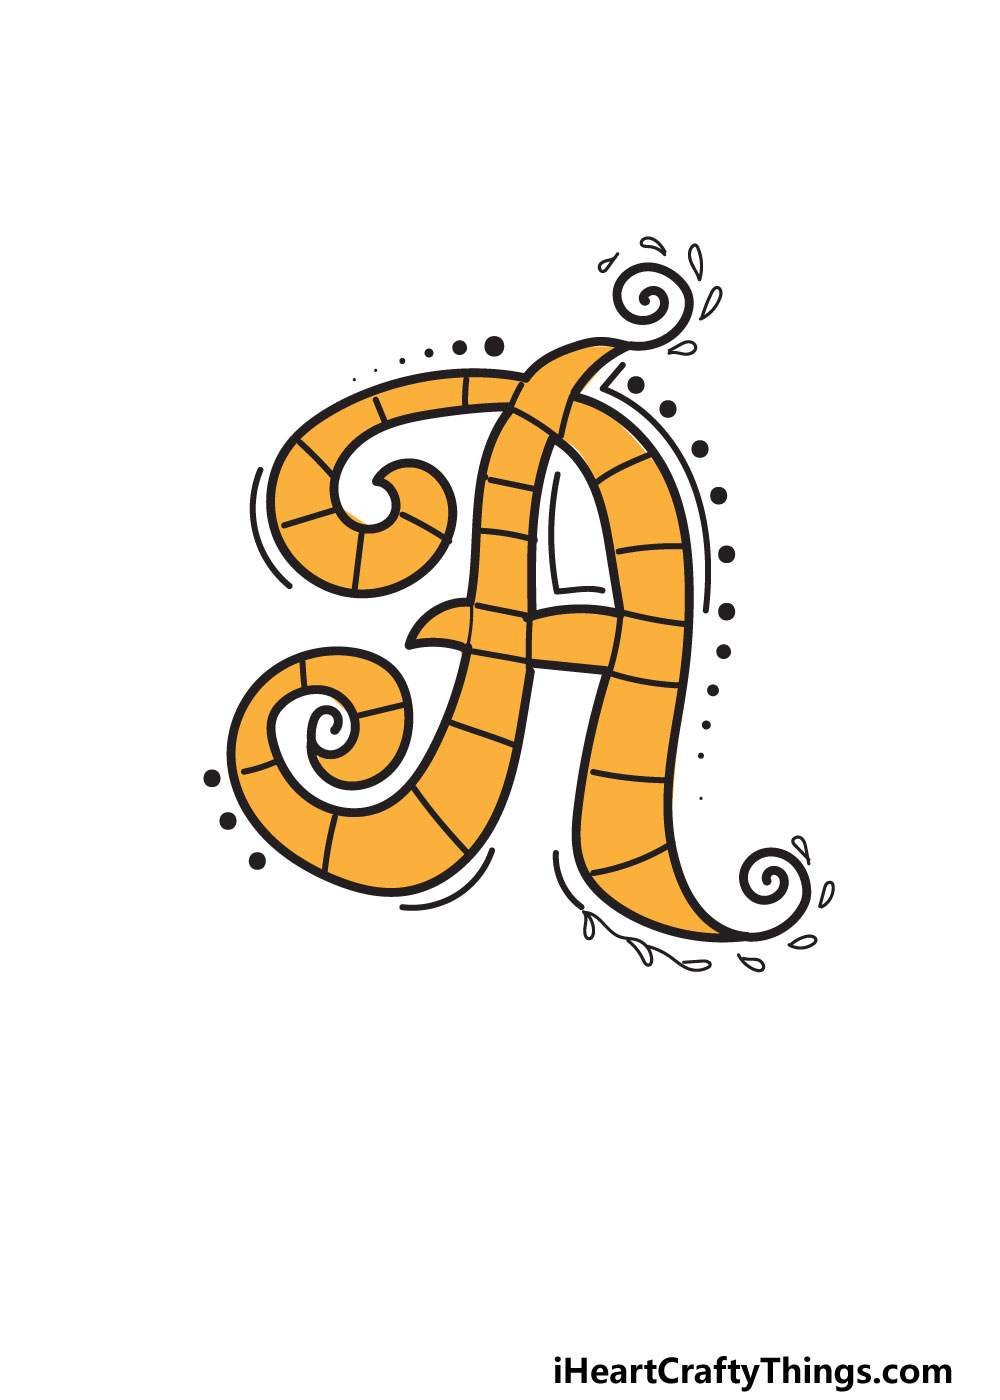
STEP 7:
Now youre ready to finish up your fancy letter A with some color.
This is another step where you could get creative and add some of your own choices.

For now, lets stick to the color we chose.
Of course, there are many other ways you could color it in.
It is separated into sections, so you could make different sections different colors.

If you filled the letter with a different design, then the colors you choose may depend on that.
Whatever you do, see to it you have fun and let your creativity flow.
We would love to see how your awesome drawing turns out!
My Final Tips To Make Your Fancy Letter A Drawing Even Better!
If youre feeling creative, you could also use words that start with A and write it out.
You could write out the word awesome to try out other letters and describe your drawing!
Another great way to write out words would be by writing out peoples names.
If you know someone with a name that starts with A, you could write it out.
They will surely be pleased to see their name depicted in such a fancy font!
How will you finish off this amazingly awesome A artwork?
More From:How to draw
Printable Bubble Letters A Complete Guide!
