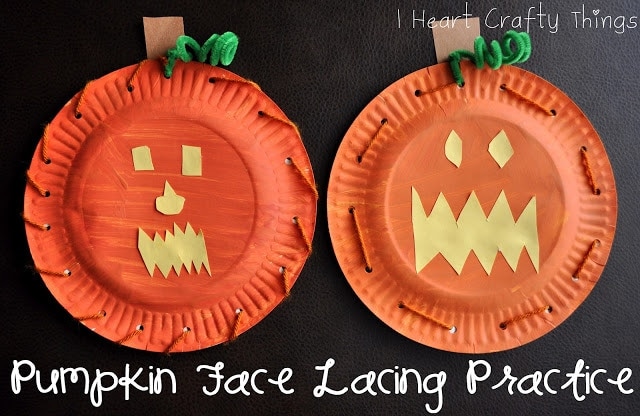
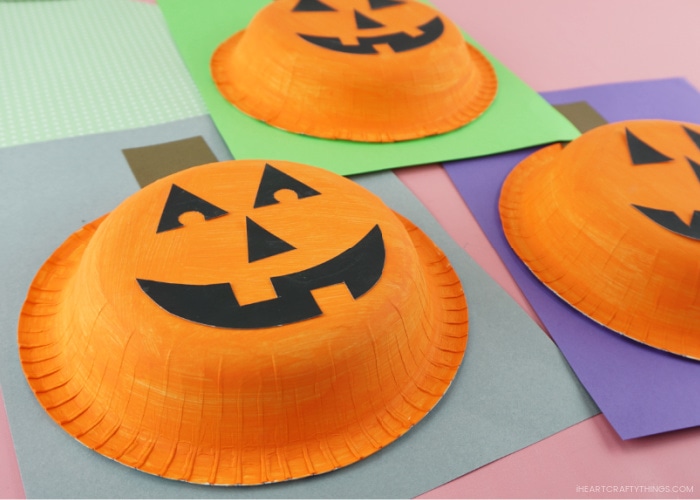
It helps make the jack-o-lantern face come to life.
Or children might enjoy cutting out and creating their own face for their pumpkin crafts.
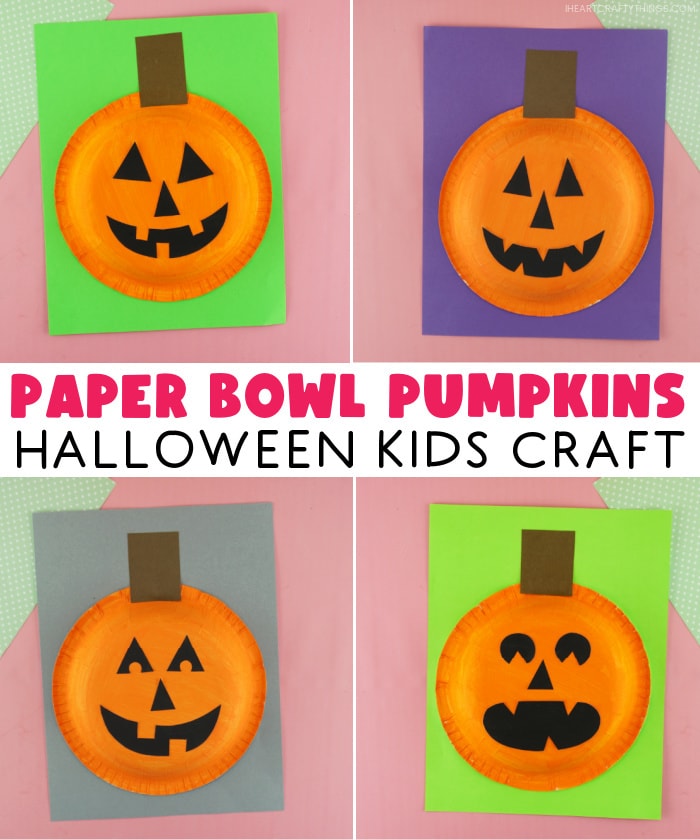
Read our easy step-by-step instructions below for how to create your own paper bowl pumpkin craft.
We also have a video tutorial inside this post you could watch before you get started.
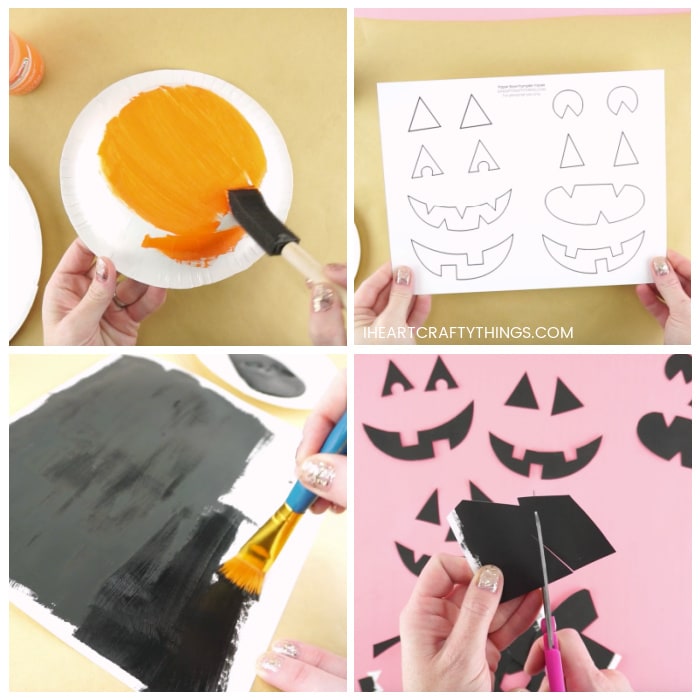
We love using a sponge brush for painting paper bowls.
It helps the paint easily spread around all the different crevices of the bowl.
Set your paper bowl aside to dry completely.
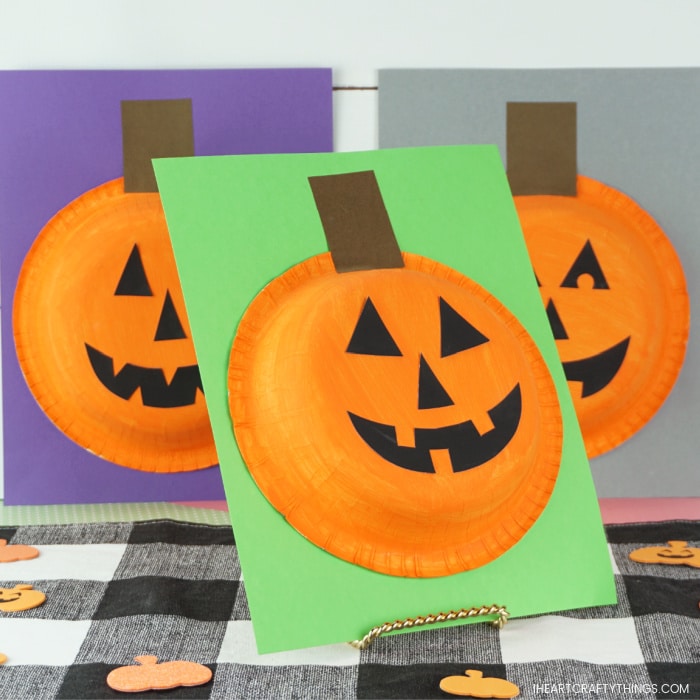
Place the paper face down and paint it with black paint.
Let it dry completely.
You could also color them yellow to look like they are lit up from the inside.
Then use the scrap pieces to cut out a triangle shape for your pumpkin, if desired.
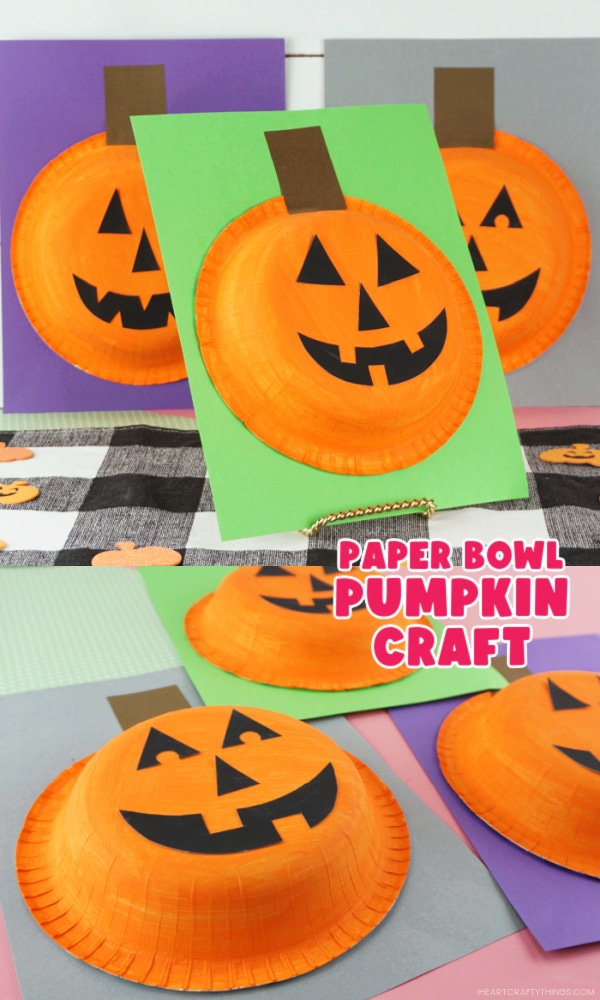
Place the paper bowl pumpkin down on a sheet of colored cardstock paper.
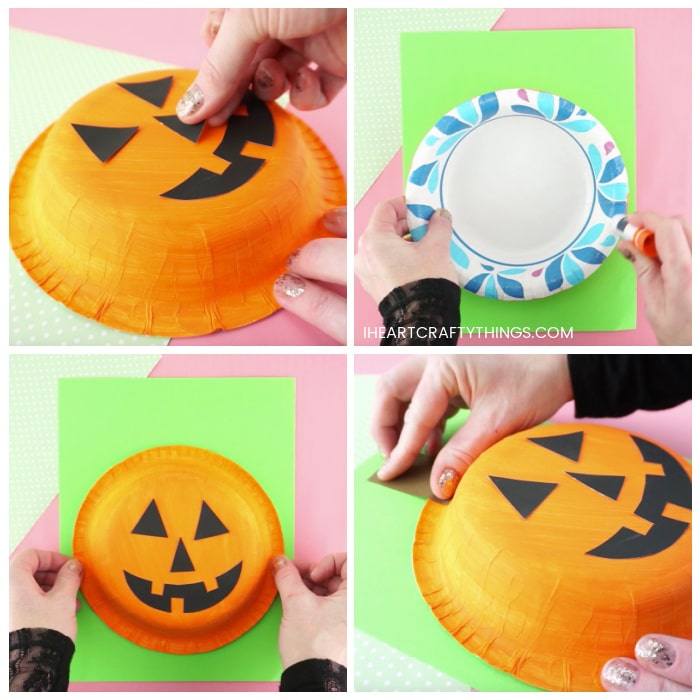
Use your fingers to press the rim down onto the cardstock so the glue adheres to the paper.
Cut out and add pumpkin stem
Cut out a rectangle shaped pumpkin stem from brown cardstock or construction paper.
Glue it at the top of your paper bowl pumpkin.
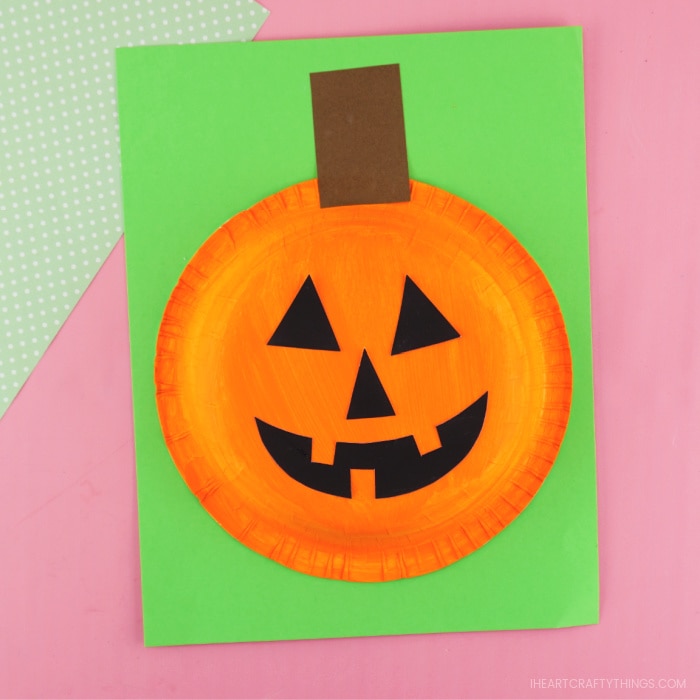
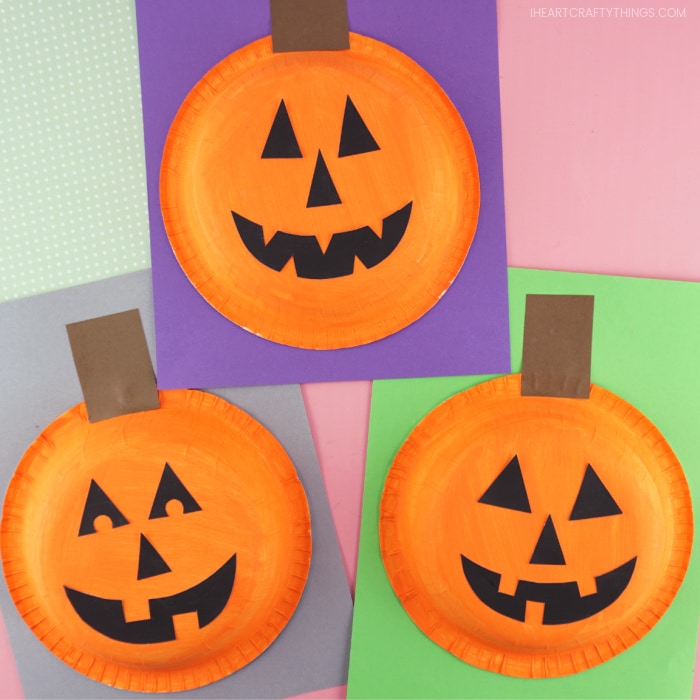
Your paper bowl pumpkin craft is complete!
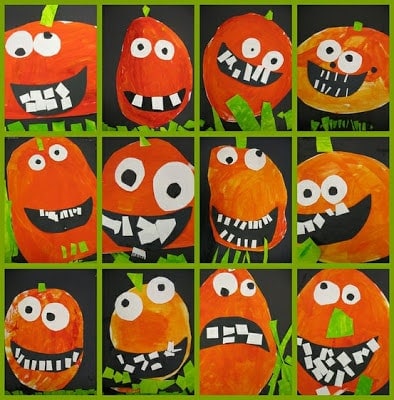
There are so many fun ways children can customize their pumpkin craft starting with the colored background they choose.
Either way, each childs pumpkin is sure to turn out unique and special.
you’ve got the option to easily make this craft with paper plates instead of paper bowls.