Either way, it will be written with three lines connecting to one another.
This means that learning to write it isnt that difficult and can be mastered quickly.
In this guide, we will be aiming to learn how to make this letter a bit more exciting.
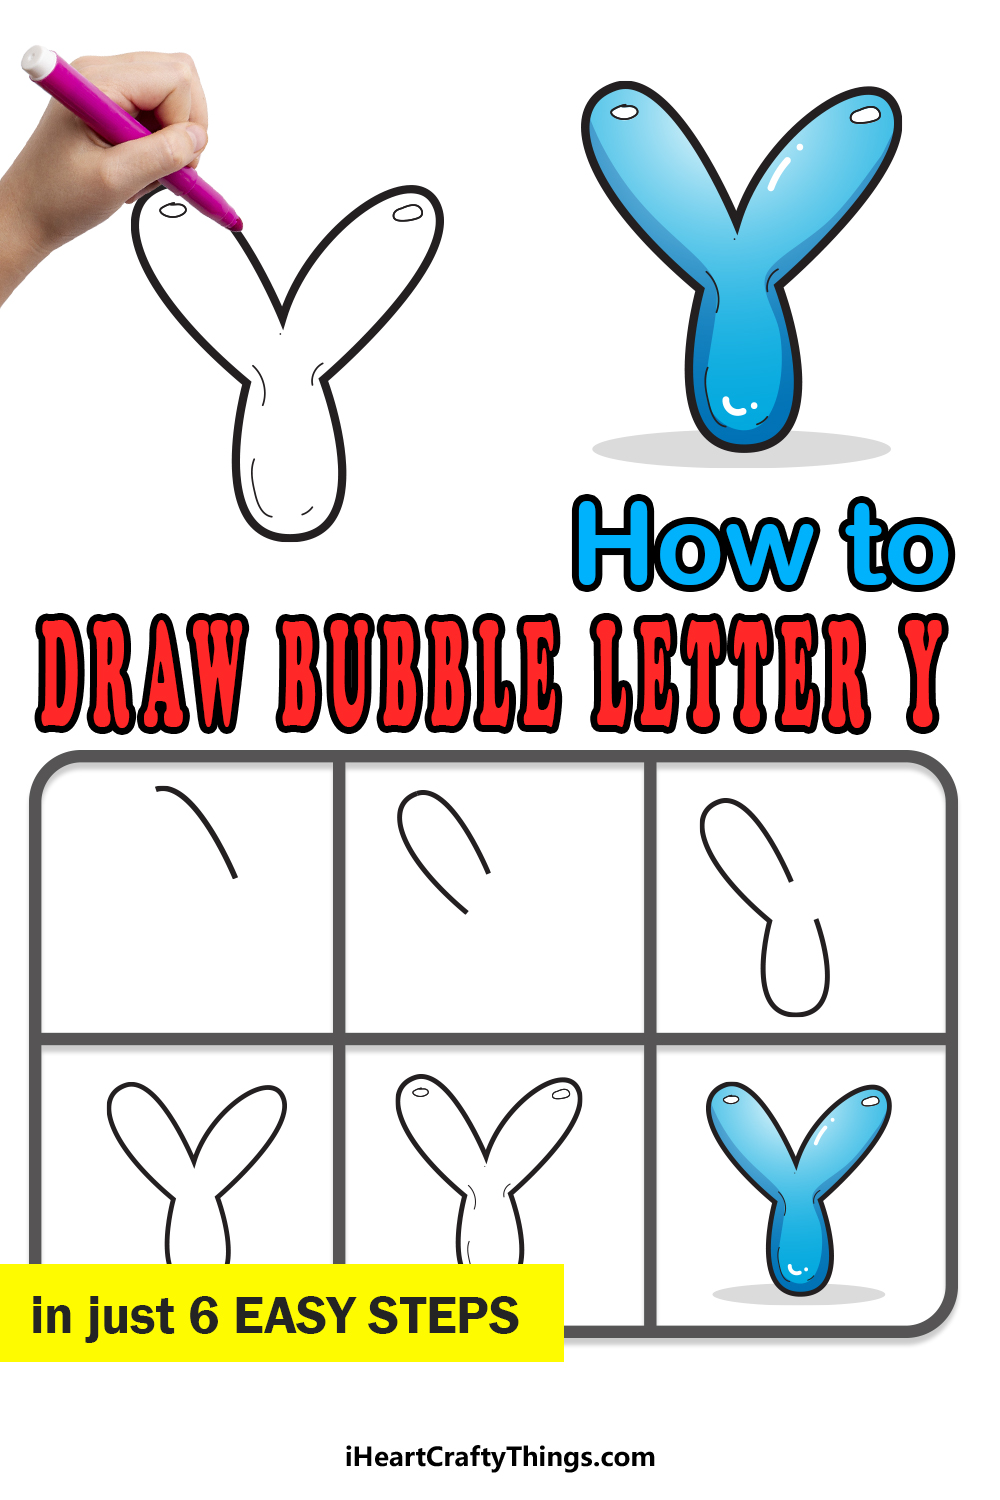
We will do that by learning how to draw a bubble letter Y.
This will be done in 6 fun and easy steps that will show you everything you should probably know.
We will also look at some ways to make it more unique while leaving room for your own creativity!
This will remain the case with this bubble letter version.
When youre writing a Y, you will use some pretty straight lines.
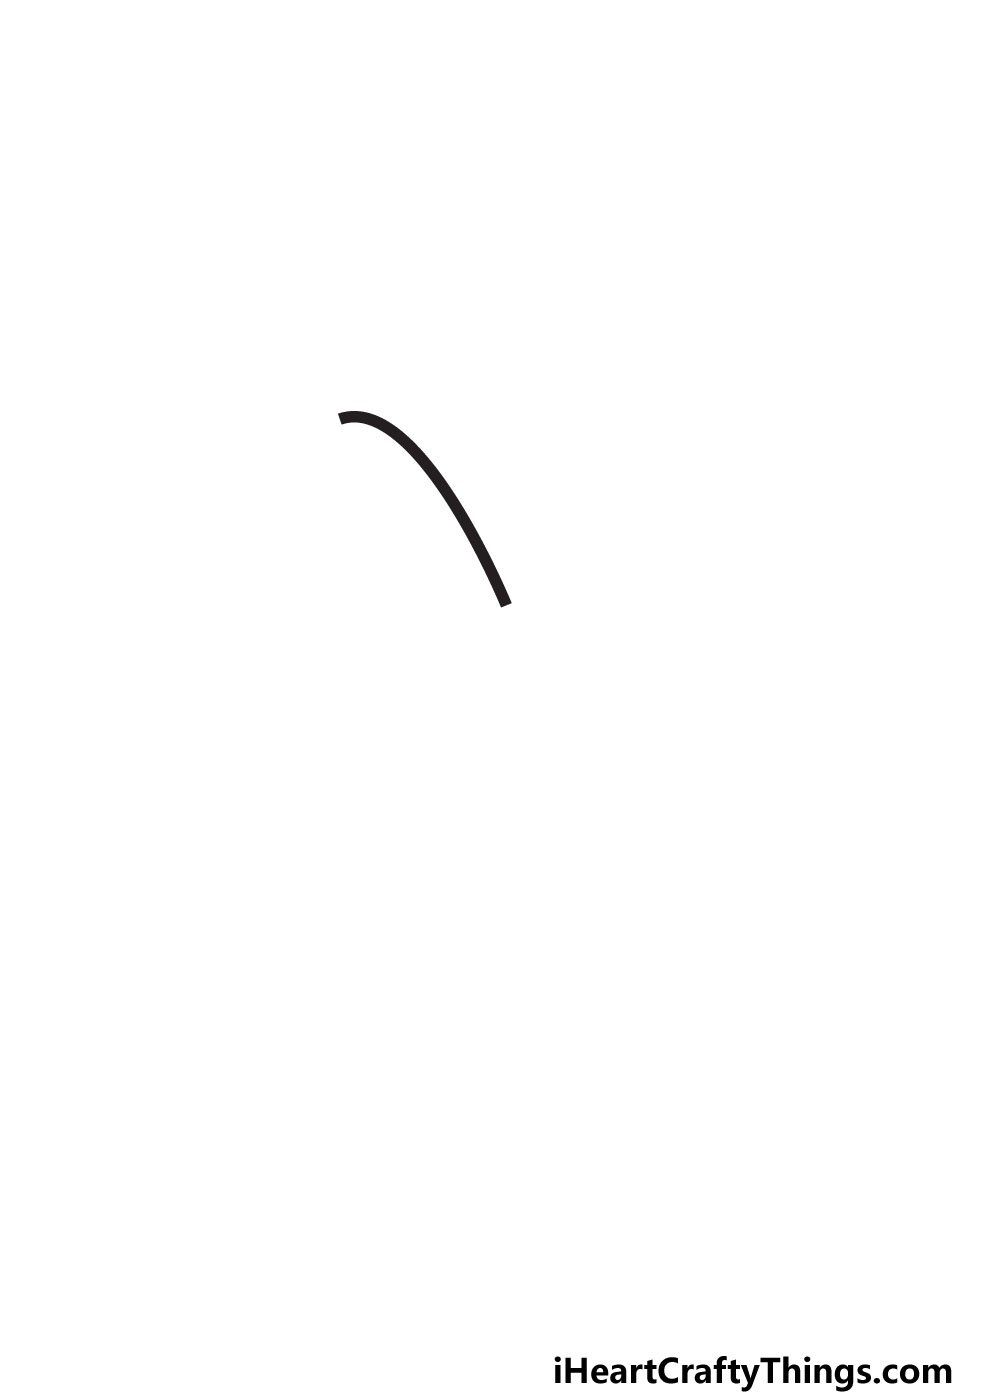
As for the first line in this guide, we will keep things simple.
We will draw a simple curved line that will form the start of the arm on the left.
Simply draw it as it appears in our reference image, and then we can proceed to step 2.
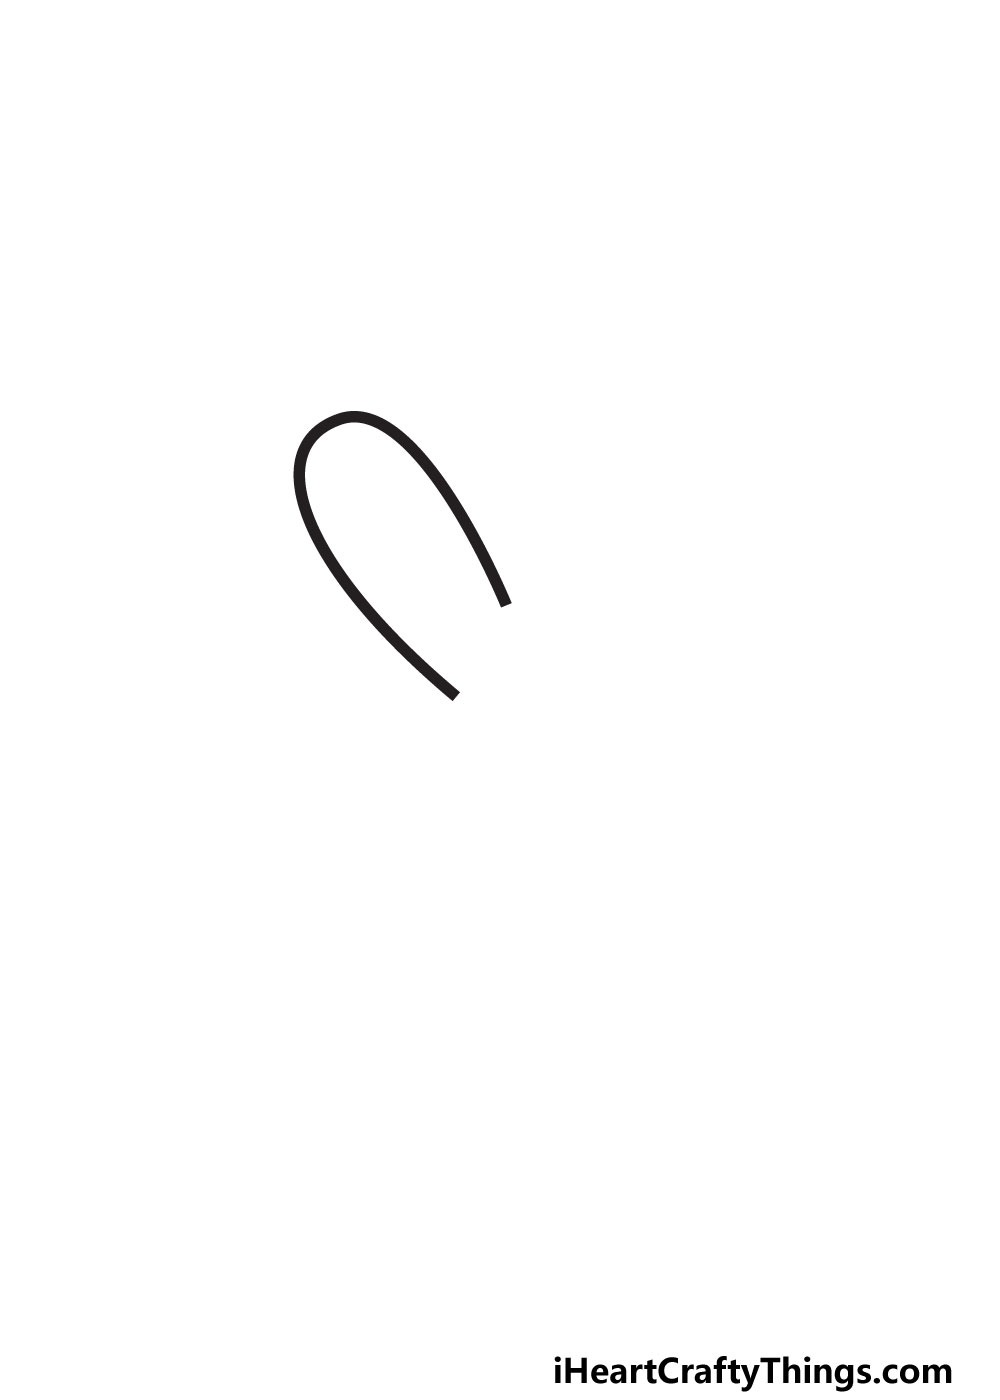
You will do this by continuing with the line that we began in the first step.
That will give us the first rounded arm of the letter.
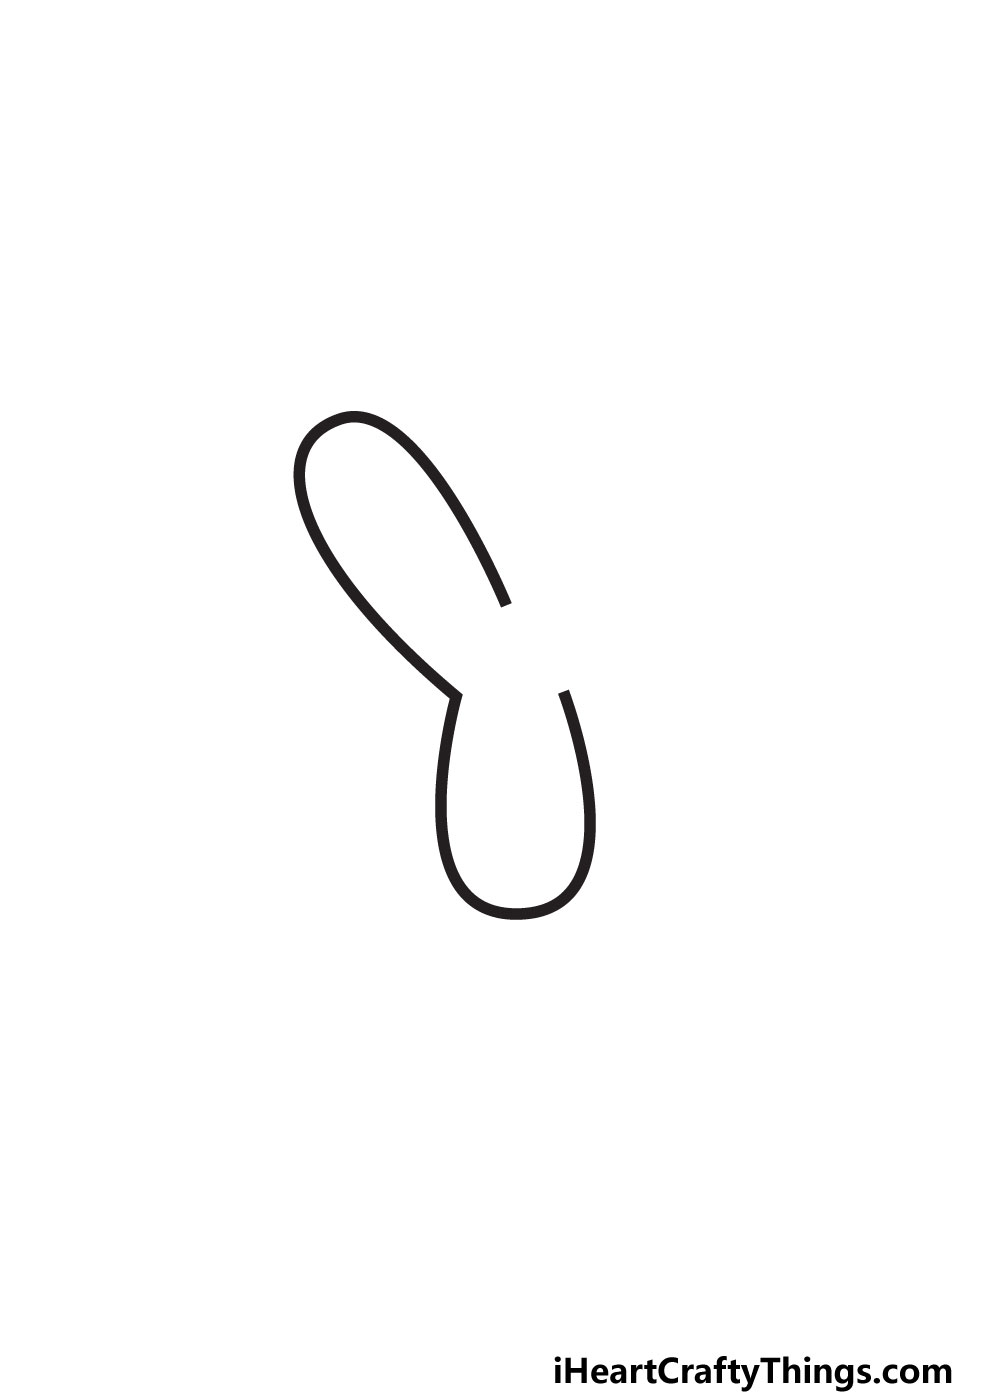
That means we will be drawing another arm, except this one will be more like a leg.
Simply use another long, curved line that connects to the first arm.

We made the leg quite short in our example, but you could make it longer if you prefer.
Thats all there is to it for now!
STEP 4:
Youre really getting the hang of it now!
So faryou have drawn three sectionsof this letter Y, and there is one more to go.
That means drawing one more arm for the letter.
You know how to do this now: one more curved line to fill the gap.
The reference image will show you how this should be angled.
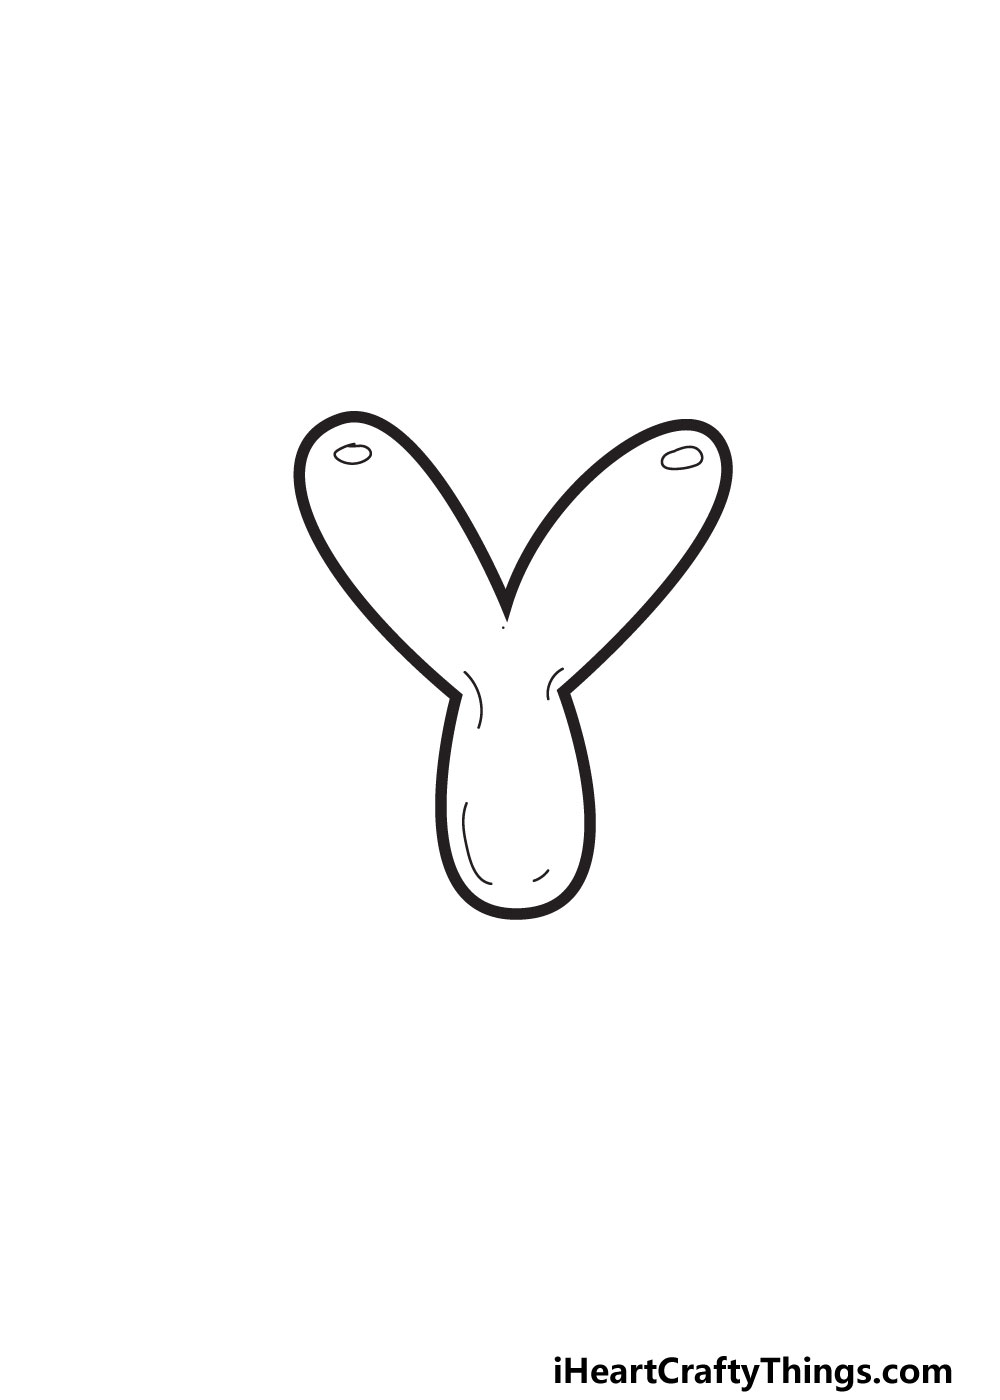
Once that is drawn, we have our complete Y outline!
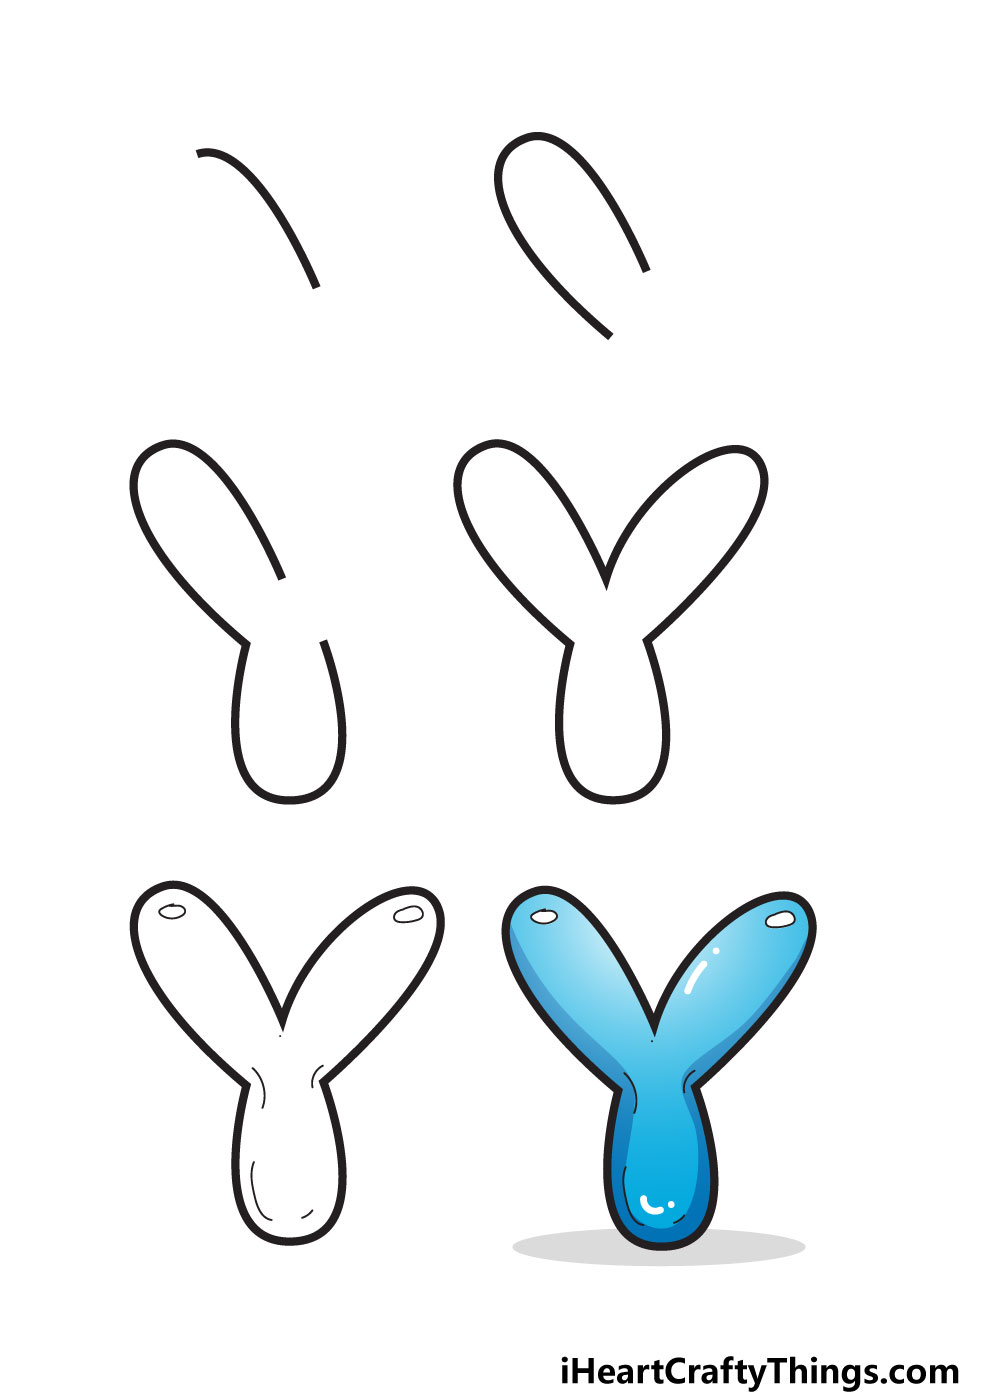
Now, lets go to step 5 and look at some of the interior details we can add.
STEP 5:
As far as we are concerned, this letter Y is looking great already.
But, we can make it look even better!
If youve ever blown bubbles, then you will know they reflect light.

We will make this letter have the same effect bydrawing some reflective spotson it.
For our example, we added these reflective spots on the upper arms of the letter.
That makes it look like there is a light source above the letter shining down on it.

Youll also see that we added some thin, slightly curved lines inside the letter.
There are all sorts of fun details you could add.
This would not only look cool but would also allow you to add more colors.

There are so many possibilities for extra details!
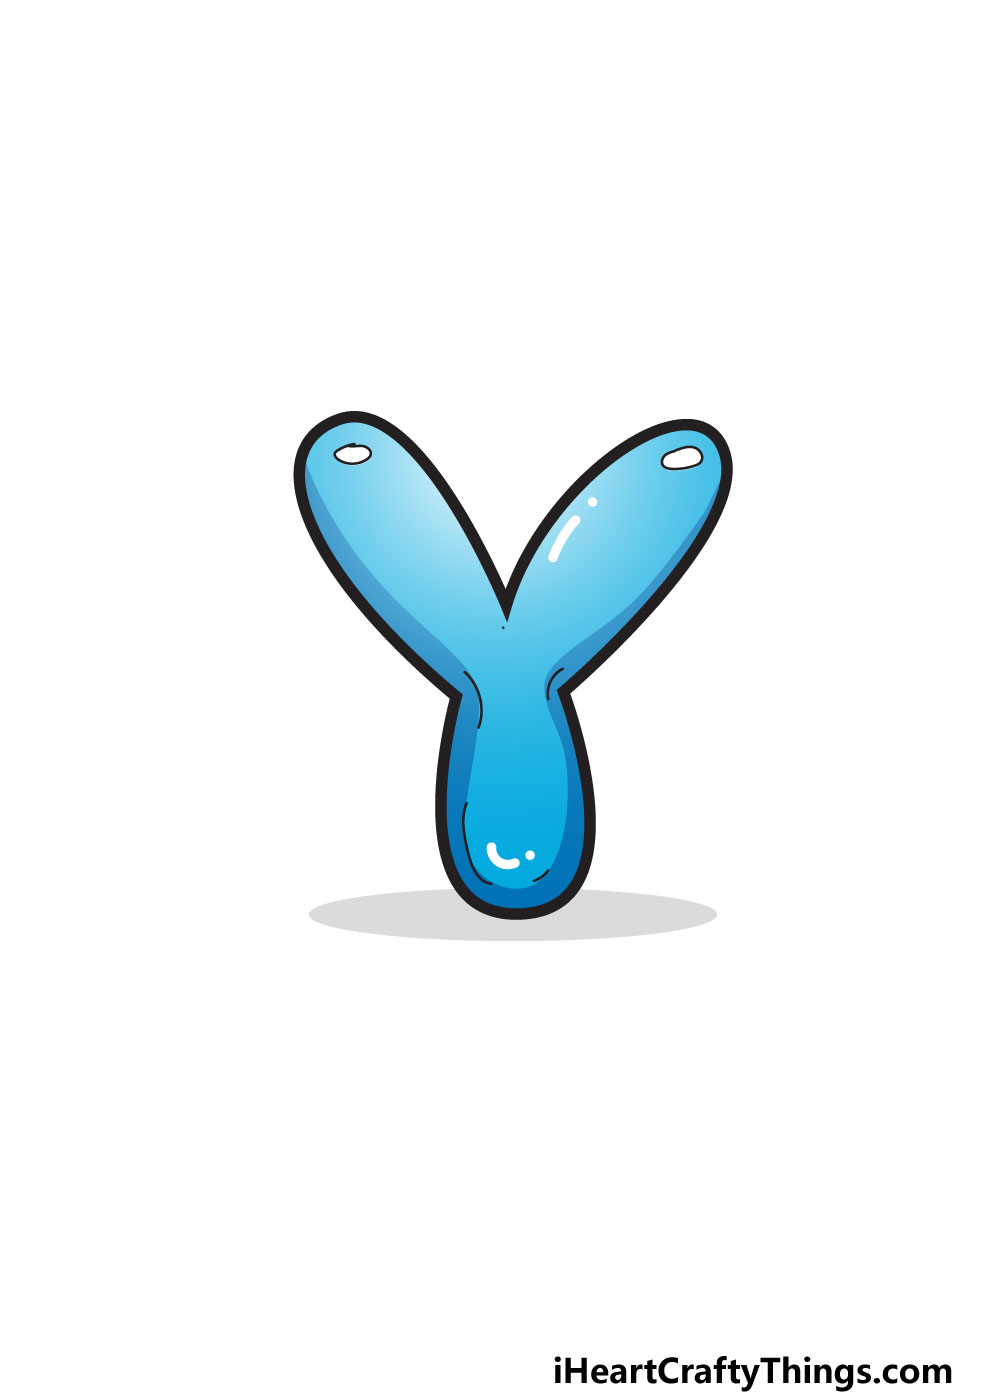
The best thing about using color is there is no such thing as a bad choice!
You will have the chance to try out your favorite colors when you fill in your own drawing.

For now, we will use our reference image as an example.
As you’re able to see, we used a nice soft blue color scheme for our image.
If you want to make it thematic, you could use yellow as it also starts with Y!

My Final Tips To Make Your Bubble Letter Y Drawing Even More Special!
First, lets start by thinking of some words that start with Y.
We already mentioned yellow earlier, but there are many more.

For a few more examples, there are words like yawn or yogurt.
How many more can you think of?
When you have chosen your word, you’re free to then work it into the image.
Lets go back to the word yawn as an example.
You could write out the word and then draw a cartoon character doing a big yawn.
It could also be fun to make each letter progressively smaller to simulate a yawn.
This is a really simple idea to show you how you’re able to use words as themes.
There are also names that start with Y that you could write out in this style.
Maybe you know someone named Yusef or Yara, for example.
More From:How to draw
Printable Bubble Letters A Complete Guide!
