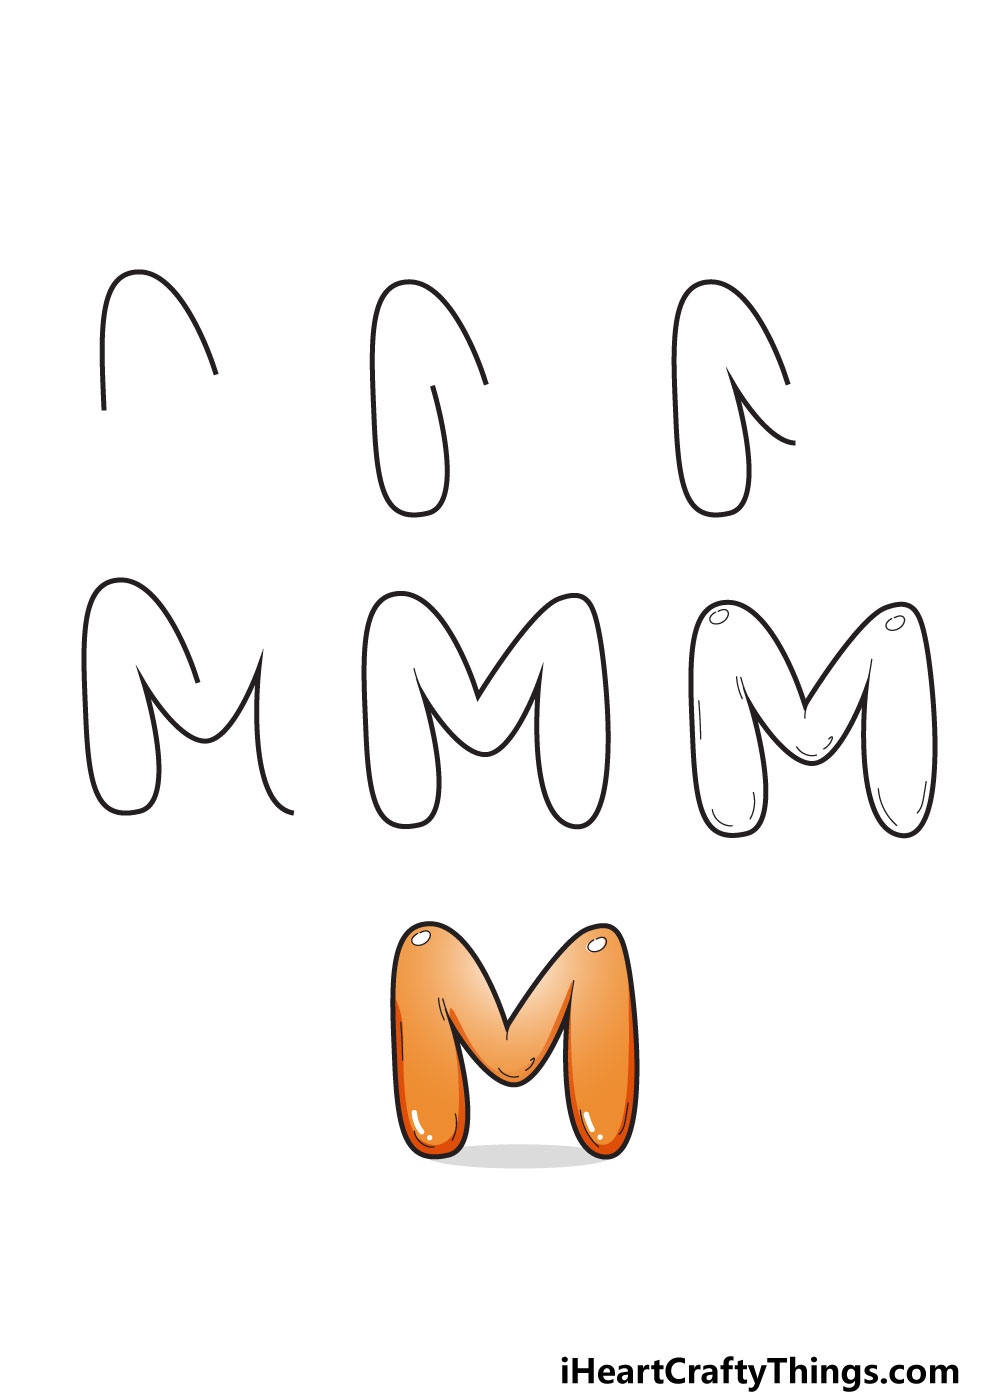
The letter M is easy to write, but what about creating a bubble letter M?
We will also cover some fun ways to color it and take it to the next level.
Thats why we will break it down into smaller steps to make it more manageable.
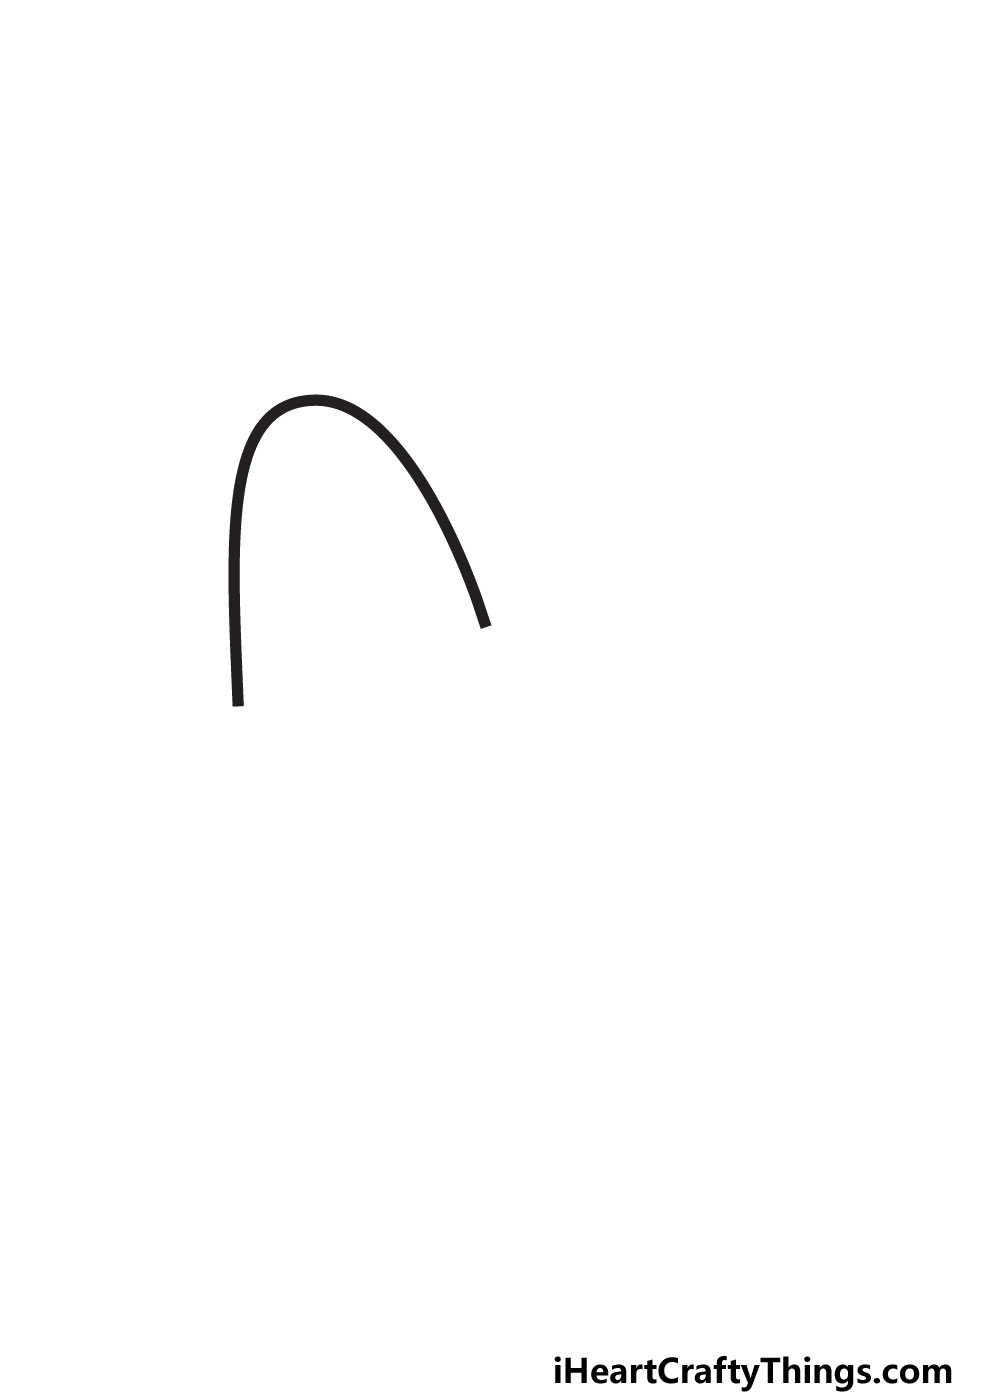
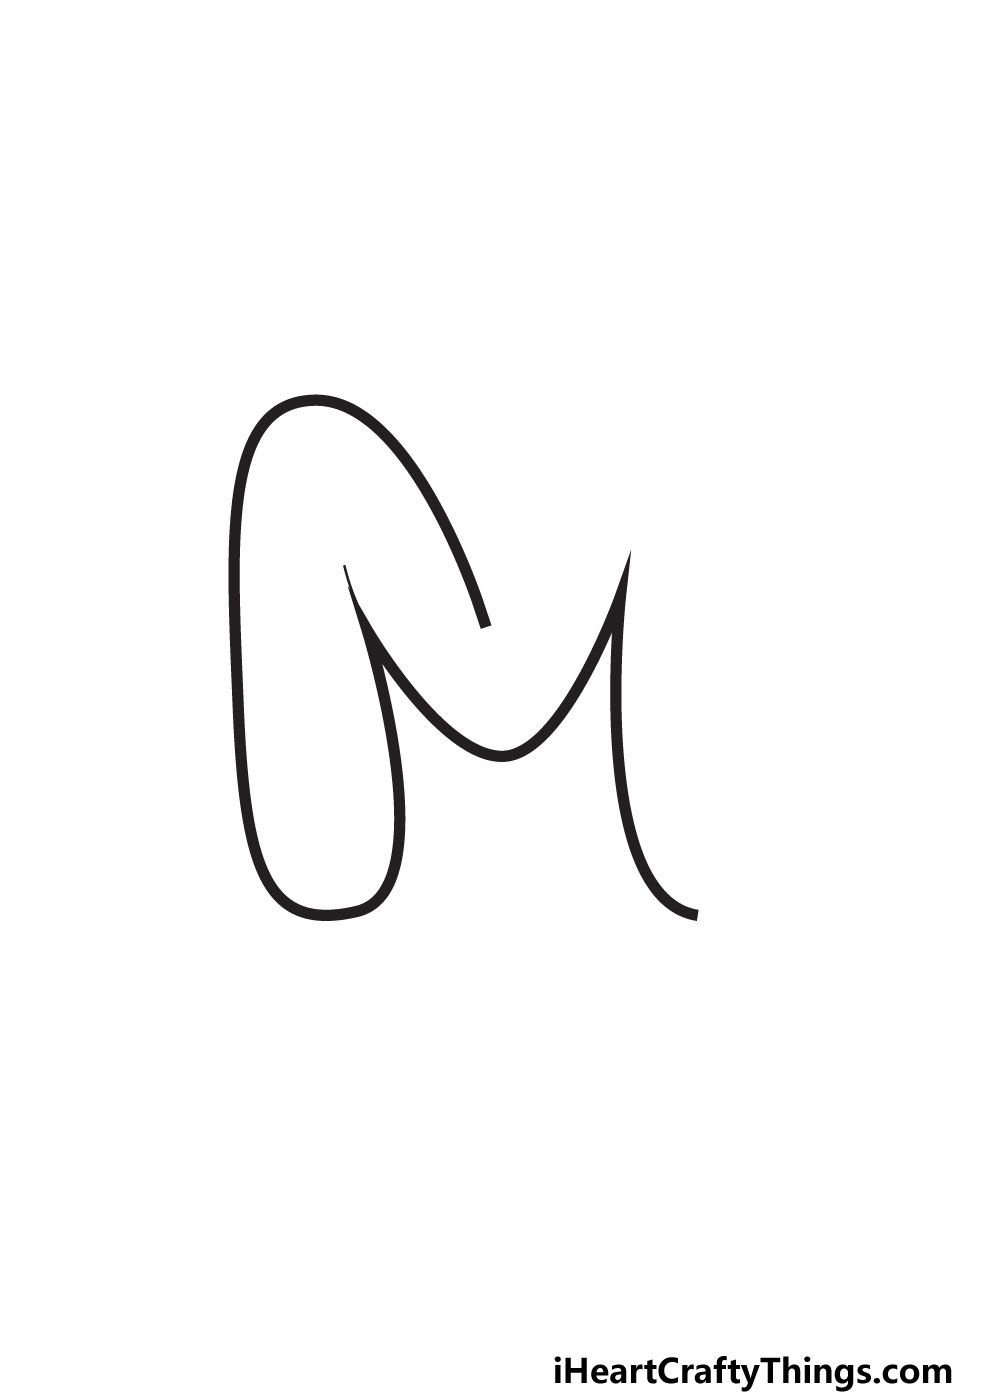
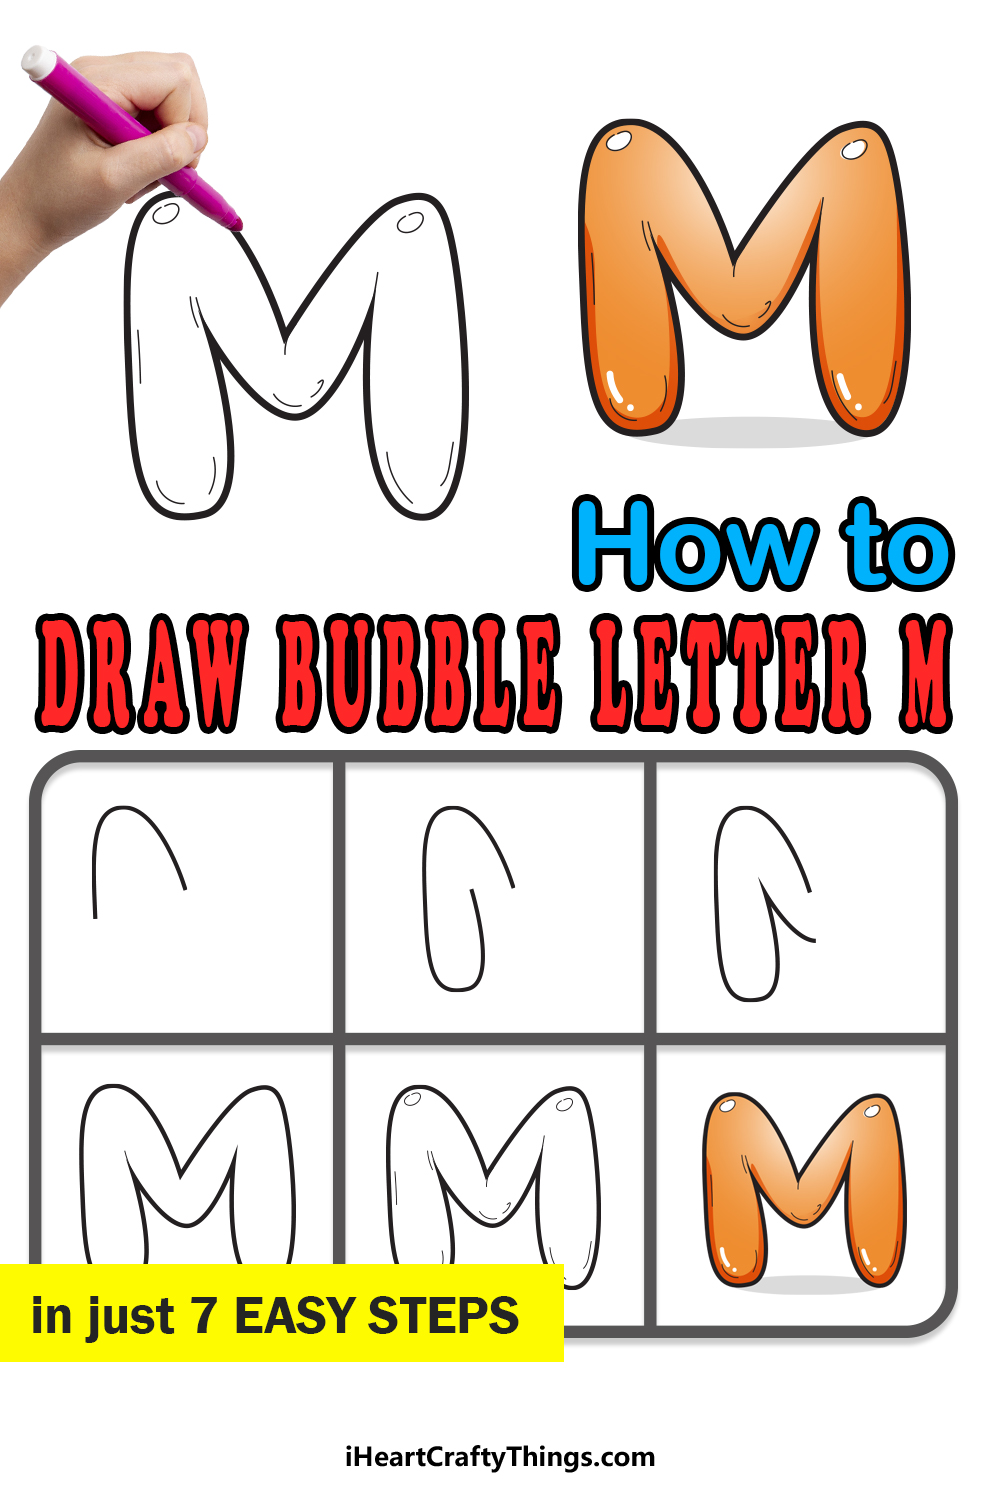
For now, we will start with the arch on the left hand side of the letter.
To draw this, we will simply draw a curved line.
The reference image we provided will show you how this should look, but its pretty simple.
Because the letter M has so many angles, we would recommend drawing a guide.
It will take the form of a vertical, straight shape.
We will be making the line very curved to create that bubble-like effect were going for.
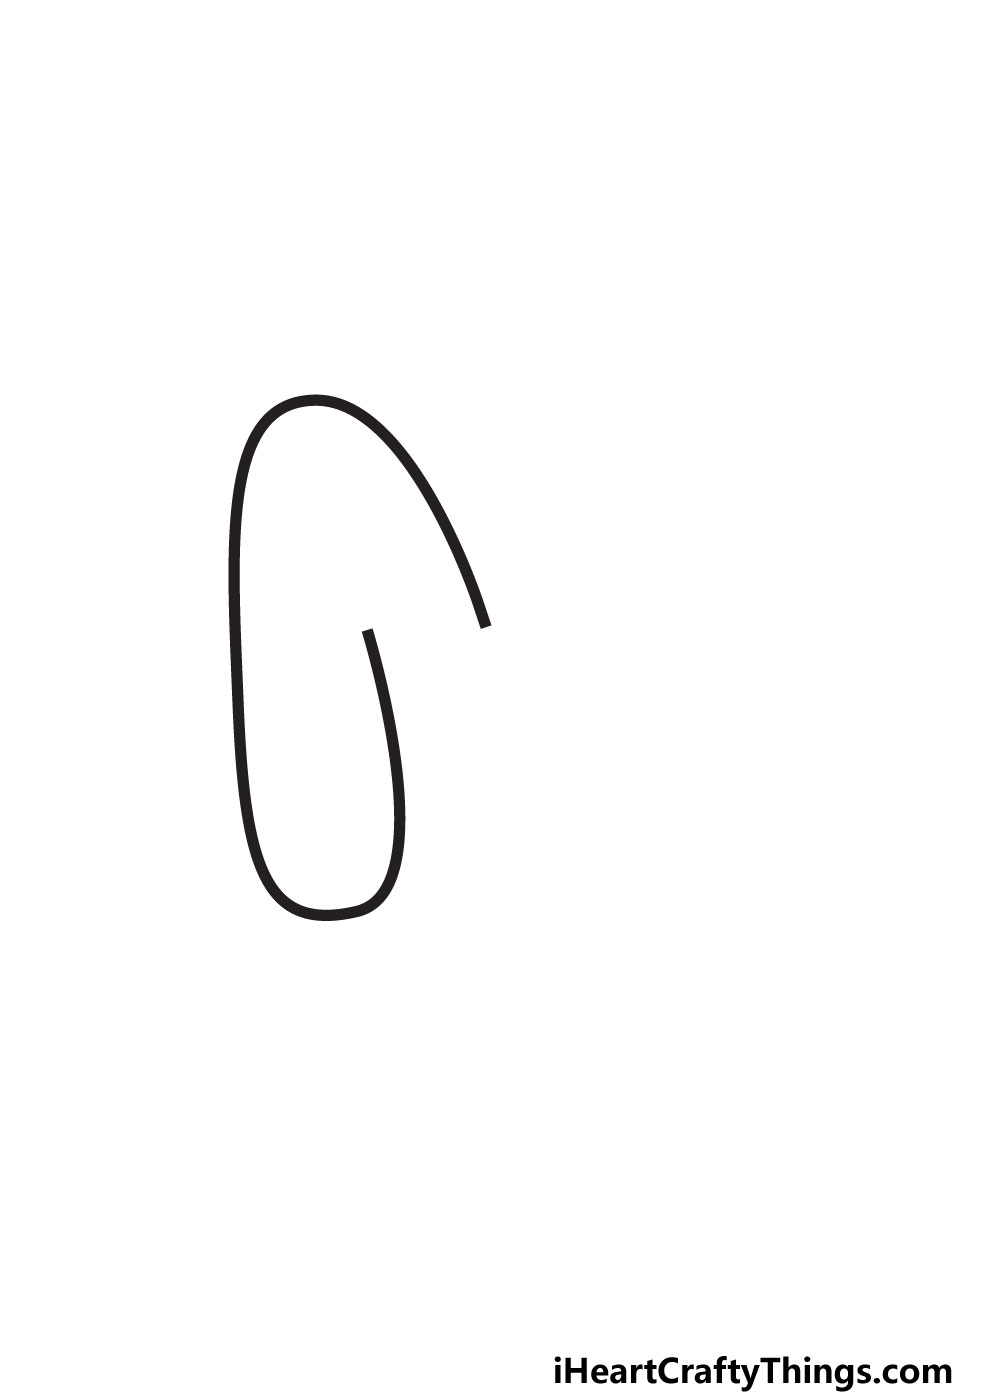
Once its drawn, you will see that it looks a bit like a slightly unfolded paper clip.
Then we can move on to step 3 to continue this design.
STEP 3:
Youll notice your bubble letter M starting to take shape with this next line!
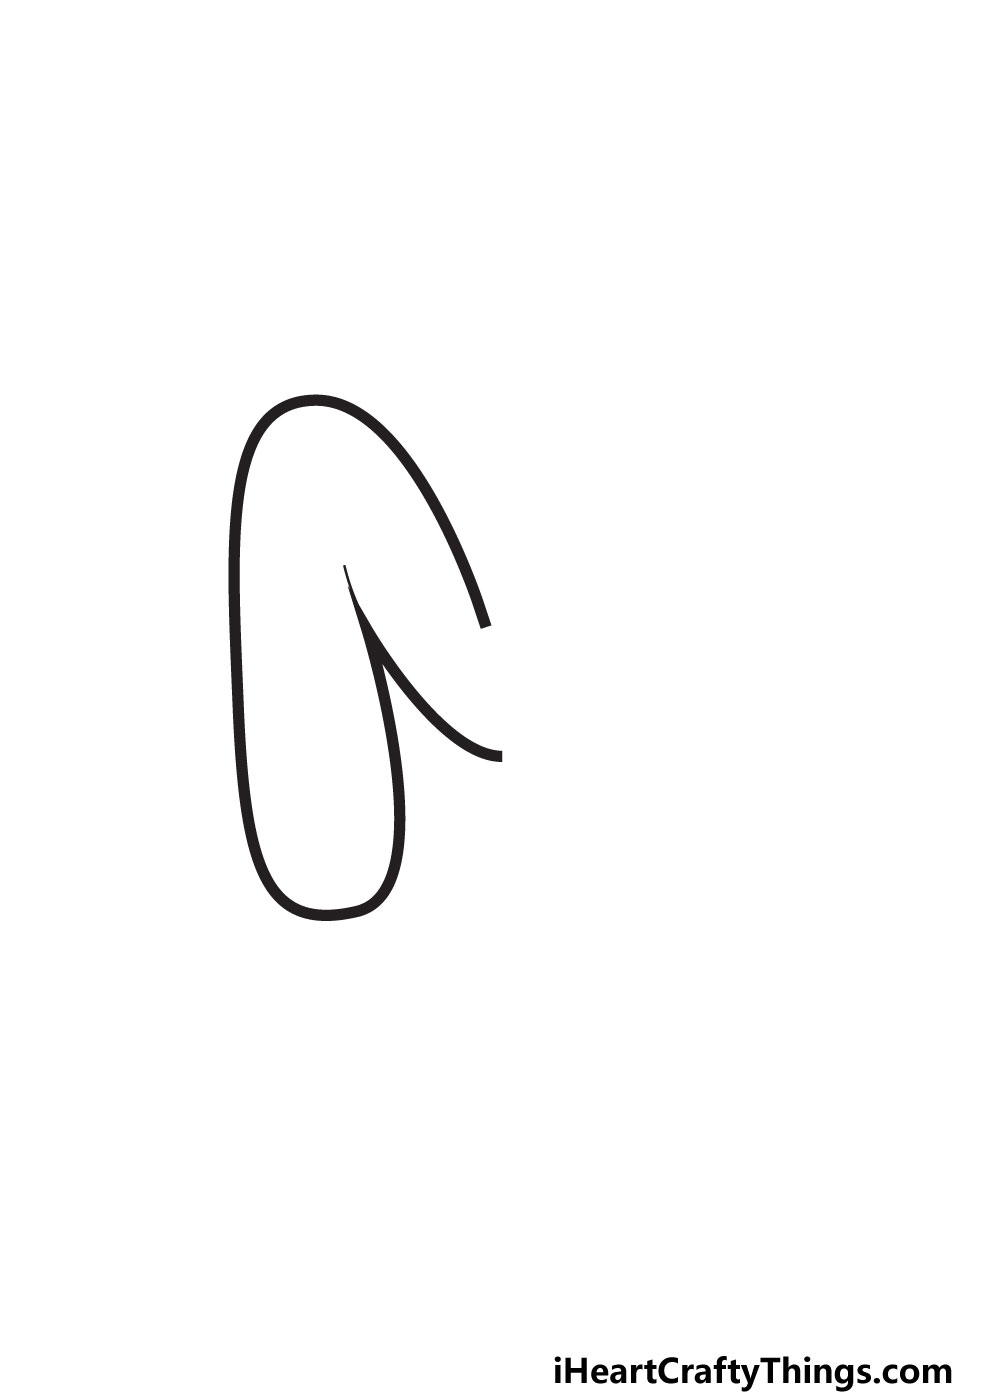
In this third step, we will once again be keeping things nice and simple.
All it’s crucial that you do now is add a simple, slightly curved line.
The reference image will show you where to place this line.
We would actually recommend doing this next line in two strokes.
you might then lift your pen from the page as we prepare for the next stroke.
This next one will start at the top of the line and then arch downward in another gentle slope.
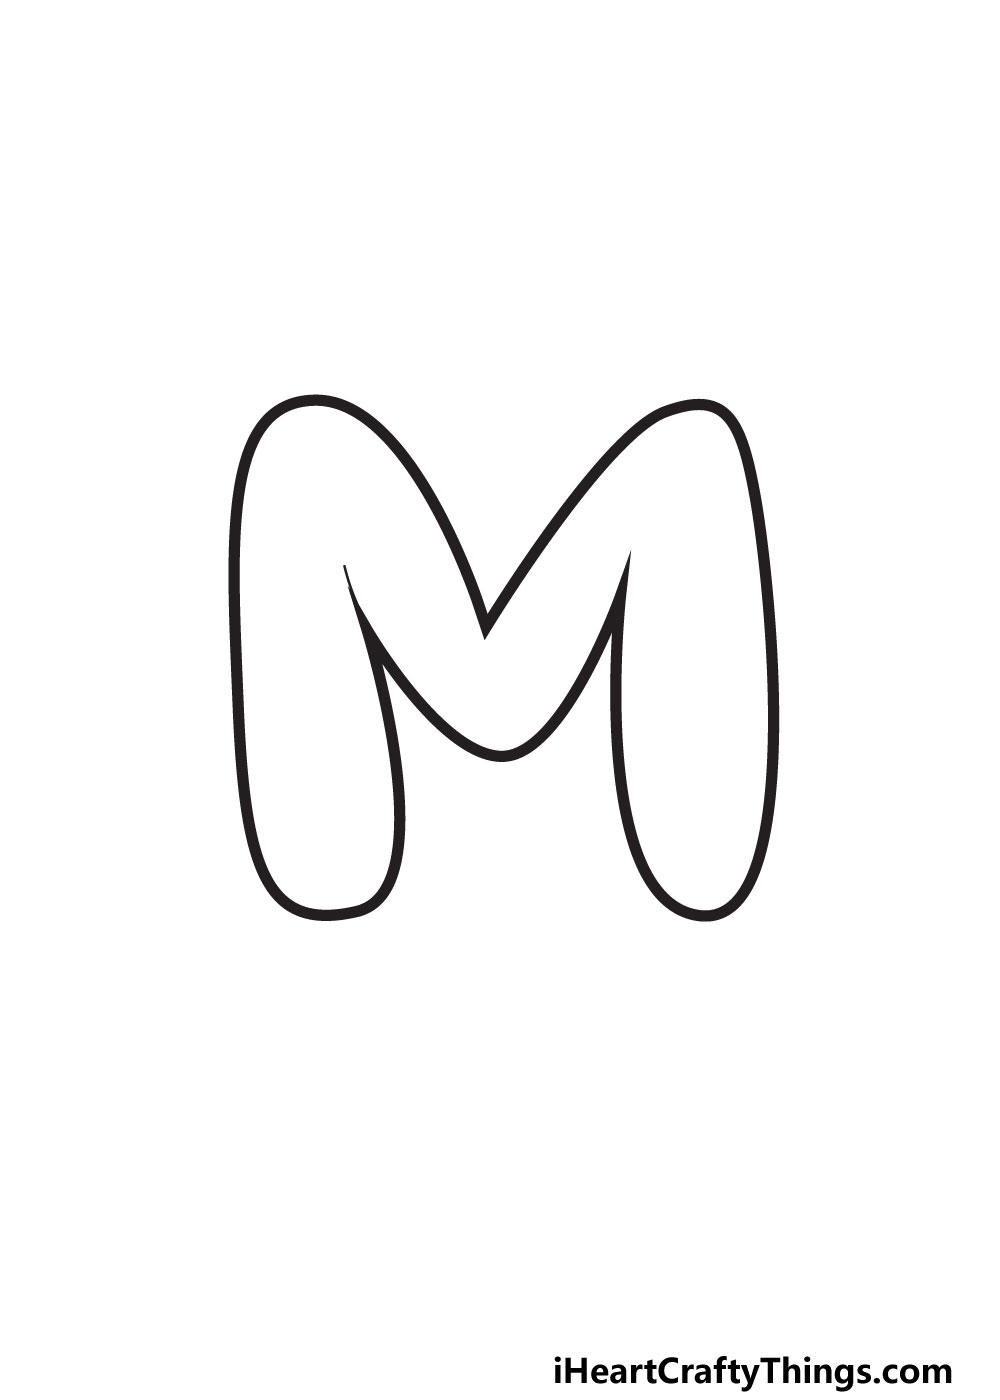
It will have a very slight curve to the right, as shown in our reference image.
That means that we will be drawing a lot in this step, but we will go slowly.
This new line will slope up gently.
Then, you will keep going until you curve over at the base.
There are more details we will add, but you might see what the final shape will be!
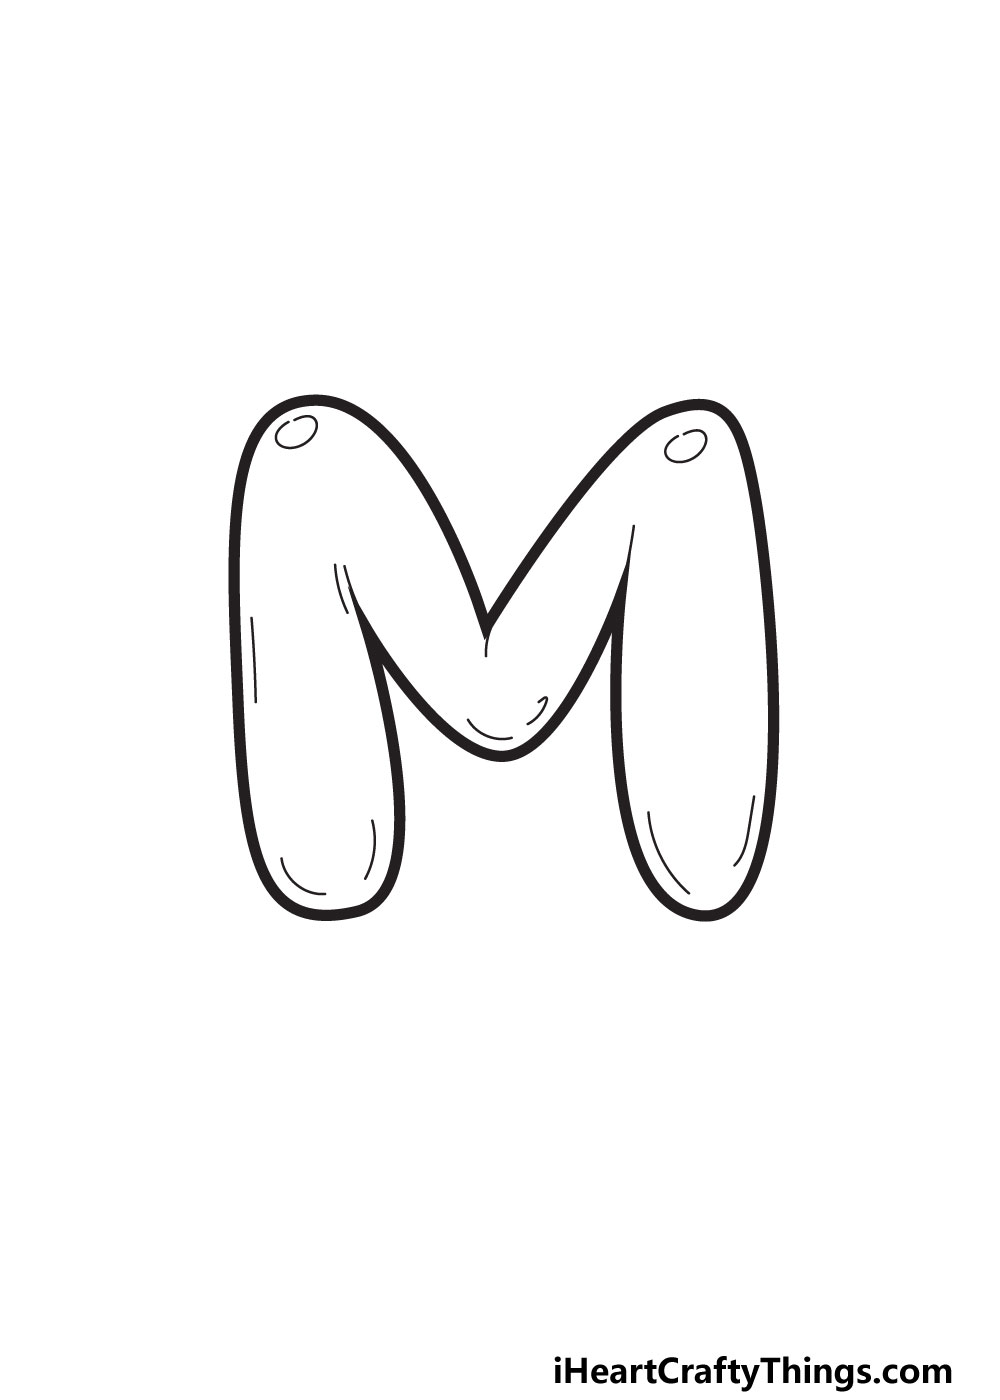
With all that said, lets get started on those final details!
First, we will use some rounded shapes for the light reflecting on the letter.
These will go at the two highest points of the design.
Finally, we will give the balloon some volume with some curved lines.
Once these lines are added, youre ready to add some color!
You dont have to move on just yet, though.
There are other ways to finish off this design.

One would be to draw some fun patterns and shapes on the letter.
For instance, maybe the letter could be covered in spots or stars!
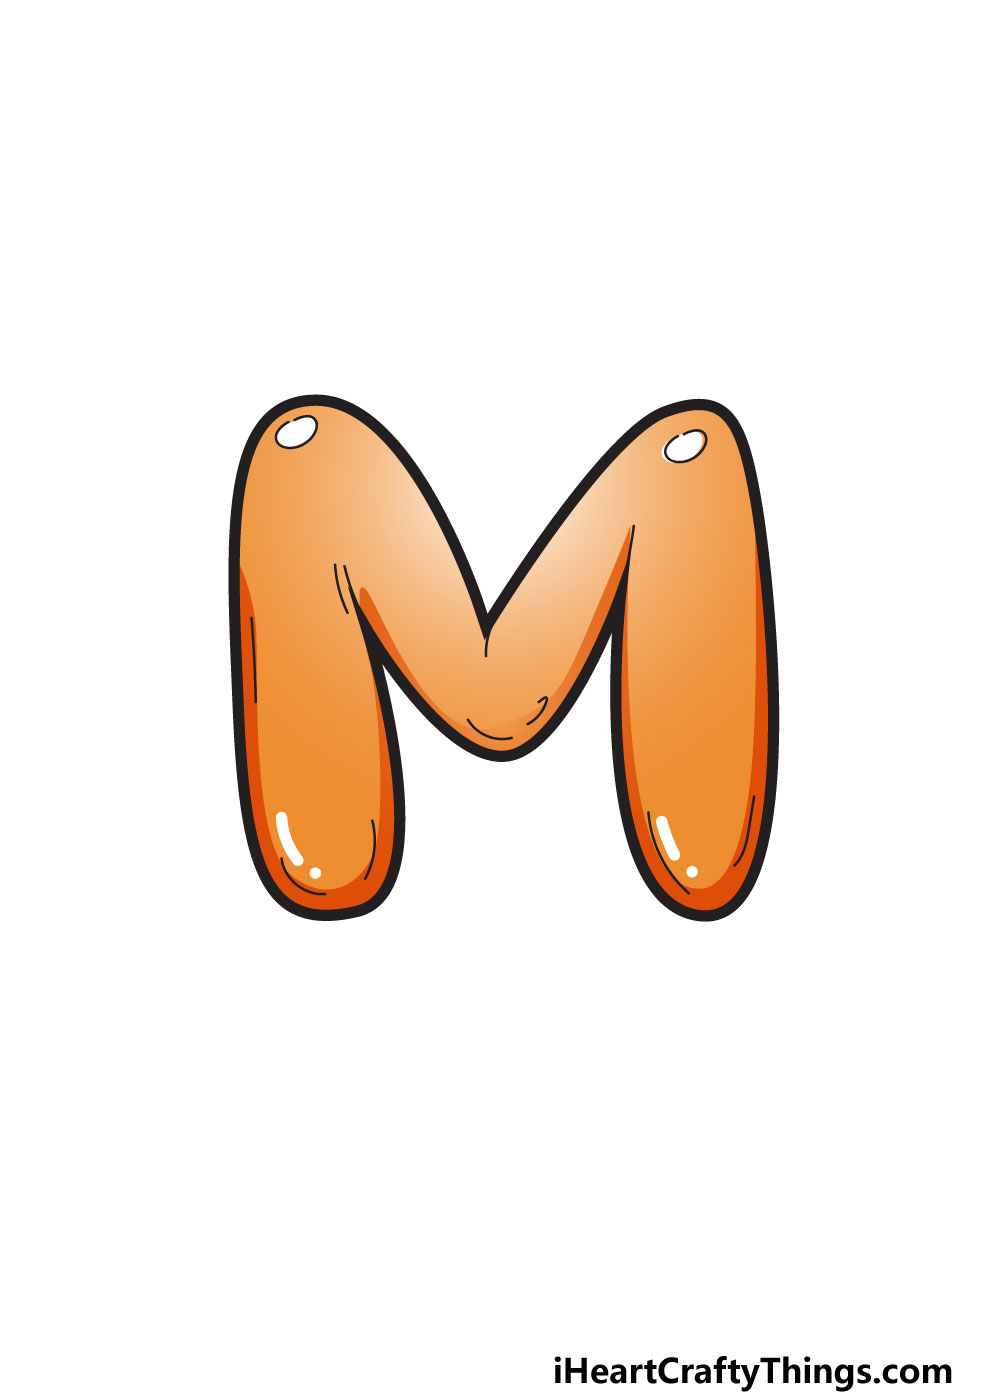
We decided to go for alight orange color schemeto make the drawing look nice and warm.

The colors are darker the further they are from the two light points.
Closer to these points, we used lighter shades to create the effect of reflecting light.
Why not try out some fun new art tools and crafts as well?

My Final Tips To Make Your Bubble Letter M Drawing Even Better!
You may think your drawing journey is over, but it doesnt need to be!
With these bubble letters, we always think its fun to incorporate words that start with the letter.

There are so many that start with M that you could use!
For a few ideas, there are words like milkshake, milk, macaroni or mat.
There are many more, but we will stick with milkshake for now.

You could write the rest of the word after the M you have created.
Another way to make it even more special would be by using the M to create someones name.
More From:How to draw
Printable Bubble Letters A Complete Guide!

