Its also an instance where the upper and lowercase versions look quite different from one another.
There will be plenty of room for you to show off your own creativity as well!
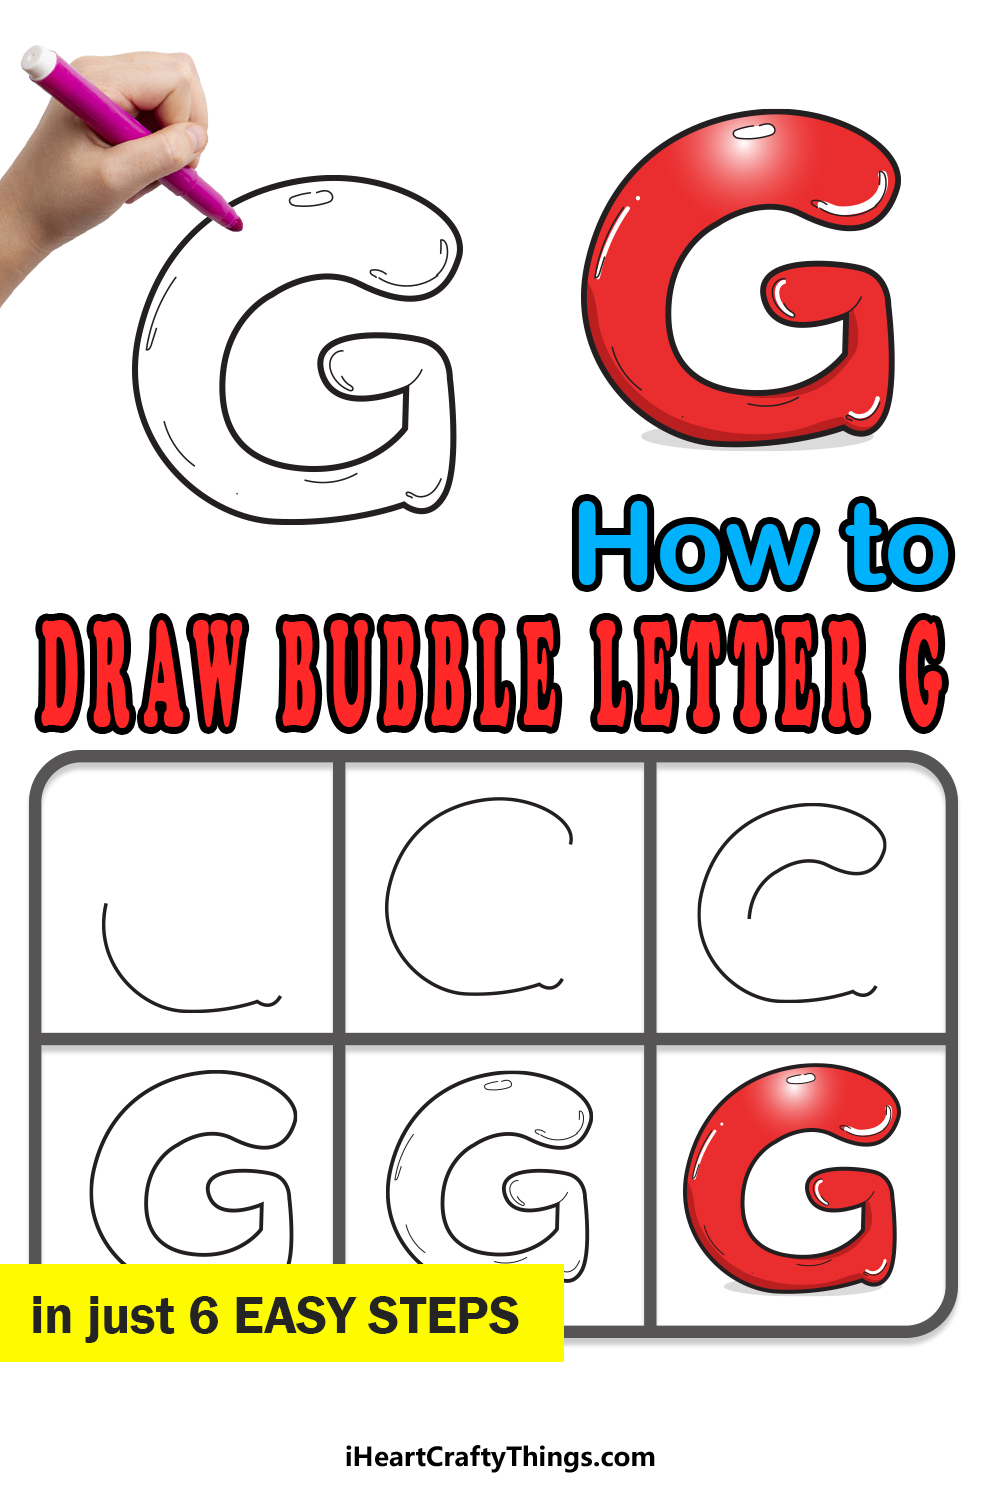
This will serve as the left-hand base of the letter G we will be drawing.
Whether you decide to do that or not, we can draw the first line.
It will be drawn with one long, steady stroke that has a slight curve to it.
attempt to follow the reference image we provided as closely as possible.
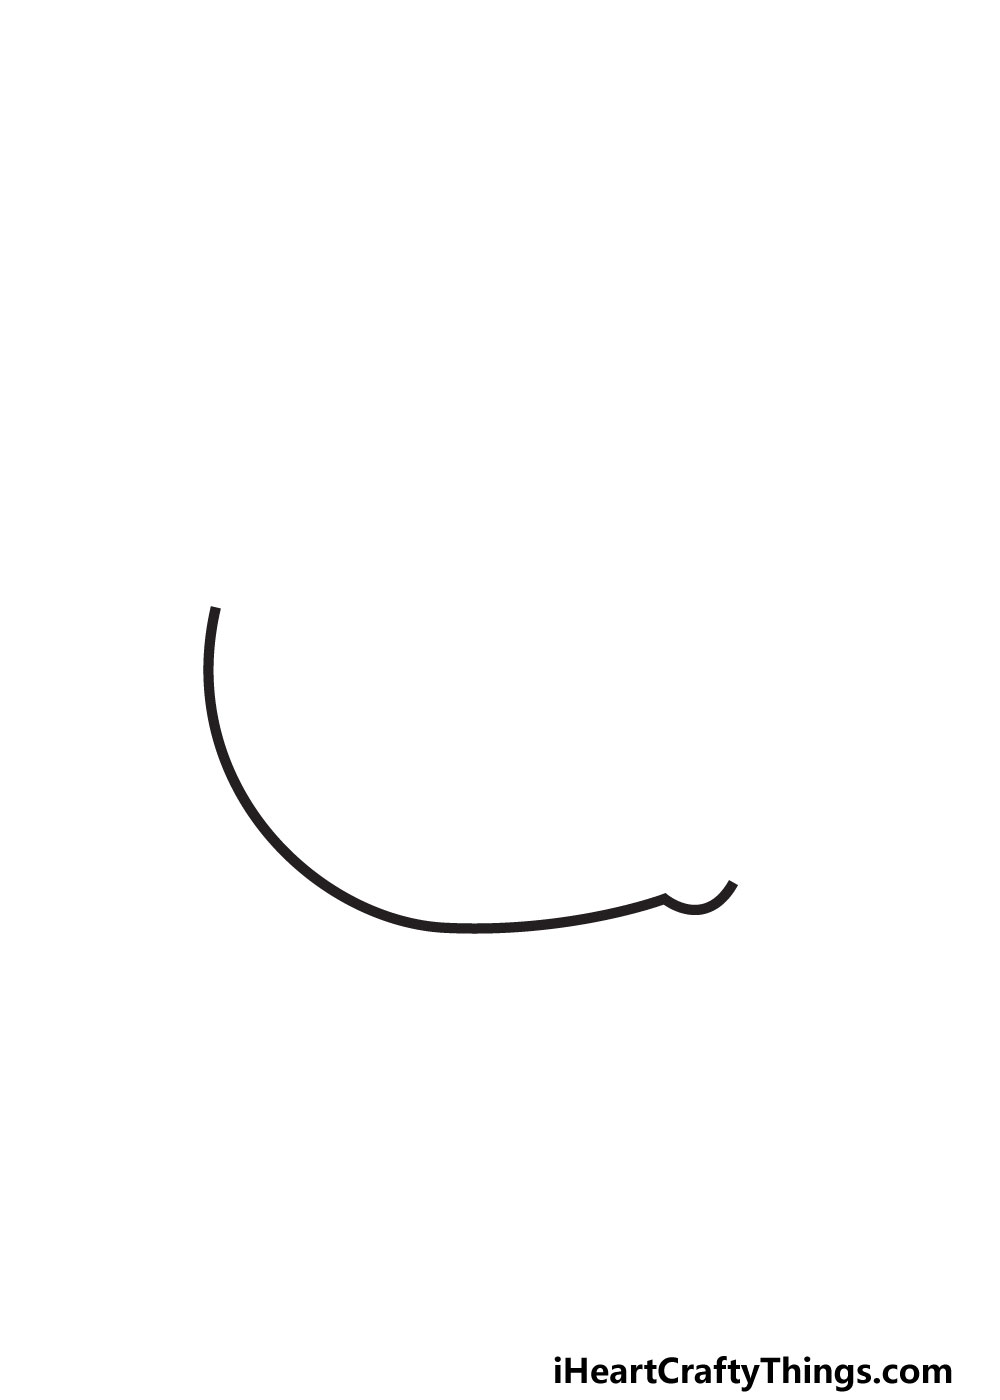
You will notice there is a small bump at the right-hand edge of this line.
For now, we will be focusing on the upper end of the line.
To do this, continue the flow of the line upwards, as shown in our reference image.
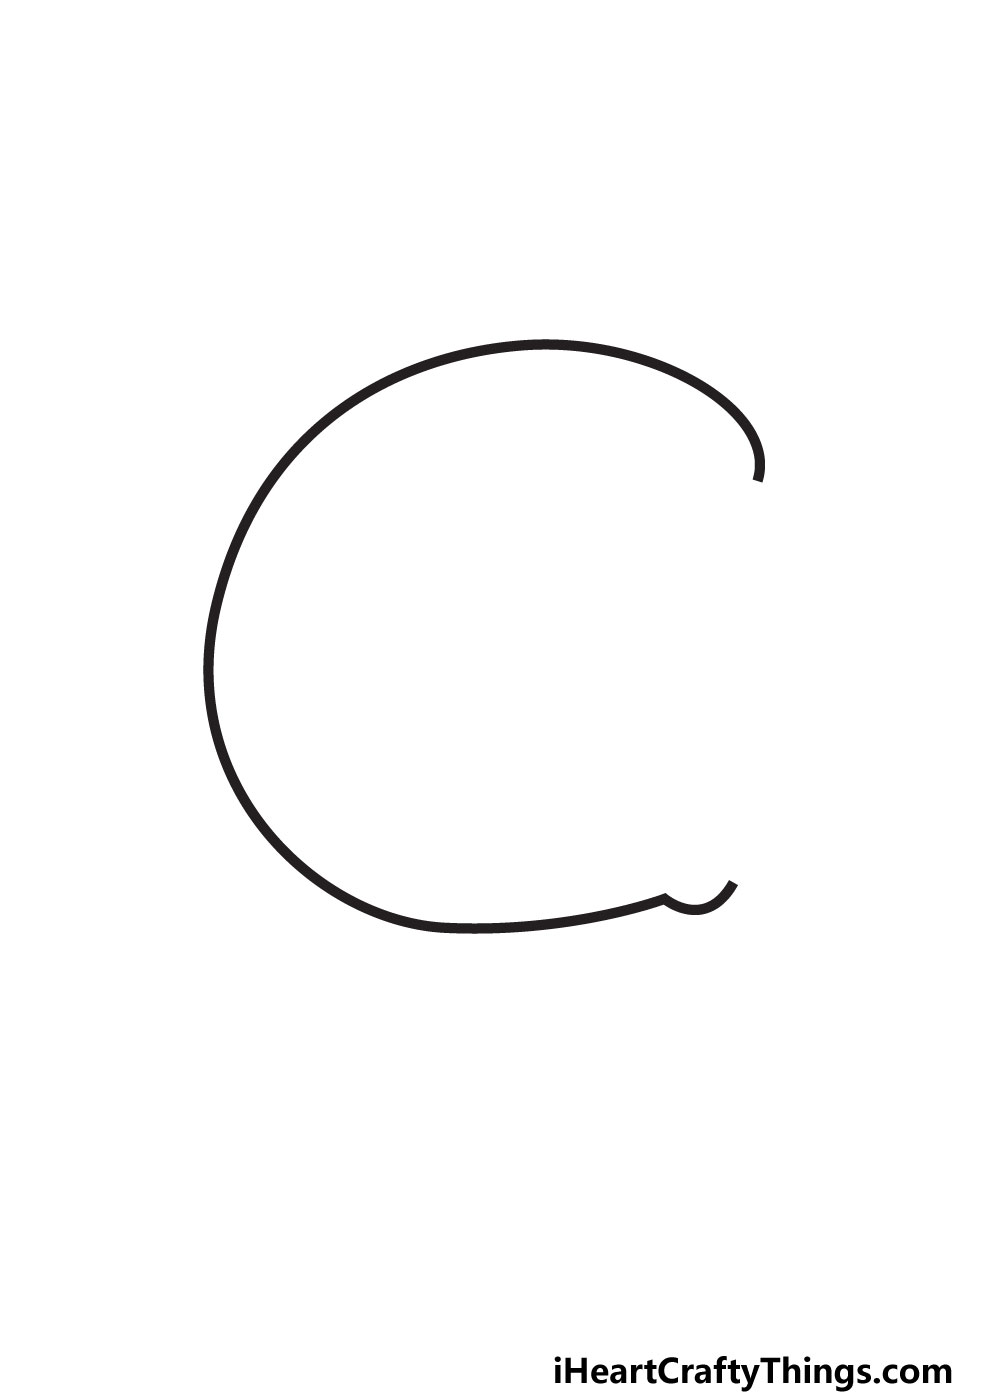
It should follow the same slight curve that we were creating in the first step.
The idea here is we ideally want it to look like one long line.
Otherwise, try your best to make it look like they are connected.
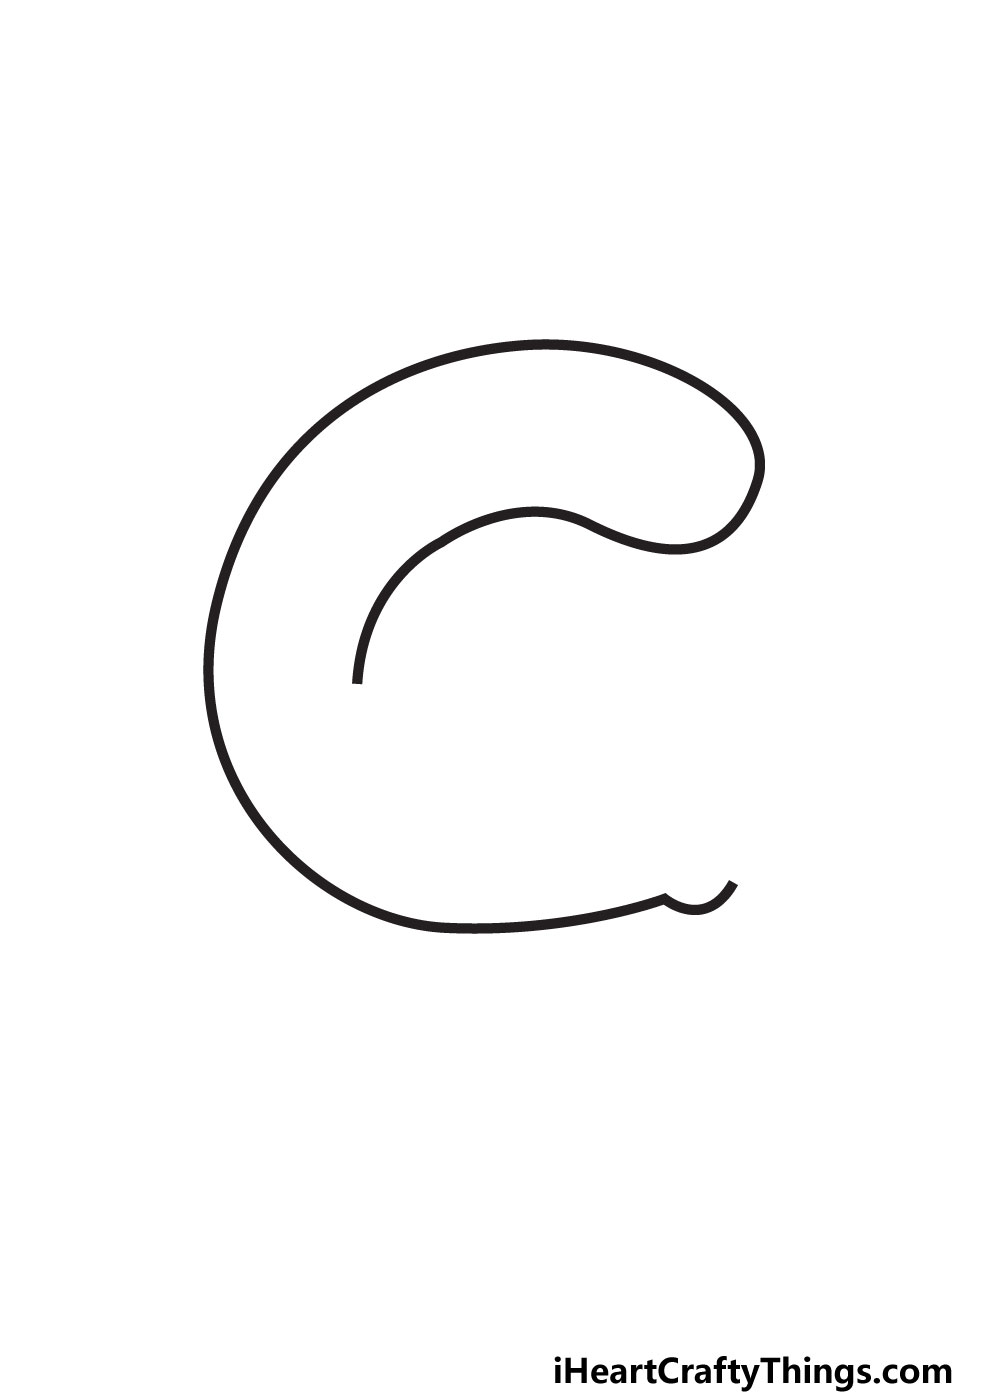
In this step, you will start to see the bubble effect taking shape, too.
Now youre ready to draw the rest of the roof portion of the letter.
Extend the top of the lines we have drawn so far and curve it sharply inward.

Once it has curved inwards, you will keep going until youre about halfway down the letter.
Now youre ready to finish off the outline in the next step.
This will probably be the trickiest part of the guide, so we will go nice and slowly.

This time, take your right thumb and hold it so the side is facing you.
Bend it at the knuckle and you will get the shape we are going to draw.
It may sound more complicated than it is, so refer closely to the reference image as you draw.
Eventually, the curved line going toward the center will meet up where we left off last time.
With that, your outline is finished!
We will do this with some pretty simple lines and shapes.
While the lines and shapes may be simple, they will make a big difference!
You could add a few more ovals or different shapes for more reflections too!
When these details are added, feel free to add some fun touches of your own!

you might get really creative with this by adding patterns or other fun touches to the letter.
After the next step, we will also cover some ideas for you to try.
For now, we will move on and add some color to the letter.

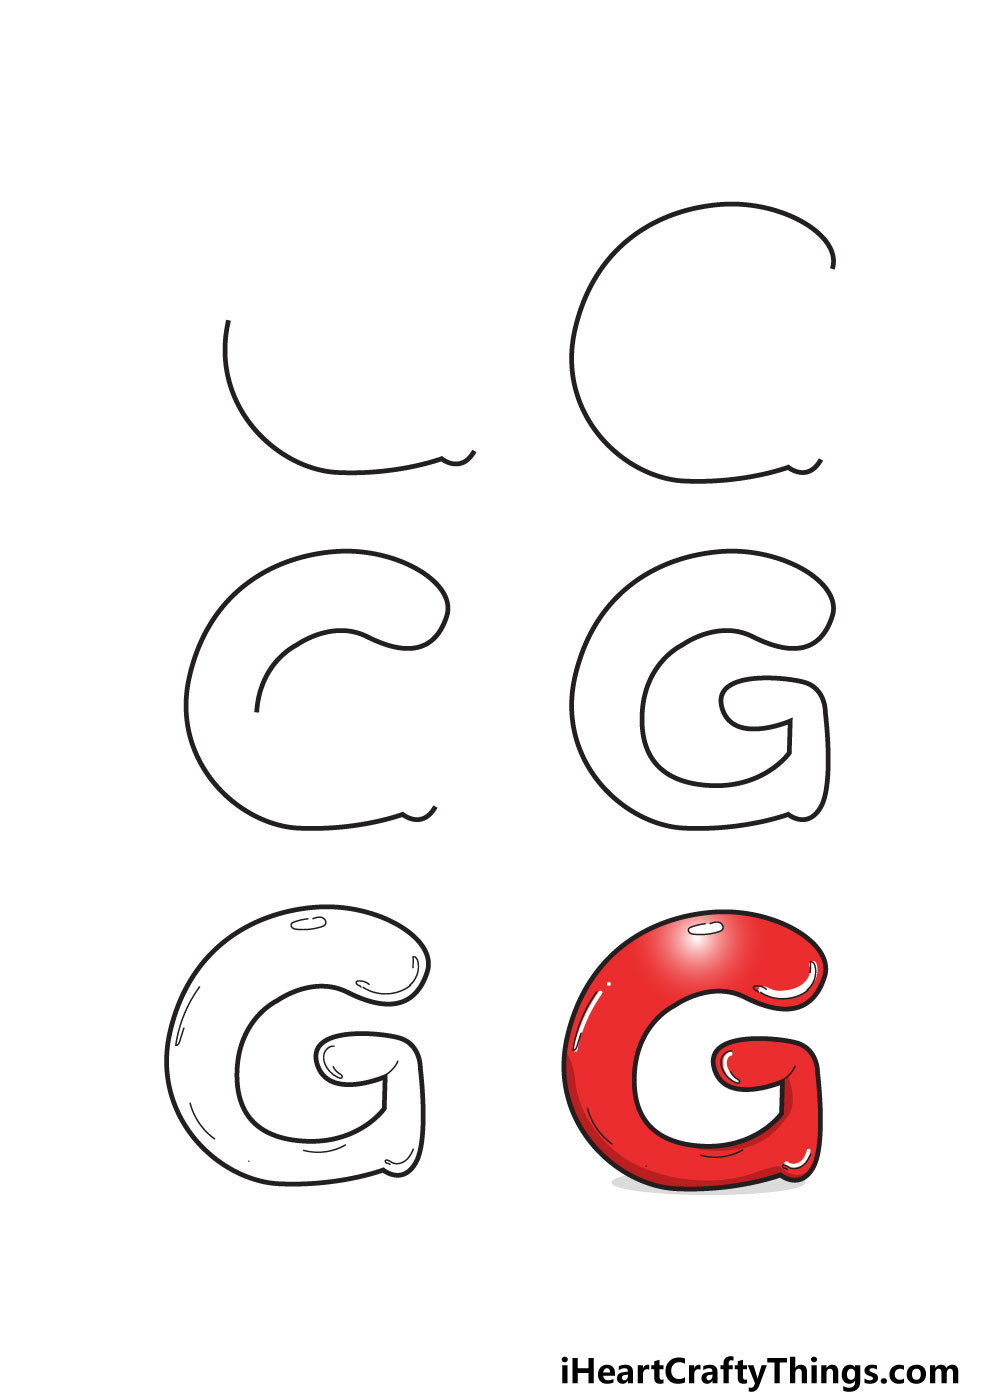
Now that the hard part is over, its time to relax with some coloring fun.
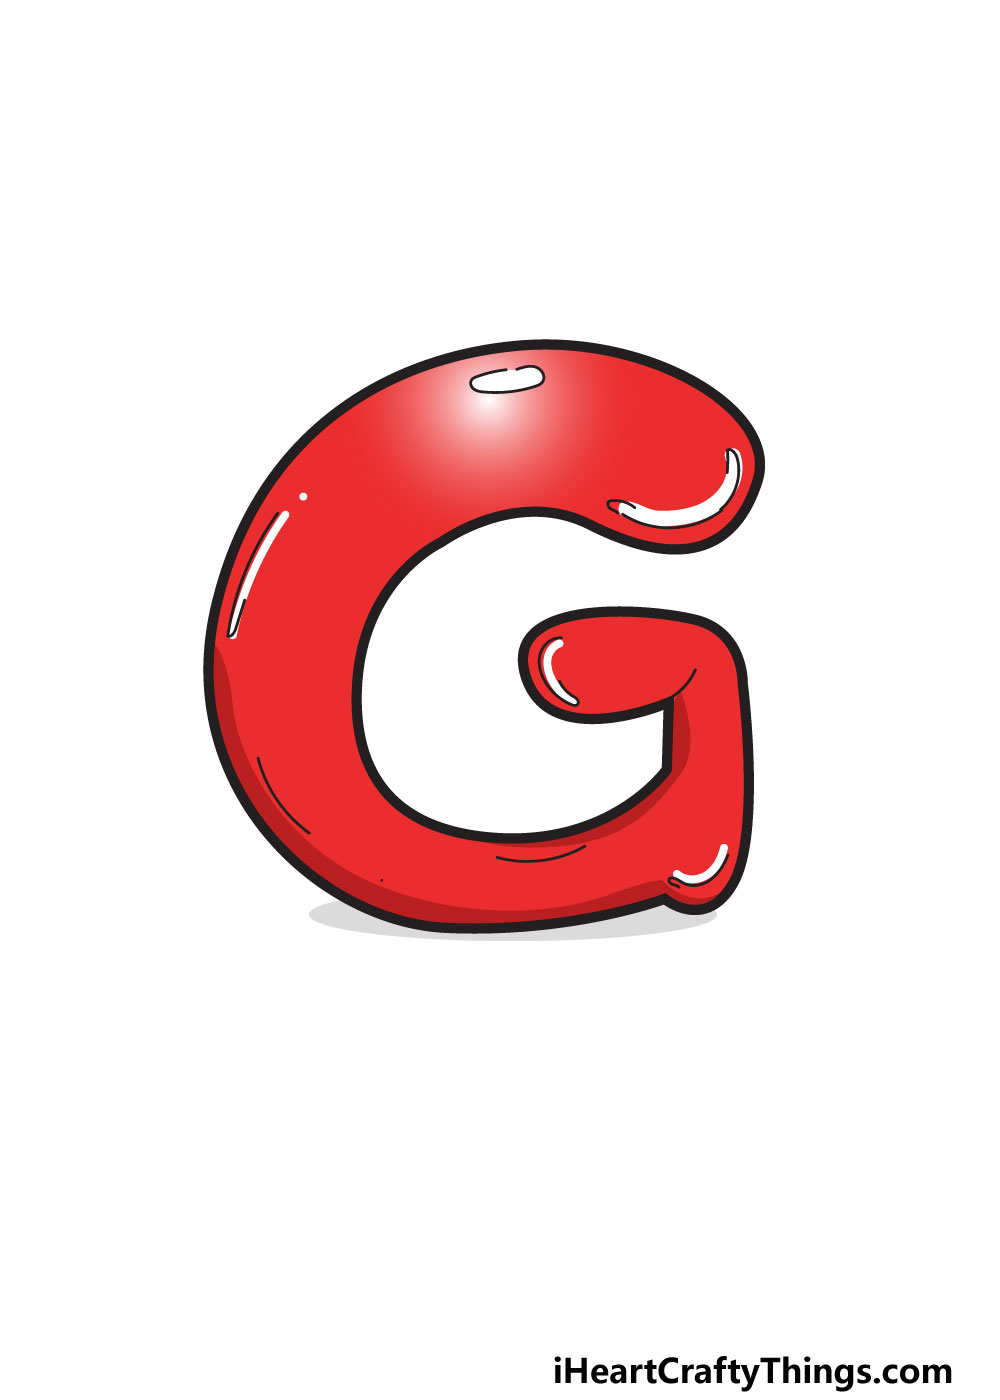
In our example image, we showed you just one way to color it in.
That is what we chose for this letter, but you could color this in so many other ways!

If you have another favorite color, then you should definitely go for that.
What colors and art tools come to mind for you when it comes to finishing off this letter?
My Final Tips To Make Your Bubble Letter G Drawing Even Better!

Lets use a giraffe as an example.
You could color the G with spots and colors that a giraffe would have.
This is just one of many ideas that you could use to make it look even more unique.

The other letters of the name could also be written in bubble style or another font style you like.
If you want to keep the same design, you could personalize it with colors.
How will you put your own personal spin on this awesome bubble letter design?

More From:How to draw
Printable Bubble Letters A Complete Guide!
