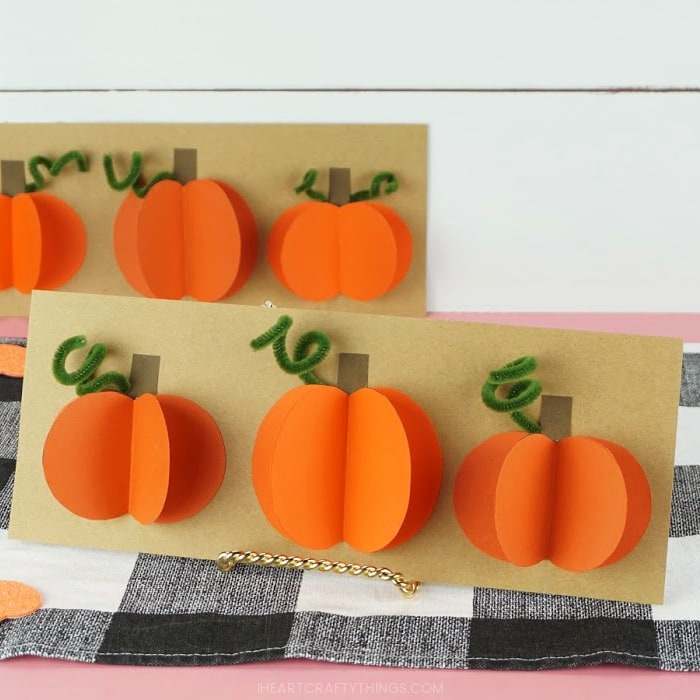
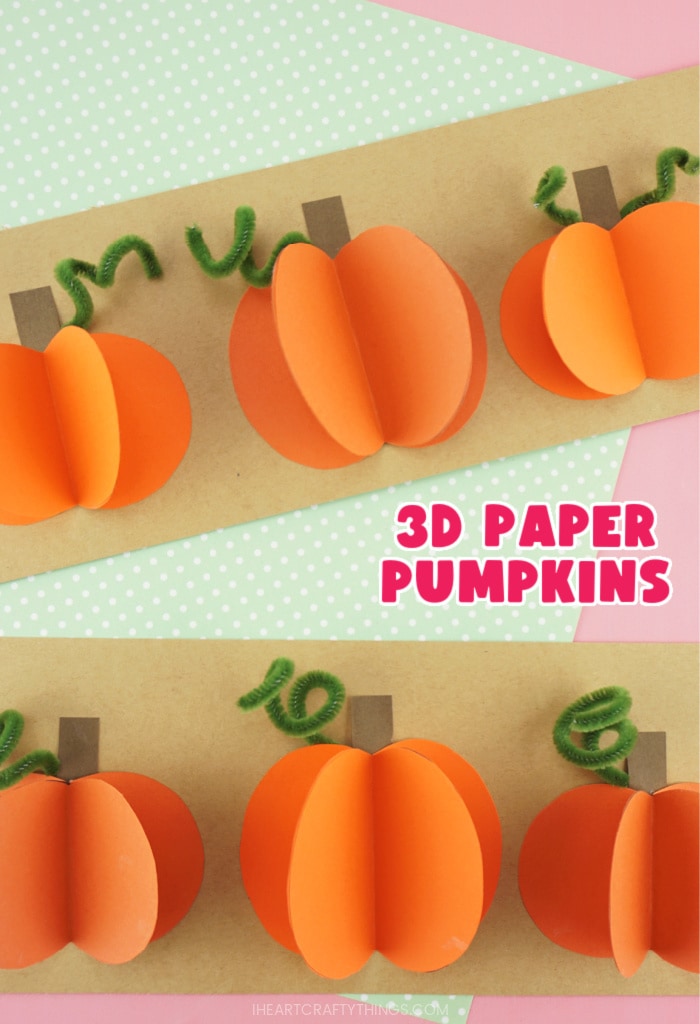
If you are excited for fall and all things pumpkin, you are going to love this3D pumpkin craft!
Its such a fun way to celebrate the beginning of the fall season.
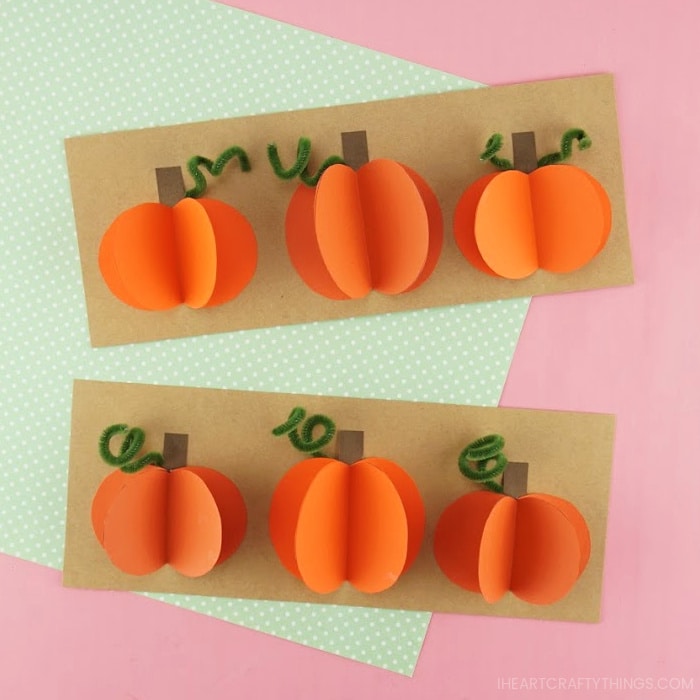
We made our craft with three paper pumpkins in a row.
There are so many ways it’s possible for you to customize the craft project though.
Read ourdisclosure policyfor more information.
Instructions for making your 3D pumpkins:
1.
Print out paper pumpkins craft template
Download and print out thepaper pumpkins craft templateon orange cardstock paper.
You could also use orange construction paper instead.
Each page of the template has two paper pumpkins on it.
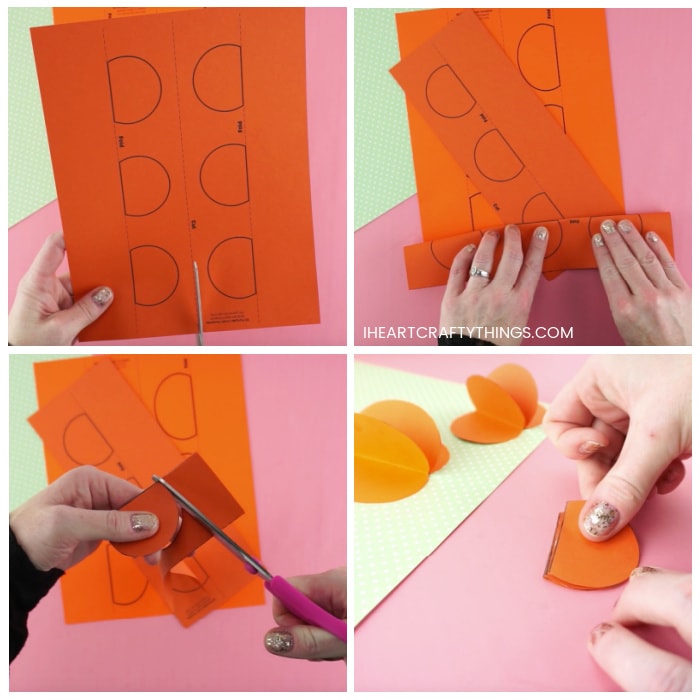
One page of the template has a smaller pumpkin shape and the other has one a bit larger.
you could mix the two together and create as many pumpkins as you would like.
Then fold each half along the dashed line of the sheet of paper where indicated on the template.
Use your glue stick to add glue to one of the folded paper pumpkin halves.
Then glue another folded pumpkin onto it.
Add glue again and glue the third paper pumpkin half onto it.
This creates the 3D pumpkin shape for your craft.
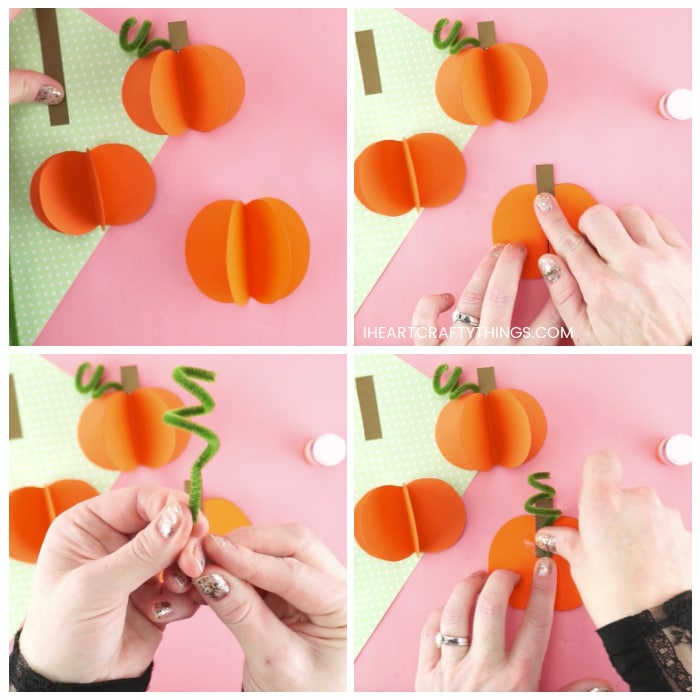
Make pumpkin stems and glue on pumpkins
Cut a small rectangle piece of brown cardstock for a pumpkin stem.
Turn your 3D pumpkin face down and glue the stem on the back seam of the pumpkin.
Create curly pumpkin vines and attach them to pumpkins
Cut a green pipe cleaner in half.
Curl one end around your finger several times to create a curly pumpkin vine.
Attach the pipe cleaner vine to the back of the pumpkin with a piece of tape.
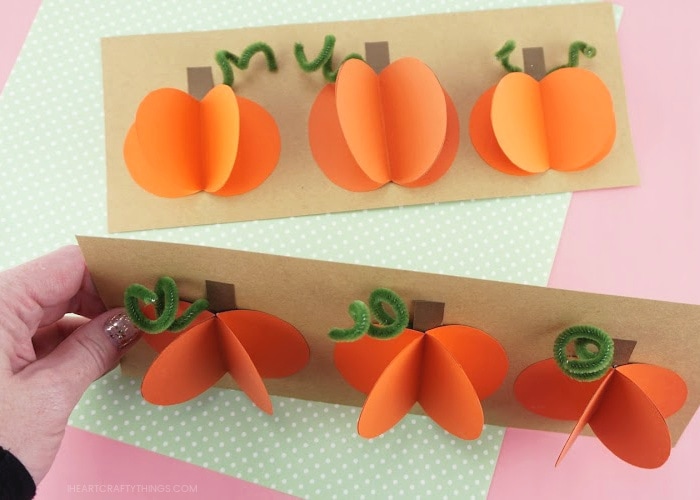
Glue 3D pumpkins onto cardstock
Cut a sheet of kraft cardstock in half to glue your pumpkins onto.
For our craft we used three paper pumpkins.
You could also attach one to the front of a folded card.
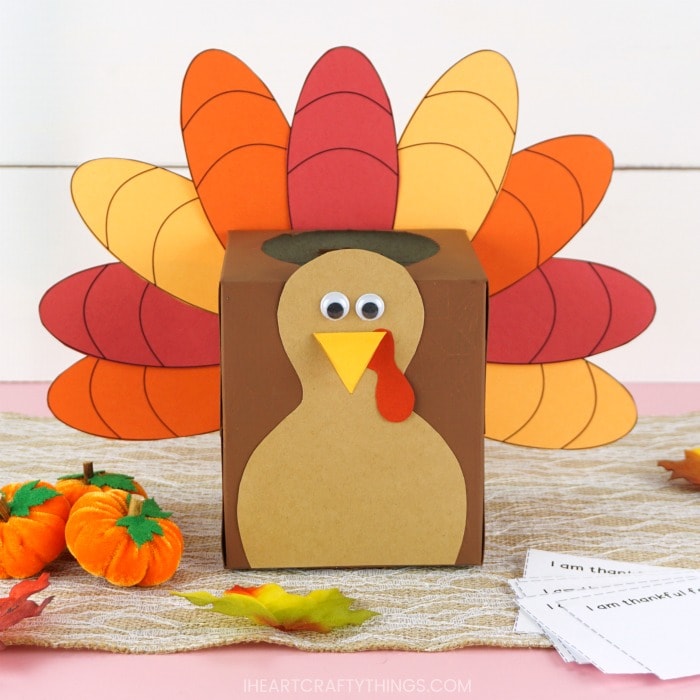
Thankful Turkey Box Tutorial
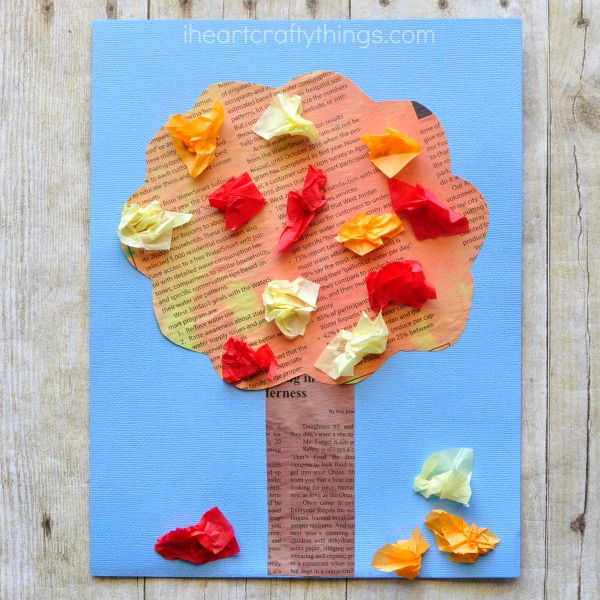
Painted Newspaper Fall Tree Craft
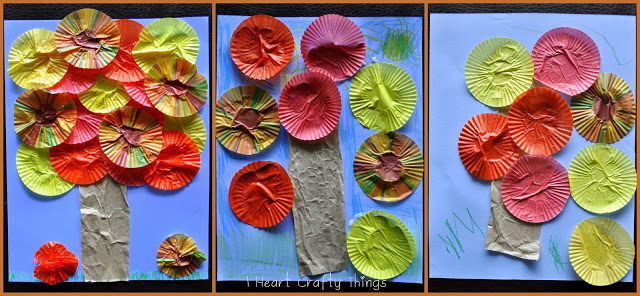
Fall Cupcake Liner Tree Craft
Contact Paper Sticky Wall Fall Tree